Stitch Your Style: DIY Embroidered Pillow Covers
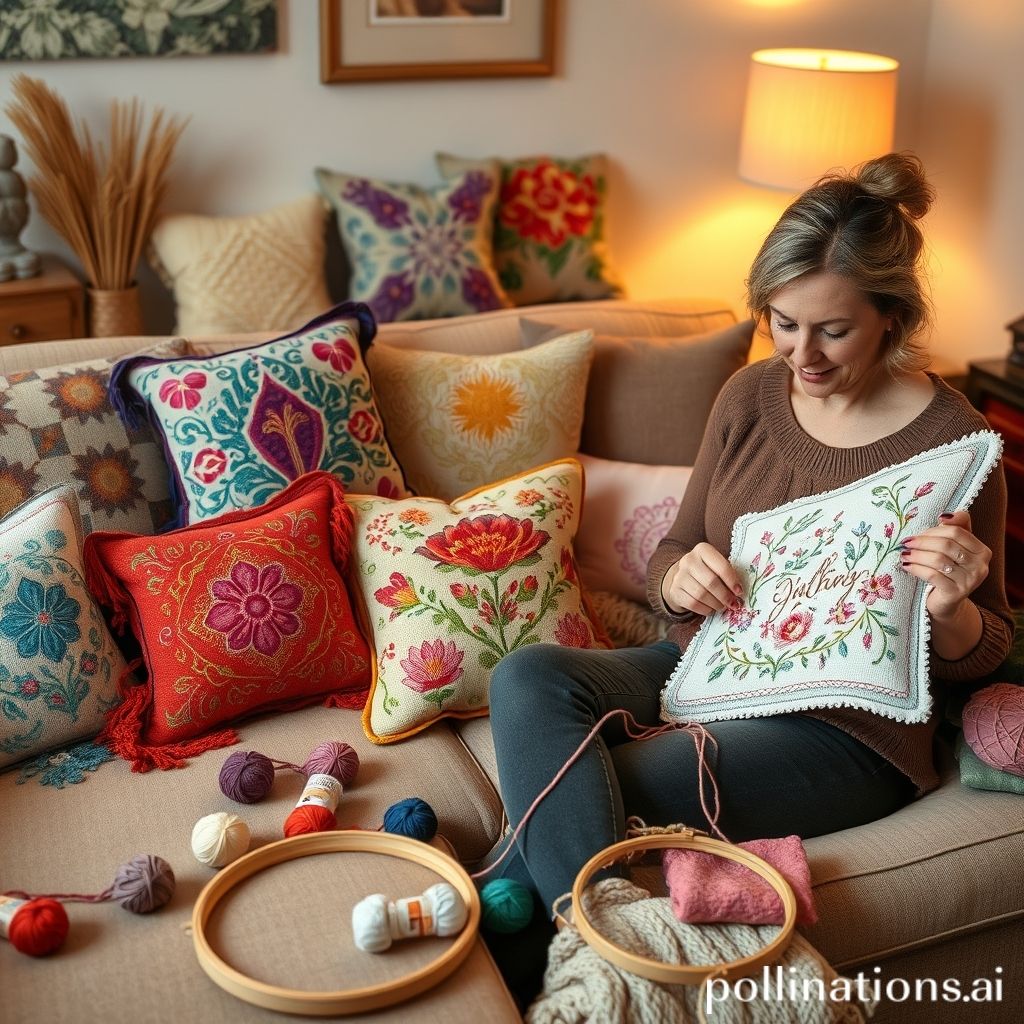
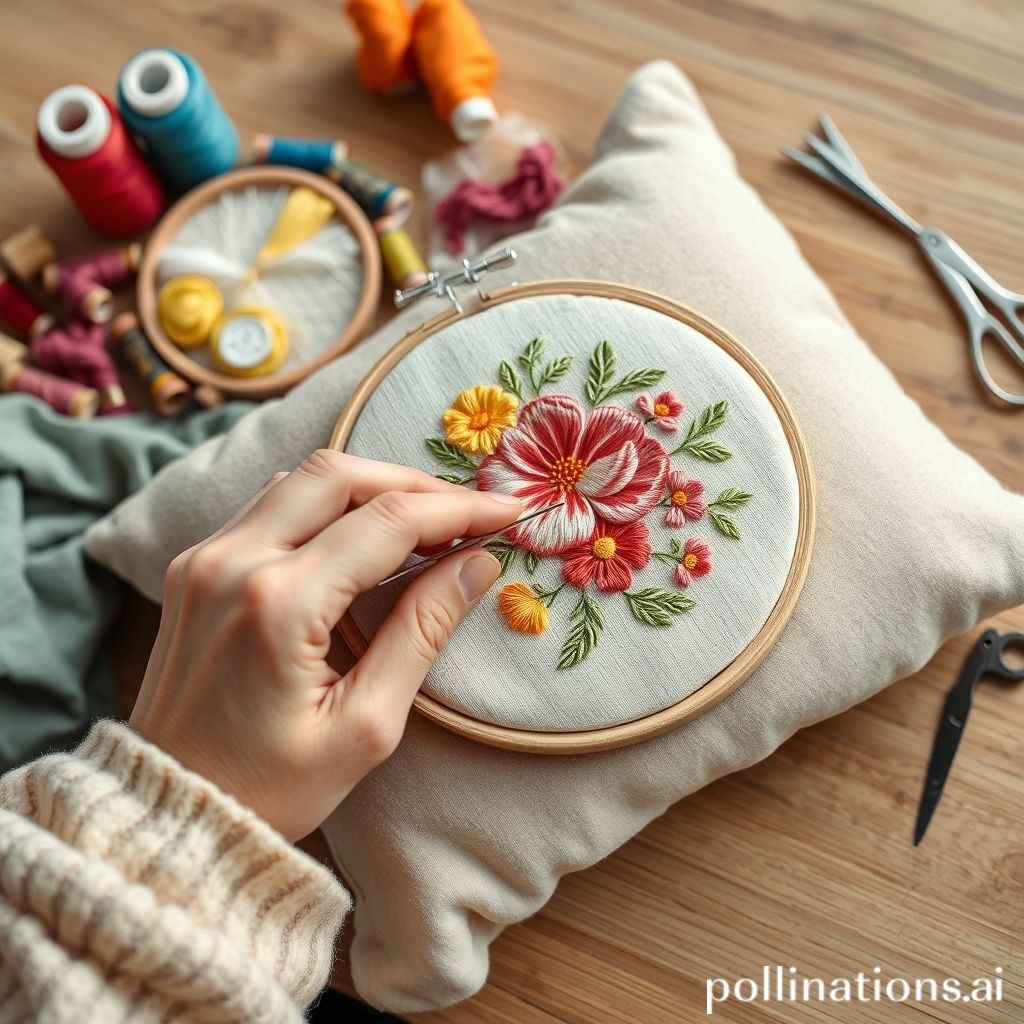
Imagine sinking into your couch, surrounded by pillows that not only offer comfort but also showcase your unique personality and creative flair. Instead of settling for mass-produced cushions, why not craft your own personalized masterpieces? DIY embroidered pillow covers are a fantastic way to inject warmth, charm, and a touch of individuality into your home décor. This isn’t just about following a trend; it’s about expressing yourself through a timeless craft and creating something truly special.
From simple floral motifs to intricate geometric patterns, the possibilities are endless when it comes to embroidery. It’s a relaxing, mindful activity that allows you to disconnect from the digital world and reconnect with your inner artist. But where do you begin? What materials do you need? And how do you translate your creative vision onto fabric? Don’t worry, we’re here to guide you through the entire process, from selecting the perfect materials to mastering basic embroidery stitches. We’ll explore essential tools, fabric choices, design inspiration, and step-by-step instructions to help you create stunning embroidered pillow covers that will transform your living space. So, grab your needle and thread, and let’s embark on this creative adventure together!
Choosing the Right Fabric for Embroidery
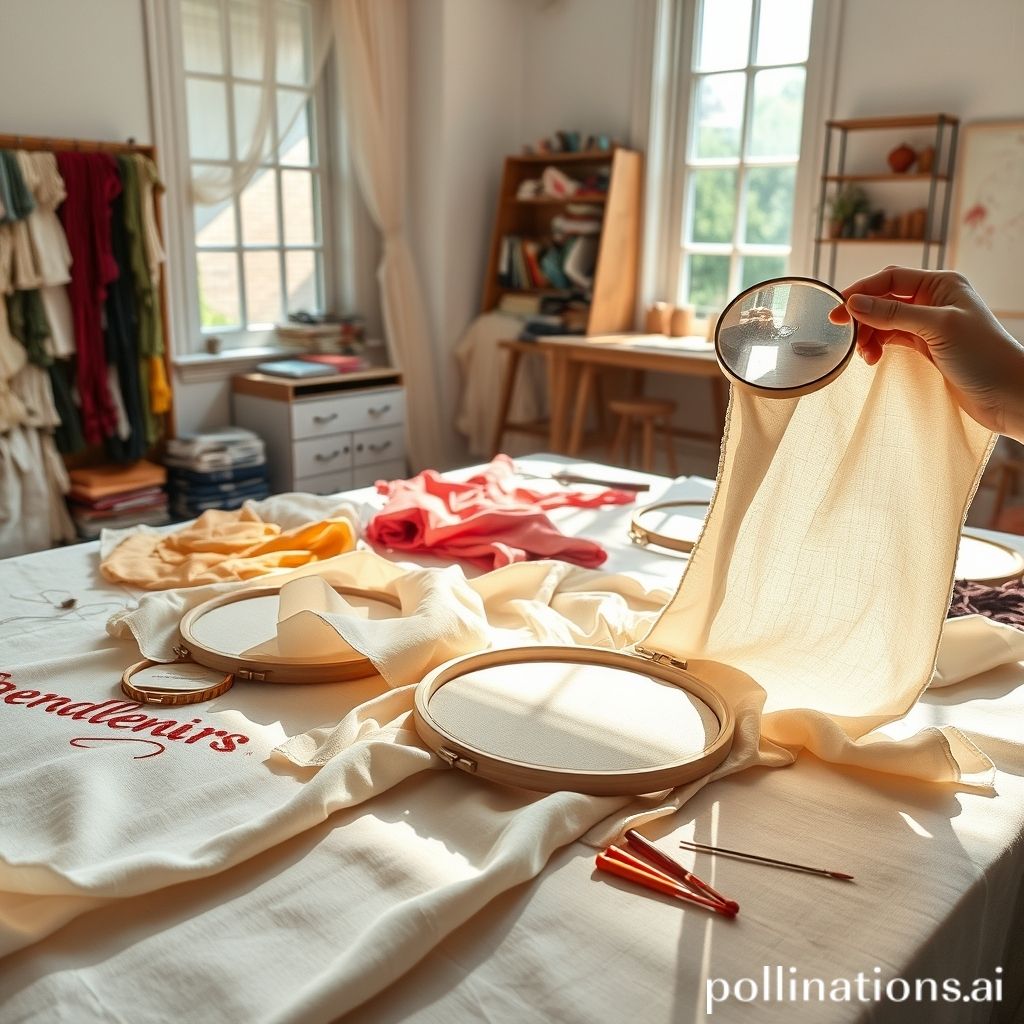
The foundation of any successful embroidery project lies in selecting the right fabric. The type of fabric you choose will significantly impact the ease of stitching, the overall look of your finished pillow cover, and its durability. Consider the weight, weave, and fiber content of the fabric before making your decision. Linen and cotton are popular choices for beginners due to their smooth, even weaves and ability to hold stitches well. Linen offers a beautiful, slightly rustic texture, while cotton provides a softer, more pliable surface. However, don’t limit yourself! Denim, canvas, and even velvet can create stunning and unique embroidered pillow covers.
When choosing your fabric, consider the complexity of your design. For intricate patterns, opt for a tightly woven fabric that will prevent the stitches from distorting or pulling. For simpler designs, a looser weave may be acceptable. “Fabric weight refers to how heavy the fabric is, and it’s measured in ounces per square yard (oz/yd²).” according to Sewport. This information is crucial as a heavier fabric will hold the embroidery better but might be harder to stitch through by hand. Light-weight fabrics are easier to stitch but might require a stabilizer to prevent puckering. Think about how often the pillow will be used. A delicate fabric like silk might not be the best choice for a pillow that will be subjected to daily wear and tear. Remember to pre-wash your fabric before you start embroidering to prevent shrinkage later on. This simple step can save you a lot of frustration in the long run.
Finally, consider the color of your fabric. A neutral color like white, cream, or gray will provide a blank canvas for your embroidery, allowing the colors of your thread to truly pop. However, don’t be afraid to experiment with bolder colors or patterned fabrics. Just be sure that the color of your fabric complements your design. A busy pattern might clash with an intricate embroidery design, while a solid color can provide a striking contrast. By carefully considering the properties and characteristics of different fabrics, you can ensure that your embroidered pillow cover is not only beautiful but also durable and long-lasting.
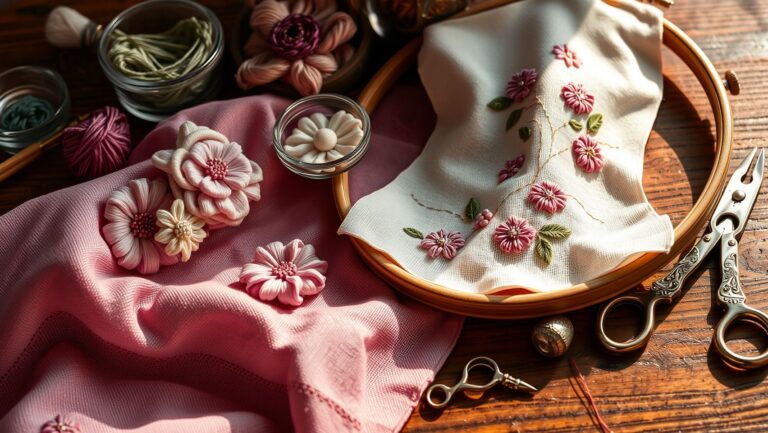
Essential Embroidery Tools and Supplies
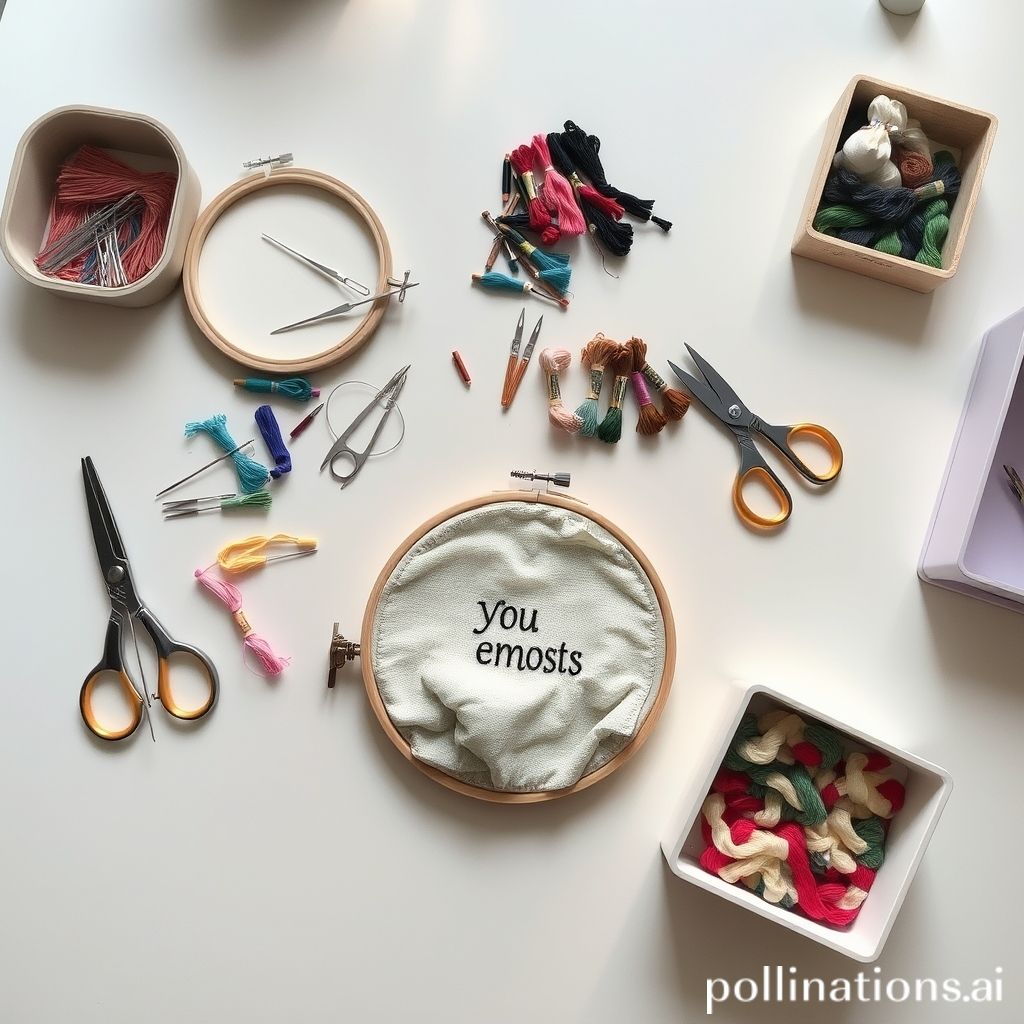
Embarking on your embroidery journey requires a few key tools and supplies. While the list might seem daunting at first, most of these items are relatively inexpensive and readily available at craft stores or online retailers. The most crucial tool is undoubtedly a good embroidery hoop. This circular frame holds the fabric taut while you stitch, preventing it from puckering or distorting. Embroidery hoops come in various sizes and materials, so choose one that feels comfortable in your hand and is appropriate for the size of your design. Wooden hoops are a classic choice, while plastic hoops are lightweight and easy to clean. You can find many different varieties depending on your need.
Next, you’ll need a selection of embroidery needles. These needles have a large eye, making it easy to thread them with embroidery floss. Different sizes of needles are available for different weights of fabric and types of thread. Start with a variety pack to experiment and find the sizes that work best for you. “Embroidery needles have a long eye to make threading easier and a sharp point to easily pierce the fabric,” says DMC, a leading manufacturer of embroidery supplies. “The size of the needle will depend on the type of fabric and thread you are using.” You’ll also need a pair of sharp embroidery scissors for trimming threads. Small, pointed scissors are ideal for getting close to the fabric without snagging it.
Of course, you can’t forget about embroidery floss! This thread is specifically designed for embroidery and comes in a wide range of colors and materials, including cotton, silk, and metallic. Cotton floss is the most common and versatile choice, while silk floss adds a luxurious sheen. Don’t be afraid to experiment with different types of floss to achieve different effects. A water-soluble pen or pencil is essential for transferring your design onto the fabric. These pens allow you to easily draw your design and then wash it away with water after you’ve finished stitching. Finally, consider investing in a needle minder, a small magnetic accessory that holds your needle when you’re not using it. This will prevent you from losing your needle or accidentally sticking yourself!
Mastering Basic Embroidery Stitches
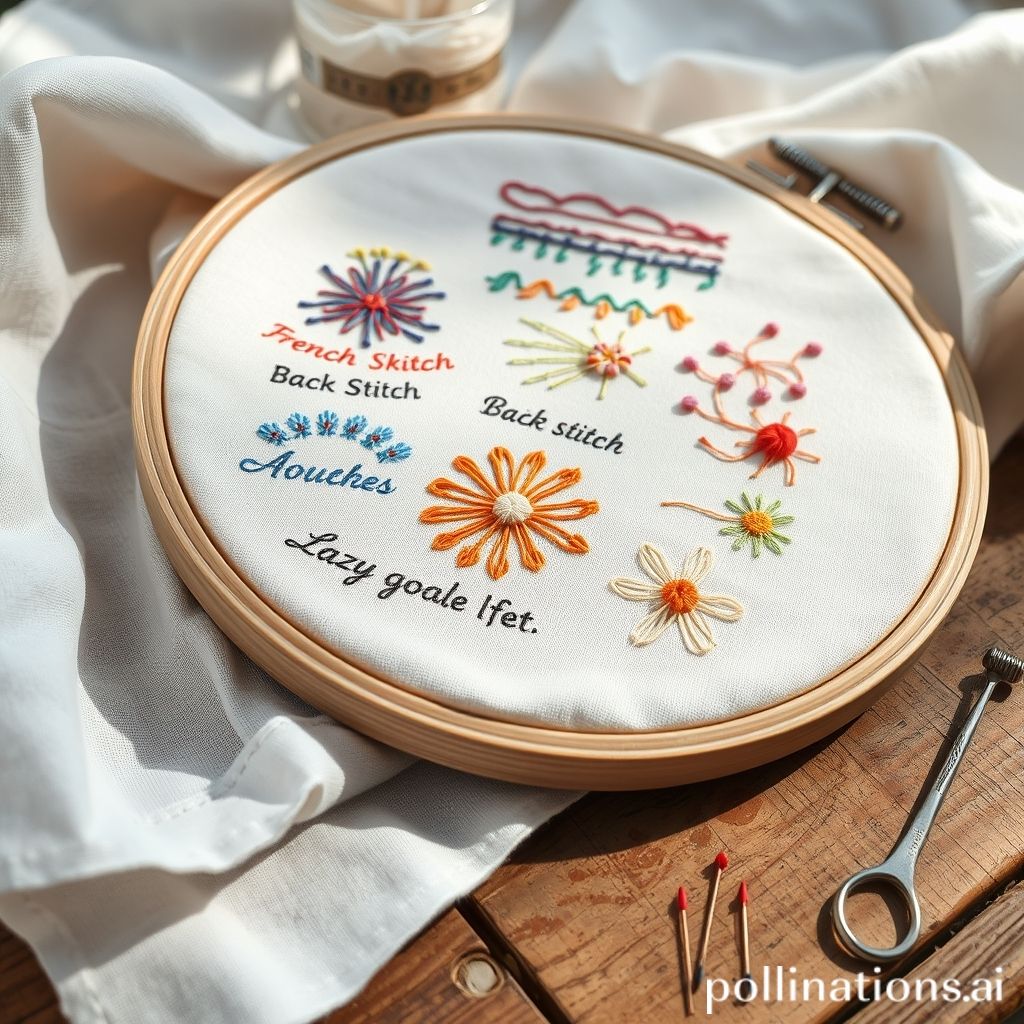
Embroidery might seem intimidating, but the beauty of it lies in the fact that you can create stunning designs with just a handful of basic stitches. Mastering these stitches will unlock a world of creative possibilities and allow you to bring your artistic visions to life. One of the most fundamental stitches is the running stitch, a simple straight stitch that is used for outlining shapes, creating details, and adding texture. Simply bring the needle up through the fabric, then down a short distance away, and repeat. The back stitch is another essential stitch that creates a solid line, making it perfect for outlining and lettering. Bring the needle up through the fabric, then down a short distance away. Then, bring the needle up again, slightly ahead of the previous stitch, and back down into the end of the previous stitch.
The satin stitch is a dense, smooth stitch that is used to fill in shapes and create solid areas of color. Bring the needle up through the fabric on one side of the shape, then down on the other side. Repeat this process, filling in the entire shape with closely spaced stitches. The French knot is a decorative stitch that creates a small, raised knot on the surface of the fabric. Bring the needle up through the fabric, wrap the floss around the needle once or twice, then insert the needle back into the fabric close to where it came out. Hold the floss taut as you pull the needle through to create a neat knot. “The French knot is a versatile stitch that can be used to add texture, detail, and dimension to your embroidery,” according to Sublime Stitching. It is a common decorative addition to many patterns.
The chain stitch creates a series of loops that resemble a chain. Bring the needle up through the fabric, then down into the same hole. Bring the needle up again, slightly ahead of the previous stitch, and loop the floss around the needle before pulling it through. Repeat this process to create a chain of loops. Practice these basic stitches on a piece of scrap fabric before you start working on your pillow cover. Experiment with different colors and thicknesses of floss to see how they affect the look of your stitches. With a little practice, you’ll be amazed at how quickly you can master these stitches and create beautiful embroidered designs.
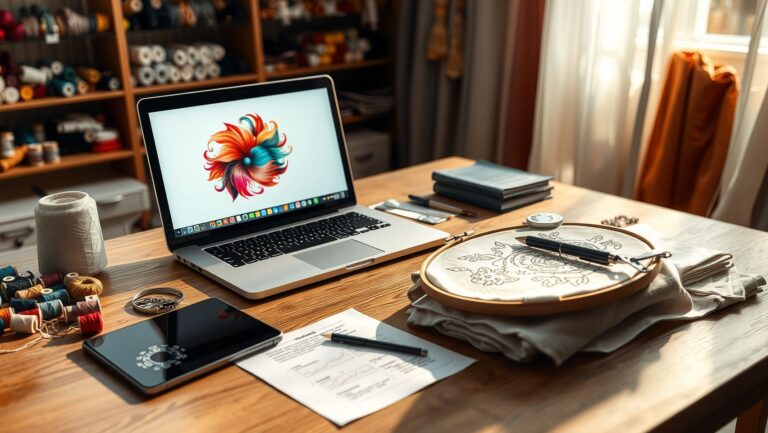
Design Inspiration: Finding Your Creative Spark

One of the most exciting aspects of DIY embroidery is the opportunity to unleash your creativity and design your own unique patterns. But where do you find inspiration? The world is full of creative sparks, from nature and art to fashion and architecture. Start by observing your surroundings. Take a walk in the park and notice the shapes of the leaves, the colors of the flowers, and the patterns of the bark on the trees. These natural elements can be translated into beautiful embroidery designs.
Look to art for inspiration. Study the works of famous artists and explore different styles, from impressionism to abstract expressionism. “Art is not what you see, but what you make others see,” said Edgar Degas. Consider how you can incorporate elements of these styles into your embroidery. Visit museums and galleries to see art in person and immerse yourself in the creative process. Browse online platforms like Pinterest and Instagram for embroidery patterns and ideas. These platforms are a treasure trove of inspiration, showcasing the work of talented embroiderers from around the world.
Don’t be afraid to experiment with different design elements, such as floral motifs, geometric patterns, abstract shapes, and lettering. Combine these elements in unexpected ways to create truly original designs. Think about the overall aesthetic you want to achieve. Do you want your pillow cover to be whimsical and playful, or sophisticated and elegant? Let your personal style guide your design choices. Consider the color palette you want to use. Choose colors that complement each other and create the desired mood. Experiment with different color combinations to see what works best for your design.
Transferring Your Design to Fabric
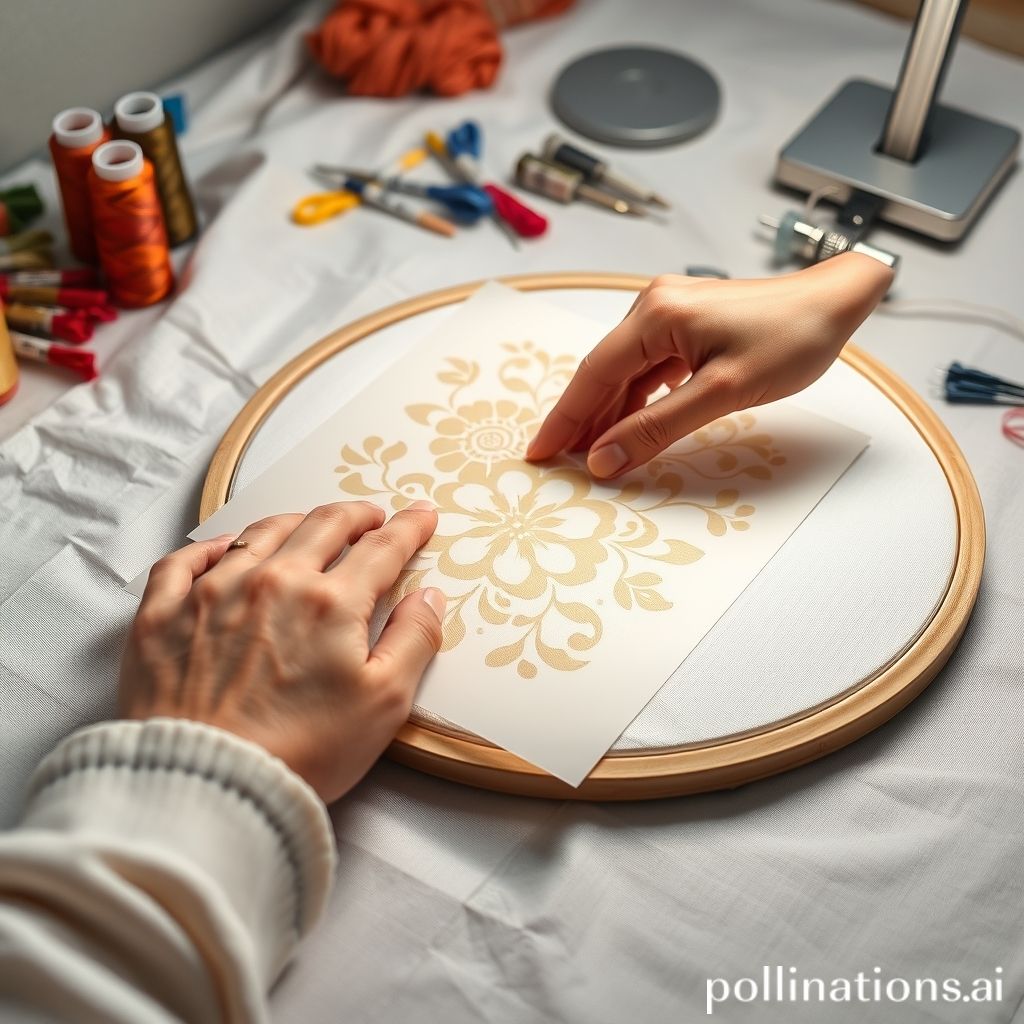
Once you’ve finalized your design, the next step is to transfer it onto your fabric. There are several methods you can use, depending on the complexity of your design and the type of fabric you’re working with. One of the simplest methods is to use a water-soluble pen or pencil. These pens are specifically designed for transferring embroidery patterns and can be easily washed away with water after you’ve finished stitching. Simply trace your design onto the fabric using the pen, making sure to apply light pressure to avoid damaging the fabric. You can purchase patterns and trace them onto fabric, or freehand designs.
Another popular method is to use a transfer paper. This paper is coated with a special pigment that transfers onto the fabric when ironed. Place the transfer paper onto your fabric, with the pigment side down. Then, place your design on top of the transfer paper and iron it onto the fabric using a low heat setting. Be sure to follow the instructions on the transfer paper carefully to avoid damaging your fabric. “Transfer paper is a great way to transfer intricate designs onto fabric quickly and easily,” according to Clover, a leading manufacturer of sewing and embroidery supplies. “Just be sure to use a low heat setting to avoid scorching the fabric.”
For dark fabrics, you can use a light box or a window to trace your design. Place your design on the light box or tape it to a window. Then, place your fabric on top of the design and trace it using a white or light-colored pencil. This method works best for simple designs with clear lines. Alternatively, you can print your design onto a water-soluble stabilizer. This stabilizer is a thin, transparent film that can be printed on using a regular inkjet printer. Simply print your design onto the stabilizer, then stick it onto your fabric and stitch through it. After you’ve finished stitching, wash away the stabilizer with water to reveal your embroidered design.
Assembling Your Embroidered Pillow Cover
After you’ve completed your embroidery, it’s time to assemble your pillow cover. This step involves cutting your fabric, sewing the seams, and inserting the pillow form. Start by measuring your pillow form to determine the size of your fabric pieces. Add an extra inch or two to each side to allow for seam allowances. Cut out two pieces of fabric, one for the front of the pillow cover and one for the back. Position the embroidered fabric square at the center of one of the rectangular pieces you’ve cut. The square can be secured by pinning it or tacking it down using long stitches in the seam allowance. To prepare your fabric, remember to press your fabric to remove any wrinkles or creases before cutting. This will ensure that your pillow cover has a clean, professional finish. Place the front and back pieces of fabric together, with the right sides facing each other. Pin the edges together to secure them.
Sew around the edges of the fabric, leaving a small opening on one side for inserting the pillow form. Use a sewing machine or hand-sew the seams, making sure to use a strong, durable stitch. Backstitch at the beginning and end of each seam to secure the stitches. “Seam allowances are essential for creating a durable and professional-looking pillow cover,” according to Singer, a leading manufacturer of sewing machines. “Be sure to use a consistent seam allowance and backstitch at the beginning and end of each seam.” Trim the corners of the fabric to reduce bulk and create sharper corners. Turn the pillow cover right side out and press the seams flat.
Insert the pillow form into the opening and fluff the pillow form out to fill each corner. Then, hand-sew the opening closed using a blind stitch. This stitch creates an invisible seam, making it look like the fabric is seamlessly joined together. Press the pillow cover one last time to remove any remaining wrinkles. Your DIY embroidered pillow cover is now complete! Display it proudly on your couch, bed, or favorite armchair, and enjoy the comfort and beauty of your handmade creation.
Care and Maintenance for Lasting Beauty
To ensure that your embroidered pillow cover remains beautiful and vibrant for years to come, it’s essential to follow proper care and maintenance guidelines. The first step is to check the care instructions for the fabric you used. Some fabrics may be machine washable, while others may require hand washing or dry cleaning. If your pillow cover is machine washable, turn it inside out before washing it to protect the embroidery. Use a gentle cycle and a mild detergent to avoid damaging the fabric or the embroidery floss. Avoid using bleach, as it can fade the colors of the floss.
If your pillow cover requires hand washing, fill a basin with cool water and add a small amount of mild detergent. Gently swirl the pillow cover in the water, avoiding any harsh scrubbing or twisting. Rinse the pillow cover thoroughly with cool water until all the detergent is gone. “Proper care and maintenance will help your embroidered pillow cover last for years to come,” according to Pellon, a leading manufacturer of interfacing and stabilizers. “Be sure to follow the care instructions for your fabric and embroidery floss.” To dry your pillow cover, gently squeeze out the excess water and lay it flat on a clean towel. Avoid putting it in the dryer, as the heat can damage the fabric and the embroidery floss. Allow the pillow cover to air dry completely before using it.
To prevent fading, keep your embroidered pillow cover out of direct sunlight. The sun’s rays can cause the colors of the floss to fade over time. If you need to iron your pillow cover, use a low heat setting and iron it on the reverse side, placing a pressing cloth between the iron and the embroidery. This will protect the embroidery from direct heat and prevent it from being flattened or distorted. With proper care and maintenance, your DIY embroidered pillow cover will continue to bring you joy and comfort for many years to come.
Conclusion: A Stitch in Time, A Treasure to Cherish
Creating your own DIY embroidered pillow covers is more than just a craft project; it’s an act of self-expression, a celebration of creativity, and a way to infuse your home with personal touches that reflect your unique style. Throughout this guide, we’ve explored the essential elements of embroidery, from selecting the right fabrics and tools to mastering basic stitches and finding design inspiration. We’ve walked you through the process of transferring your design to fabric, assembling your pillow cover, and caring for your finished creation. Each step, from the initial spark of inspiration to the final stitch, is an opportunity to connect with your inner artist and create something truly special.
The key takeaways from this journey are clear: Choose your materials carefully, practice your stitches with patience, and don’t be afraid to experiment with different designs and techniques. Remember that embroidery is a journey, not a destination. Embrace the process, learn from your mistakes, and most importantly, have fun! Your beautifully embroidered pillow covers become testaments to your dedication, skill, and personal style. As you proudly display your handmade creations, they will serve as a constant reminder of the joy of crafting and the power of creativity.
So, go ahead and pick up that needle and thread. Let your imagination run wild and transform ordinary fabric into extraordinary works of art. Embrace the slow, mindful process of embroidery and discover the therapeutic benefits of stitching. As you create your own DIY embroidered pillow covers, you’re not just decorating your home; you’re adding a touch of warmth, charm, and personality to your life. Because in the end, the most beautiful things are often those that are made with love and a little bit of stitch-by-stitch magic.

962Pcs Friendship Bracelet String Kits with Storage Box, 110 Colors Embroidery Thread and 800 Beads,52Pcs Cross Stitch Tools-Labeled with Numbers for Bobbins,Great Production Gift.
$22.99 (as of July 4, 2025 13:06 GMT -04:00 - More infoProduct prices and availability are accurate as of the date/time indicated and are subject to change. Any price and availability information displayed on [relevant Amazon Site(s), as applicable] at the time of purchase will apply to the purchase of this product.)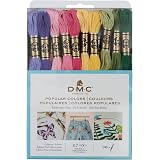
DMC 117F25-PC36 Embroidery Popular Colors Floss Pack, Colors may vary, 8.7-Yard, 36/Pack
$19.49 (as of July 4, 2025 13:06 GMT -04:00 - More infoProduct prices and availability are accurate as of the date/time indicated and are subject to change. Any price and availability information displayed on [relevant Amazon Site(s), as applicable] at the time of purchase will apply to the purchase of this product.)
Gutermann Sew-All Thread 1,094yd, Nu White
$9.28 (as of July 5, 2025 07:59 GMT -04:00 - More infoProduct prices and availability are accurate as of the date/time indicated and are subject to change. Any price and availability information displayed on [relevant Amazon Site(s), as applicable] at the time of purchase will apply to the purchase of this product.)
UMC STAG 12 Pieces | Premium Embroidery Thread | 100% Egyptian Cotton Premium Skeins | Cross Stitch Embroidery Floss | Oeko TEX Certified Stranded Cotton (Brown Tones)
$5.49 (as of July 4, 2025 13:06 GMT -04:00 - More infoProduct prices and availability are accurate as of the date/time indicated and are subject to change. Any price and availability information displayed on [relevant Amazon Site(s), as applicable] at the time of purchase will apply to the purchase of this product.)
Embroidery Thread Floss 140 Colors Friendship Bracelet String Making Bracelets Cross Stitch Kit Supplies Thin Yarn Sewing Patterns Cotton Strings Crochet Braces Wrap Colored Rainbow Crafts
$8.46 (as of July 5, 2025 07:59 GMT -04:00 - More infoProduct prices and availability are accurate as of the date/time indicated and are subject to change. Any price and availability information displayed on [relevant Amazon Site(s), as applicable] at the time of purchase will apply to the purchase of this product.)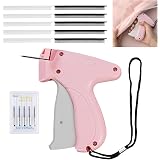
Generic Stitchy Gun for Clothing, Quick Stitch Sewing Gun, Mini Stitch Gun for Clothes, Hemming Gun with 6 Needles, 500 White and 500 Black Micro Fasteners (Pink)
(as of July 4, 2025 13:06 GMT -04:00 - More infoProduct prices and availability are accurate as of the date/time indicated and are subject to change. Any price and availability information displayed on [relevant Amazon Site(s), as applicable] at the time of purchase will apply to the purchase of this product.)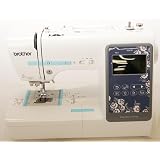
Brother SE630 Sewing and Embroidery Machine with Sew Smart LCD, Recertified
(as of July 4, 2025 13:06 GMT -04:00 - More infoProduct prices and availability are accurate as of the date/time indicated and are subject to change. Any price and availability information displayed on [relevant Amazon Site(s), as applicable] at the time of purchase will apply to the purchase of this product.)
Key Cutting Machine - Double Head Manual Duplicator for Accurate Key Copying, Professional Quality Multifunctional Horizontal Cutter for Key Duplication
$275.99 (as of July 4, 2025 13:06 GMT -04:00 - More infoProduct prices and availability are accurate as of the date/time indicated and are subject to change. Any price and availability information displayed on [relevant Amazon Site(s), as applicable] at the time of purchase will apply to the purchase of this product.)
JUNING Sewing Kit with Case Portable Sewing Supplies for Home Traveler, Adults, Beginner, Emergency, Contains Thread, Scissors, Needles,Measuring Tape
$5.69 (as of July 5, 2025 11:04 GMT -04:00 - More infoProduct prices and availability are accurate as of the date/time indicated and are subject to change. Any price and availability information displayed on [relevant Amazon Site(s), as applicable] at the time of purchase will apply to the purchase of this product.)