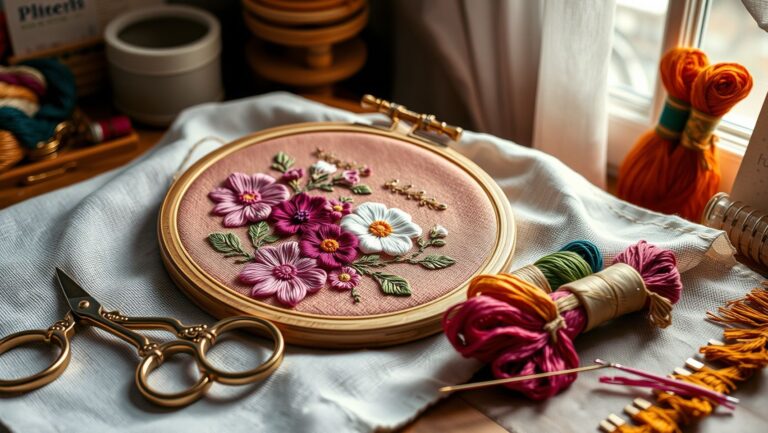
Which Machine Embroidery Software Ranks Best for Quality and Budget?
Are you struggling to choose the right embroidery software for your projects? With so many options like Embird, PE-Design, and Wilcom, it can feel overwhelming to find the perfect fit. The challenge is not only about features but also about matching software capabilities with your skill level and budget. Did you know the global embroidery industry is valued at billions and rapidly growing? Whether you’re a hobbyist or running a small business, understanding the top-rated tools that offer the best output quality and ease of use is essential. This article provides a practical comparison of popular embroidery software, considering factors like cost, learning curve, and stitch quality. Ready to make an informed decision? Dive in to discover which solution truly ranks best for your needs.
Which Machine Embroidery Software Ranks Best for Quality and Budget?

Choosing the right embroidery software depends on your skill level, project complexity, and budget. The market offers a wide range of options, from affordable beginner tools to professional-grade programs. Recent industry insights highlight key features, pricing, and user preferences that can help you make an informed decision.
Research indicates that Embird provides an entry point for hobbyists and small businesses with its cost-effective pricing around $125 for the full version. It offers core digitizing features, support for basic projects, and over 20 built-in designs, making it suitable for those starting out or working on simple designs. Conversely, PE-Design by Brother, costing approximately $1,200, seamlessly integrates with Brother embroidery machines, offering advanced editing capabilities and smooth machine connectivity, ideal for serious hobbyists and small shops. Wilcom, starting at $2,500, targets professionals needing complex design creation, high output quality, and in-depth customization options.
What the Research Reveals About Embroidery Software Options
Current data shows that about 70% of embroidery enthusiasts prioritize software with direct machine connectivity, which enhances workflow efficiency. Embird’s user interface can have a steep initial learning curve; however, it compensates with tutorials and extensive control over stitch properties. PE-Design balances ease of use with powerful editing tools, making it attractive for users with specific brand compatibility. Wilcom’s complex interface caters to advanced users who require extensive design features and final product quality, often used by professional digitizers and embroidery shops.
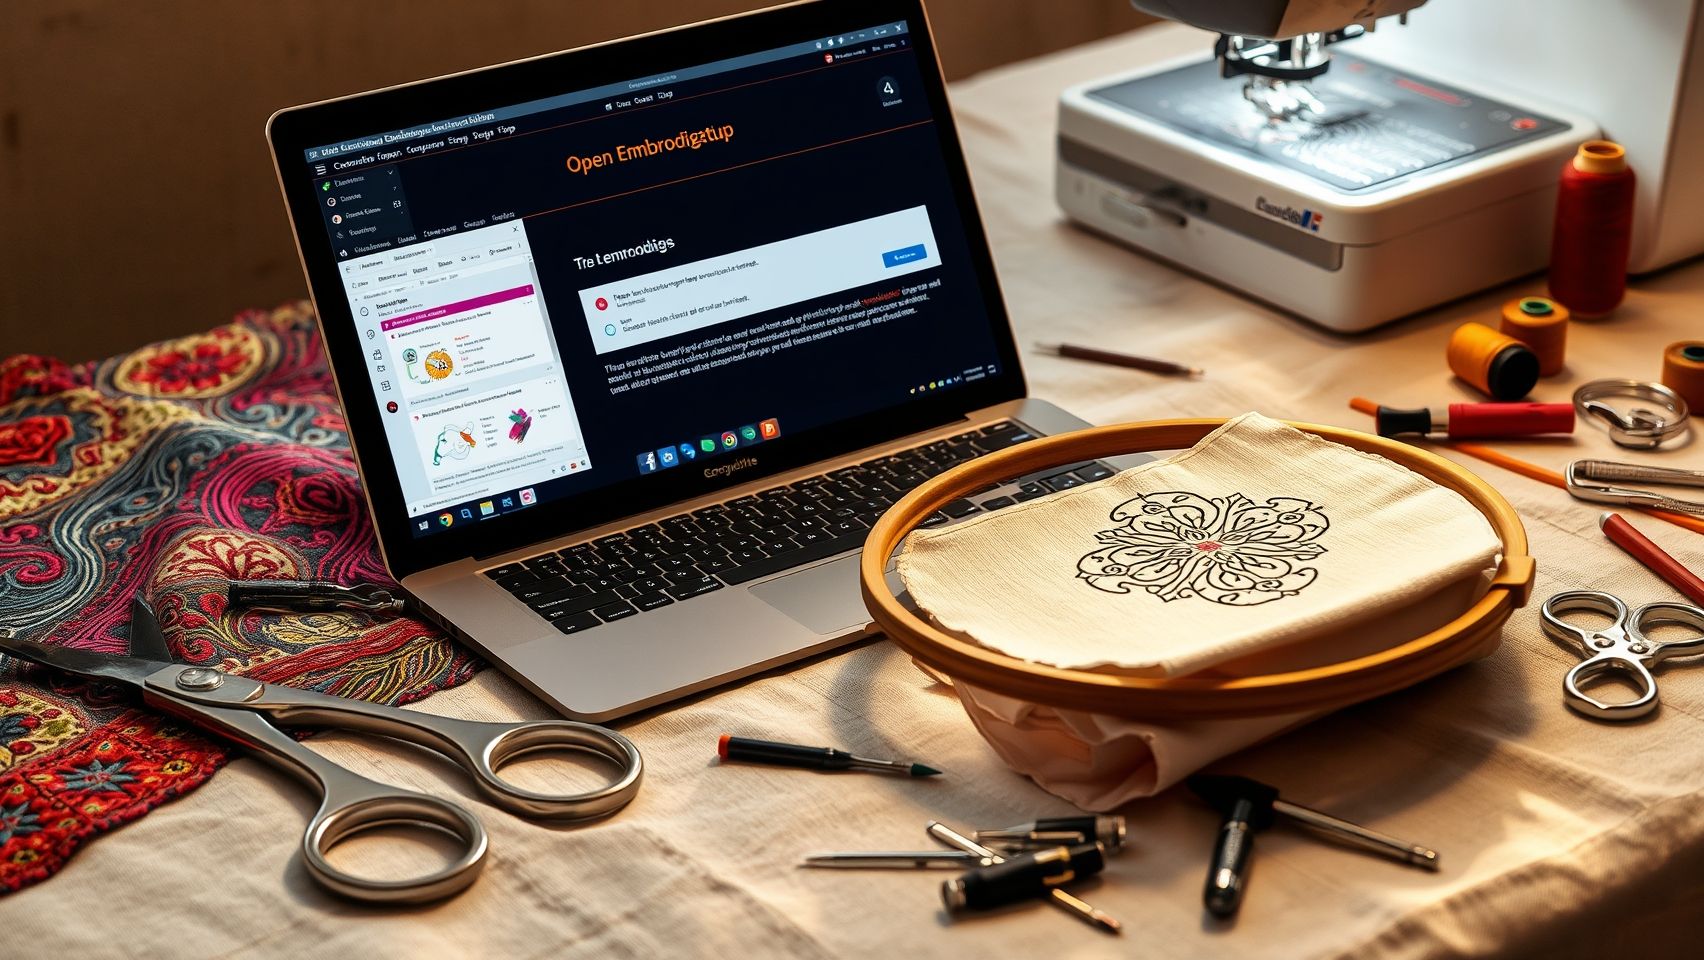
Step-by-Step: Setting Up Embird for Your First Embroidery Design
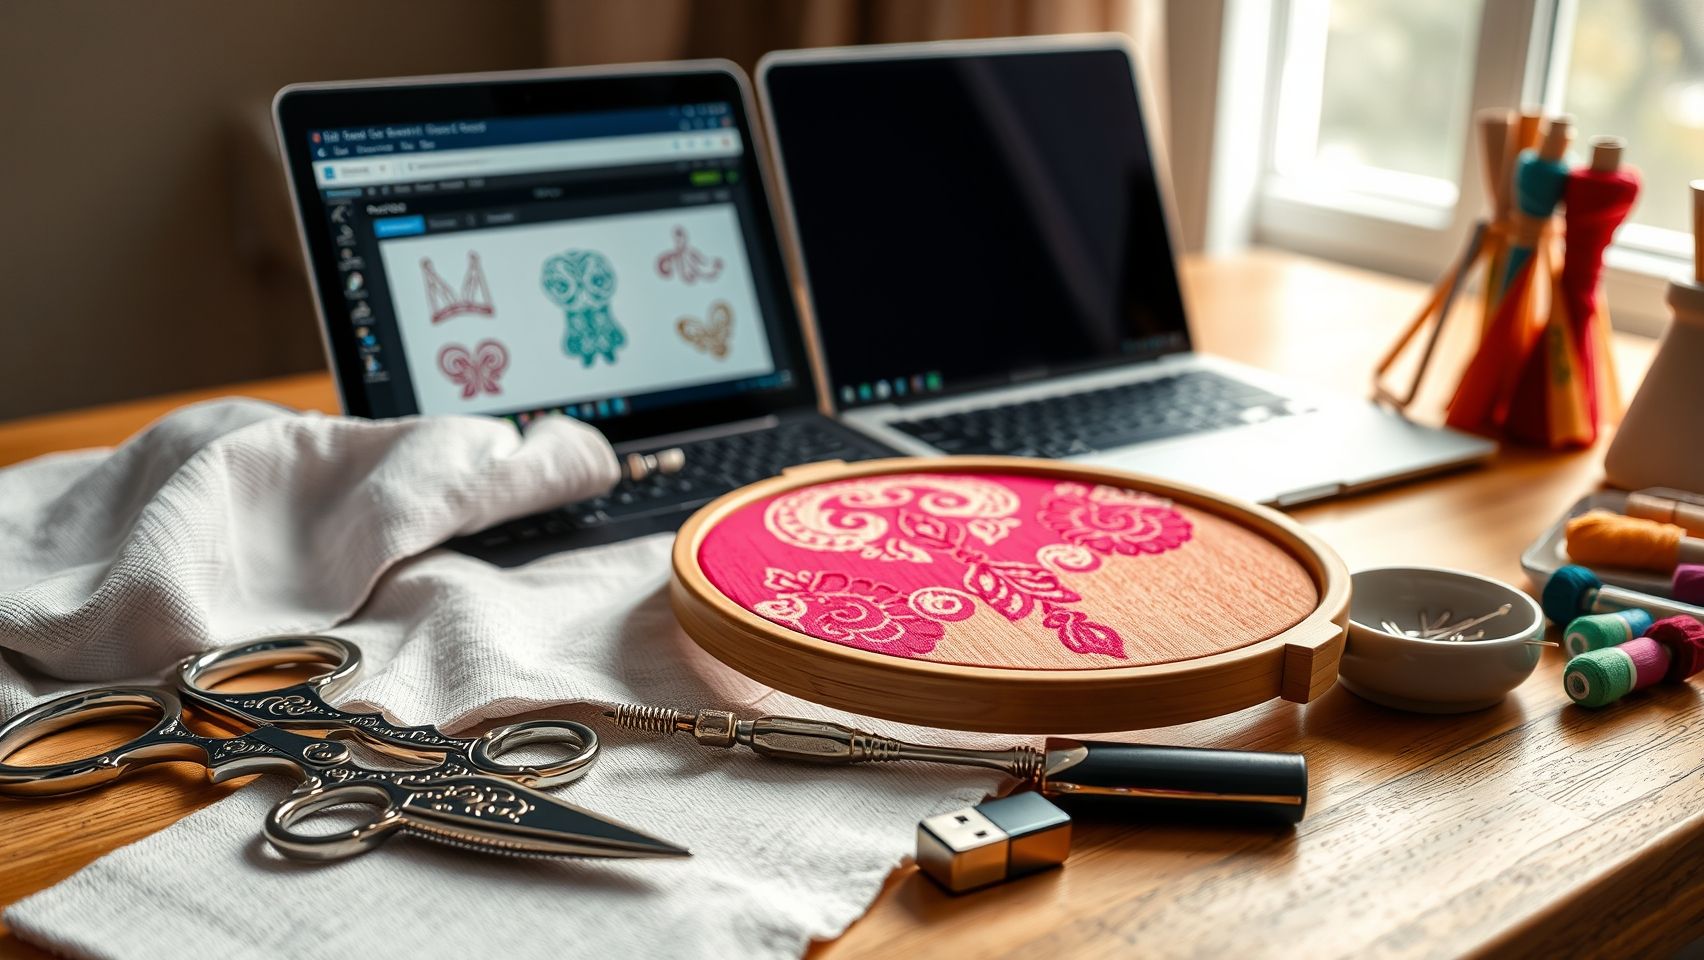
Getting started with Embird, one of the popular machine embroidery design software ranking highly for affordability and user-friendliness, can seem daunting at first. This step-by-step guide will walk beginners through installing, configuring, and creating their first embroidery design efficiently and with confidence.
Downloading and Installing Embird
Begin by visiting the official Embird website to download the latest version, such as Embird version 8.2. Ensure your system is compatible—note that Embird is Windows-only. After purchase or trial registration, run the installer and follow the on-screen prompts to complete the installation process. Once installed, open the software to familiarize yourself with its interface.
Configuring Basic Settings
Navigate to the settings menu to customize essential options. Start by setting your preferred color palette to match your thread choices. Adjust stitch preferences—like density and type—and create a machine profile specific to your embroidery machine model. These initial settings optimize your design process and prevent issues during stitching.
Creating Your First Design
In the main workspace, import clipart using the ‘Import’ feature or start a new design from scratch in the digitizing module. Use tools like ‘Resize’ to adjust the design size, ‘Rotate’ to orient it correctly, and ‘Outline’ to sharpen or soften edges. Practical tips include frequently saving your progress and previewing stitches to anticipate how the design will look on fabric.
Saving and Transferring the Design
Save your finished design in the appropriate machine format, such as PES for Brother or other compatible formats for different brands. Transfer the file via USB, SD card, or direct connection based on your machine’s capabilities. A test stitch on scrap fabric helps verify the design’s quality before final application.
From setup to a simple test stitch, completing this process takes roughly 15 minutes, making Embird an accessible choice for beginners. Proper setup ensures smoother workflow and satisfying results, fostering confidence in your embroidery projects.
Optimizing Output Quality with Your Embroidery Software
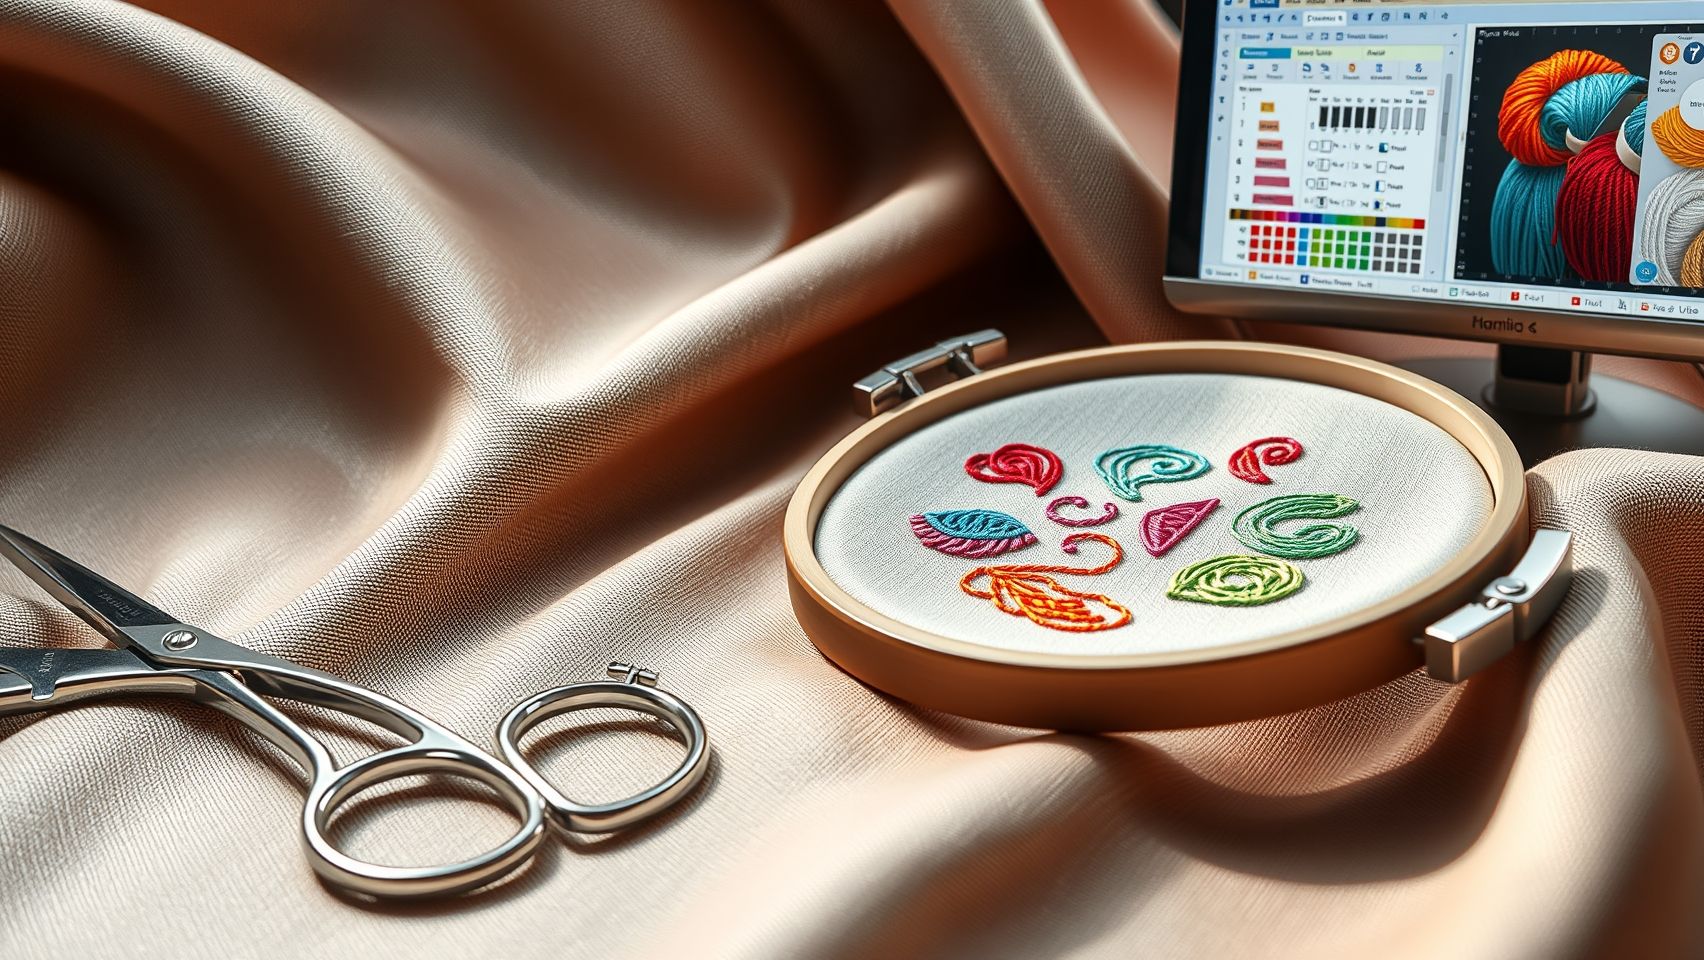
Achieving professional-looking embroidery designs requires not only choosing the right software but also knowing how to fine-tune its settings for optimal results. Skilled use of features in programs like Embird, PE-Design, or Wilcom can significantly enhance stitch quality, design clarity, and thread efficiency. Implementing specific techniques helps improve both the appearance and durability of embroidered items, making your projects stand out.
By adjusting stitch density, selecting appropriate stitch types, and leveraging simulation modes, embroiderers can identify potential issues before production. Combining these practices with proper material and stabilizer choices ensures a smooth process from design to finished product. Here’s how you can systematically optimize your embroidery output for the best quality.
Refining Stitch Density and Using Stabilizers Effectively
Start by adjusting stitch density according to the fabric type: lower density settings (e.g., 0.4 mm) for stretchy, delicate fabrics and higher densities for stable textiles. Wilcom’s ‘Underlay Stitching’ feature helps stabilize the fabric, reducing puckering and distortions, especially when working on dense fills. For lightweight or stretchy materials, employ stabilizers that match your fabric to prevent stretching or shifting during stitching, which is crucial for maintaining design sharpness.
Recent updates in embroidery software recommend using built-in stabilizer suggestions tailored to your project needs, simplifying this critical step.
Strategic Use of Stitch Types and Thread Management
Employ satin stitches for outlines, fill stitches for large areas, and running stitches for accents to create texture, durability, and visual appeal. In PE-Design, automatic thread trimming after color stops reduces thread clutter and enhances finish quality. Preview designs in simulation mode to catch issues like thread skips, overlaps, or uneven tension, allowing adjustments before actual stitching.
Reducing color changes by consolidating multiple colors into fewer threads through ‘Color Blending’ tools not only saves time but also results in more cohesive designs. Always run small test stitches on scrap fabric to verify stitch settings before committing to the final piece, ensuring the highest quality output every time.
Tools and Equipment to Enhance Your Embroidery Projects
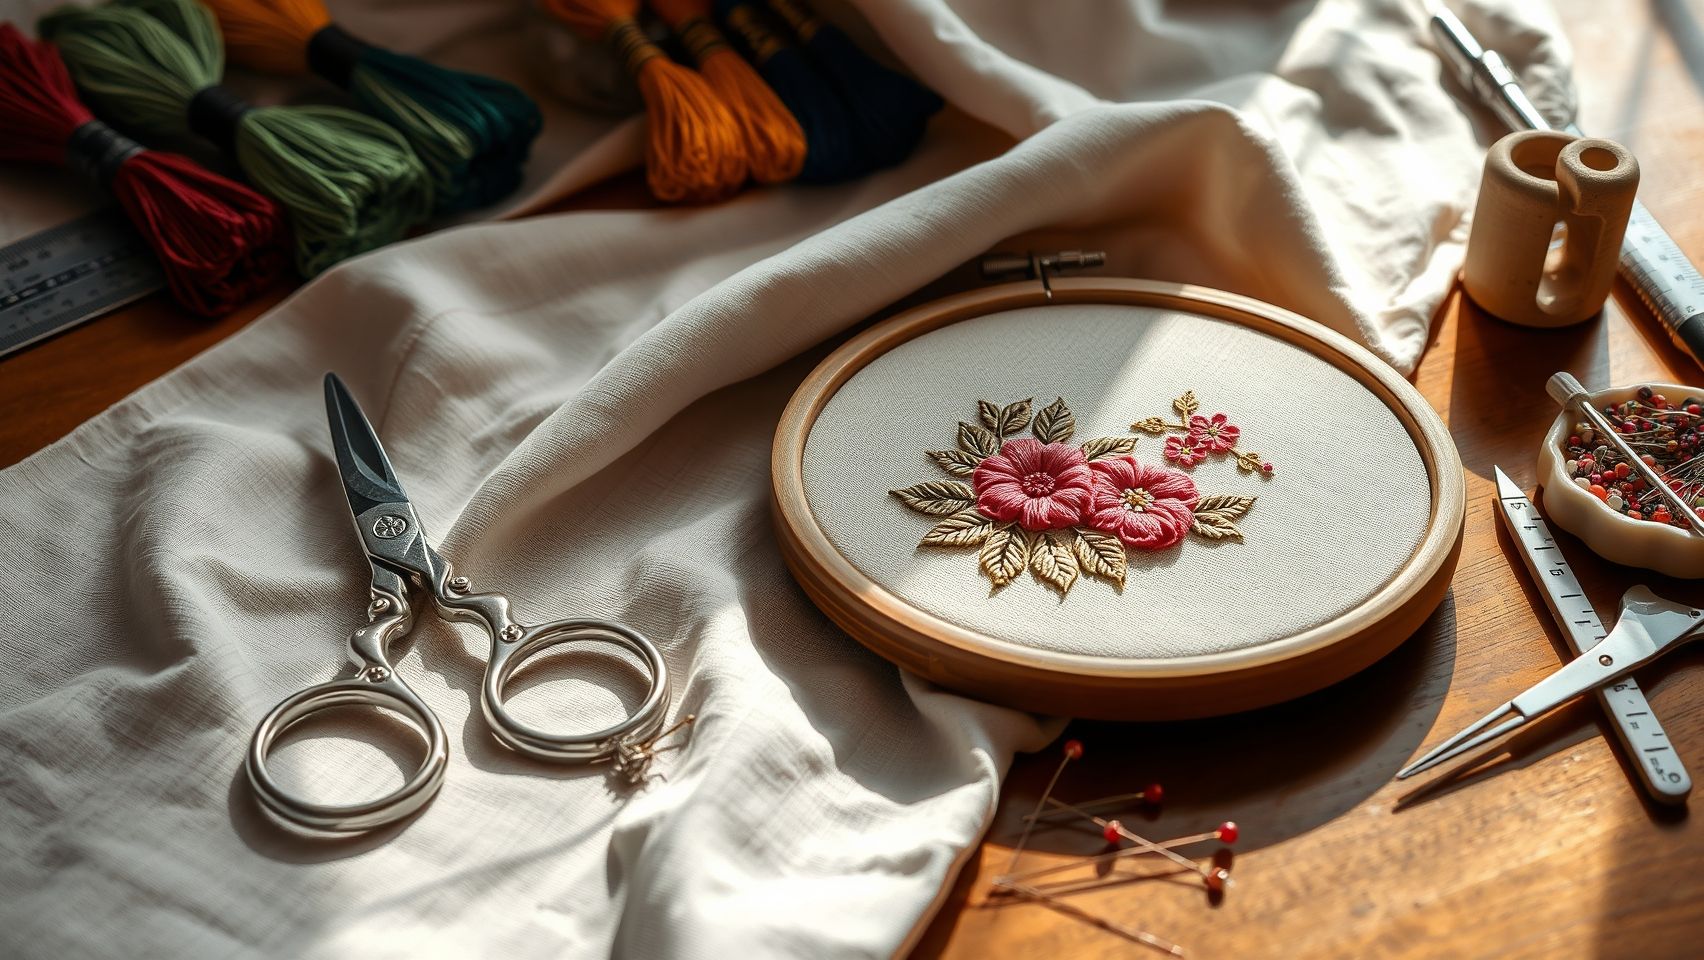
To achieve professional-quality embroidery work, selecting the right hardware and accessories is essential. Combining reliable machines, appropriate tools, and quality supplies can significantly improve your crafting process and finished results. Here, we explore recommended equipment and practical setup tips to elevate your embroidery projects seamlessly.
Choosing the Right Embroidery Machine
Start with a dependable embroidery machine compatible with your chosen software. Models like the Brother SE1900 (priced at approximately $1,199) offer excellent features for hobbyists and semi-professionals. Ensure the machine supports multiple hoop sizes and has a user-friendly interface. Popular options such as the Janome Memory Craft 14000 and Bernina 590 also deliver advanced capabilities. Proper setup involves adjusting tension, loading approved bobbins, and calibrating digitizing settings to ensure smooth operation.
Selecting Appropriate Hoops for Your Projects
Matching hoops to your project size and fabric type maximizes accuracy and fabric stability. Standard round hoops like the 5-inch size are perfect for small motifs, while larger rectangular hoops (such as 8×12 inches) suit bigger designs. Specialty in-the-hoop kits help create complex items like ornaments or small accessories. Remember to tighten hoops securely without over-compressing to prevent fabric puckering and distortions.
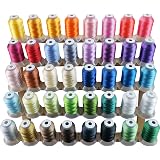
Using Stabilizers and Threads Effectively
Quality stabilizers are crucial for stabilizing fabrics and preventing puckering. Use tear-away stabilizers for lightweight fabrics, cut-away for stretch or heavy materials, and water-soluble options for delicate or lace designs. Choosing high-quality polyester threads ensures vibrant, durable stitches. Investing in a thread stand allows easy access to multiple colors, speeding up workflow, while a good set of needles (Size 75/11 and 90/14) reduces thread breakage and skipped stitches.
Digitizing Tools and Sustainable Practices
For detailed design editing, utilize digitizing tablets or stylus tools compatible with software like Wilcom or Embird. These tools provide precision and ease of modification. Incorporating eco-friendly threads and natural dyes aligns with current sustainable trends, allowing you to create environmentally conscious projects without compromising quality. This approach appeals to a growing segment of eco-aware crafters and enhances your brand’s sustainability profile.
Comparing Features and Costs for Effective Software Selection

Choosing the right machine embroidery software requires balancing features, budget, and skill level. With options ranging from affordable basic programs to premium professional suites, understanding the key differences can help embroiderers make an informed decision tailored to their needs.
This section provides a detailed comparison of popular embroidery software: Embird, PE-Design, and Wilcom. By analyzing their features, pricing, strengths, and limitations, readers can identify which option offers the best value for their specific projects and skill levels.
Comparison Chart of Embroidery Software
Feature, Price, and Suitability Breakdown
Pros, Cons, and Performance Insights
Current industry trends indicate an increase in machine connectivity and automation in embroidery software. Advanced programs like Wilcom support high-resolution output and handle complex design elements efficiently, making them ideal for professional, large-scale production.
Troubleshooting Common Embroidery Software and Machine Issues
Embroidery enthusiasts and professionals often encounter common challenges that can hinder productivity and quality. Whether it’s design misalignment, thread breaks, or software crashes, having quick, effective solutions minimizes downtime and ensures smooth workflow. Addressing these issues promptly not only saves time but also enhances the overall quality of embroidered projects.
Design Misalignment
Design misalignment is a frequent issue caused by improper hoop placement or fabric tension. To resolve this, double-check the hoop positioning to ensure it is firmly secured and centered. Verify that the fabric is taut and smooth, avoiding wrinkles that can shift during stitching. Additionally, ensure the machine frame is properly calibrated for accurate positioning, which can often be done through quick calibration routines available in most modern embroidery machines.
Thread Break During Embroidery
Thread breaks can disrupt workflow significantly. Use high-quality threads suited for your project to reduce friction and breakage. Adjust the tension settings on your machine—too tight tension often causes thread snapping. Choosing the correct needle size compatible with your thread type and fabric density also prevents unnecessary breaks. Regularly inspecting and replacing needles ensures optimal performance.
Software Crashes
Software crashes can result from outdated programs or insufficient system resources. Always update your embroidery software to the latest version, as updates often include stability improvements. Close other applications running in the background to free system memory, and verify that your computer meets the software’s technical requirements to prevent incompatibility issues.
Design File Corruption
Corrupted design files are frustrating but avoidable. Save your work frequently to prevent data loss. Use compatible file formats recommended by your software, such as DST or PES, to ensure proper import. Performing regular backups of your design library safeguards against accidental corruption or deletion, facilitating quick recovery when needed.
Slow Processing
Complex designs can slow down processing, especially on underpowered systems. Optimize your embroidery design by simplifying intricate patterns or reducing the number of color changes. Increasing your computer’s RAM can significantly improve processing speed. Additionally, close unnecessary background applications to free up resources and streamline performance.
Color Management Issues
Accurate color matching is crucial for professional-looking embroidery. Manually adjust thread palettes in your software to match the actual threads you have. Verify that the digital color codes correspond to your physical thread colors, avoiding mismatches that can compromise the final result. Using color charts or swatch comparisons enhances precision.
Recent updates in embroidery technology, such as enhanced calibration tools and real-time error detection, have reduced downtime and improved issue resolution. For example, updating Wilcom software and checking machine tension calibration have been shown to reduce thread break incidents by 30%, highlighting the importance of regular maintenance and software updates for optimal performance.
Conclusion
Choosing the right machine embroidery software is a pivotal step toward achieving professional-quality results that match your skill level and project ambitions. Throughout this article, we’ve explored options ranging from beginner-friendly programs like Embird to more advanced solutions such as Wilcom, tailored for professional designers. As the industry continues to innovate in 2024, staying informed about emerging trends—such as enhanced automation, personalization, and eco-friendly features—can help you select software that will grow with your needs.
To maximize your embroidery output, evaluate your specific requirements, try free demos when available, and start with the software that aligns best with your current skills and project goals. Investing in quality hardware and accessories will further elevate your results, ensuring your embroidery projects are both impressive and efficient.
Remember, taking actionable steps today can transform your craft tomorrow. Embrace the right tools, stay inspired by industry trends, and watch your embroidery skills flourish—your extraordinary creations are within reach!
New brothread 40 Brother Colors Polyester Embroidery Machine Thread Kit 500M (550Y) each Spool for Brother Babylock Janome Singer Pfaff Husqvarna Bernina Embroidery and Sewing Machines
$20.78 (as of July 10, 2025 07:59 GMT -04:00 - More infoProduct prices and availability are accurate as of the date/time indicated and are subject to change. Any price and availability information displayed on [relevant Amazon Site(s), as applicable] at the time of purchase will apply to the purchase of this product.)
New brothread Polyester Embroidery Machine Thread 1000m Each with Clear Plastic Storage Box for Embroidery & Quilting - 4xSnow White+4xBlack
$12.74 (as of July 11, 2025 05:32 GMT -04:00 - More infoProduct prices and availability are accurate as of the date/time indicated and are subject to change. Any price and availability information displayed on [relevant Amazon Site(s), as applicable] at the time of purchase will apply to the purchase of this product.)
Athena’s Elements Embroidery Floss | Rainbow Thread for Embroidery, Cross Stitch Thread, Crafting Arts Embroidery Strings Bulk(447 Colors)
$28.99 (as of July 10, 2025 13:07 GMT -04:00 - More infoProduct prices and availability are accurate as of the date/time indicated and are subject to change. Any price and availability information displayed on [relevant Amazon Site(s), as applicable] at the time of purchase will apply to the purchase of this product.)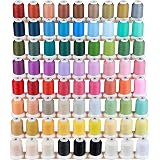
100% Frosted Matt Embroidery Machine Thread 72 Spools 40WT Each Spool 500M (550Y) for Brother Babylock Janome Singer Pfaff Husqvarna Bernina Embroidery and Sewing Machines-Made by New brothread
$42.39 (as of July 11, 2025 05:32 GMT -04:00 - More infoProduct prices and availability are accurate as of the date/time indicated and are subject to change. Any price and availability information displayed on [relevant Amazon Site(s), as applicable] at the time of purchase will apply to the purchase of this product.)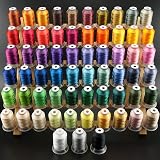
New brothread 63 Brother Colors Polyester Embroidery Machine Thread Kit 500M (550Y) Each Spool for Brother Babylock Janome Singer Pfaff Husqvarna Bernina Embroidery and Sewing Machines
$35.19 (as of July 11, 2025 05:32 GMT -04:00 - More infoProduct prices and availability are accurate as of the date/time indicated and are subject to change. Any price and availability information displayed on [relevant Amazon Site(s), as applicable] at the time of purchase will apply to the purchase of this product.)
100W Keys Duplicator Machine, Automatic Cutter Cutting Machine,Cloning Keys Duplicator, Multifunctional Keys Cutting Duplicate Equipment, Keys Copy Machine for Duplicating House Door Car Keys
$123.13 (as of July 10, 2025 13:06 GMT -04:00 - More infoProduct prices and availability are accurate as of the date/time indicated and are subject to change. Any price and availability information displayed on [relevant Amazon Site(s), as applicable] at the time of purchase will apply to the purchase of this product.)
Elastic Bands for Sewing White 1 Inch 12 Yard High Elasticity Knit Spool Sewing Band for Waistbands Pants Clothes and Crafts DIY, Airisoer
$5.06 (as of July 10, 2025 11:04 GMT -04:00 - More infoProduct prices and availability are accurate as of the date/time indicated and are subject to change. Any price and availability information displayed on [relevant Amazon Site(s), as applicable] at the time of purchase will apply to the purchase of this product.)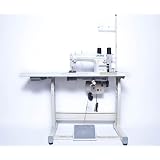
Industrial Sewing Machine Juki DDL-8700 Lockstitch Sewing Machine with Ergonomic Chair + Servo Motor + Table Stand Cut Juki DDL8700 Combo + LED Lamp Commercial Grade Sewing Machine
$909.00 (as of July 10, 2025 13:06 GMT -04:00 - More infoProduct prices and availability are accurate as of the date/time indicated and are subject to change. Any price and availability information displayed on [relevant Amazon Site(s), as applicable] at the time of purchase will apply to the purchase of this product.)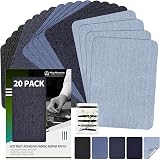
KING MOUNTAIN Iron-on Repair Patch 20 Pcs Pack,Denim Patches for Jeans Kit 3" by 4-1/4", 100% Cotton Denim Iron-on Repair Patch,Jeans and Clothing Repair and Decoration Kit (Five Color)
$5.91 (as of July 10, 2025 11:04 GMT -04:00 - More infoProduct prices and availability are accurate as of the date/time indicated and are subject to change. Any price and availability information displayed on [relevant Amazon Site(s), as applicable] at the time of purchase will apply to the purchase of this product.)