Needle Painting Realistic Embroidery Art With Thread
Imagine creating breathtakingly realistic images, not with paints or pencils, but with the delicate strokes of a needle and the vibrant hues of thread. This is the magic of needle painting, a form of embroidery that blurs the lines between traditional stitching and fine art. Needle painting, also known as thread painting or silk shading, offers a unique way to capture intricate details, subtle gradients, and lifelike textures, transforming ordinary fabric into stunning works of art. Unlike counted thread embroidery, needle painting allows for a free-flowing, painterly approach, where the artist meticulously blends colors and shades to achieve a depth and realism that is truly captivating.
The beauty of needle painting lies not only in its visual appeal but also in its meditative and therapeutic qualities. The rhythmic motion of the needle, the careful selection of colors, and the gradual building of the image can be incredibly calming and absorbing. In this blog post, we will delve into the fascinating world of needle painting, exploring its techniques, materials, and tips for creating your own realistic masterpieces. We’ll uncover the secrets to achieving seamless color blending, mastering essential stitches, and capturing the essence of your chosen subject. So, grab your needle, thread, and fabric, and let’s embark on this exciting artistic journey!
Understanding the Fundamentals of Needle Painting
At its core, needle painting is about recreating the effect of paint on canvas, but instead of pigments, we use thread. This means understanding color theory, light and shadow, and how different stitches can mimic the textures and brushstrokes found in traditional painting. Unlike cross-stitch, where the focus is on creating uniform patterns, needle painting emphasizes blending and shading to create a smooth, almost seamless transition between colors. The key is to think like a painter, visualizing the image in terms of tonal values and then translating those values into thread.
One of the fundamental techniques in needle painting is long and short stitch shading. This involves using varying lengths of stitches to create a soft, feathered edge between colors. By overlapping stitches and carefully choosing the direction of your thread, you can create the illusion of depth and dimension. As embroidery artist Trish Burr explains, “Long and short stitch shading is probably the single most important stitch used in needle painting as it enables you to blend colours together, and it is this blending which creates realistic shading.” Mastering this stitch is crucial for achieving the smooth transitions and subtle gradations that are characteristic of needle painted images.
Another essential element is understanding the role of light and shadow. Just like in painting, light and shadow create form and volume in your needle painted image. By carefully observing the light source and identifying the areas of highlight and shadow, you can use your thread to sculpt the image and bring it to life. Experimenting with different thread weights and textures can also add depth and interest to your work. Remember to step back from your work periodically to assess the overall balance of light and shadow and make any necessary adjustments. Achieving realistic images with thread relies on these foundational techniques.
Choosing the Right Materials for Your Project
The success of your needle painting project hinges on selecting the right materials. Just as a painter needs quality brushes and paints, a needle painter needs high-quality threads, fabrics, and needles. The choice of thread is particularly important, as it will directly impact the color, texture, and overall appearance of your finished piece. Cotton floss is a popular choice for beginners, as it is readily available, affordable, and comes in a wide range of colors. However, silk threads offer a beautiful sheen and subtle variations in color that can enhance the realism of your image. Wool threads can provide a more textured, rustic look, while metallic threads can add a touch of glamour and sparkle.
The fabric you choose should be tightly woven and smooth, allowing the needle to pass through easily without snagging or distorting the thread. Linen, cotton, and silk fabrics are all excellent choices for needle painting. The color of the fabric can also impact the overall look of your image, so consider choosing a neutral color that will complement your thread palette. A well-stretched fabric is also essential for preventing puckering and ensuring even stitching. A hoop or frame can be used to keep the fabric taut and prevent it from shifting while you work.
Finally, the needle itself should be sharp and appropriate for the thread and fabric you are using. A crewel needle, with its long eye and sharp point, is a good all-around choice for needle painting. Choose a needle size that is large enough to accommodate the thread without damaging it, but small enough to create fine, delicate stitches. Consider the variety of thread you’ll need for your project:
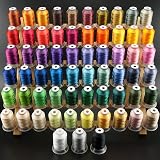
New brothread 63 Brother Colors Polyester Embroidery Machine Thread Kit 500M (550Y) Each Spool for Brother Babylock Janome Singer Pfaff Husqvarna Bernina Embroidery and Sewing Machines
$37.39 (as of May 29, 2025 05:24 GMT -04:00 - More infoProduct prices and availability are accurate as of the date/time indicated and are subject to change. Any price and availability information displayed on [relevant Amazon Site(s), as applicable] at the time of purchase will apply to the purchase of this product.)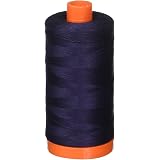
Aurifil Mako Cotton Thread Solid 50wt 1422yds Very Dark Navy
$13.71 (as of May 29, 2025 05:24 GMT -04:00 - More infoProduct prices and availability are accurate as of the date/time indicated and are subject to change. Any price and availability information displayed on [relevant Amazon Site(s), as applicable] at the time of purchase will apply to the purchase of this product.)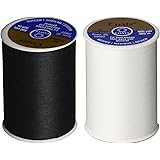
2-Pack - BLACK & WHITE - Coats & Clark Dual Duty All-Purpose Thread - One 400 Yard Spool each of BLACK & White
$7.44 (as of May 29, 2025 05:48 GMT -04:00 - More infoProduct prices and availability are accurate as of the date/time indicated and are subject to change. Any price and availability information displayed on [relevant Amazon Site(s), as applicable] at the time of purchase will apply to the purchase of this product.)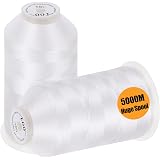
New brothread - 2 Huge Spools 5000M Each Polyester Embroidery Machine Thread 40WT for Commercial and Domestic Machines - White
$12.99 (as of May 29, 2025 05:24 GMT -04:00 - More infoProduct prices and availability are accurate as of the date/time indicated and are subject to change. Any price and availability information displayed on [relevant Amazon Site(s), as applicable] at the time of purchase will apply to the purchase of this product.)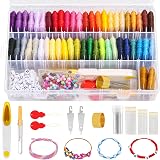
PAXCOO 488Pcs String Bracelet Making Kit, Friendship Bracelet String Kit with 50 Skeins Embroidery Floss Cross Stitch Thread, 400Pcs Friendship Bracelet Beads, 37Pcs Embroidery Tools
$11.99 (as of May 29, 2025 05:48 GMT -04:00 - More infoProduct prices and availability are accurate as of the date/time indicated and are subject to change. Any price and availability information displayed on [relevant Amazon Site(s), as applicable] at the time of purchase will apply to the purchase of this product.)Mastering Essential Stitches: Long and Short Stitch and Beyond

While the long and short stitch is the cornerstone of needle painting, mastering other stitches can add depth, texture, and visual interest to your work. The split stitch, for example, is useful for outlining shapes and creating fine lines. The satin stitch, with its smooth, even coverage, is ideal for filling in small areas and creating a polished look. The French knot, although small, can add a touch of texture and dimension to your image. Learning to vary the length, direction, and density of these stitches is key to achieving realistic effects.
Beyond these basic stitches, there are many other techniques that can enhance your needle painting. Couching, for instance, involves laying down a thread and then securing it to the fabric with small stitches. This technique is useful for creating thick, textured lines or for adding decorative elements to your image. Seed stitch, a scattering of small, random stitches, can be used to create a subtle, textured background or to add dimension to a shaded area. Experimenting with different stitch combinations and techniques is essential for developing your own unique style and achieving the desired level of realism.
Practice is key when it comes to mastering these stitches. Start with simple shapes and gradually work your way up to more complex designs. Don’t be afraid to experiment with different thread colors and textures to see how they affect the overall look of your image. Remember that needle painting is a process, and it takes time and patience to develop your skills. As you gain experience, you will develop a feel for how different stitches and thread combinations can be used to create the desired effect. “Embroidery is the art of decorating textiles using needle and thread; and is thus a form of textile art,” as defined by the Embroiderers’ Guild.
Achieving Seamless Color Blending: A Delicate Art
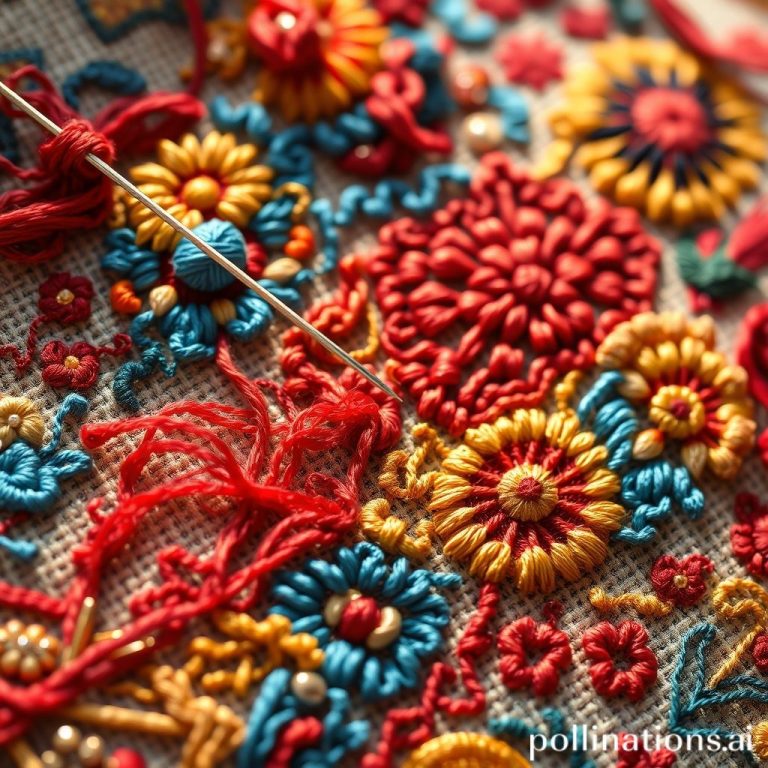
One of the biggest challenges in needle painting is achieving seamless color blending. This involves creating smooth, gradual transitions between colors, without any harsh lines or abrupt changes in tone. The key to successful color blending is to use a variety of closely related colors and to overlap your stitches carefully. When transitioning from one color to another, gradually introduce the new color by intermingling it with the old color. This can be achieved by using long and short stitches of varying lengths and by carefully choosing the direction of your thread.
Another technique for achieving seamless color blending is to use a technique called “feathering.” This involves creating a soft, feathered edge between colors by using very short stitches that gradually fade into the adjacent color. Feathering is particularly useful for blending colors that are very different from each other. It’s also essential to consider the direction of the light source when blending colors. The highlight areas should be lighter and brighter, while the shadow areas should be darker and more subdued. By carefully observing the light and shadow in your subject, you can create a sense of depth and dimension in your needle painted image.
Experimenting with different thread weights and textures can also enhance the color blending in your needle painting. A lighter weight thread will create a softer, more subtle transition, while a heavier weight thread will create a more defined, textured effect. Remember to step back from your work periodically to assess the overall color balance and make any necessary adjustments. Color blending is a skill that takes time and practice to master, but with patience and experimentation, you can achieve truly stunning results.
Capturing Realistic Textures and Details
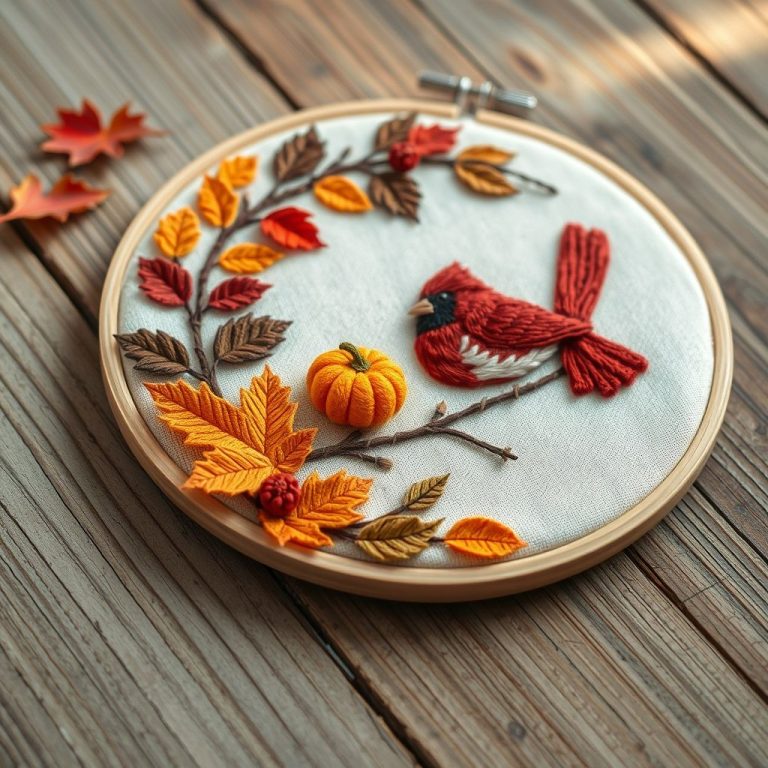
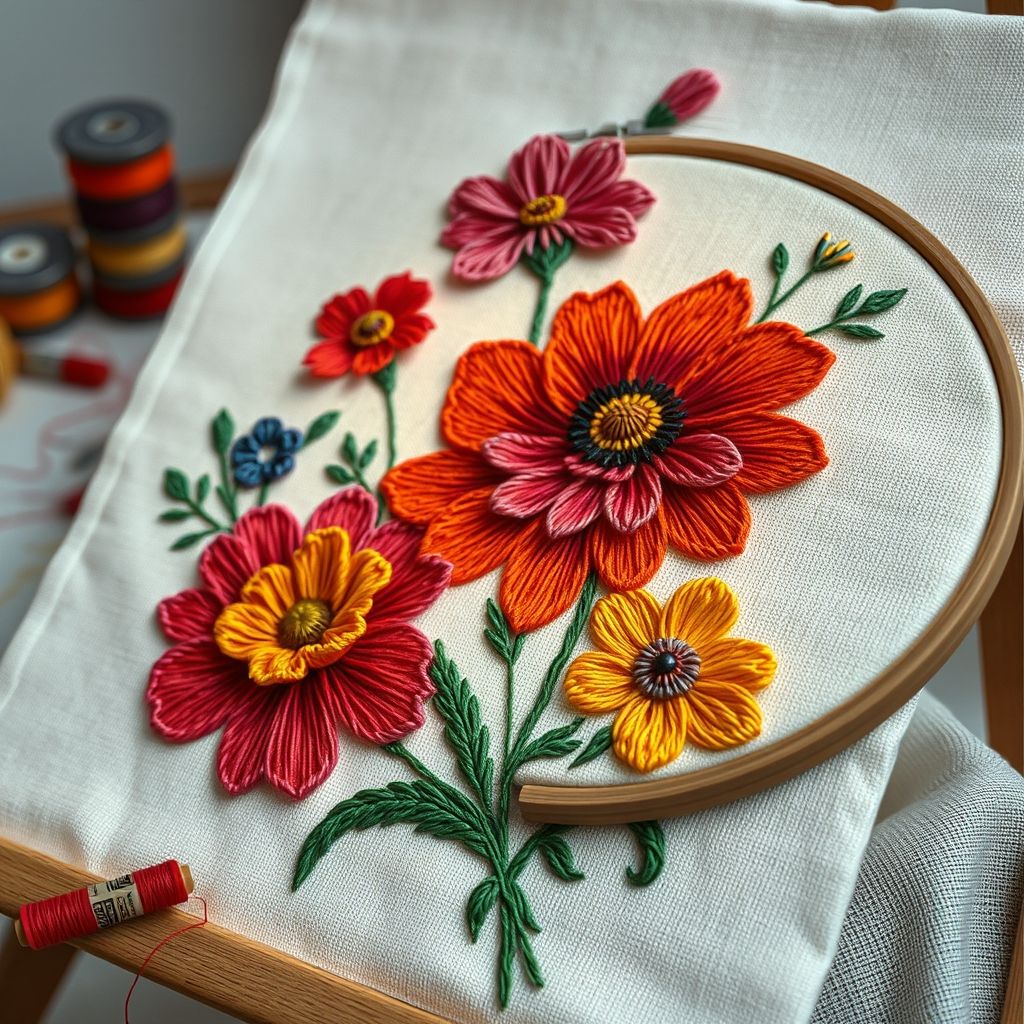
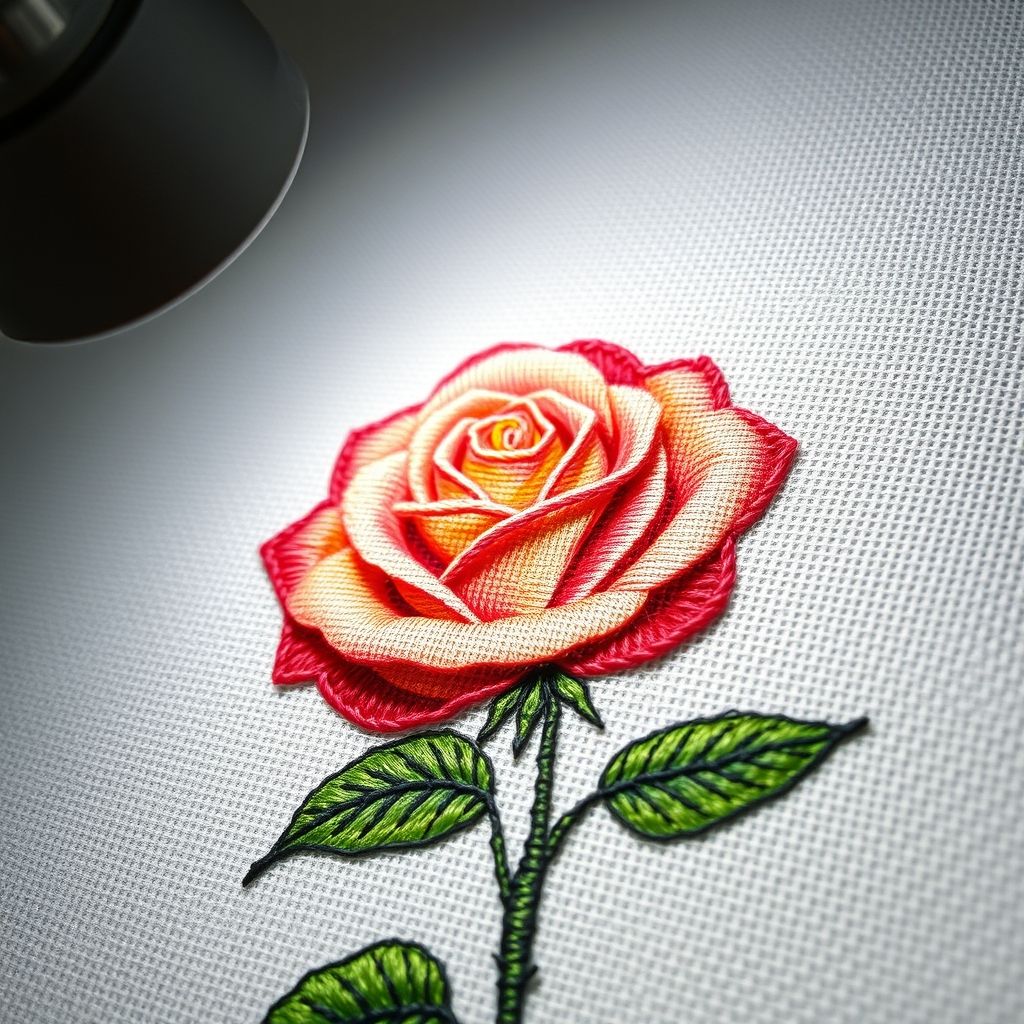
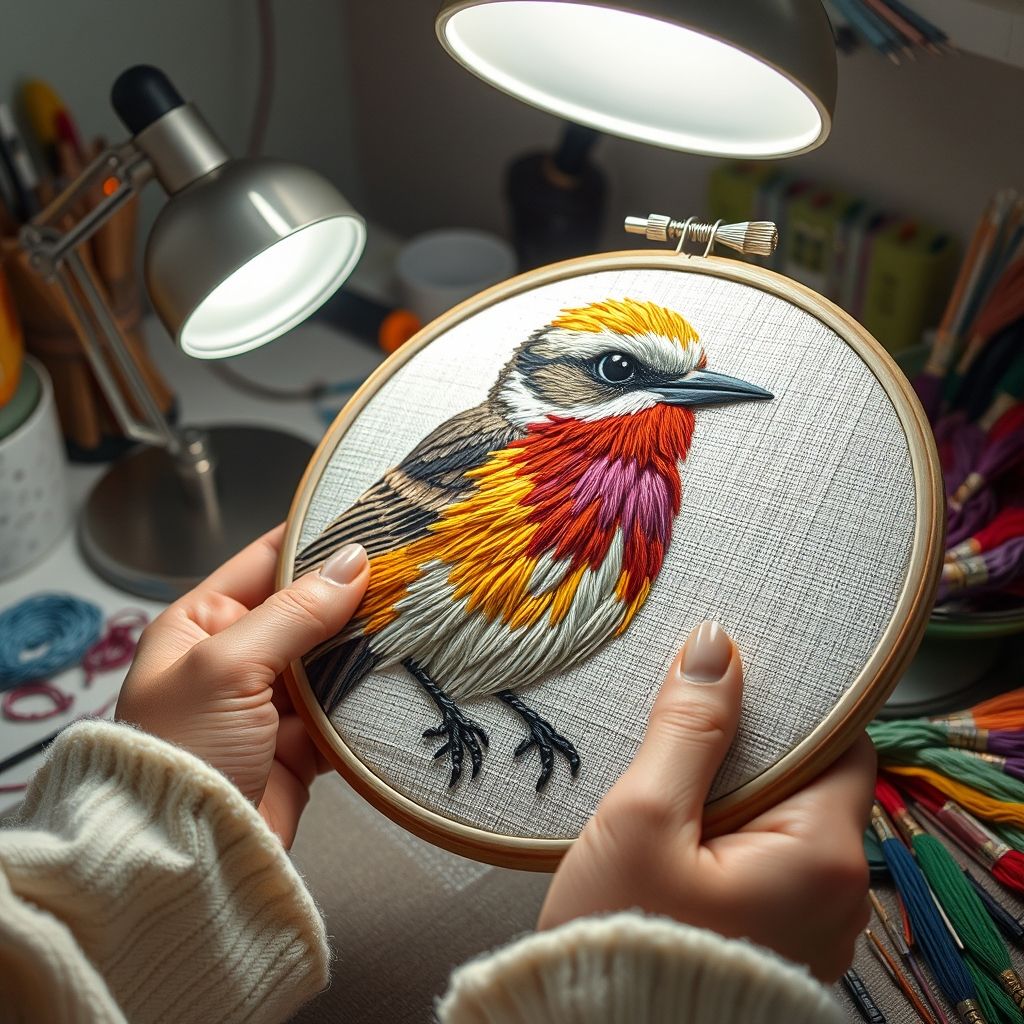
Adding realistic textures and details is what truly elevates needle painting from a craft to an art form. By carefully observing the textures and details in your subject, you can use your thread and stitches to recreate them on fabric. For example, if you are painting a flower, you might use different stitches and thread colors to represent the velvety texture of the petals, the delicate veins in the leaves, and the rough bark of the stem. The direction of your stitches can also be used to create texture. For example, stitching in a circular motion can create the impression of fur or feathers, while stitching in straight lines can create the impression of smooth, polished surfaces.
Pay attention to the small details that often go unnoticed. The subtle variations in color, the tiny imperfections, and the way light reflects off different surfaces all contribute to the overall realism of your image. Use a variety of stitches and thread colors to capture these details, and don’t be afraid to experiment with different techniques. Adding small beads or sequins can also enhance the texture and detail of your needle painting.
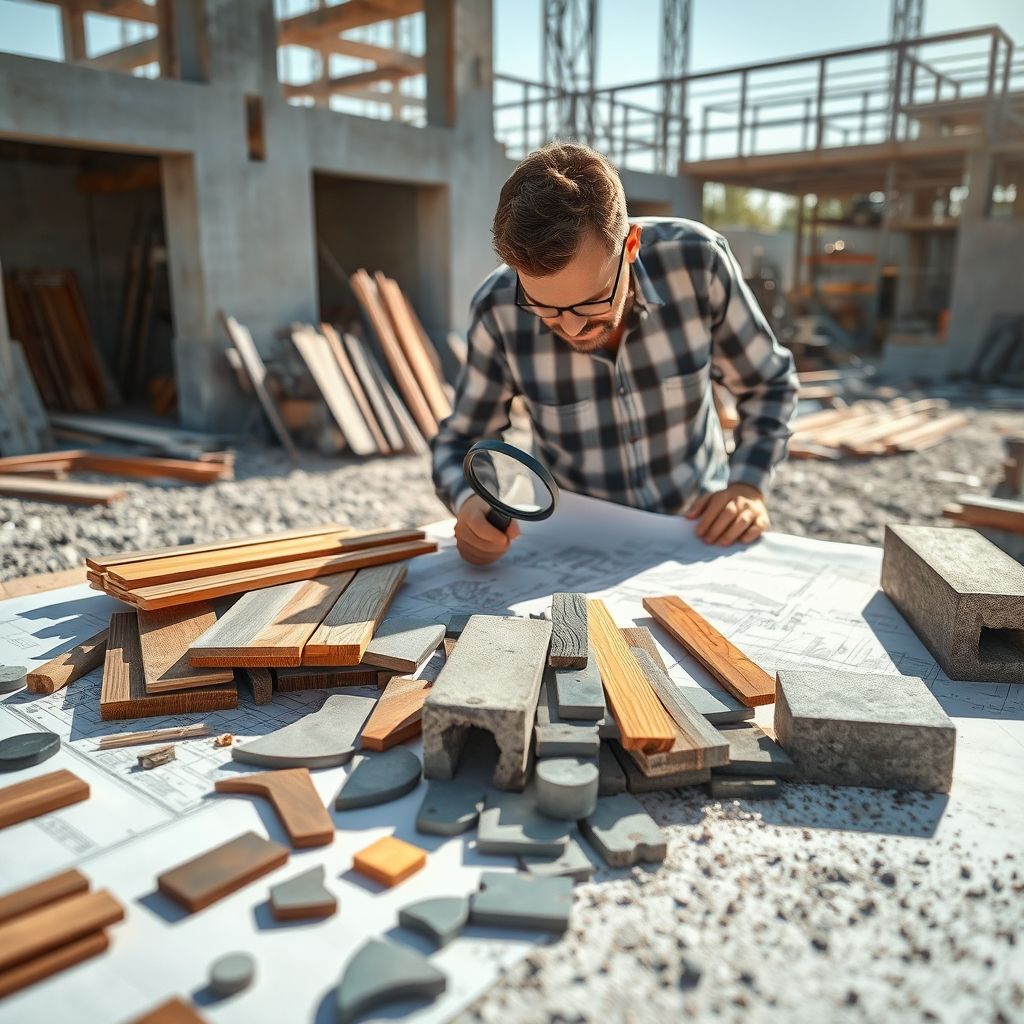
Consider using a magnifying glass or close-up photograph to study the textures and details in your subject more closely. This will help you to identify the key features and determine how best to recreate them with thread. Remember that realism is not about creating a perfect replica of your subject, but rather about capturing its essence and conveying a sense of believability. Capturing realistic textures and details will transform your needle painting into a truly captivating work of art.
Tips and Tricks for Needle Painting Success
Needle painting, like any art form, requires patience, practice, and a willingness to experiment. There are many tips and tricks that can help you to improve your skills and achieve better results. One of the most important tips is to start with a simple design and gradually work your way up to more complex projects. Choose a subject that you are passionate about and that inspires you. This will make the process more enjoyable and help you to stay motivated.
Another tip is to use a light box or tracing paper to transfer your design onto the fabric. This will ensure that your design is accurate and that your stitches are placed correctly. Before you start stitching, take some time to plan your thread colors and stitch placement. Create a color palette and sketch out the areas of light and shadow. This will help you to visualize the finished product and make the stitching process more efficient. Don’t be afraid to unpick stitches if you are not happy with the results. It’s better to correct mistakes early on than to live with them later. Taking the time to fix errors will improve the overall quality of your work.
Finally, remember to take breaks and step back from your work periodically. This will help you to see your image with fresh eyes and identify any areas that need improvement. Share your work with others and ask for feedback. Constructive criticism can be invaluable in helping you to grow as an artist. Needle painting is a journey, not a destination. Embrace the process and enjoy the challenges and rewards that come with it. With dedication and perseverance, you can achieve stunning results and create beautiful, realistic images with thread.
Preserving and Displaying Your Needle Painted Masterpiece
Once you have completed your needle painting, it is important to preserve and display it properly to ensure that it lasts for years to come. The first step is to carefully remove any remaining hoop marks or creases from the fabric. Ironing the fabric on a low setting, with a cloth placed between the fabric and the iron, can help to smooth out wrinkles and restore the fabric’s original shape. Be careful not to iron directly over the stitched areas, as this can damage the threads.
Once the fabric is smooth, you can frame your needle painting or display it in a hoop. Framing is a good option for preserving your work and protecting it from dust and damage. Choose a frame that complements the colors and style of your image. When framing, be sure to use acid-free materials to prevent the fabric and threads from deteriorating over time. If you choose to display your needle painting in a hoop, be sure to choose a hoop that is large enough to accommodate the entire image. Regularly dust your needle painting to keep it clean and free of debris. Avoid displaying your needle painting in direct sunlight, as this can cause the colors to fade over time. Store your needle painting in a cool, dry place away from moisture and extreme temperatures.
Consider the best way to showcase your finished work so it may be viewed and admired. Whether framed or displayed in a hoop, your needle painted masterpiece represents a significant investment of time and skill. Proper care and display will allow you to enjoy your work for many years to come and share it with others.
Conclusion: The Enduring Allure of Needle Painting
Needle painting is more than just a craft; it’s an art form that allows you to express your creativity and capture the beauty of the world around you with nothing more than a needle, thread, and fabric. From the delicate strokes of long and short stitch to the subtle blending of colors, every stitch tells a story, bringing your vision to life in a tangible and lasting way. The ability to create realistic images with thread is a testament to the power of human ingenuity and the enduring appeal of traditional crafts. It offers a unique opportunity to slow down, focus your mind, and create something truly beautiful with your own hands.
As we’ve explored, mastering needle painting involves understanding fundamental techniques, choosing the right materials, and practicing diligently. The journey may be challenging at times, but the rewards are immeasurable. The satisfaction of seeing your image gradually take shape, the joy of experimenting with different colors and textures, and the pride in creating a finished piece that is both beautiful and unique are all part of the needle painting experience. The meditative quality of the process, the focus it demands, and the tangible results all contribute to its enduring appeal. In a world increasingly dominated by digital technology, needle painting offers a refreshing connection to the past and a welcome opportunity to engage with the physical world.
So, whether you are a seasoned embroiderer or a complete beginner, I encourage you to explore the world of needle painting and discover the transformative power of thread. With patience, practice, and a little bit of imagination, you can create stunning works of art that will be cherished for generations to come. Embrace the process, experiment with different techniques, and let your creativity soar. The possibilities are endless, and the journey is well worth taking. Now, armed with this knowledge, grab your needle and thread, and start painting with thread today!

Simthread 6 Gold Metallic Embroidery Machine Thread 500M(550Y) for Embroidery and Decorative Sewing
$15.99 (as of May 29, 2025 05:24 GMT -04:00 - More infoProduct prices and availability are accurate as of the date/time indicated and are subject to change. Any price and availability information displayed on [relevant Amazon Site(s), as applicable] at the time of purchase will apply to the purchase of this product.)
New brothread 80 Spools 500m Each Embroidery Machine Thread with Clear Plastic Storage Box - Colors Compatible with Janome and Robison-Anton Colors
$47.59 (as of May 29, 2025 05:24 GMT -04:00 - More infoProduct prices and availability are accurate as of the date/time indicated and are subject to change. Any price and availability information displayed on [relevant Amazon Site(s), as applicable] at the time of purchase will apply to the purchase of this product.)
New brothread 40 Brother Colors Polyester Embroidery Machine Thread Kit 500M (550Y) each Spool for Brother Babylock Janome Singer Pfaff Husqvarna Bernina Embroidery and Sewing Machines
$22.94 (as of May 29, 2025 05:48 GMT -04:00 - More infoProduct prices and availability are accurate as of the date/time indicated and are subject to change. Any price and availability information displayed on [relevant Amazon Site(s), as applicable] at the time of purchase will apply to the purchase of this product.)
122 skeins Embroidery Floss - Embroidery Thread - Friendship Bracelet String for Cross Stitch, Hand Embroidery, String Art
$9.99 (as of May 29, 2025 05:48 GMT -04:00 - More infoProduct prices and availability are accurate as of the date/time indicated and are subject to change. Any price and availability information displayed on [relevant Amazon Site(s), as applicable] at the time of purchase will apply to the purchase of this product.)
New brothread - Single Huge Spool 5000M Each Polyester Embroidery Machine Thread 40WT for Commercial and Domestic Machines - Navy Blue (Janome Color)
$7.99 (as of May 29, 2025 05:48 GMT -04:00 - More infoProduct prices and availability are accurate as of the date/time indicated and are subject to change. Any price and availability information displayed on [relevant Amazon Site(s), as applicable] at the time of purchase will apply to the purchase of this product.)
Brother PE900 Embroidery Machine with WLAN, White
$998.99 (as of May 29, 2025 05:48 GMT -04:00 - More infoProduct prices and availability are accurate as of the date/time indicated and are subject to change. Any price and availability information displayed on [relevant Amazon Site(s), as applicable] at the time of purchase will apply to the purchase of this product.)
Consew Industrial Sewing Machine Servo Motor - 550 Watts, 110 Volts
$179.00 (as of May 28, 2025 05:48 GMT -04:00 - More infoProduct prices and availability are accurate as of the date/time indicated and are subject to change. Any price and availability information displayed on [relevant Amazon Site(s), as applicable] at the time of purchase will apply to the purchase of this product.)
XKDOUS Safety Pins - 150 Pcs Assorted Sizes Silver Pins Bulk - Small & Large Heavy Duty for Clothes, Sewing, Craft
$3.99 (as of May 29, 2025 05:48 GMT -04:00 - More infoProduct prices and availability are accurate as of the date/time indicated and are subject to change. Any price and availability information displayed on [relevant Amazon Site(s), as applicable] at the time of purchase will apply to the purchase of this product.)
Elastic Bands for Sewing White 1 Inch 12 Yard High Elasticity Knit Spool Sewing Band for Waistbands Pants Clothes and Crafts DIY, Airisoer
$5.99 (as of May 29, 2025 05:48 GMT -04:00 - More infoProduct prices and availability are accurate as of the date/time indicated and are subject to change. Any price and availability information displayed on [relevant Amazon Site(s), as applicable] at the time of purchase will apply to the purchase of this product.)