Is the Brother XR9550PRW a Solid Buy for 2025? Embroidery Tips & Market Insights
Are you considering upgrading to the Brother XR9550PRW in 2025? You’re not alone. This versatile machine, known for its impressive 165 stitches and strong reputation, has received an expert rating of 7/10, positioning it as a popular choice among hobbyists and small business owners alike. But with the embroidery industry projected to hit around USD 7.88 billion by 2034, it’s crucial to know how well this machine stacks up in a competitive market. Are there common embroidery challenges you should prepare for? Absolutely—things like thread tension or fabric compatibility—but don’t worry, with some simple, actionable tips and the right software, you can maximize its potential. Keep reading for practical insights to help you make an informed decision and elevate your embroidery game in 2025.
What the Research Reveals About the XR9550PRW and Market Position
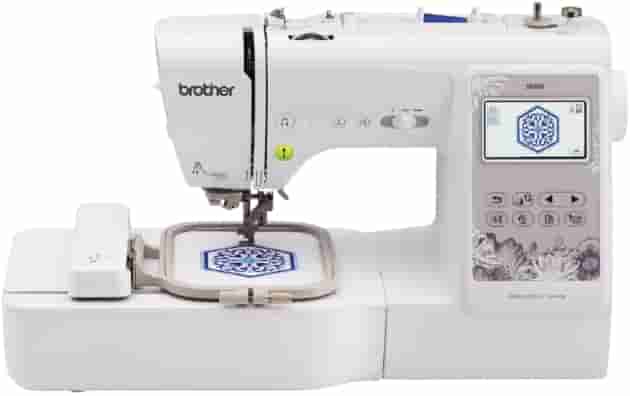
The Brother XR9550PRW is positioned as a versatile and feature-rich embroidery machine, offering 165 built-in stitches that cater to a wide range of projects from beginners to advanced users. Current market statistics indicate that the embroidery equipment sector is experiencing steady growth, with the global market for embroidery machinery projected to reach around USD 636.5 million by 2030, growing at a CAGR of approximately 3%. The market size for embroidery machines specifically is expected to surpass USD 7.88 billion by 2034, highlighting increasing demand driven by customization trends and small business expansion.
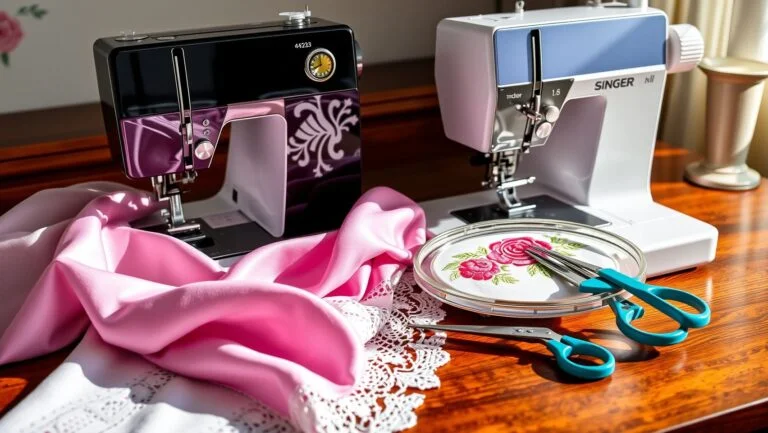
Compared to its competitors, like Janome and Singer, which also offer models with 130-200 stitches, the XR9550PRW provides a competitive edge with its extensive stitch options at a favorable price point, currently averaging between $450-$500. An upgrade pathway from the XR9500PRW involves software enhancements and optional accessories such as upgraded hoops and threaders, supporting its long-term investment value. Embroiderers increasingly prioritize eco-friendly materials and digital design tools, aligning with the trend toward sustainable practices and digital workflows. Market insights suggest sustained demand influenced by social media trends and the growth of small businesses in the embroidery and craft industries.
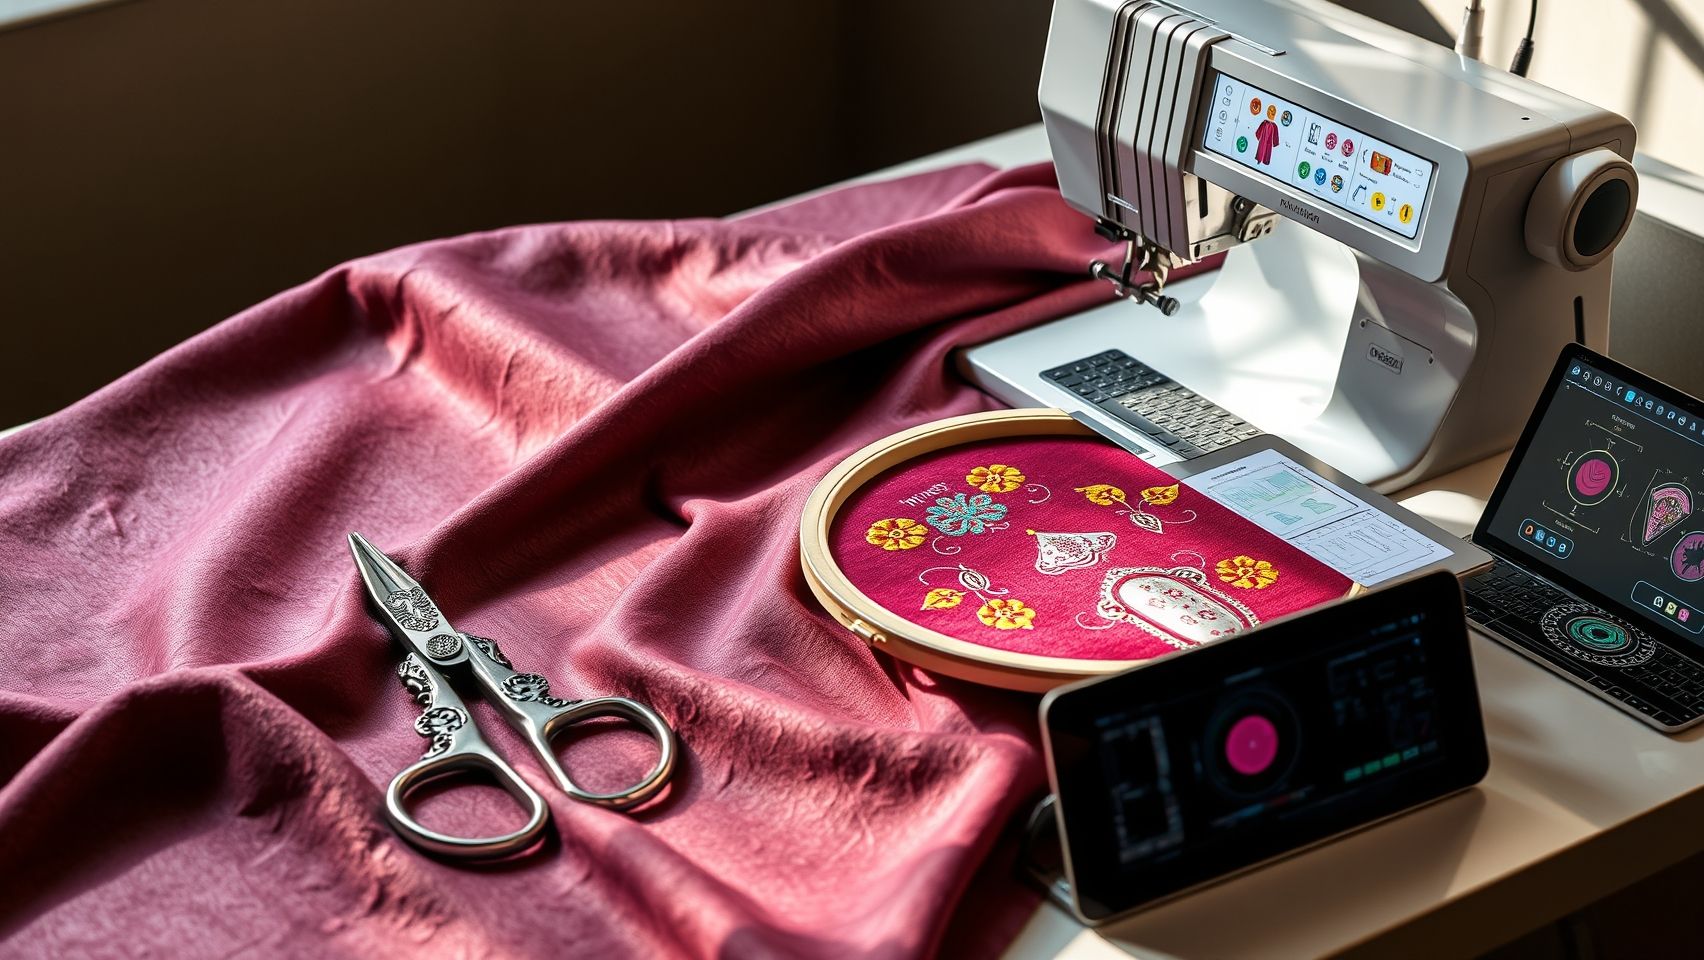
Step-by-Step: Setting Up Your Brother XR9550PRW for Success
Getting started with the Brother XR9550PRW embroidery machine can seem overwhelming, but a systematic approach ensures confidence and optimal performance. Proper initial setup, stitch selection, and fabric optimization are crucial for achieving professional results right from the first project. Follow these detailed steps to unlock the full potential of your machine and streamline your embroidery workflow.
Unpack, Assemble, and Thread Your Machine
Begin by carefully unpacking the machine and consulting the manufacturer’s manual for assembly instructions. Pay close attention to threading paths—start by inserting the spool onto the spool pin, guiding the thread through the tension discs, and following the on-screen threading guides. Use the automatic needle threading feature to save time and effort. Wind the bobbin according to the manual, ensuring even thread tension, then load it into the bobbin case. Adjust the tension settings, starting with tension 4 for cotton fabrics, and perform test stitches on scrap material to confirm smooth, even stitches without puckering or skipped stitches.
Configure Basic Settings and Practice
Select basic stitches such as satin and zigzag from the machine’s function menu, and set the stitching length and width to match your project requirements. Use built-in tutorials to practice stitch placement and tension adjustments. For embroidery, attach the 5×7 hoop, load designs via USB, and start with gentle stitch density settings—begin with 800 stitches per minute (SPM) as a recommended starting point for delicate work. Test on fabric scraps, adjusting tension as needed—lower tensions for lightweight fabrics and higher for dense textiles. Use the tension adjustment guide included on the machine to fine-tune proper thread tension for different materials. Remember to regularly clean the bobbin area to prevent thread jams, which can compromise stitch quality.
Optimizing Embroidery and Thread Choices
For embroidery projects, load your design files via USB and select suitable stitch density—roughly 300-400 stitches per inch for delicate fabrics, and higher density for thicker textiles. When incorporating eco-friendly threads like biodegradable or recycled options, ensure the spool holder is compatible and perform initial tension tests to prevent breakage. Regularly check and clean the bobbin case, thread guides, and tension disks to maintain consistent stitch quality. By following these setup and optimization tips, you’ll gain confidence in managing different fabrics and designs, leading to cleaner, more professional embroidery results in 2025 and beyond.
Tools & Equipment to Maximize Your Embroidery Projects
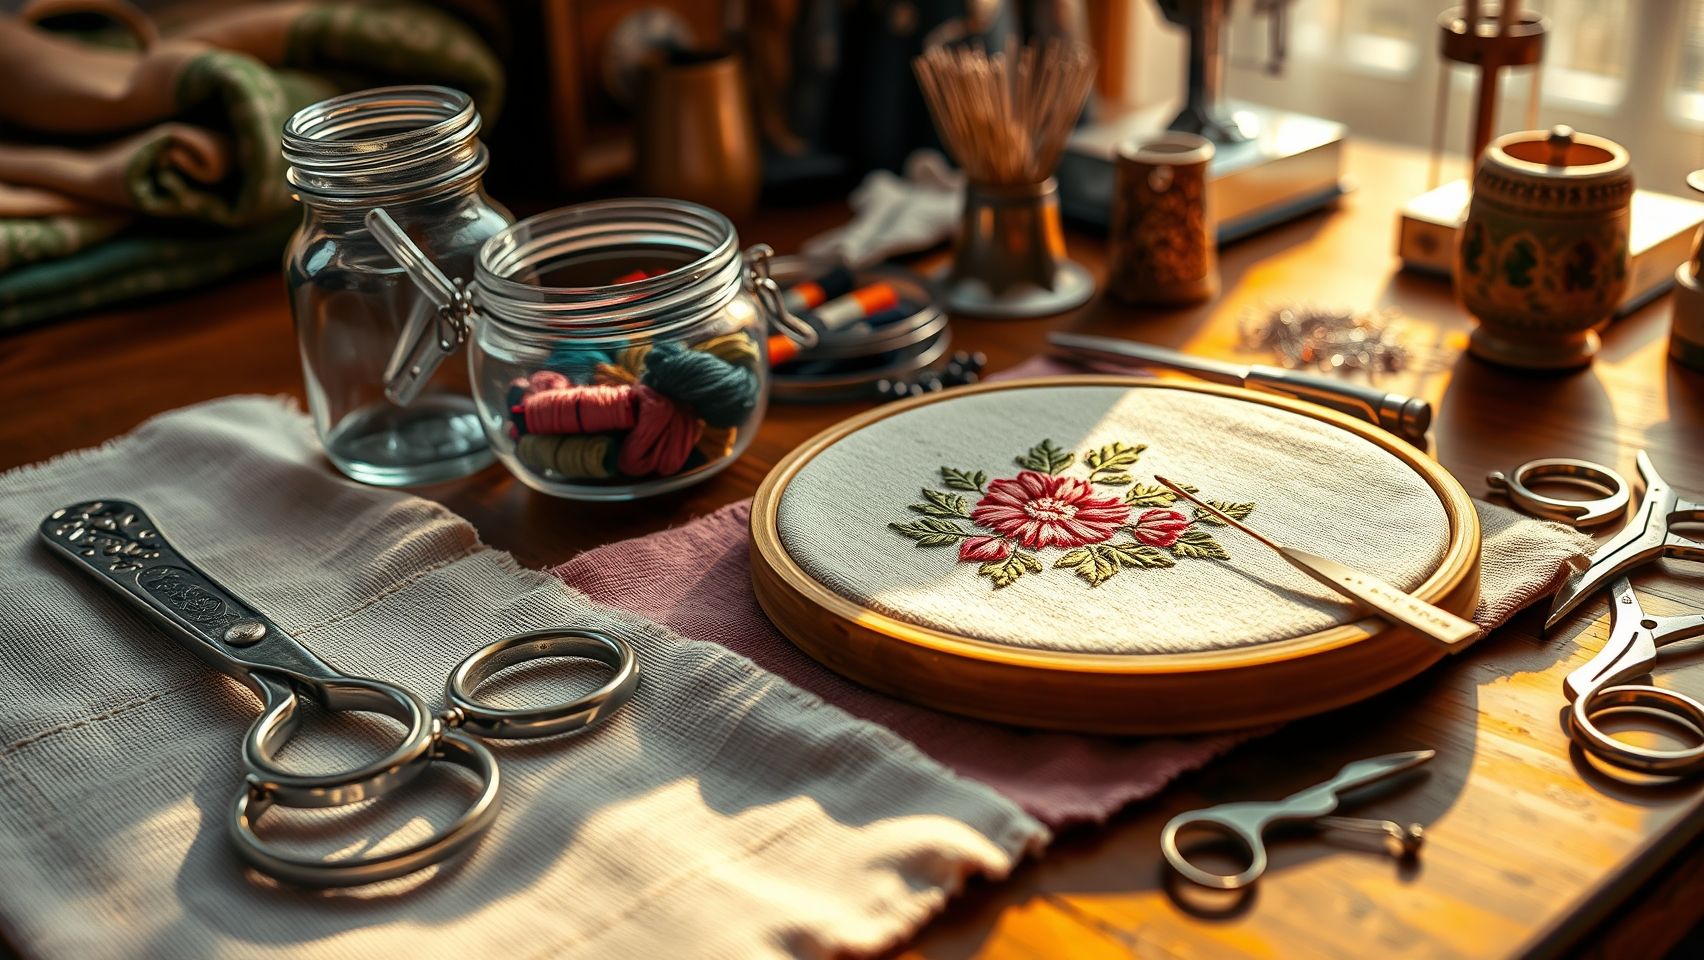
To achieve professional-looking embroidery with the Brother XR9550PRW, selecting the right tools and equipment is essential. Properly using hoops, threads, stabilizers, and software can significantly enhance design accuracy, reduce troubleshooting, and streamline your workflow. Integrating these tools effectively ensures your projects are both beautiful and durable.
In this section, we will explore key equipment recommendations and techniques that when combined with the XR9550PRW, help elevate your embroidery results. From quick setup solutions to advanced digitizing guides, mastering these tools can make a noticeable difference in your crafting success.
Using Hoops and Stabilizers Effectively
Magnetic hoops, such as Fawns, provide quick, precise placement and minimize fabric shifting. They improve tension consistency and simplify adjustments. To prevent fabric slipping, ensure the hoop is tightly secured and fabric is taut but not overstretched. Proper tension is vital for even stitching and clean edges.
Select stabilizers based on your fabric and design complexity. For dense embroidery on sturdy fabrics, use cut-away stabilizers like Pellon. Tear-away stabilizers such as Vilene work well for lightweight textiles, while wash-away options are perfect for intricate or delicate designs. Matching stabilizer type with project fabric ensures optimal support and finishing quality.
Enhancing Creativity with Digitizing Software
Brother’s PE-Design 11 simplifies creating custom embroidery patterns. Start by importing your artwork, then use editing tools to resize, add text, or adjust stitch types. Save your design in the software before transferring it to the machine via USB or Wi-Fi. Practice importing and editing on scrap fabric to perfect your workflow before starting an intricate project.
Finalizing your design involves selecting appropriate stitch settings, defining outlines, and previewing the pattern. This process enhances accuracy and ensures your finished embroidery aligns with your vision.
Choosing Threads and Needles for Superior Results
High-quality threads like polyester and rayon significantly impact durability and sheen. Polyester threads excel for outdoor projects due to their UV resistance, while rayon provides vibrant, glossy finishes ideal for apparel. Always test tension on scrap samples to prevent puckering or skipped stitches.
Use compatible needles such as Schmetz size 75/11 for general embroidery on woven fabrics, and switch to ballpoint needles for knits. Additionally, tools like bobbin winders and pre-wound bobbins reduce setup time and prevent thread tangles, making your workflow more efficient.
Comparing Equipment & Software for 2025 Embroidery Success
Choosing the right embroidery equipment and software is crucial for both hobbyists and small businesses aiming for efficiency and high-quality results in 2025. The market has seen significant growth, with an increasing trend towards automation, seamless software integration, and eco-friendly materials. Understanding the comparative strengths and weaknesses of available machines and tools can help make informed decisions that maximize value and project outcomes.
Price Comparison of Leading Embroidery Machines
The following table compares popular embroidery machines, focusing on their costs, core features, and ideal user profiles. Recent market data indicates that while high-end models offer advanced capabilities, budget-friendly options like the Brother XR9550PRW deliver excellent value for most hobbyists and small-scale operators.
Pros and Cons Analysis: Brother XR9550PRW vs Higher-End Models
Feature Comparison Chart: Stitch Count, Speed, Touchscreen & Designs
Cost-Benefit Analysis: Matching Equipment to Project Needs
Troubleshooting Common Embroidery Issues with the XR9550PRW
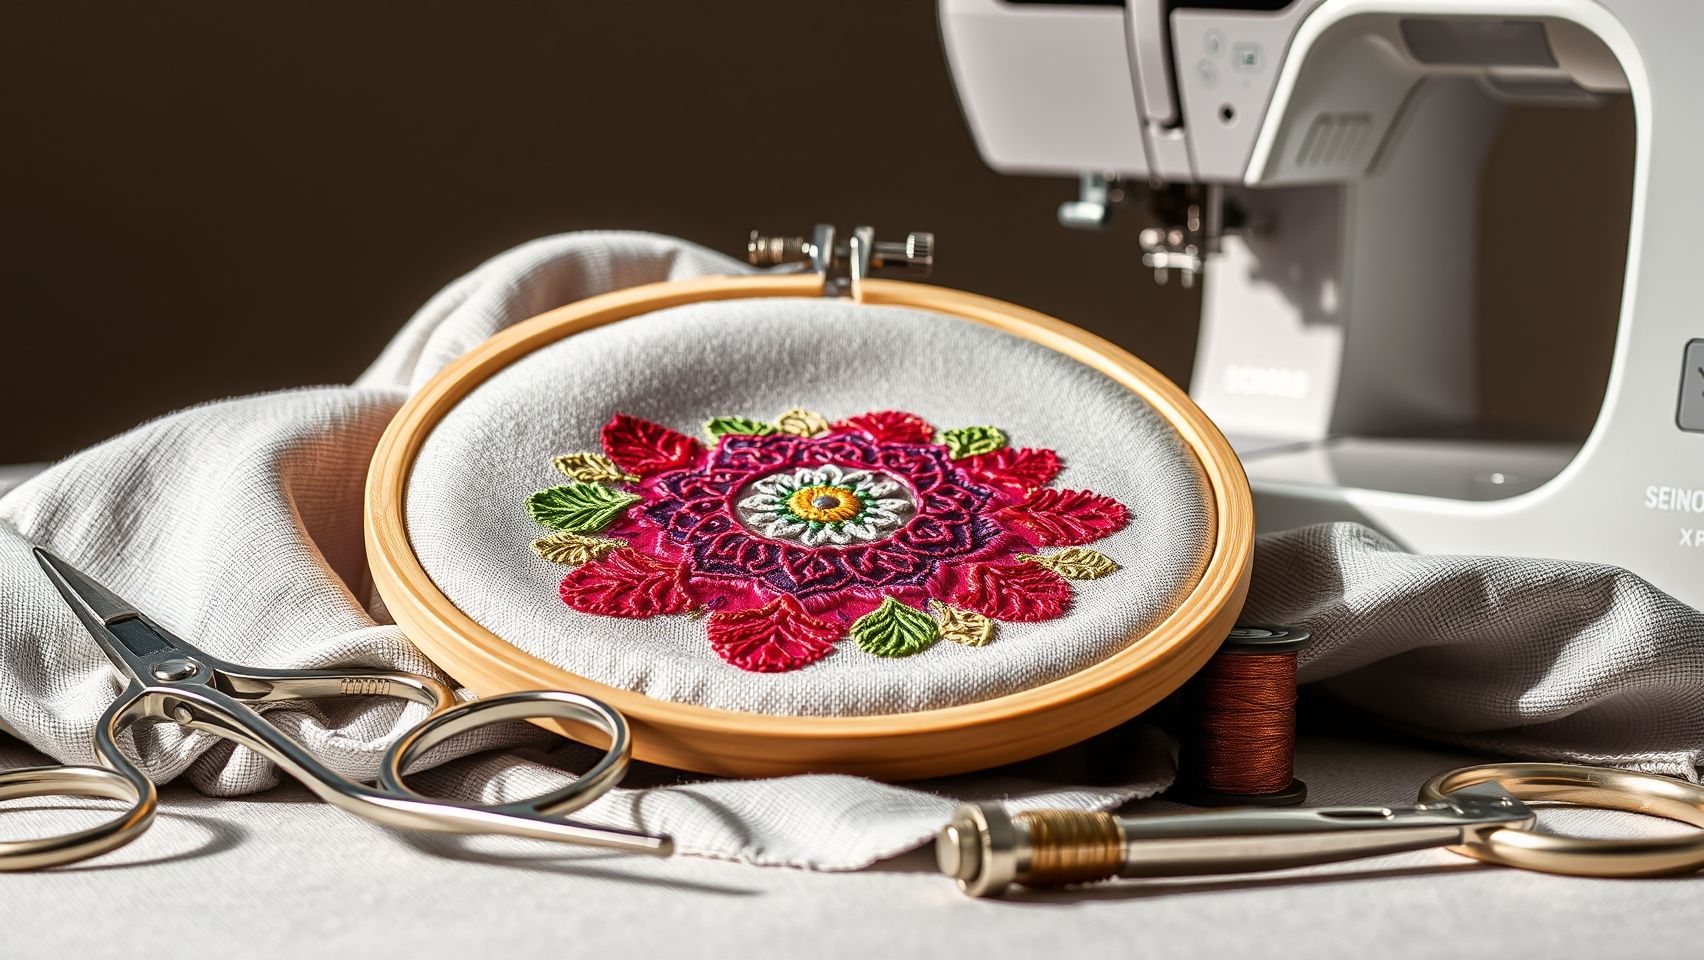
The Brother XR9550PRW is a versatile and popular embroidery machine that offers excellent features for both beginners and experienced sewists. However, like all advanced equipment, it can encounter common issues that affect the quality and efficiency of your projects. Addressing these problems promptly ensures smooth operation and professional results. Below are practical, step-by-step solutions to some of the most frequent embroidery troubleshooting concerns.
Skipped Stitches and Tension Imbalance
Skipped stitches are often caused by tension imbalance or incorrect needle installation. To fix this, start by testing on a scrap fabric similar to your project. Increase the tension slightly, as modern embroidery machines typically require fine-tuning for different threads and fabrics. Additionally, verify the needle quality and ensure it is properly installed, with the flat side facing the correct direction. Using a sharp, high-quality needle specific for embroidery can significantly reduce skipped stitches and improve thread flow.
Thread Breakage and Fraying
Thread breakage commonly results from using low-quality threads, incorrect tension, or debris in the bobbin area. Solution steps include switching to high-quality polyester embroidery threads, regularly cleaning lint and dust from the bobbin case and tension disc, and ensuring the spool is correctly set with proper thread tension. Also, check that the needle is suitable for the thread weight, and replace it if frayed or dull to prevent unnecessary tension and breakage.
Fabric Puckering and Stabilizer Selection
Fabric puckering occurs when the fabric isn’t sufficiently stabilized. Prevent this by selecting the right stabilizer for your fabric type—tear-away for woven fabrics, cut-away for stretch materials, or water-soluble for delicate projects. Hooping should be snug, but avoid over-tightening, which can distort fabric tension. Proper stabilization and hooping tension help maintain pattern accuracy and smooth embroidery surface.
Pattern Misalignment
Misaligned designs often stem from inconsistent hooping or incorrect pattern placement. Use alignment sheets or frame markers provided with your machine to ensure precise hooping. Additionally, calibrate the machine’s design placement settings regularly—your manual or firmware updates can assist with alignment adjustments. Taking the time to verify hoop positioning before stitching markedly improves the accuracy of complex embroidery patterns.
Slow Embroidery Speeds and Software Compatibility
If embroidery runs slowly, check for the latest firmware updates for your XR9550PRW, which improves speed and software compatibility. Also, inspect the USB connection for stability—loose or damaged cables can cause lag. Ensure your computer’s operating system and embroidery software are compatible with the machine’s requirements. Keeping this software current optimizes performance and reduces lag during project execution.
Conclusion
In 2025, the Brother XR9550PRW continues to stand out as a versatile and value-packed choice for embroidery enthusiasts. Its impressive stitch count, wide range of accessories, and ongoing market presence make it a solid investment for both beginners and experienced sewists. When paired with the correct setup, high-quality tools, and troubleshooting strategies, this machine can elevate your embroidery projects to new levels of quality and creativity. Staying ahead of market trends involves embracing eco-friendly materials and digital design options, ensuring your investment remains relevant and fruitful over time. Your embroidery journey begins with assessing your project needs—upgrading with compatible software and tools—then following step-by-step guides to unleash your full potential today.
Act now and turn your creative ideas into stunning reality—your next masterpiece is waiting to be stitched!

New brothreads - 40 Options- Various Assorted Color Packs of Polyester Embroidery Machine Thread Huge Spool 5000M for All Embroidery Machines -3xWhite
$14.99 (as of June 20, 2025 13:06 GMT -04:00 - More infoProduct prices and availability are accurate as of the date/time indicated and are subject to change. Any price and availability information displayed on [relevant Amazon Site(s), as applicable] at the time of purchase will apply to the purchase of this product.)
72 PCS Sewing Thread Assortment, 36 Color Thread for Sewing Machine with 36 Same Color Bobbins, Polyester Thread 400 Yards/Spool (72)
$15.95 (as of June 19, 2025 07:58 GMT -04:00 - More infoProduct prices and availability are accurate as of the date/time indicated and are subject to change. Any price and availability information displayed on [relevant Amazon Site(s), as applicable] at the time of purchase will apply to the purchase of this product.)
VONEEDL Upholstery Repair Kit: Waxed Sewing Thread (3 Colors) & Heavy Duty Needles (11 PCS) for Leather, Canvas & Quilting Thread
$7.88 (as of June 19, 2025 07:58 GMT -04:00 - More infoProduct prices and availability are accurate as of the date/time indicated and are subject to change. Any price and availability information displayed on [relevant Amazon Site(s), as applicable] at the time of purchase will apply to the purchase of this product.)
New brothread 12 Colors Variegated Polyester Embroidery Machine Thread Kit 500M (550Y) Each Spool for Brother Janome Babylock Singer Pfaff Bernina Husqvaran Embroidery and Sewing Machines-Assortment1
$14.99 (as of June 20, 2025 05:31 GMT -04:00 - More infoProduct prices and availability are accurate as of the date/time indicated and are subject to change. Any price and availability information displayed on [relevant Amazon Site(s), as applicable] at the time of purchase will apply to the purchase of this product.)
New brothread 40 Brother Colors 500m Each Embroidery Machine Thread with Clear Plastic Storage Box for Embroidery Sewing Machine
$25.49 (as of June 20, 2025 05:31 GMT -04:00 - More infoProduct prices and availability are accurate as of the date/time indicated and are subject to change. Any price and availability information displayed on [relevant Amazon Site(s), as applicable] at the time of purchase will apply to the purchase of this product.)
JUKI DDL8700H High-Speed Lock-Stitch Sewing Machine for Heavy Material DDL-8700H- Head Only
$575.00 (as of June 20, 2025 13:06 GMT -04:00 - More infoProduct prices and availability are accurate as of the date/time indicated and are subject to change. Any price and availability information displayed on [relevant Amazon Site(s), as applicable] at the time of purchase will apply to the purchase of this product.)
Elastic Bands for Sewing White 1 Inch 12 Yard High Elasticity Knit Spool Sewing Band for Waistbands Pants Clothes and Crafts DIY, Airisoer
$5.99 (as of June 20, 2025 11:03 GMT -04:00 - More infoProduct prices and availability are accurate as of the date/time indicated and are subject to change. Any price and availability information displayed on [relevant Amazon Site(s), as applicable] at the time of purchase will apply to the purchase of this product.)
Brother SE700 Embroidery & Sewing Machine with 90 Spools & Accessories
(as of June 20, 2025 13:06 GMT -04:00 - More infoProduct prices and availability are accurate as of the date/time indicated and are subject to change. Any price and availability information displayed on [relevant Amazon Site(s), as applicable] at the time of purchase will apply to the purchase of this product.)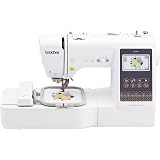
Brother SE700 Sewing and Embroidery Machine, Wireless LAN Connected, 135 Built-in Designs, 103 Built-in Stitches, Computerized, 4" x 4" Hoop Area, 3.7" Touchscreen Display, 8 Included Feet, White
$499.98 (as of June 20, 2025 13:06 GMT -04:00 - More infoProduct prices and availability are accurate as of the date/time indicated and are subject to change. Any price and availability information displayed on [relevant Amazon Site(s), as applicable] at the time of purchase will apply to the purchase of this product.)