How to Master Hand Embroidery Stitches for Beautiful Projects
Imagine turning simple threads into stunning, personalized art with just a few stitches. Whether you’re a beginner or an experienced crafter, choosing the right stitch for each project is essential to create beautiful, lasting pieces. Hand embroidery is a deeply satisfying craft that allows you to express your creativity and produce heirloom-quality projects. From delicate blooms to bold statement designs, the variety of stitches you can learn opens a world of artistic possibilities. This guide covers step-by-step instructions and practical tips to help you master fundamental stitches, develop your technique, and enjoy the process of making beautiful embroidery. As the embroidery industry continues to grow, with a market projected to reach over $8 billion by 2033, honing your skills can also connect you to a thriving community of enthusiasts and professionals that drives this vibrant industry. Ready to transform simple threads into exquisite art? Dive in, and discover how to create embroidery projects that are as unique as you are.
What the Research Reveals About Embroidery Trends and Tools
Recent industry reports highlight a significant shift towards personalized and sustainable embroidery projects, with over 70% of crafters using embroidery for personal expression. The market is projected to grow steadily, driven by the expanding textile and fashion industries, emphasizing the need for versatile stitches and innovative tools. Moreover, the integration of digital technology is transforming traditional practices, opening new creative pathways for enthusiasts and professionals alike.
Current Popular Stitches and Techniques
Mastering basic stitches such as French knots and Palestrina is essential, offering a foundation for diverse design effects. These classic stitches allow crafters to add texture and dimension to their projects, making them suitable for modern applications like apparel embellishments, home décor, and upcycled textile art. Tutorials and guides on hand embroidery techniques are abundant, empowering beginners to develop their skills and experiment with complex motifs.
Essential Tools and Modern Trends
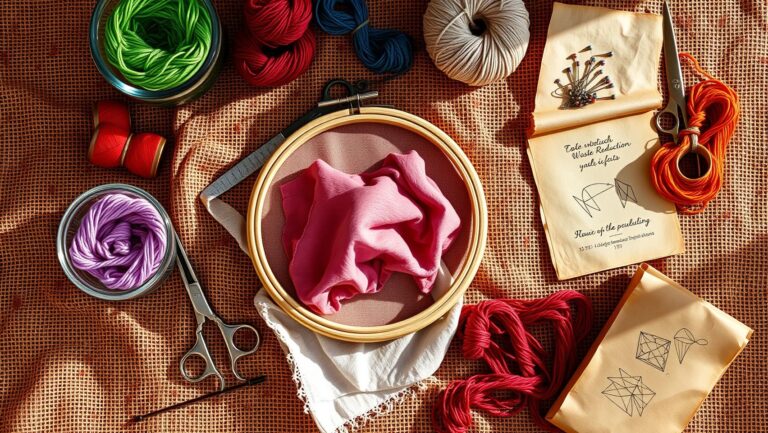
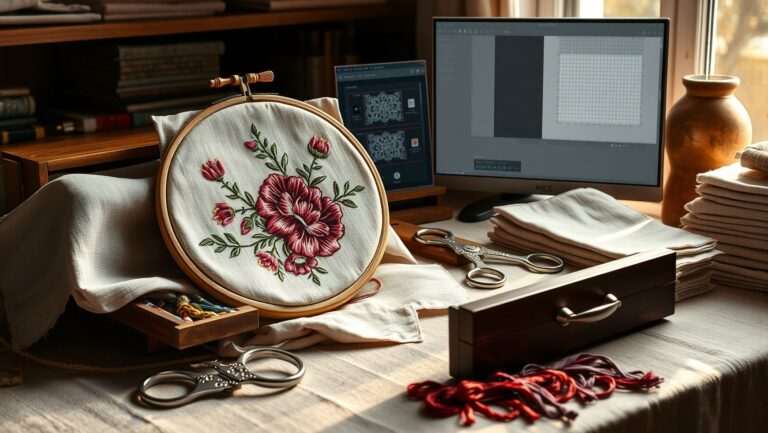
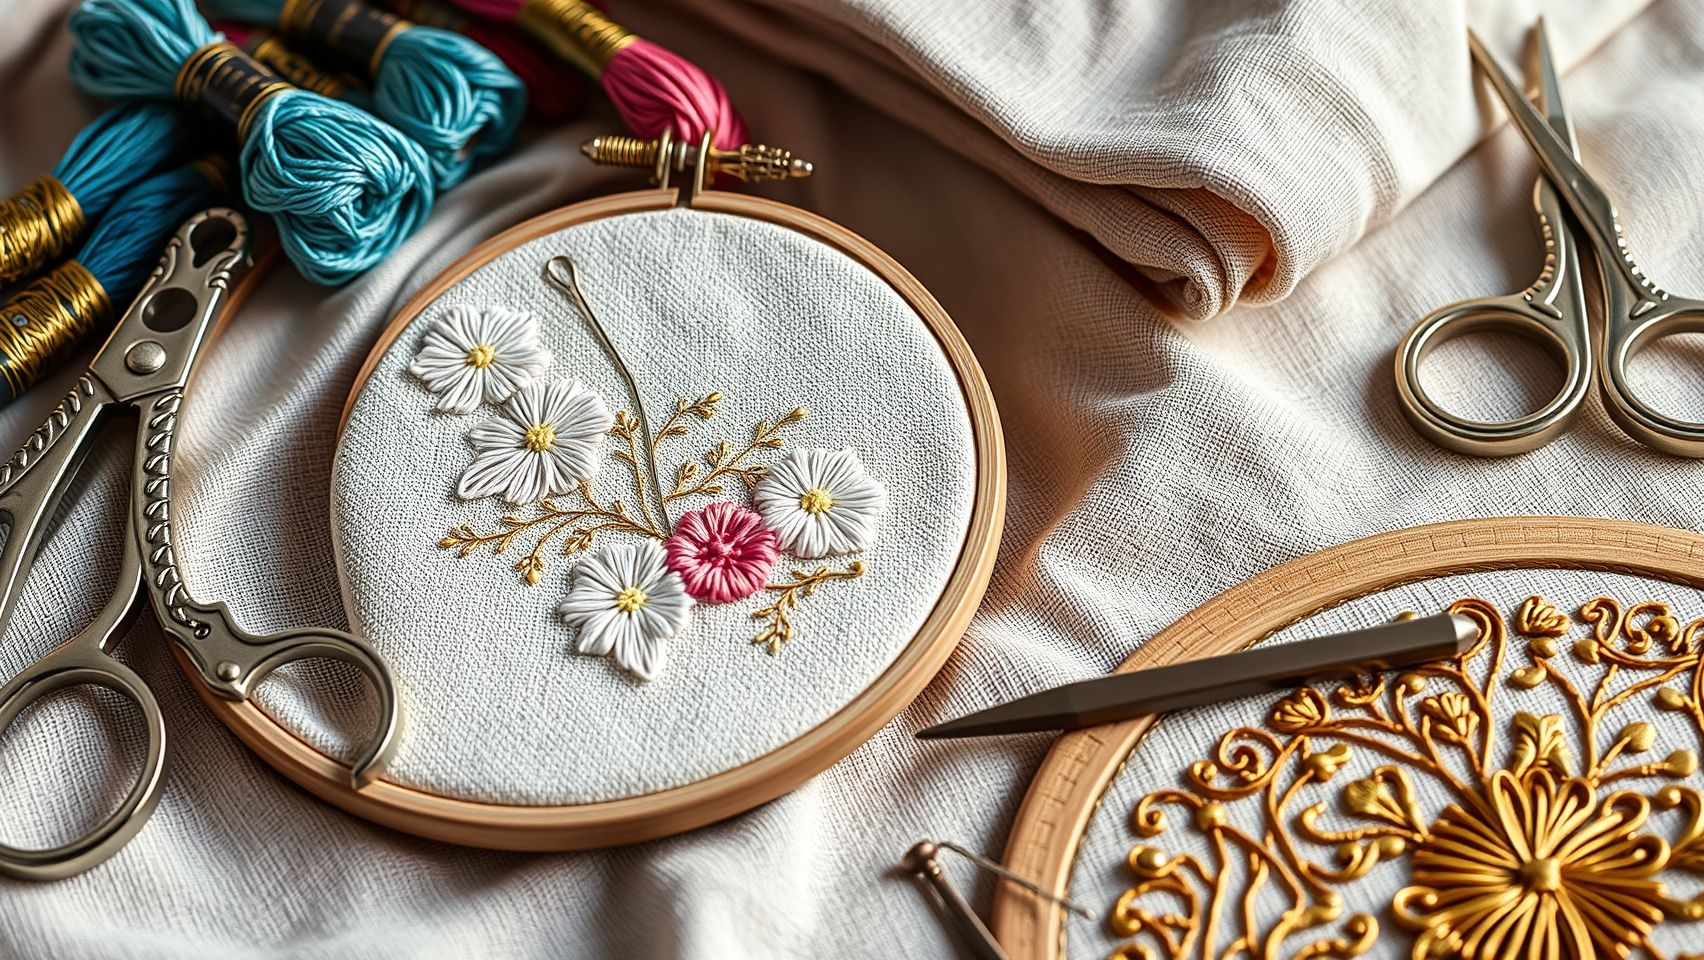
Key tools enhancing stitch quality include Aurifloss threads—available in an impressive palette of 270 colors—which enable vibrant, durable designs. Japanese scissors from brands like Cohana provide precision cuts, contributing to cleaner finishes. Emerging trends show a significant adoption of digital embroidery software such as Hatch and Wilcom, with approximately 60% of designers blending handwork with automated design tools. These platforms streamline the creation process, allowing for intricate detail with efficiency, and are increasingly integrated into professional workflows.
With a focus on sustainability, textile upcycling projects are gaining popularity, reducing waste by approximately 40%. Such initiatives emphasize the importance of cost-effective supplies like manual hoops and quality floss, with starter kits available for around $20–$50—ideal for beginners eager to explore embroidery without breaking the bank.
How to Master Hand Embroidery Stitches for Beautiful Projects
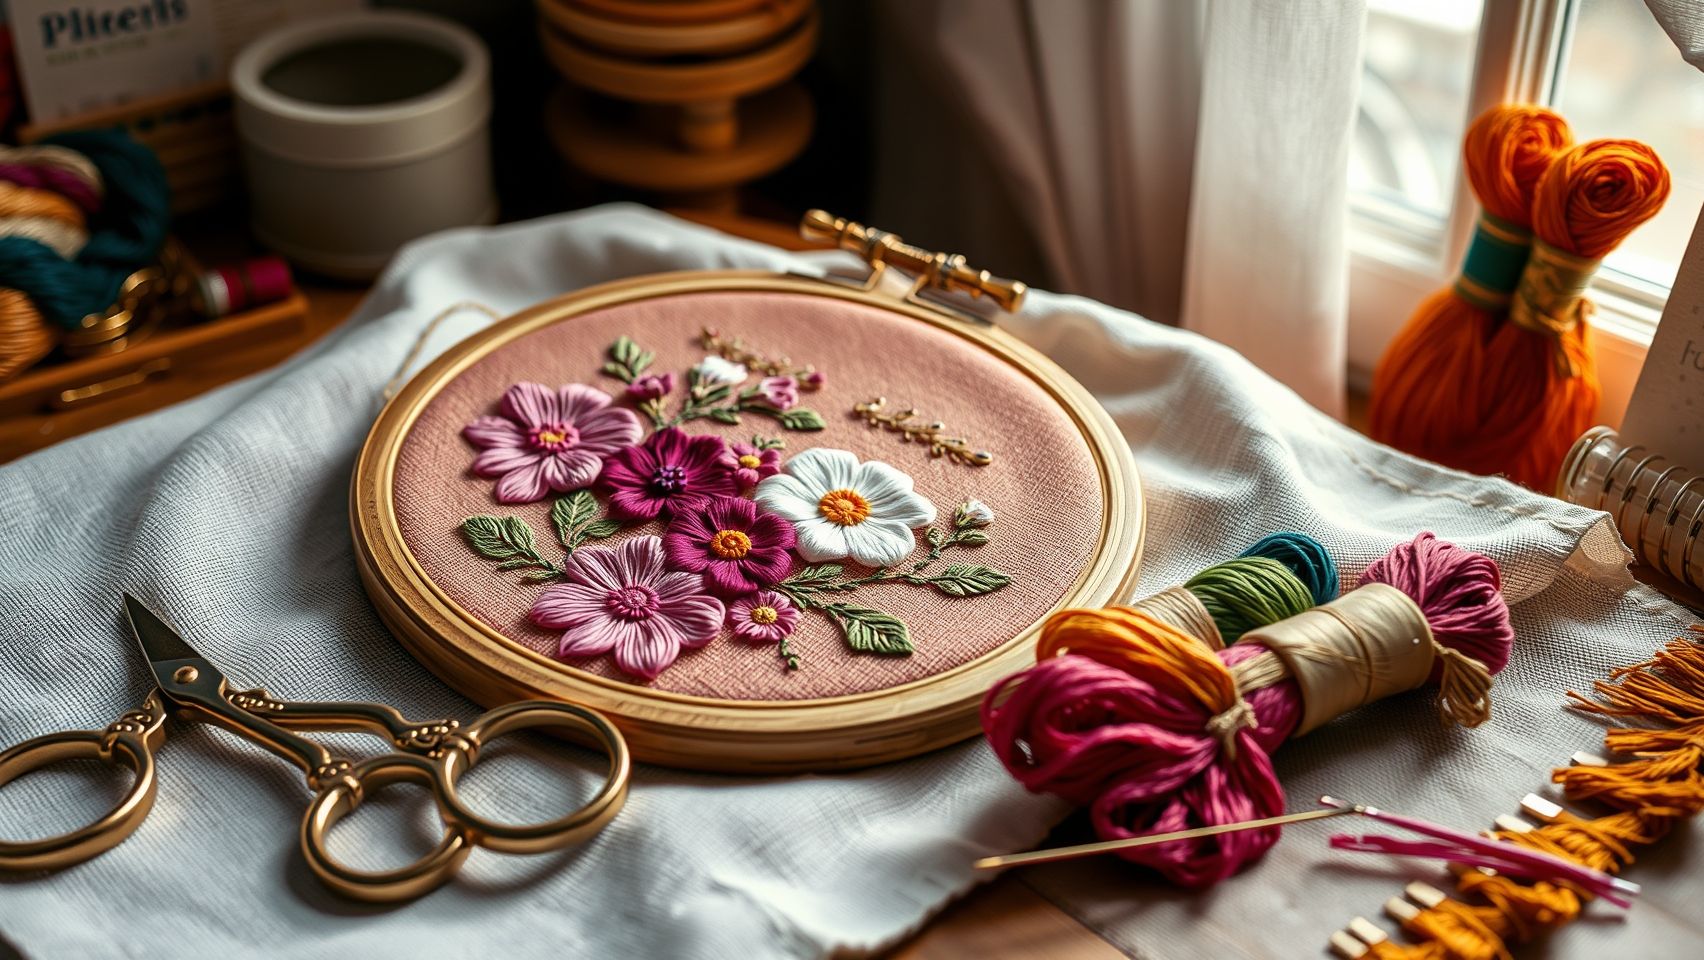
Mastering hand embroidery stitches is essential for creating intricate and decorative designs that elevate any fabric project. Among the diverse stitches, the Palestrina stitch stands out for adding texture and elegance, making it ideal for floral motifs, borders, and ornamental finishes. With proper technique and practice, even beginners can achieve stunning results that enhance the decorative appeal of their embroidery work.
This section provides a comprehensive, step-by-step tutorial to learn, practice, and perfect the Palestrina stitch. We will cover the basic tools needed, detailed instructional steps, and troubleshooting tips to help you develop neat, uniform stitches. Incorporating current embroidery insights, mastering complex stitches like Palestrina not only improves your craftsmanship but also aligns with current craft industry trends emphasizing textured and layered embroidery styles.
Tools Needed
Before starting, gather the essential tools: an embroidery hoop to keep your fabric taut, sharp needles (preferably #7 or #9), and embroidery floss in your preferred colors. Using high-quality floss can greatly improve the stitch’s appearance, especially when creating raised knots. Confirm your tools are suitable for the thickness of your fabric and design complexity to ensure ease of stitching and control.
Step-by-Step Guide to the Palestrina Stitch
- Secure your fabric in an embroidery hoop: Ensure the fabric is taut for even stitches and minimal puckering.
- Thread your needle: Cut a manageable length of embroidery floss, typically around 18 inches, and thread it through the needle, tying a small knot at the end.
- Create the baseline: Anchor your thread, then stitch a straight, even line as the base for your knots.
- Form parallel knots: Bring the needle up and pull the thread through to form a small loop, then pass the needle down close to the same spot to create a knot. Repeat along the baseline, keeping tension even to ensure uniform knots.
- Adjust tension: Keep the knots snug but not too tight to avoid puckering. Practice on scrap fabric to perfect tension control.
- Practice visual clarity: Use short vertical GIF loops or stepwise visuals to master each motion for consistent results.
Practical Tips and Troubleshooting
Maintain even tension throughout the process to prevent puckering or uneven knots. Avoid pulling the thread too tightly, which can distort the fabric or lead to uneven stitching. Practicing on scrap fabric prior to your final project allows you to refine your technique and ensure neat, consistent stitches. Remember, patience and steady hands are key to mastering the Palestrina stitch, and the effort will be rewarded with beautifully textured embroidery that adds dimension and decorativeness to your crafts.
How to Incorporate French Knots for Textured Embellishments
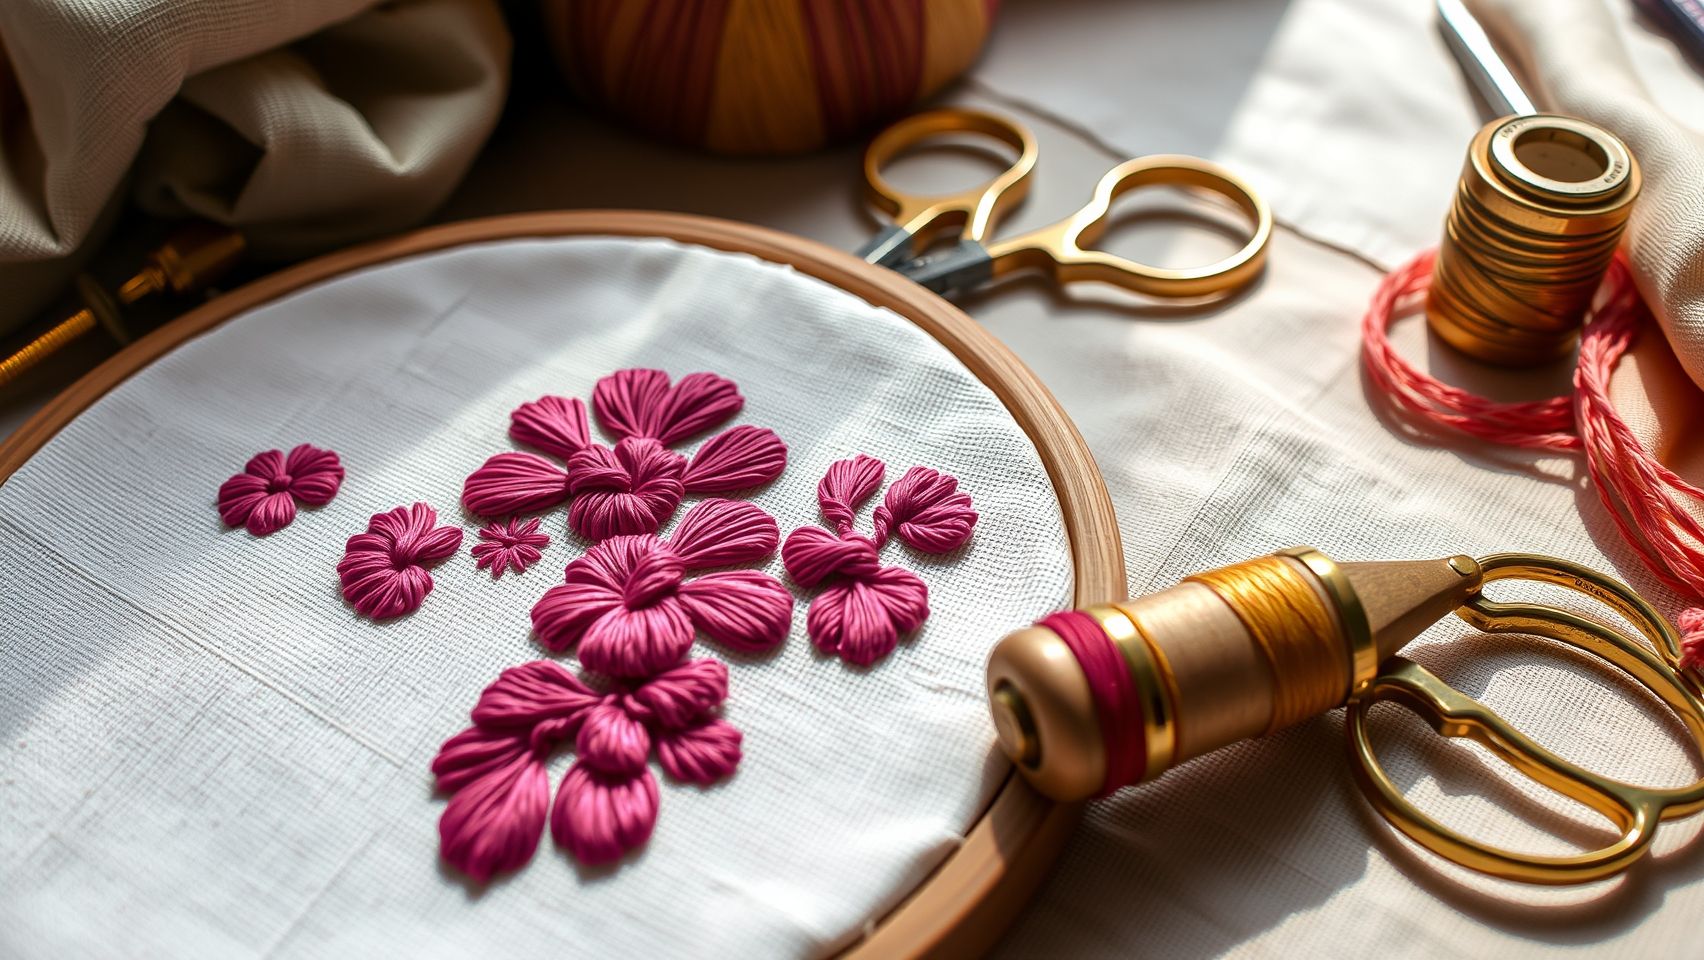
French knots are a versatile embroidery stitch that add delightful texture and dimension to your projects. Their popularity stems from their ability to create intricate floral designs, decorative accents, and elegant lettering. Mastering French knots can elevate your hand embroidery work, making it look more professional and visually appealing. In this section, you’ll find a practical, step-by-step tutorial designed to help beginners achieve clean, tight knots for stunning embellishments.
Tools Needed
Gather a few simple tools to get started: an embroidery needle, colorful embroidery floss, and a small embroidery hoop. The hoop helps keep your fabric taut, ensuring even stitches and better control. Brightly colored floss provides vibrant accents, making your knots stand out beautifully. Using quality tools ensures that practicing and mastering French knots becomes easier and more enjoyable.
Step-by-Step Instructions
- Insert the needle from the backside of your fabric and pull it through to the front at your desired knot location.
- Wrap the floss around the needle twice close to the fabric’s surface. Keep the wraps snug but not too tight.
- Hold the wrapped floss in place with your thumb or finger near the needle’s eye to maintain tension.
- Pull the needle slowly and steadily through the fabric, creating a tight knot. Keep an even tension during this step to prevent loose or too tight knots.
Visual aid: A short GIF loop demonstrating each step vividly can be incredibly helpful. It should show the needle insertion, wrapping, and pulling through to form a perfect French knot.
Tips for Consistency and Troubleshooting
Maintaining even tension is key to producing uniform French knots. Too loose, and the knots will be floppy; too tight, and they may pucker or distort the fabric. Practice on scrap fabric to refine your technique, focusing on how tightly you wrap and pull through. If the knots are too loose, tighten your tension gradually. If they’re too tight or pucker, loosen your grip slightly and reattempt.
Creative Uses and Applications
Once comfortable, incorporate French knots into floral patterns or letter embellishments to enhance visual interest. For example, creating flower centers or adding dimensional highlights to petal tips can make your designs pop. Experiment with different thread colors and sizes to achieve various textures and effects, making your projects more dynamic and eye-catching.
Research Insights and Trends
Recent industry reports highlight the enduring popularity of French knots for their capacity to add depth without complex machinery. Their tactile quality aligns with current trends favoring handcrafted, textured detail. Trends indicate that mastering tension and wrapping techniques leads to more polished and professional-looking embroidery, which is increasingly valued by both hobbyists and professional designers alike.
Choosing the Right Equipment and Supplies for Hand Embroidery
Embroidery quality and efficiency greatly depend on selecting the right tools and materials. Investing in high-quality equipment not only enhances stitch neatness but also improves the durability and overall appearance of your projects. Whether you’re a beginner or an experienced embroiderer, understanding the essentials can help troubleshoot common issues and elevate your craft.
Embroidery Hoops and Frames
The foundation of any neat embroidery work is proper tension, which is maintained through well-chosen hoops or frames. Typically, wooden or plastic hoops come in sizes ranging from 4 to 10 inches, allowing you to work on various project scales. A good hoop provides stability, ensuring your fabric remains taut, preventing puckering, and making stitches more even. Recent market analysis indicates increasing demand for adjustable hoops that accommodate different fabric thicknesses, which is particularly beneficial for complex or layered designs. Opt for hoops with smooth edges to avoid fabric damage and consider larger sizes for expansive projects to minimize repositioning.
Needle Selection
Choosing the right needle is crucial for stitch quality. Sharp embroidery needles in sizes #7 to #9 are ideal for most general purposes, offering a balance between precision and ease of threading. Larger needles are better suited for decorative stitches or thicker threads, while finer needles are advantageous for delicate fabrics. Recent reviews emphasize that high-quality needles with polished eyes reduce thread breakage and facilitate smoother stitching, ultimately improving project consistency.
Threads and Stabilizers
High-quality embroidery floss, such as Aurifloss with 270 color options, remains a top choice for vibrant, consistent color expression. For durability and specialized effects, resistant, eco-friendly, or metallic threads are increasingly popular. In delicate fabrics or complex designs, stabilizers become essential, with tear-away or wash-away options providing additional support. These tools help prevent fabric distortion and improve stitch clarity, especially in intricate work.
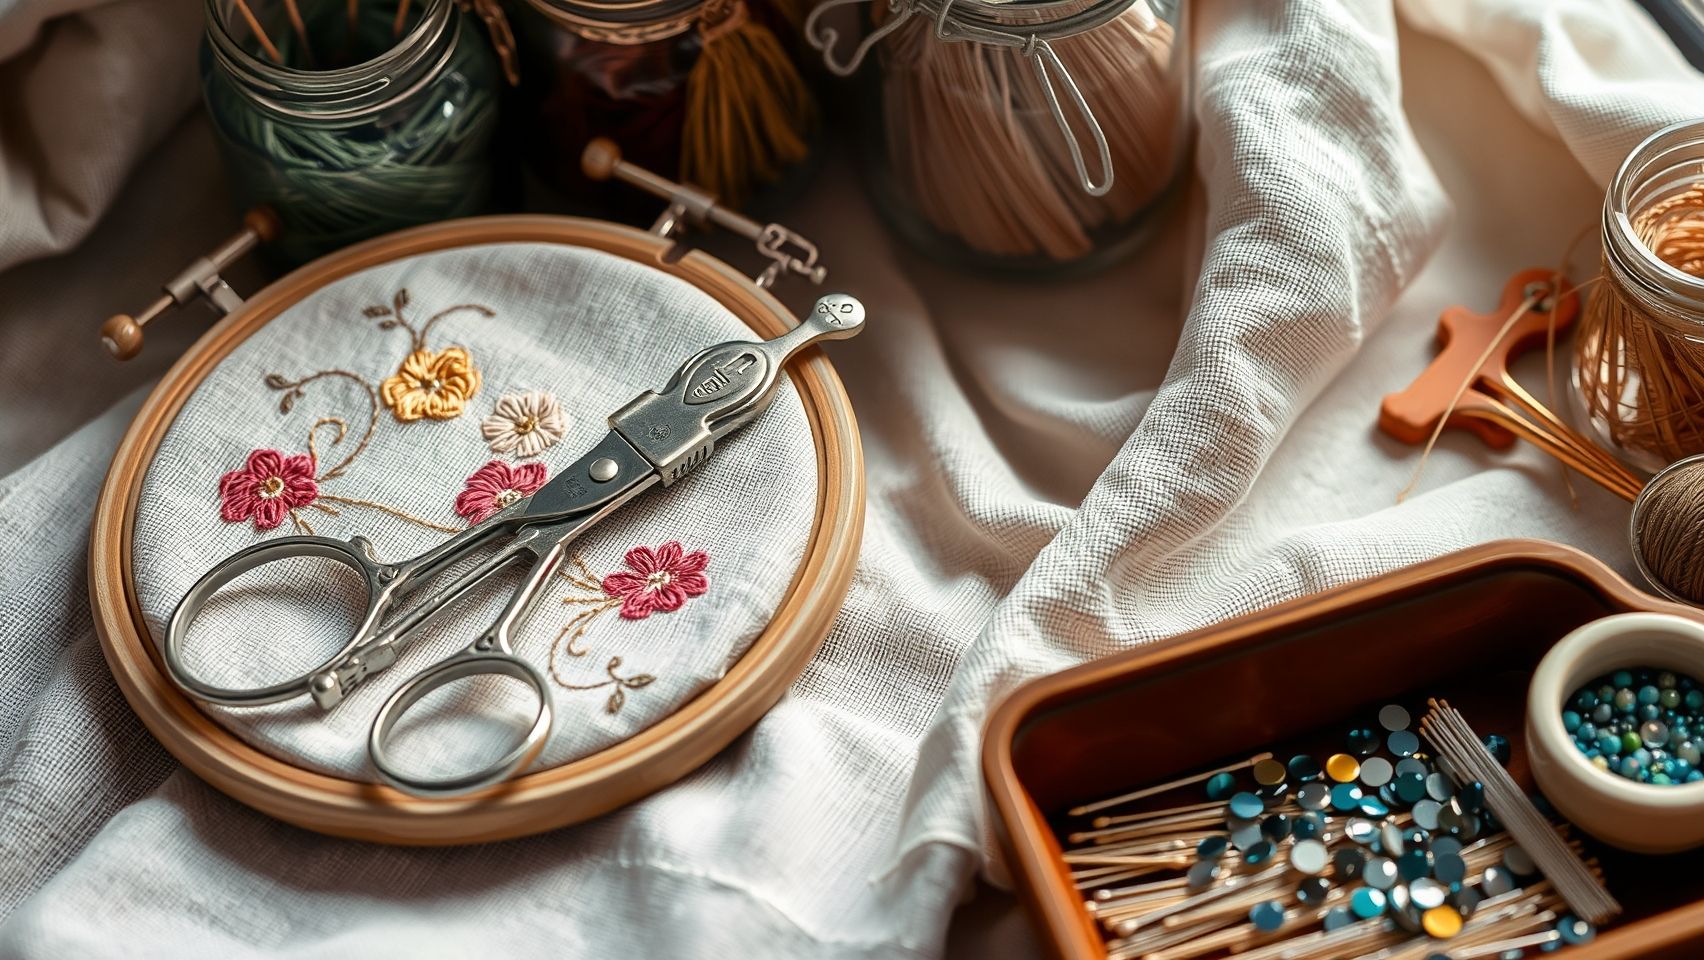
Additional Tools and Budgeting Tips
Precision tools like Japanese scissors from Cohana allow for clean, accurate cuts, reducing thread fraying and ensuring tidy finishes. Thread organizers and portable LED lights expand workspace ergonomics and efficiency. Starter kits costing between $20–$50 provide essential tools for beginners, while professional-grade equipment can exceed $200, offering advanced features such as adjustable tension and automatic threads. Recent industry data highlights that investing in quality tools yields better stitch neatness and longer project life, making it a worthwhile choice for dedicated embroidery enthusiasts.
Comparing Hand Embroidery Stitches: Strength, Use, and Best Applications
Choosing the right embroidery stitch is essential for achieving the desired aesthetic and durability in your projects. Different stitches offer unique strengths, textures, and suitability for various applications, from decorative accents to functional garments. Understanding these differences can help embroiderers select the optimal stitches for their specific needs.
French Knots
French knots are popular for adding tiny, textured dots that create intricate details in embroidery designs. Their main strength lies in their ability to provide dimensional accents, making them ideal for eyes, flower centers, or other decorative features. However, they are less durable for high-wear items, as excessive friction can loosen or pull the knots apart over time. Typically quick to execute, French knots require minimal resources, with floss costing around $10–$20 per project, making them a cost-effective choice for detail work.
Palestrina Stitch
The Palestrina stitch produces smooth, flowing lines, making it perfect for floral motifs and geometric patterns. It offers a high level of durability, suitable for embroidery on garments that require frequent washing or wear. Its moderate complexity ensures clean, elegant results, while still being manageable for most embroiderers with some practice. Like other basic stitches, it can be performed with standard embroidery floss within a similar cost range, providing excellent value for producing refined details.
Ukrainian Square Knot
The Ukrainian Square Knot offers a highly textured, three-dimensional appearance, often used for embellishments requiring more durability and visual impact. Although more complex to learn, it creates a bold, raised effect that enhances decorative projects. Its robustness makes it ideal for accessories or items subjected to frequent handling. This stitch balances cost (using standard floss) with labor effort, providing a durable embellishment option with significant visual texture.
Performance Comparison
Downloadable Resources and FAQs for Hand Embroidery
Embroidery enthusiasts and beginners alike can benefit from practical downloadable guides to enhance their stitching skills. These resources, such as detailed cheat-sheets and visual step-by-step instructions, make learning new stitches easier and more accessible. Additionally, understanding common questions about tools, techniques, and costs can help you start confidently and progress efficiently in your embroidery journey.
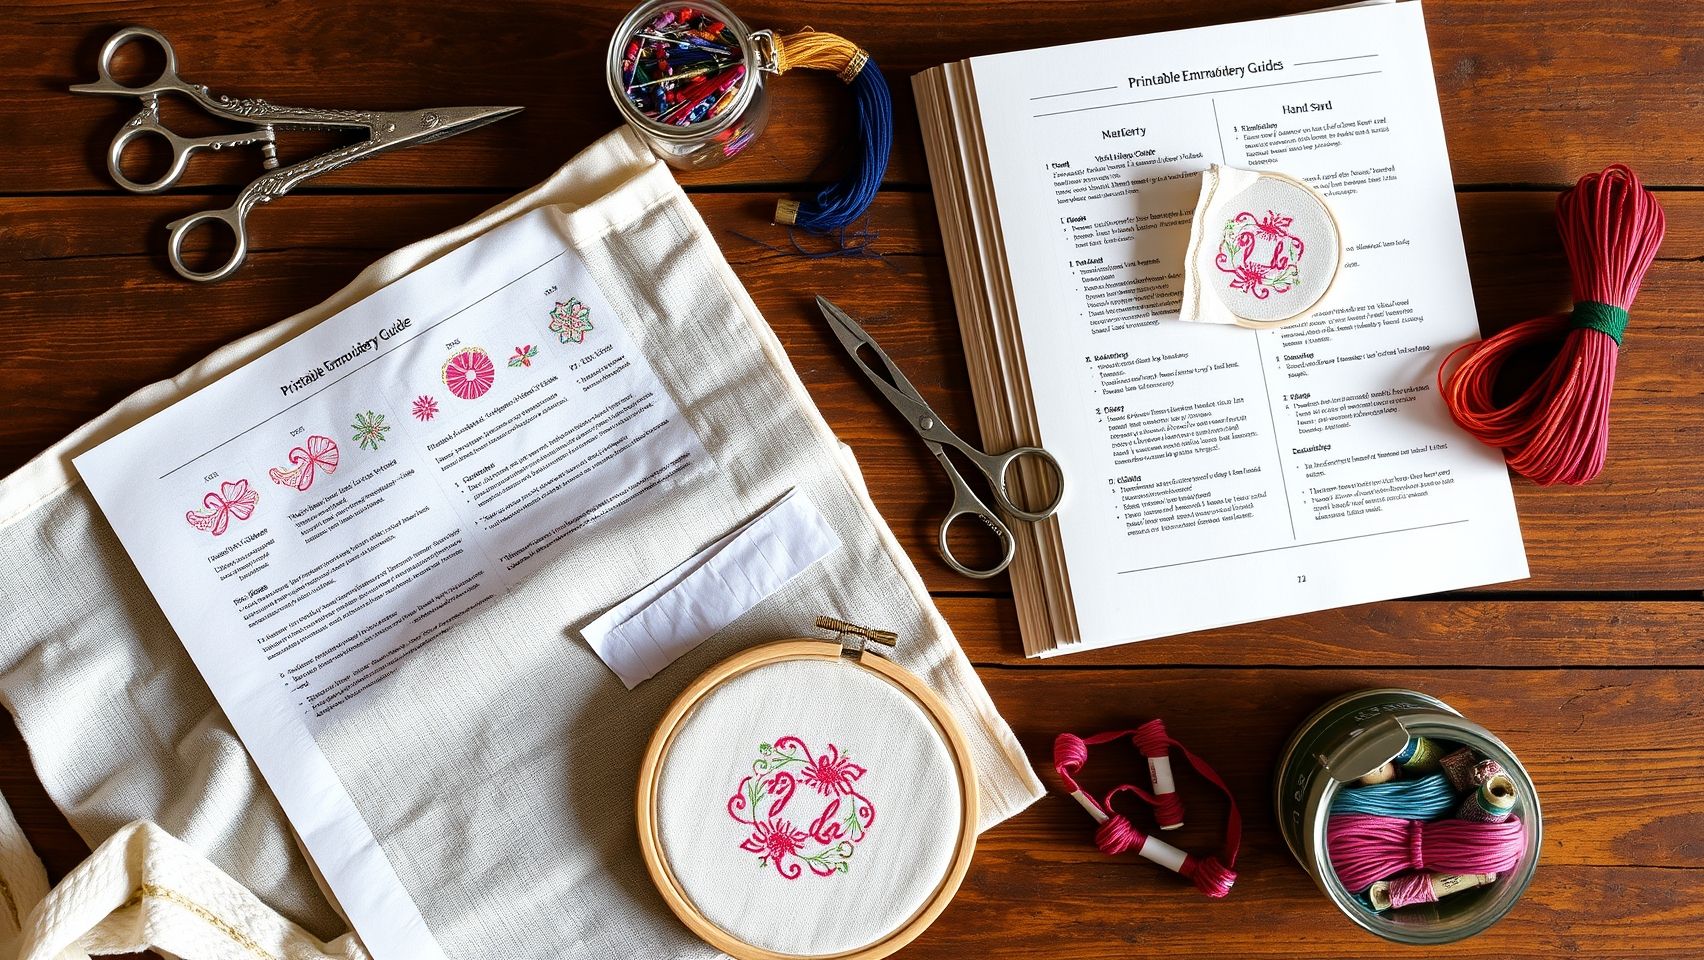
Printable Stitch Cheat-Sheet and Visual Guides
One highly recommended resource is a free printable pocket guide to embroidery stitches, which consolidates essential stitches with clear visuals and step-by-step instructions. You can access such guides as PDF files, making it easy to keep a handy reference while working on your projects. These cheat-sheets typically include all discussed stitches and can significantly reduce the need for constant searching for tutorials. An example is available from Stitched Stories, which offers downloadable visual guides perfect for beginners.
Video Demonstrations and Step-by-Step Tutorials
Alongside printable guides, short video tutorials—around 1 to 2 minutes—are invaluable for demonstrating stitch techniques. For example, a video explaining a basic stitch such as the backstitch or French knot can help you master the movements more effectively. These tutorials often accompany transcripts, enabling learners to follow along at their own pace. Search platforms like YouTube or craft sites offer high-quality videos to complement your learning.
Frequently Asked Questions (FAQs)
For more detailed tutorials and supplies, trusted sources such as DMC offer comprehensive diagrams and quality threads, while the Royal School of Needlework provides inspiration and advanced techniques to elevate your embroidery craft.
Conclusion
As you’ve discovered, mastering essential hand embroidery stitches like Palestrina, French knots, and Ukrainian Square Knot opens up a world of creative possibilities. These foundational techniques equip you to craft stunning, personalized projects that reflect your unique style and artistic expression. Using the right tools, practicing detailed stitches, and embracing continuous learning are key to achieving neatness, durability, and beauty in every piece.
Don’t wait to elevate your embroidery skills—take action today! Download our free stitch cheat-sheet, practice with the included video tutorial, and explore more inspiring tutorials on our website. Each project you undertake will boost your confidence and push your craftsmanship to new heights. Remember, embroidery is a journey of ongoing discovery and experimentation — so keep stitching, creating, and expressing yourself.
Your next masterpiece is just a stitch away. Happy embroidering!
284Yards Leather Sewing Waxed Thread-Practical Long Stitching Thread for Leather Craft DIY/Bookbinding/Shoe Repairing/Leather Projects
$6.99 (as of June 30, 2025 07:58 GMT -04:00 - More infoProduct prices and availability are accurate as of the date/time indicated and are subject to change. Any price and availability information displayed on [relevant Amazon Site(s), as applicable] at the time of purchase will apply to the purchase of this product.)
QCZKB 188 Embroidery Floss Set Including Cross Stitch Threads Friendship Bracelet String with 2-Tier Transparent Box, Floss Bobbins and Cross Stitch Kits
$12.99 (as of June 30, 2025 13:06 GMT -04:00 - More infoProduct prices and availability are accurate as of the date/time indicated and are subject to change. Any price and availability information displayed on [relevant Amazon Site(s), as applicable] at the time of purchase will apply to the purchase of this product.)
New brothread 12 Colors Variegated Polyester Embroidery Machine Thread Kit 500M (550Y) Each Spool for Brother Janome Babylock Singer Pfaff Bernina Husqvaran Embroidery and Sewing Machines-Assortment1
$14.99 (as of June 30, 2025 05:32 GMT -04:00 - More infoProduct prices and availability are accurate as of the date/time indicated and are subject to change. Any price and availability information displayed on [relevant Amazon Site(s), as applicable] at the time of purchase will apply to the purchase of this product.)
CABODYALS 12 Skeins 105 Yards Embroidery Floss Cross Stitch Threads 6 Ply Variegated Macaroon Friendship Bracelet String Floss Threads Bulk for Jewelry Making Bracelet Knitting Stitching Craft Supply
$6.29 (as of June 30, 2025 13:06 GMT -04:00 - More infoProduct prices and availability are accurate as of the date/time indicated and are subject to change. Any price and availability information displayed on [relevant Amazon Site(s), as applicable] at the time of purchase will apply to the purchase of this product.)
Mandala Crafts 4 Pack of Serger Threads Cones Spools - 40S/2 24000 Yards Polyester White Threads for Sergers Machine and Overlock Quilting Sewing Machine
$14.99 (as of June 30, 2025 07:58 GMT -04:00 - More infoProduct prices and availability are accurate as of the date/time indicated and are subject to change. Any price and availability information displayed on [relevant Amazon Site(s), as applicable] at the time of purchase will apply to the purchase of this product.)
JUKI DDL-8700 Industrial Straight Stitch Sewing Machine
$888.99 (as of June 30, 2025 13:06 GMT -04:00 - More infoProduct prices and availability are accurate as of the date/time indicated and are subject to change. Any price and availability information displayed on [relevant Amazon Site(s), as applicable] at the time of purchase will apply to the purchase of this product.)
Janome Memory Craft 550E Limited Edition 14x7.9" Embroidery Machine
$2,899.00 (as of June 30, 2025 13:06 GMT -04:00 - More infoProduct prices and availability are accurate as of the date/time indicated and are subject to change. Any price and availability information displayed on [relevant Amazon Site(s), as applicable] at the time of purchase will apply to the purchase of this product.)
NEW Juki DU-1181 SIngle Needle Walking Foot Complete w/ K.D. Stand & Servo Motor
$1,549.00 (as of June 30, 2025 13:06 GMT -04:00 - More infoProduct prices and availability are accurate as of the date/time indicated and are subject to change. Any price and availability information displayed on [relevant Amazon Site(s), as applicable] at the time of purchase will apply to the purchase of this product.)
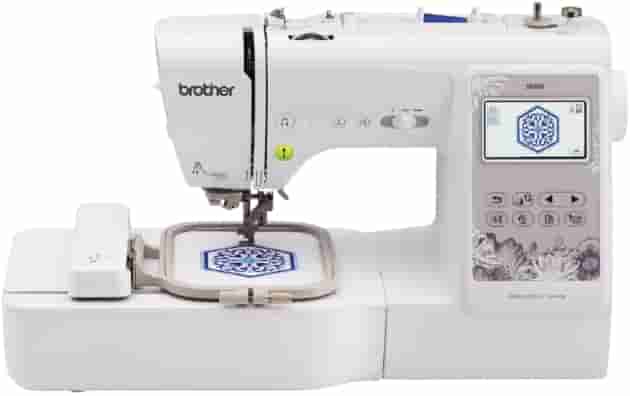
Brother PE900 Embroidery Machine, 5" x 7" Field Size, Cuts Jump Stitches, Wireless, WLAN, Includes Mr. Vac & Mrs. Sew - Embroidery Magic: Quick Start Video
$999.99 (as of June 30, 2025 13:06 GMT -04:00 - More infoProduct prices and availability are accurate as of the date/time indicated and are subject to change. Any price and availability information displayed on [relevant Amazon Site(s), as applicable] at the time of purchase will apply to the purchase of this product.)