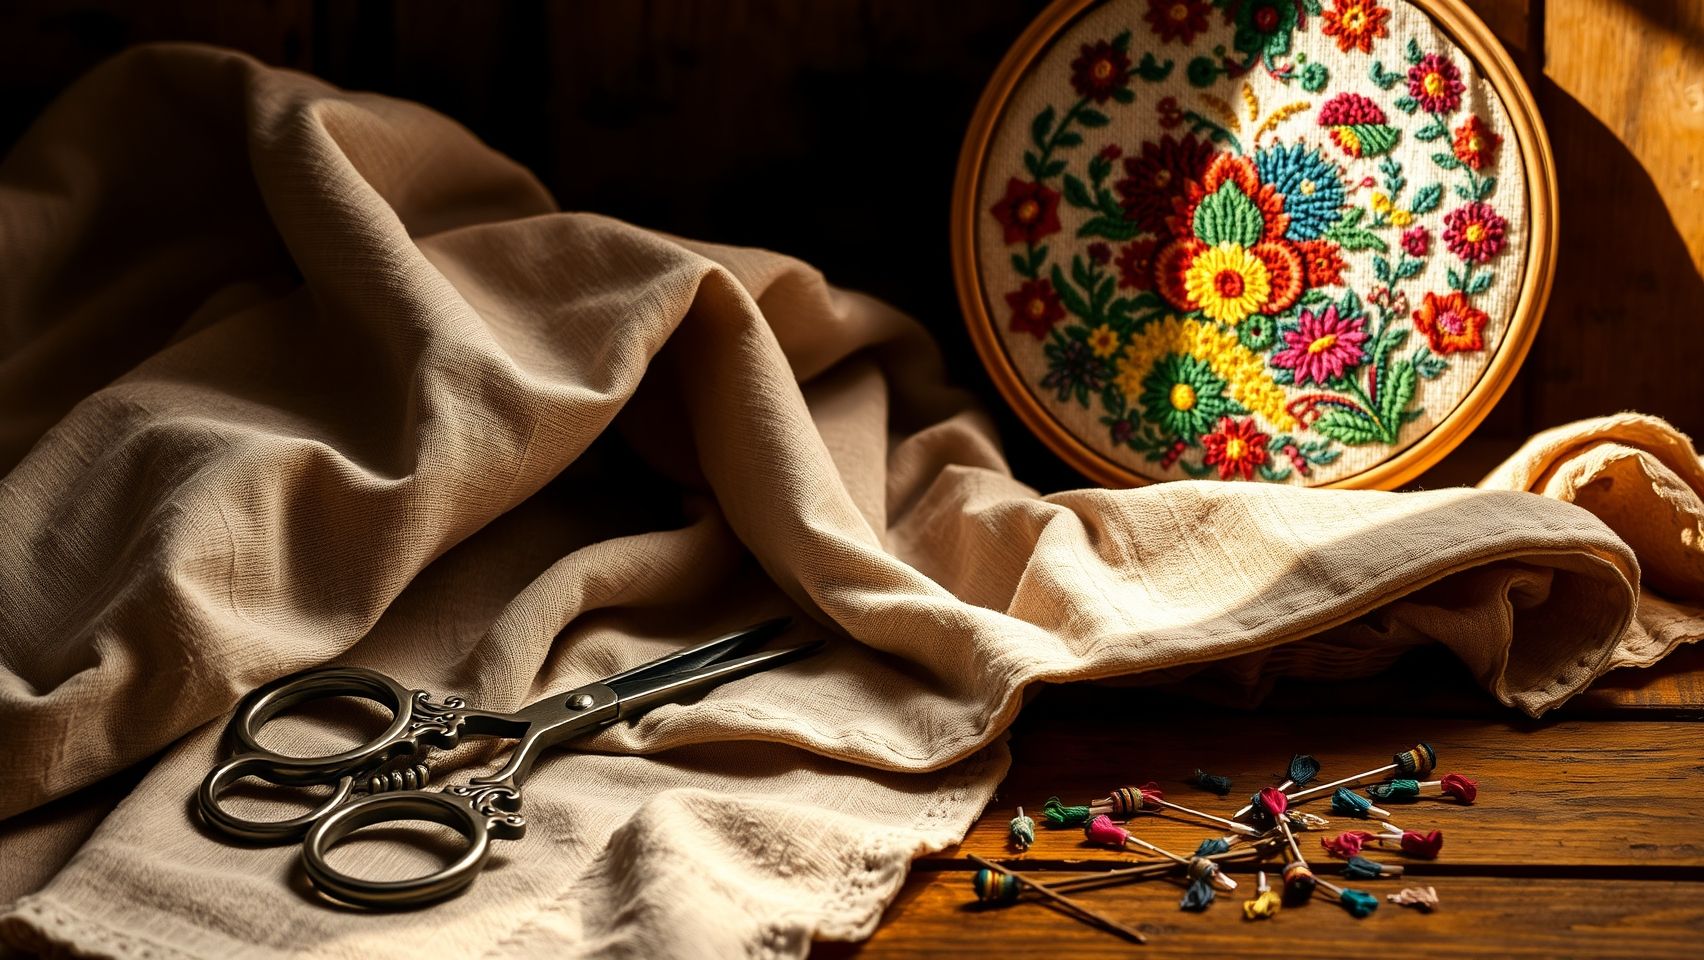
How to Master Applique Embroidery for Durable, Professional Results
Are you frustrated with uneven edges or fabric puckering in your applique projects? If so, you’re not alone. Many hobbyists and small business owners struggle with getting those clean, professional-looking finishes that stand up over time. The good news? Learning applique embroidery offers practical benefits—from creating durable, eye-catching designs to adding a personalized touch to your projects. Understanding common issues like fraying and poor durability can help you troubleshoot and improve your results quickly. This article will guide you through step-by-step techniques, highlight quick wins, and provide visual cues to transform your applique skills immediately. Plus, you’ll find tips on choosing the right materials and tools to ensure your stitches last. Whether you’re aiming for flawless edges or intricate motifs, mastering applique embroidery is a game-changer. Ready to elevate your craft? Let’s dive into the techniques that will make your projects more professional and long-lasting than ever before.
Understanding applique, patch, and in-the-hoop embroidery: What’s the difference?
Embroidery techniques have evolved to offer a variety of methods suited for different projects, each with distinct processes, tools, and outcomes. Knowing the differences between applique, patch, and in-the-hoop embroidery helps crafters select the right technique for durability, appearance, and complexity.
This comparison clarifies how each method works, their typical uses, and their advantages, guiding you toward the best choice for your embroidery projects.
What is applique, patch, and in-the-hoop embroidery?
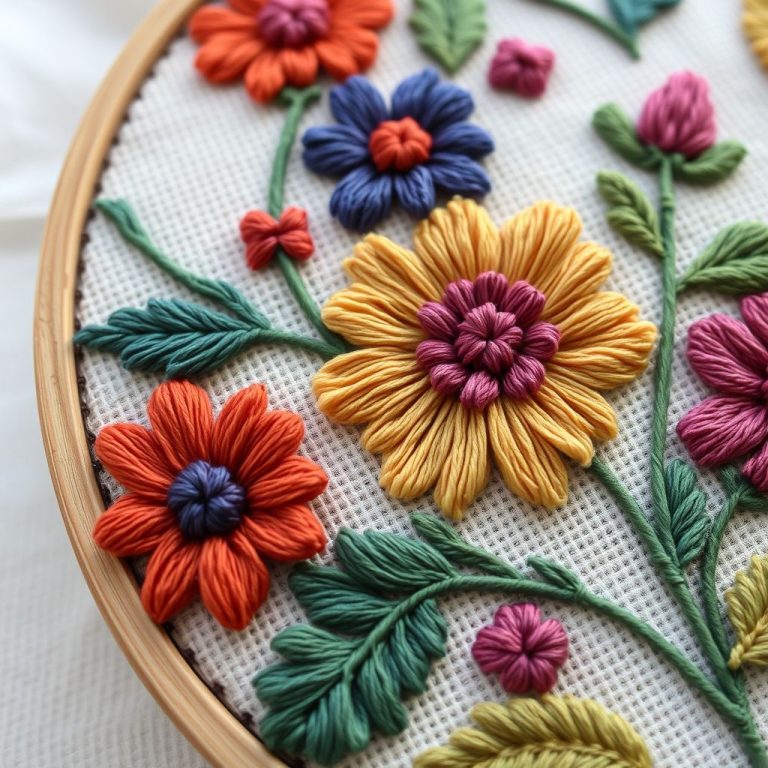
Applique embroidery involves layering fabric cutouts onto a base fabric and sewing them down, creating intricate layered designs. It’s ideal for decorative accents, children’s garments, and artistic patterns that require depth and texture.
Patches are pre-made fabric pieces, often with adhesive backing or sewn edges, used primarily for repairs or branding on garments. They are usually thicker and designed for durability.
In-the-hoop embroidery is a technique where entire designs, often complex and multi-part, are sewn within a hoop in a single process. This method minimizes manual sewing, making it suitable for detailed items like multi-piece domes, boxes, or detailed appliqué layers made directly within the embroidery machine’s hoop.
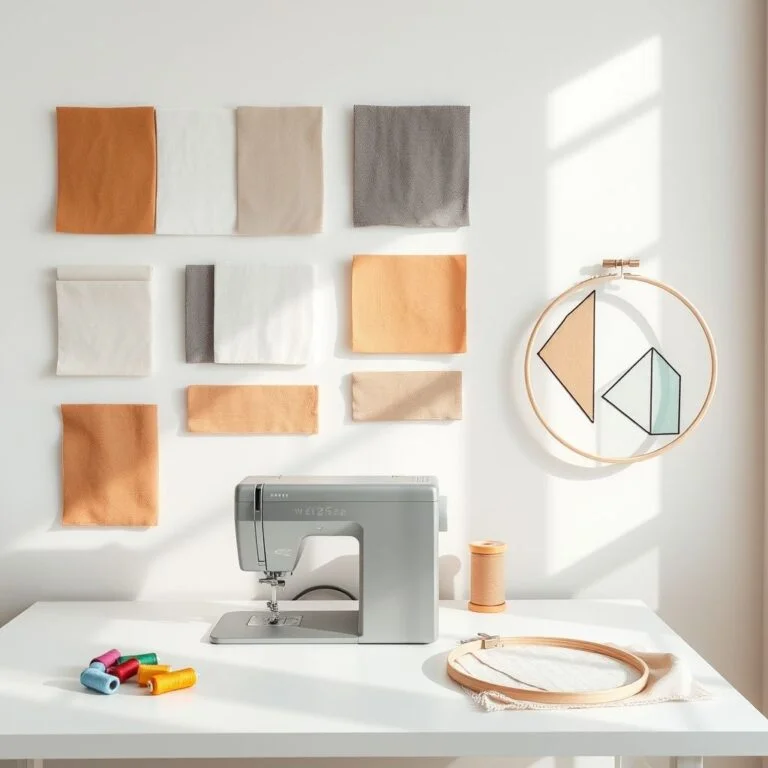
Visual Comparison of Techniques
Typical Uses and Benefits
Applique is perfect for layered, colorful designs on clothing, accessories, and craft projects, providing a textured and professional finish. It allows for creative freedom with fabric choices and intricate details.
Patches serve a functional purpose, offering durable solutions for garment repairs or embellishments. They are convenient for quick customization or branding.
In-the-hoop embroidery excels at making complex, multi-part projects with minimal manual sewing—ideal for personalized gifts, decorative storage solutions, or detailed craft items that demand precision and efficiency.
Key Differences: Durability, Technique, and Practicality
- Applique offers excellent surface durability and a layered look but requires more skill and stabilization to prevent fraying.
- Patches prioritize durability and ease, often sewn or ironed onto surfaces, best for repairs and branding.
- In-the-hoop provides high precision for complex designs and consistent results, suitable for repetitive production but may involve a steeper learning curve for intricate projects.
Tools Needed for Each Method
- Fusible web or interfacing for applique and in-the-hoop designs
- Stabilizers appropriate for fabric types and project complexity
- Embroidery hoops matching project size
- Pre-made patches or fabric scraps for applique
- Specialized software for designing in-the-hoop projects
Choosing the right technique depends on your project goals—whether you prioritize texture, durability, or efficiency. By understanding these differences, you can select the best method to achieve professional, lasting results in your embroidery endeavors.
Step-by-step guide to raw-edge applique with zigzag stitching

Raw-edge applique is a popular embroidery technique that combines fabric shapes with machine stitching to create textured, durable designs. This practical guide will walk you through each essential step—from fabric and machine preparation to achieving professional, long-lasting results using zigzag stitching. Whether you’re just starting or refining your applique skills, mastering stitch settings and proper materials will ensure your projects look polished and hold up over time.
Recent embroidery trends for 2024 emphasize the importance of precise stitch density and quality stabilization to prevent fraying and ensure durability, making this a perfect time to optimize your raw-edge applique technique with updated machine settings and materials.
Preparation: Selecting fusible web, stabilizer, fabric types, and needle sizes
Begin by choosing a high-quality fusible web designed for applique. Popular options include lightweight yet strong webs that provide firm adhesion without stiffening the fabric. For stabilizers, use a medium-weight tear-away or cut-away type to support your base fabric during stitching. This reduces puckering and distortion, especially with zigzag stitches.
Fabric choice matters: cotton and quilting fabrics with tight weaves are ideal, as they cut cleanly and press well. For raw-edge applique, fabric edges will be exposed, so select fabrics that fray minimally or use quality fusible web to secure edges. Needle size should correspond to your fabric weight—generally, a size 75/11 or 80/12 embroidery needle works well for medium-weight cottons, ensuring clean penetrations without damage.
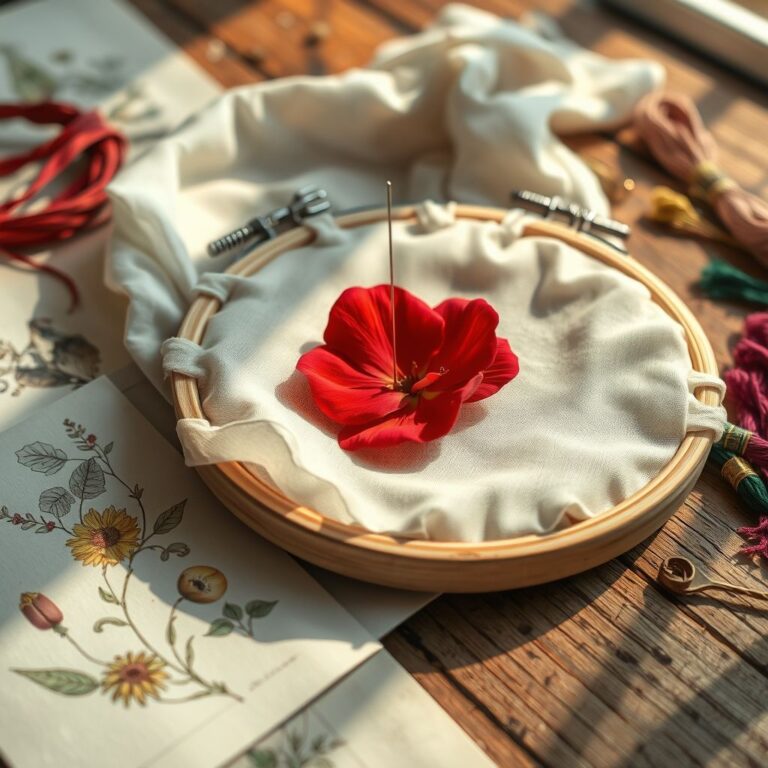
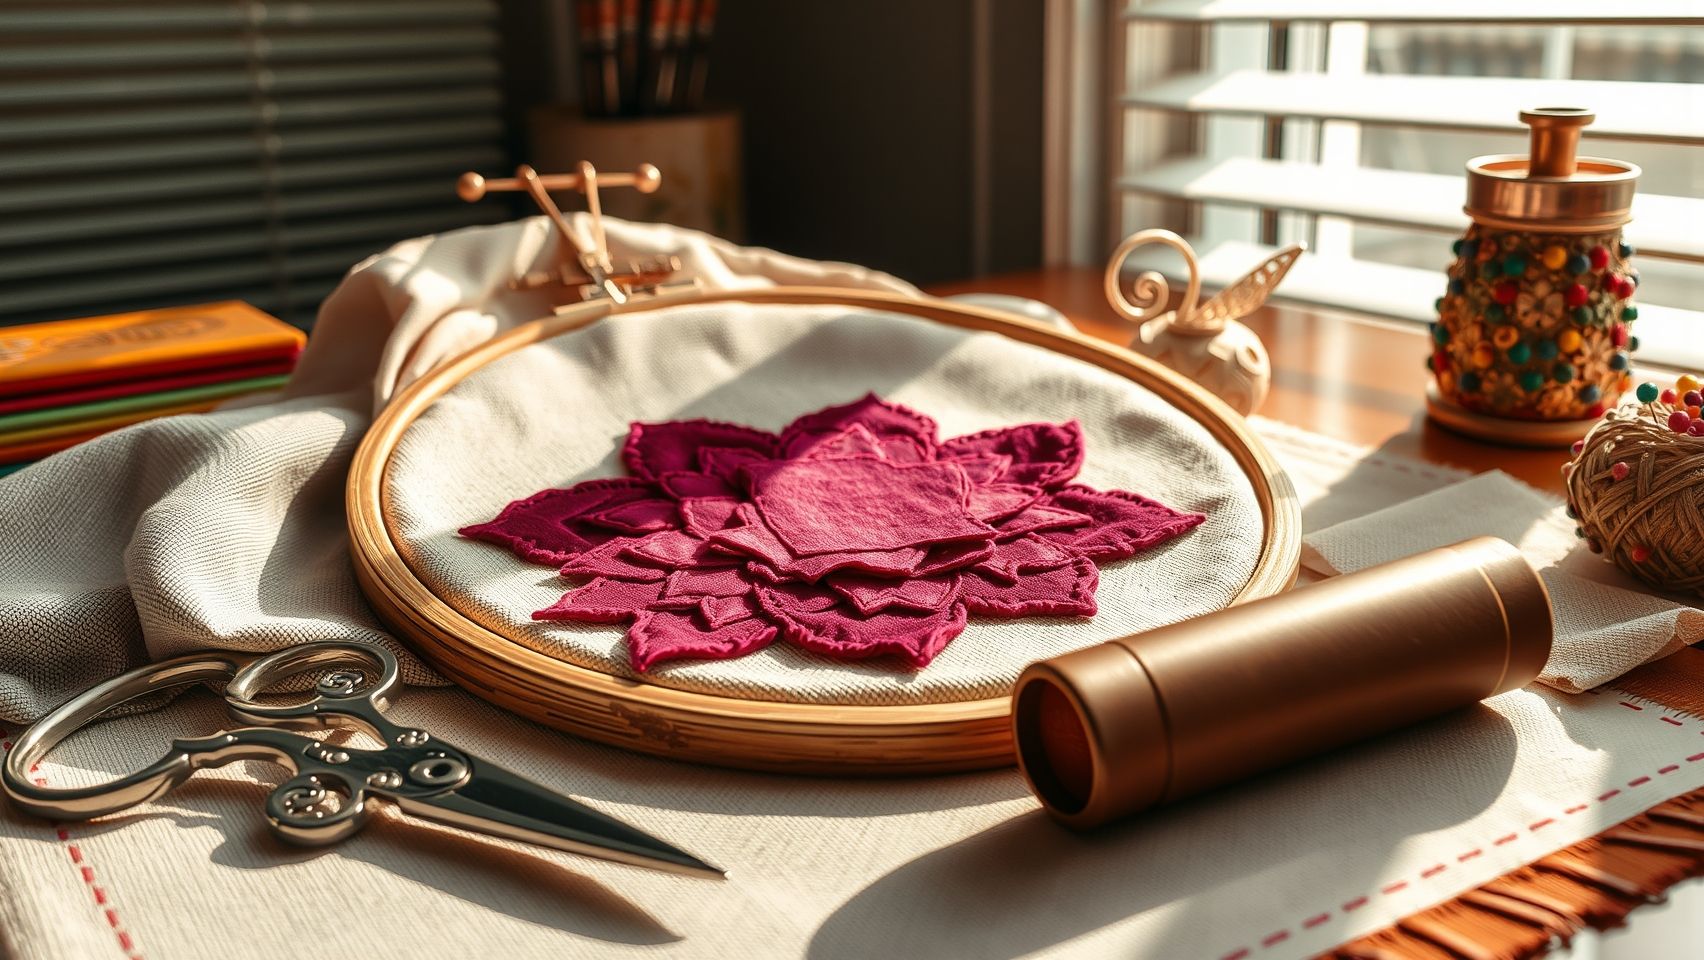
Step 1: Cutting applique shapes accurately using templates or cutting files
Precision in cutting shapes is critical. Use plastic templates or digital cutting files if you have a cutting machine. Trace shapes onto fabric with washable markers or cut directly using sharp scissors or rotary cutters. Accurate shapes ensure smooth edges and ease of placement on your base fabric. Remember that raw-edge applique leaves edges visible, so neat cutting prevents excessive fraying.
Step 2: Applying fusible web with a hot iron, ensuring full adhesion
Fuse your applique fabric pieces by following the fusible web manufacturer’s guidelines—typically pressing with a hot, dry iron for 10-15 seconds with firm pressure. Be sure to cover the fabric completely for full adhesion, avoiding gaps or bubbles. Completing this step thoroughly helps maintain stability during stitching and wash cycles.
Step 3: Positioning applique on the base fabric securely in the hoop
Place the base fabric on a suitable stabilizer for support, then position your fused applique shapes precisely where desired. Hoop the fabric and stabilizer tightly to prevent shifting, ensuring the applique sits flat. Light adhesive sprays or pins can help keep pieces from moving while stitching but avoid bulky pins near the sewing area to prevent needle breaks.
Step 4: Setting machine with a zigzag stitch, adjusting stitch width and stitch density
For raw-edge applique, the zigzag stitch is the most effective for securing edges and preventing fraying. Set your machine to a zigzag stitch with a width between 2.5mm and 3mm. Stitch density (the length of stitches) should be between 0.4mm and 0.6mm; denser stitches provide better edge coverage and durability but avoid making stitches too tight to prevent fabric puckering.
Choose a thread color closely matching your applique fabric for a clean finish or contrasting thread for decorative effects. Use high-quality polyester or rayon embroidery thread for strength and sheen. Modern embroidery machines offer fine-tuning for stitch density and width, which is crucial for balancing durability and aesthetics in raw-edge applique.
Step 5: Stitching around edges, maintaining consistent speed
When stitching, maintain an even speed to keep the stitch length uniform. Allow your machine to guide the fabric gently; use your fingertips—not your hands—to steer the fabric smoothly along the applique edges. This practice prevents jagged edges or skipped stitches. Stitch slowly around curves and corners for precision.
Following these detailed steps ensures your raw-edge applique projects become durable works of art, combining professional finishing techniques with the creative freedom that applique embroidery offers.
Essential tools and machine settings for successful applique embroidery

Mastering applique embroidery requires the right combination of equipment, stabilizers, threads, and machine features. Choosing the appropriate tools ensures durable, professional results and helps streamline your workflow. With the growing market for embroidery equipment expected to reach USD 8.0 billion by 2034, investing in quality tools and settings is more important than ever to stay competitive and craft lasting designs.
Choosing the right embroidery machine
When selecting an embroidery machine for applique, focus on models that offer adjustable stitch density, multiple zigzag width options, and automatic thread cutting for precision finishing. Three popular choices are:
- Brother PE770 (~$1,200): Compact and budget-friendly, ideal for hobbyists and small projects with built-in patterns and easy-to-use features.
- Bernina 880 (~$8,000): High-end machine with advanced digitizing capabilities, exceptional stitch control, and versatile features suitable for professional applique work.
- Janome Memory Craft 500E (~$3,600): Balances affordability and advanced functionality, supporting large hoops and multiple design editing tools for intricate applique projects.
Recent updates in embroidery software and digitizing tools, such as Wilcom and Bernina’s software suite, enhance pattern creation and customization, ensuring your applique designs are precise and vibrant.
Choosing the right stabilizers
Stabilizers are critical for achieving durable and clean applique embroidery. Consider these options based on your project needs:
- Cut-away stabilizers: Provide maximum durability, especially for items subjected to frequent washes or heavy use. Ideal for dense applique designs.
- Tear-away stabilizers: Best for projects with lighter fabric or when minimal bulk is desired. Easy to remove after stitching.
- Water-soluble stabilizers: Suitable for delicate or intricate designs where a removable base is needed without leaving residue.
Using the best threads and setting machine configurations
For strength and washability, polyester threads are recommended as they resist fading and fraying. Match thread colors seamlessly with your fabric for a professional look. Set your machine to optimal stitch density—typically around 0.8 to 1.2 mm—adjusting as needed for fabric weight and thread type. Multiple zigzag width options allow you to secure fabric layers effectively, achieving smooth edges and preventing fraying. Modern machines often feature automatic thread cutters and programmable stitch sequences, which streamline the process and improve consistency.
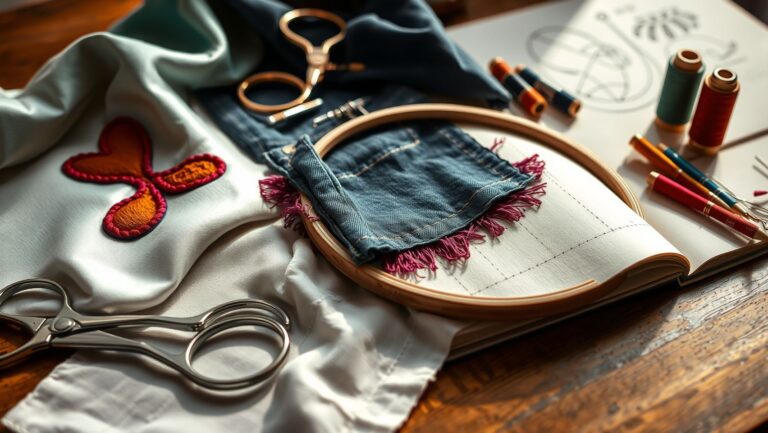
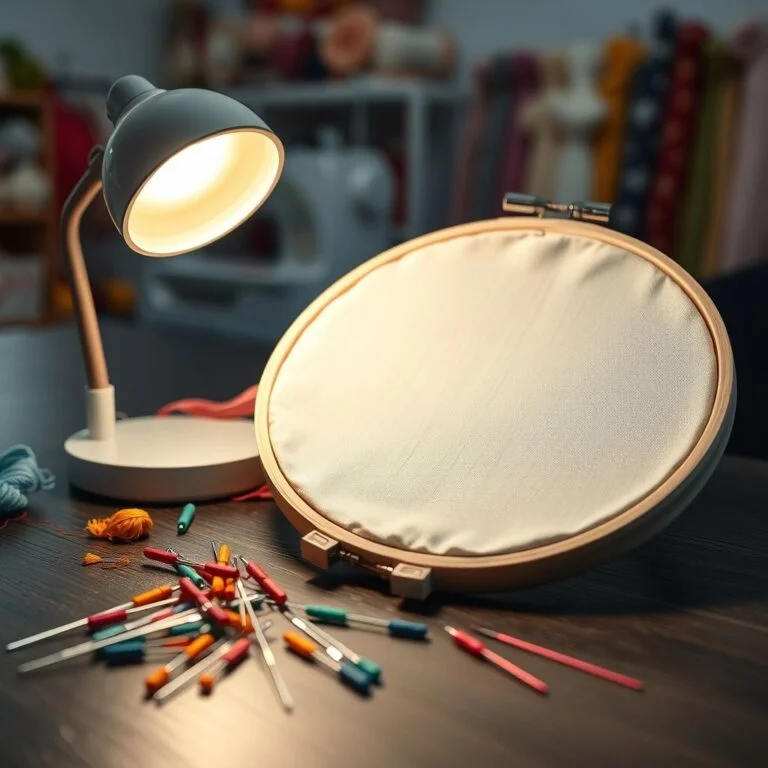
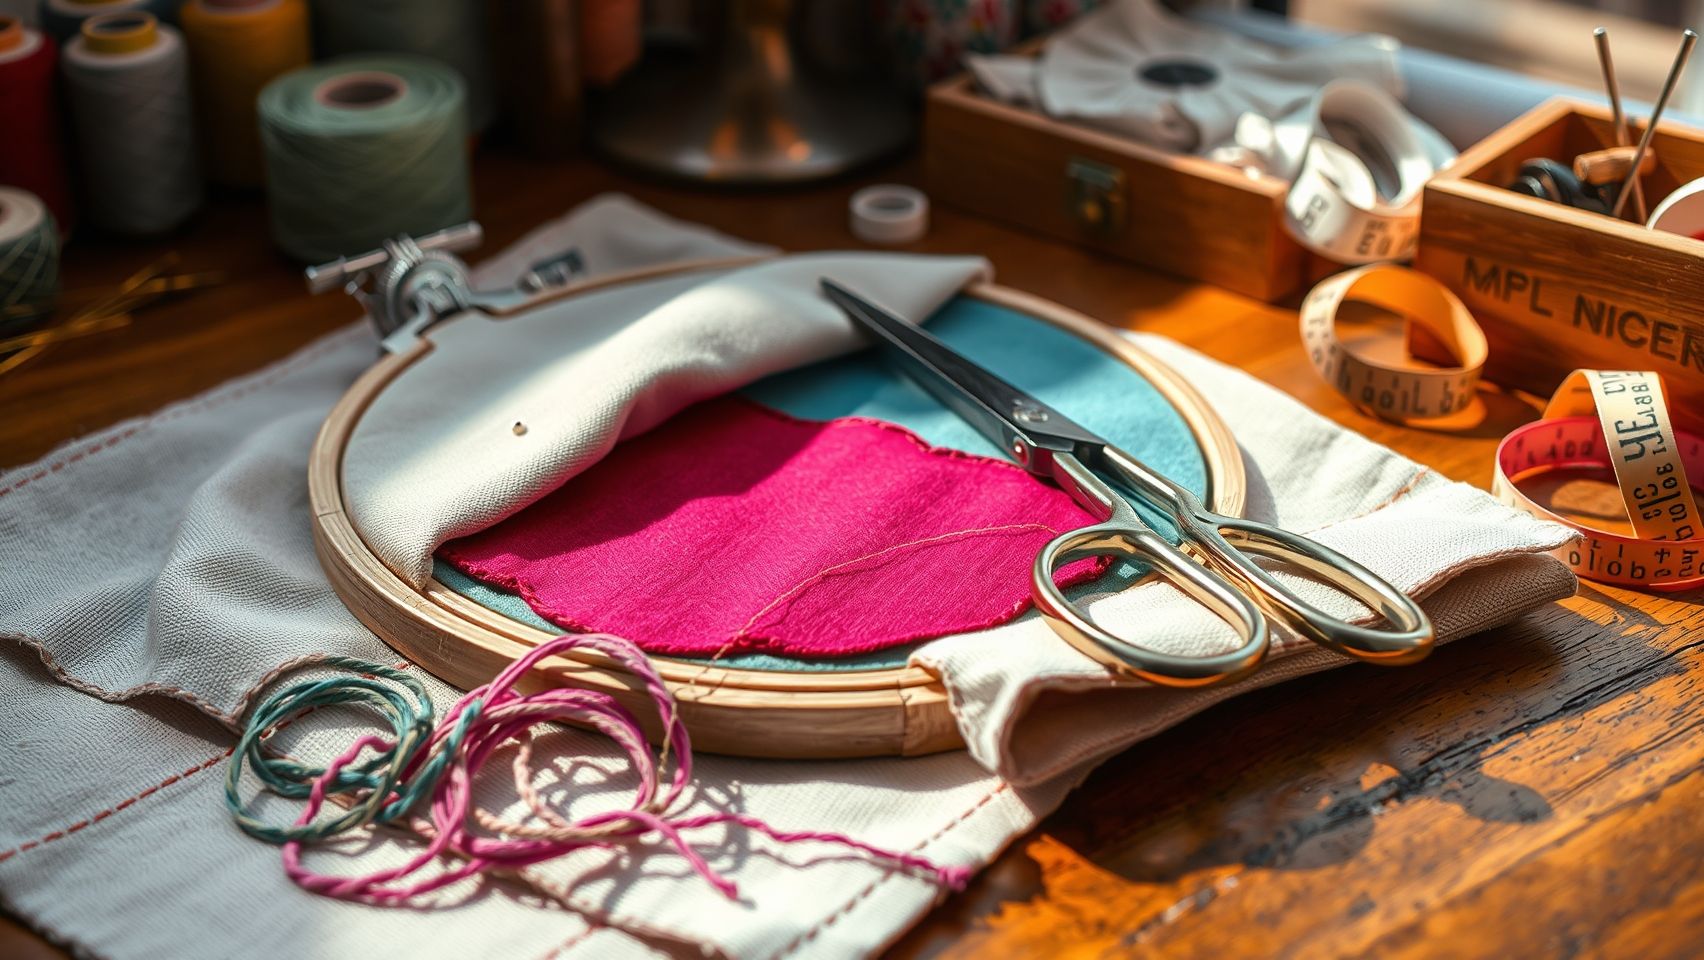
Tools for accuracy and setup tips
Achieve precision with applique templates, rotary cutters, and applique pressing sheets. Ensure your hoop size accommodates your design by considering the dimensions of your fabric and stabilizers. Proper hooping and stabilizer placement prevent puckering and misalignment. When setting up, stabilize the fabric evenly and position the hoop tightly for uniform stitching. Regularly calibrate your machine’s settings to match the fabric and thread choice, ensuring durable and crisp applique results.
Incorporating these tools and settings into your applique embroidery routine will elevate your craft, resulting in professional-quality, long-lasting designs that stand the test of time.
Troubleshooting Common Applique Embroidery Issues
Applique embroidery can produce stunning results, but it often presents challenges such as fraying edges, puckering, skipped stitches, and fabric shifting. Understanding how to troubleshoot these issues is essential for achieving durable, professional-quality results. This guide offers practical solutions to the most common problems faced by embroiderers today, supported by recent trends and industry insights.
Fraying Edges After Washing
One typical problem is raw edges fraying after multiple washes, which compromises the durability of your applique. The primary solution involves using fusible web and cut-away stabilizer. Fusible web adheres edges securely, preventing fraying, while a cut-away stabilizer provides a stable base that maintains shape and structure through laundering. Combining these materials ensures clean, durable finishes that withstand frequent washing and usage.
Unpuckered or Uneven Edges
Puckering often results from incorrect tension settings, inappropriate stabilizer types, or loose hooping. To remedy this, always check and adjust your machine’s tension settings—reducing tension can minimize puckering. Select a stable, high-quality stabilizer compatible with your fabric, such as heavier cut-away types for thicker materials. Additionally, ensure the hoop is tightened securely but not overly so, to maintain fabric tautness during stitching. Testing on scraps helps fine-tune these settings before your main project.
Skipped Stitches or Broken Threads
Skipped stitches and thread breaks hinder both the appearance and durability of applique work. Verify that you’re using the correct needle type—sharp needles designed for complex embroidery and thicker fabrics can prevent issues. Adjust stitch density; higher density can cause strain on threads, leading to breaks. Switching to high-quality threads, such as those from reputable brands, also reduces the likelihood of breakage and ensures consistent stitches. Regular machine maintenance, like cleaning the bobbin area, further prevents threading issues.
Fabric Shifting During Stitching
Shifting fabric results in misaligned applique shapes. To combat this, use a basting spray to temporarily secure the fabric in place. Proper stabilizer placement, ensuring it covers the entire design area, also prevents shifting. Some embroiderers prefer adhesive sprays or spray stabilizers for quick, secure attachment, especially on tricky fabrics. Always verify that the hoop is tight and that the fabric is smooth before stitching to maintain alignment.
Design Distortion
Design distortion occurs when the hoop is misaligned or when inappropriate hoop sizes are used. Confirm that your hoop aligns precisely with the design placement in your embroidery software. Using an embroidery hoop suited to your design size is crucial; too small or too large hoops can cause distortion. Double-checking hoop clamps and securing fabric tightly will help maintain the integrity of the design throughout the stitching process.
Quick Tips for Better Results
- Always test your settings on scraps before starting your main project.
- Keep your machine clean and well-maintained to prevent thread jams and tension issues.
- Choose stabilizers and threads suitable for your fabric type and project requirements.
- Regularly update your embroidery software to benefit from the latest features and improvements.
Top tips for washing durability and finishing your applique projects
Ensuring your applique embroidery projects remain vibrant and intact through many washes requires thoughtful choices in materials and techniques. Proper use of stabilizers, threads, and stitch methods significantly contributes to wash durability and the professional finish of your work. This section addresses common concerns about how applique holds up in the wash and provides reliable care tips to help your creations last.
By selecting the right materials and finishing steps, you can confidently create applique designs that withstand repeated use without fading, fraying, or distortion.
Choosing the Best Stabilizers for Wash Durability
The foundation of long-lasting applique embroidery lies in the stabilizer. Cut-away stabilizers are highly recommended for their durability as they remain in the fabric after stitching, providing continuous support and preventing distortion over time. Unlike tear-away stabilizers, which are removed after embroidery, cut-away stabilizers reinforce the design and help maintain shape through wash cycles. This makes them ideal for garments or items expecting frequent laundering.
Wash-away stabilizers can be useful in certain techniques, but for projects demanding longevity, a quality cut-away stabilizer is the superior choice.
Thread Selection: Polyester for Strong, Colorfast Results
Thread choice profoundly affects the resilience of your applique. Polyester threads are favored in the embroidery industry due to their exceptional strength and resistance to fading or fraying, even after multiple washes. Unlike cotton or rayon threads, polyester maintains its integrity and color vibrancy through repeated wash cycles.
Using high-quality polyester embroidery thread ensures your applique edges remain crisp and the colors stay bright, providing a professional finish that lasts.
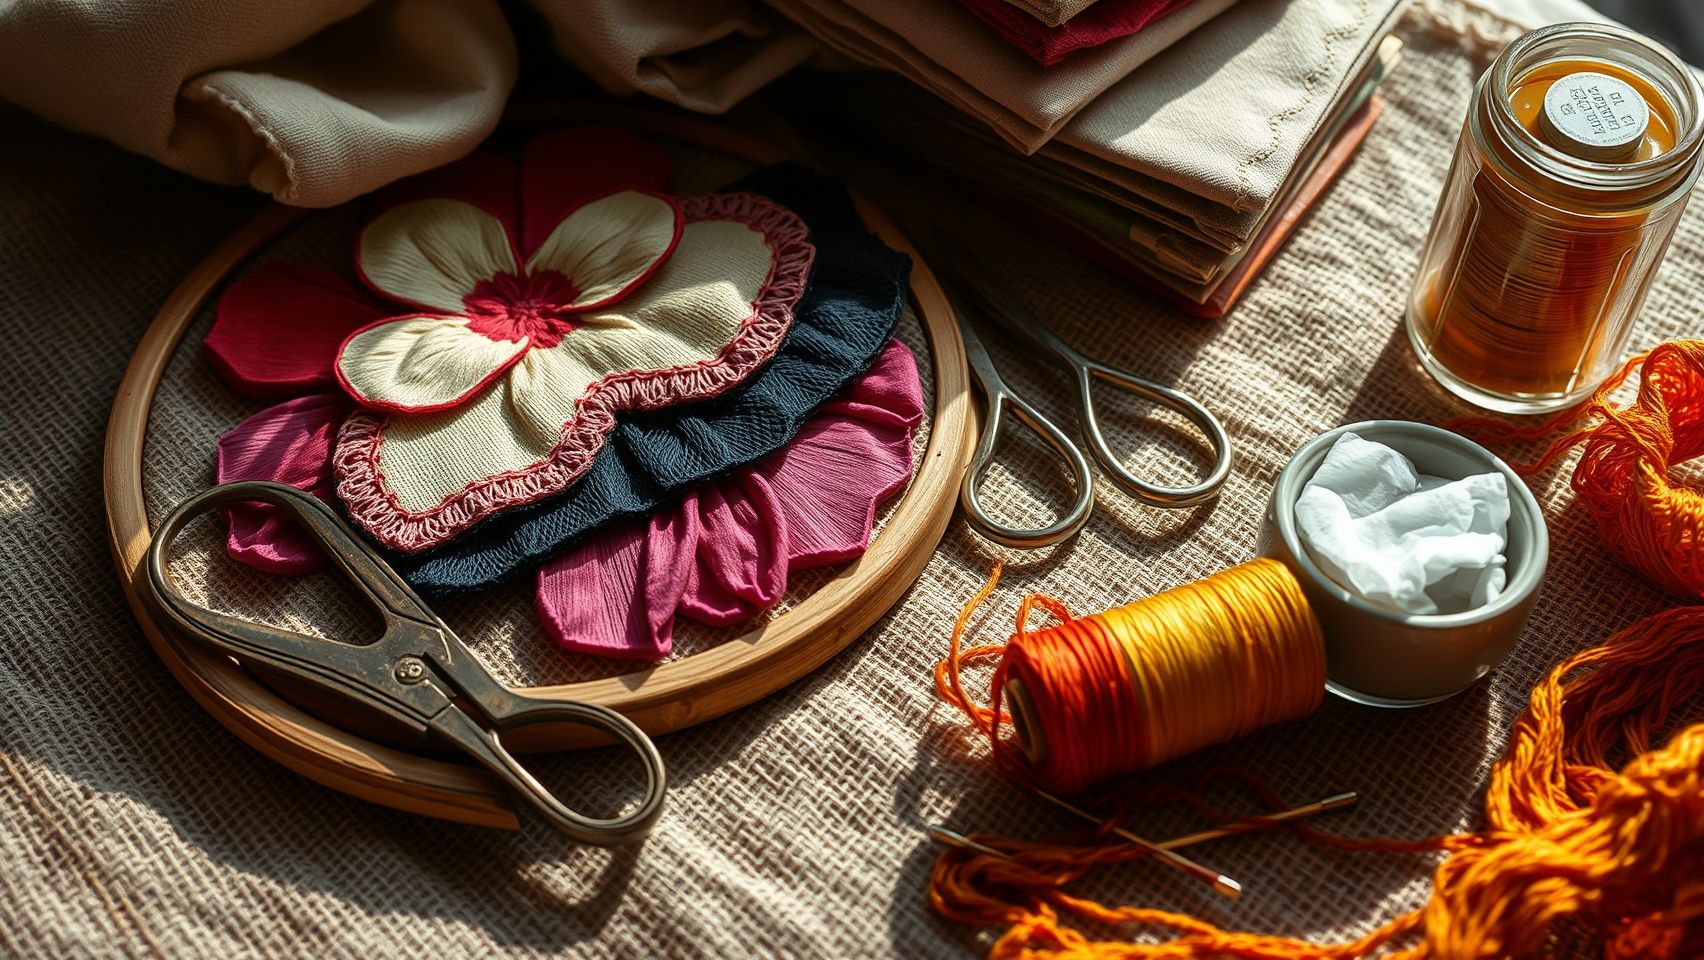
Stitch Techniques to Reinforce Edges
Incorporating stitch techniques that enhance durability is essential. Increasing stitch density, or the number of stitches per inch, creates a tougher edge less prone to unraveling. A zigzag stitch is commonly used to outline applique pieces, offering extra reinforcement against wear and tear. This stitch pattern securely folds the applique fabric edges into the background fabric, minimizing raw edges’ exposure to washing abrasion.
Using these stitching strategies not only strengthens the applique but also gives a polished, clean appearance.
Washing and Post-Wash Care Recommendations
To prolong the life of your applique, follow these care instructions:
- Wash on a gentle cycle with cold water to reduce agitation and color fading.
- Avoid harsh detergents and bleach, which can degrade fibers and thread.
- Air drying is preferable, but if using a dryer, choose a low-heat tumble setting to prevent shrinkage or damage.
- After washing, press the applique with a cloth over the surface and a moderate iron setting to avoid scorching or flattening delicate stitches.
With proper materials and care, applique projects can typically withstand 20-30 wash cycles without noticeable degradation.
Summary Table: Stabilizer Types and Thread Durability
Conclusion
Mastering applique embroidery is an exciting journey that combines creativity with technique to produce durable, professional-quality designs. Throughout this article, you’ve learned the importance of selecting the right materials, mastering stitch techniques, and troubleshooting common challenges to ensure your applique projects hold up beautifully through washing and everyday use. With careful attention to fabric choice, stabilizer selection, and stitch precision, you can elevate your embroidery work to a truly polished finish.
To keep improving and experimenting, download our free applique embroidery files and follow our detailed step-by-step tutorials. Don’t hesitate to try different stabilizers and stitch styles until you find the perfect combination that suits your unique projects. For those ready to invest in reliable equipment, be sure to visit our ‘best embroidery machine for applique’ guide to choose the right tools to support your creative ambitions.
The key to success in applique embroidery lies in practice, patience, and the willingness to explore new techniques. Start applying what you’ve learned today, and watch your projects transform with each stitch. Your journey toward professional, lasting applique designs begins now—embrace it with confidence and creativity!

Friendship Bracelet String 50 Skeins Fashionable Rainbow Color Embroidery Floss Cross Stitch Embroidery Thread Cotton Floss Bracelet Yarn, Craft Floss
$5.99 (as of June 30, 2025 07:58 GMT -04:00 - More infoProduct prices and availability are accurate as of the date/time indicated and are subject to change. Any price and availability information displayed on [relevant Amazon Site(s), as applicable] at the time of purchase will apply to the purchase of this product.)
Simthread 63 Brother Colors Polyester Embroidery Machine Thread Kit 40 Weight for Brother Babylock Janome Singer Pfaff Husqvarna Bernina Embroidery and Sewing Machines 550Y
$46.99 (as of June 30, 2025 13:06 GMT -04:00 - More infoProduct prices and availability are accurate as of the date/time indicated and are subject to change. Any price and availability information displayed on [relevant Amazon Site(s), as applicable] at the time of purchase will apply to the purchase of this product.)
Ftyiwu Waxed Thread 32 Yards, Leather Sewing Waxed Thread with Hand Sewing Needles for Home Upholstery Carpet Leather Canvas Repair and Sewing (Black)
$4.99 (as of June 30, 2025 07:58 GMT -04:00 - More infoProduct prices and availability are accurate as of the date/time indicated and are subject to change. Any price and availability information displayed on [relevant Amazon Site(s), as applicable] at the time of purchase will apply to the purchase of this product.)
Mandala Crafts Bonded Nylon Thread Black Heavy Duty Sewing Threads - 1500 YDs Size 69 210D T70 Tex 70 Thread for Leather Jeans Weaving Outdoor Marine Upholstery Threads
$9.99 (as of June 30, 2025 07:58 GMT -04:00 - More infoProduct prices and availability are accurate as of the date/time indicated and are subject to change. Any price and availability information displayed on [relevant Amazon Site(s), as applicable] at the time of purchase will apply to the purchase of this product.)
New brothread 20 Assorted Colors Metallic Embroidery Machine Thread Kit 500M (550Y) Each Spool for Computerized Embroidery and Decorative Sewing
$26.99 (as of June 30, 2025 05:32 GMT -04:00 - More infoProduct prices and availability are accurate as of the date/time indicated and are subject to change. Any price and availability information displayed on [relevant Amazon Site(s), as applicable] at the time of purchase will apply to the purchase of this product.)
Navona 30Ft x 1 Inch Hook and Loop Strips with Adhesive, Double Rolls of Heavy Duty Self Adhesive Tape with Backing, Nylon Self Adhesive Tape for Home Office School and Crafting,Black
$9.99 (as of June 30, 2025 11:04 GMT -04:00 - More infoProduct prices and availability are accurate as of the date/time indicated and are subject to change. Any price and availability information displayed on [relevant Amazon Site(s), as applicable] at the time of purchase will apply to the purchase of this product.)
Generic JACK F5 Single Needle Lockstitch Sewing Machine with Table and Stand. Requires Assembly, White
$1,120.00 (as of June 30, 2025 13:06 GMT -04:00 - More infoProduct prices and availability are accurate as of the date/time indicated and are subject to change. Any price and availability information displayed on [relevant Amazon Site(s), as applicable] at the time of purchase will apply to the purchase of this product.)
NEW Juki DU-1181 SIngle Needle Walking Foot Complete w/ K.D. Stand & Servo Motor
$1,549.00 (as of June 30, 2025 13:06 GMT -04:00 - More infoProduct prices and availability are accurate as of the date/time indicated and are subject to change. Any price and availability information displayed on [relevant Amazon Site(s), as applicable] at the time of purchase will apply to the purchase of this product.)
Consew CFC 8" Dual Blades Complete Foam & Rubber Cutter
$692.44 (as of June 30, 2025 13:06 GMT -04:00 - More infoProduct prices and availability are accurate as of the date/time indicated and are subject to change. Any price and availability information displayed on [relevant Amazon Site(s), as applicable] at the time of purchase will apply to the purchase of this product.)