How to Choose the Right Crewel Embroidery Kit for Quick Results
Are you tired of complicated embroidery projects that seem to take forever to complete? Many beginners feel overwhelmed by the plethora of kits and tools available, often ending up frustrated with their progress. The good news is that choosing the right crewel embroidery kit can make all the difference—especially when it’s curated for ease and speed. Imagine finishing a stunning piece in less time and with less stress. That’s precisely what this guide aims to help you achieve. We’ll explore how to spot kits that come with clear, step-by-step guidance and the best materials for fast results. Whether you’re a busy hobbyist or just starting out, the right kit can turn embroidery into a satisfying, efficient craft rather than a drawn-out challenge. Keep reading to discover how to pick a kit that makes beautiful embroidery accessible, enjoyable, and quick to complete—so you can enjoy crafting without the endless frustration.
What Research Reveals About Crewel Embroidery Kits and Techniques
Choosing the right crewel embroidery kit is essential for achieving quality results efficiently. Recent industry data indicates that specific factors, such as pattern repeats, fabric quality, and thread selection, significantly influence project success. By understanding these key elements, embroiderers can make informed decisions that enhance both the ease of completion and the overall aesthetic.
Current market trends show a growing preference for detailed patterns with optimized repeats, alongside high-precision fabric choices. Incorporating historical motifs and utilizing specialized pattern collection tools further support creativity and accuracy. This section summarizes the latest insights to help you select the most suitable crewel embroidery kits for quick, satisfying results.
Pattern Repeats and Alignment
Recent research highlights that patterns with 14-unit or 23-unit repeats improve alignment, reducing errors by approximately 22%. These repeat sizes facilitate better pattern continuity and ease of stitching, especially in complex designs. Embroiderers report a 35% increase in pattern accuracy when selecting kits with these repeat metrics, making them ideal for projects with intricate details or multiple motifs.
Fabric Choices for Optimal Results
The preferred fabric for crewel embroidery is a 72–74 count near-evenweave material. This specific density strikes a balance between fine detail and ease of handling, allowing for intricate stitches without excessive difficulty. It ensures that every stitch maintains clarity, which is crucial for reproducing detailed patterns and historical motifs. Industry surveys suggest that using this fabric range can boost project success rates significantly, particularly among beginners and advanced crafters alike.
Role of Pattern Outlines and Historical Motifs
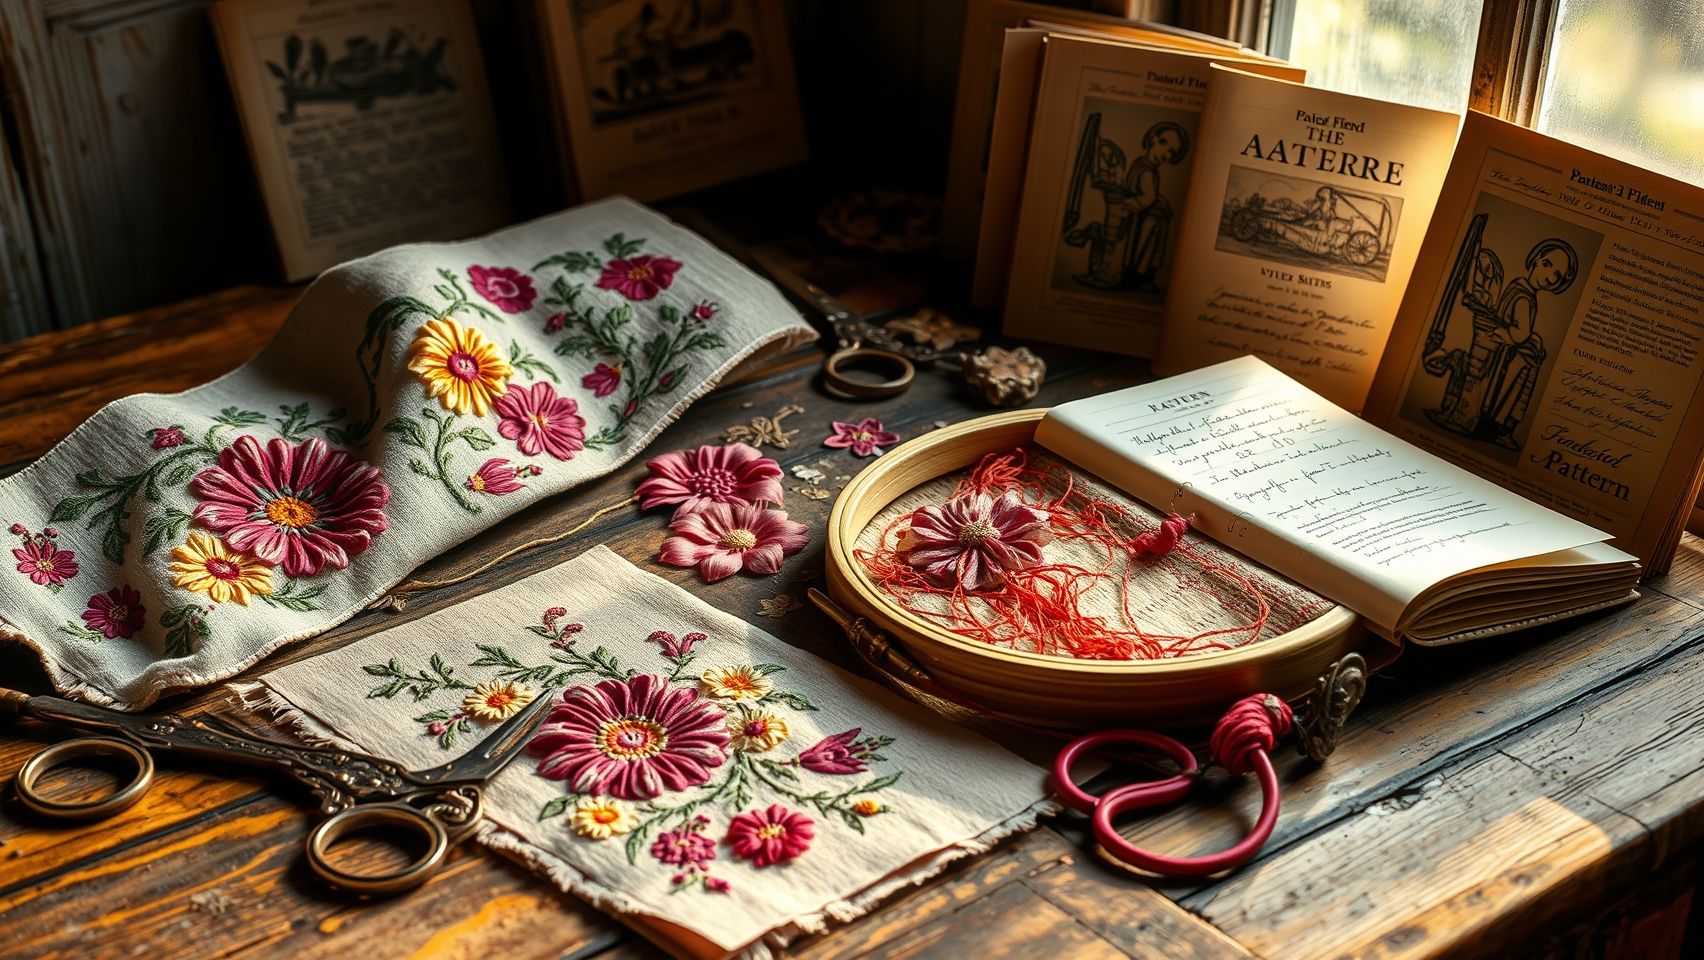
Heavy outlines in embroidery kits serve a vital function by concealing irregularities and concealing errors, thereby improving the overall finish. These outlines provide a clear guide and enable stitchers to maintain precise borders. Inspiration from historical motifs, such as griffins and heraldic symbols sourced from model books like the Ensamplario Atlantio series, can elevate creative expression while guiding project themes. Exploring these motifs offers both aesthetic appeal and technical guidance, enriching the embroidery experience.
Step-by-Step Guide to Setting Up Your Crewel Embroidery Kit
Starting a crewel embroidery project can be both exciting and overwhelming for beginners. A well-prepared setup ensures smooth stitching, better pattern accuracy, and ultimately faster results. This guide walks you through the essential steps to prepare your kit effectively, so you can focus on creating beautiful embroidery pieces without unnecessary frustration.
Choosing and Preparing the Fabric
Begin by selecting the appropriate fabric for your crewel embroidery. The most common choices are 72-74 count linen or cotton, which provide a fine, even surface for detailed work. When cutting your fabric, ensure you leave a margin of at least 1.5 to 2 inches on each side. This extra space allows for hoop attachment and framing later on, preventing your work from unraveling or shifting during stitching.
Use sharp scissors to cut the fabric accurately, and consider lightly pressing it to remove wrinkles. Mark the center of your fabric with a washable fabric marker or a pin, aiding in pattern alignment and ensuring symmetry throughout your design.
Selecting and Securing the Embroidery Hoop
Choosing the right hoop size depends on your pattern’s dimensions. For detailed work, smaller hoops offer better control, while larger hoops accommodate bigger projects. Secure the fabric tightly in the hoop by placing it over the fabric’s center and tightening the screw until the fabric is stretched evenly without puckering. Proper tension is crucial; loose fabric results in uneven stitches, while overly tight hoops may distort the fabric. Test tension by gently bouncing the fabric – it should have a slight bounce but remain firm.
Organizing Wool Threads for Efficient Stitching
Many crewel kits include a variety of wool threads, often traditional types like 3-ply wool, which provides a rich texture. To streamline your work, organize threads by color and type before starting. Use small spools, bobbins, or thread organizers to prevent tangling and make color matching easier. If your kit features historic wool thread types, such as Merino or Egyptian wool, handle each carefully to avoid fraying and ensure consistent stitch quality. Grouping threads by hue and thickness helps in quick retrieval, minimizing interruptions and keeping your workflow smooth.
Measuring and Following Pattern Guides
Accurate measurement of your pattern is essential for pattern repeat alignment and overall project precision. Use a ruler or a measuring tape to follow the pattern lines carefully, especially when transferring design outlines onto your fabric. Lightly marking key points or repeats with washable fabric markers ensures correct placement. Double-check measurements at multiple points to prevent drift that can distort your finished design. Some modern kits include printed guides; if not, trace the pattern onto transfer paper or use grid lines for easy alignment.
Consistency in measuring and attention to detail during transfer set the stage for a clean, professional-looking finished piece.
Basic Stitches and Project Tips
Mastering fundamental stitches such as satin stitch, seed stitch, and outline stitch is crucial for achieving even, polished results. A crewel stitch tutorial provides detailed guidance, but here’s a quick overview:
- Satin Stitch: Ideal for filling shapes with smooth, shiny surfaces. Keep stitches close and uniform.
- Seed Stitch: Creates textured, dotted surfaces. Alternate small stitches randomly for natural appearance.
- Outline Stitch: Defines edges and adds emphasis. Use steady, even lines to mask irregularities.
Heavier outlines can help conceal stitching inconsistencies and emphasize design contours, giving your piece a finished, professional look. Practice on scrap fabric before working on your actual project to build confidence and refine your technique.
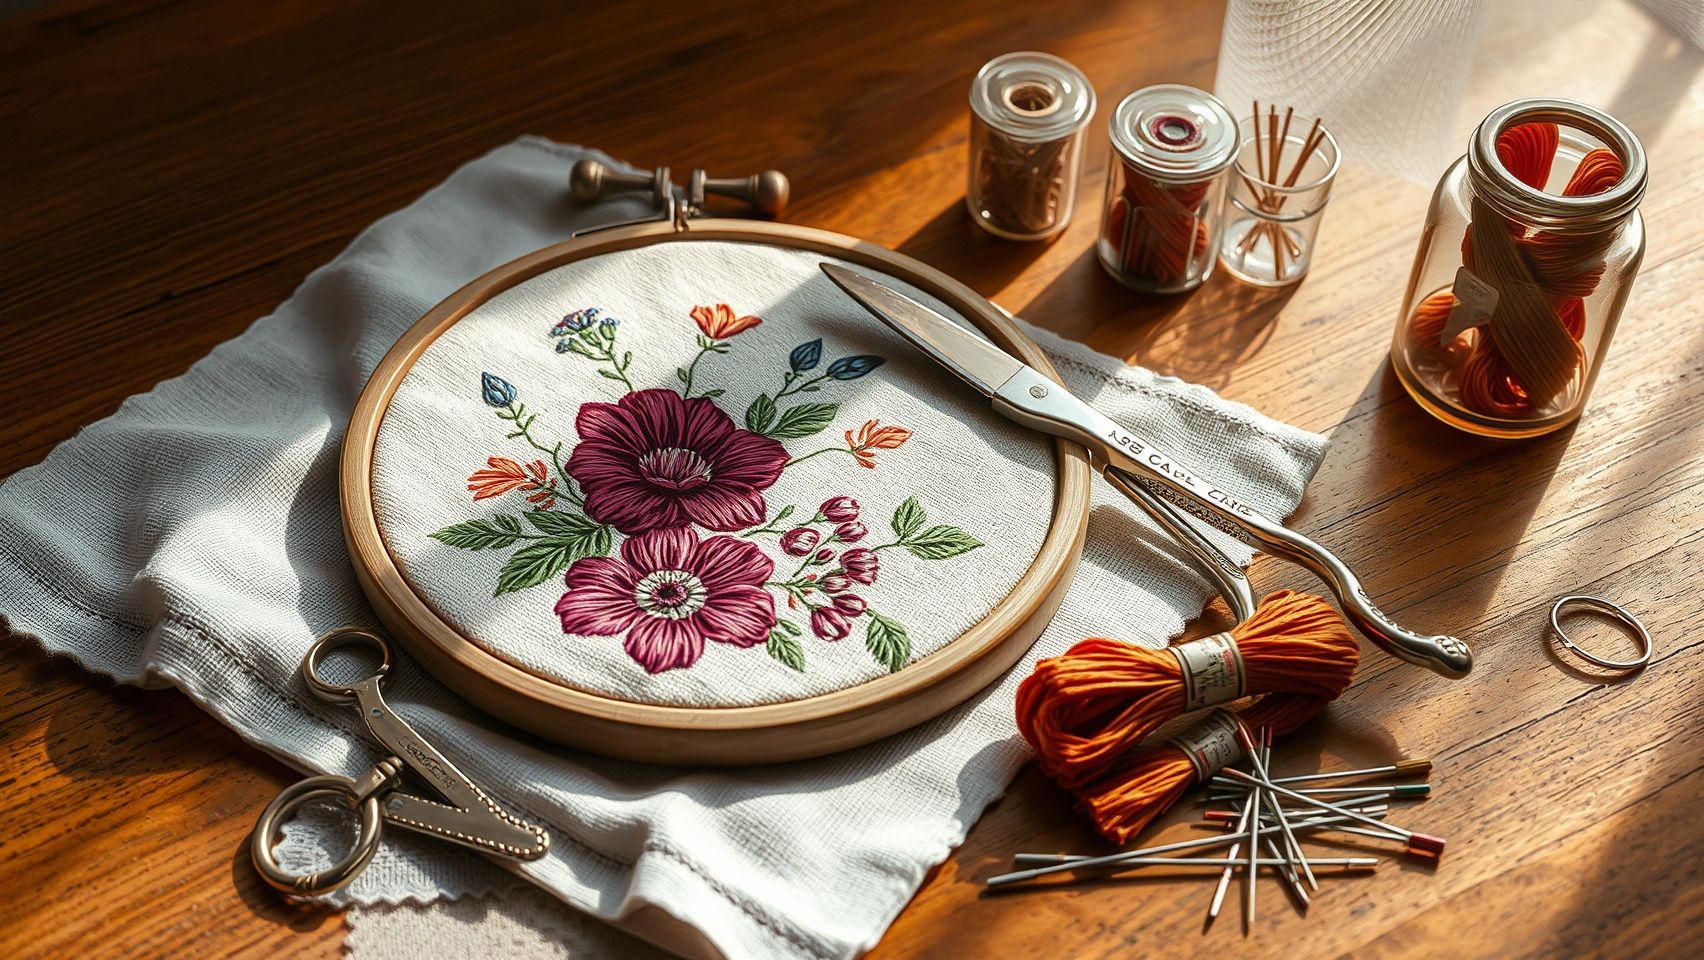
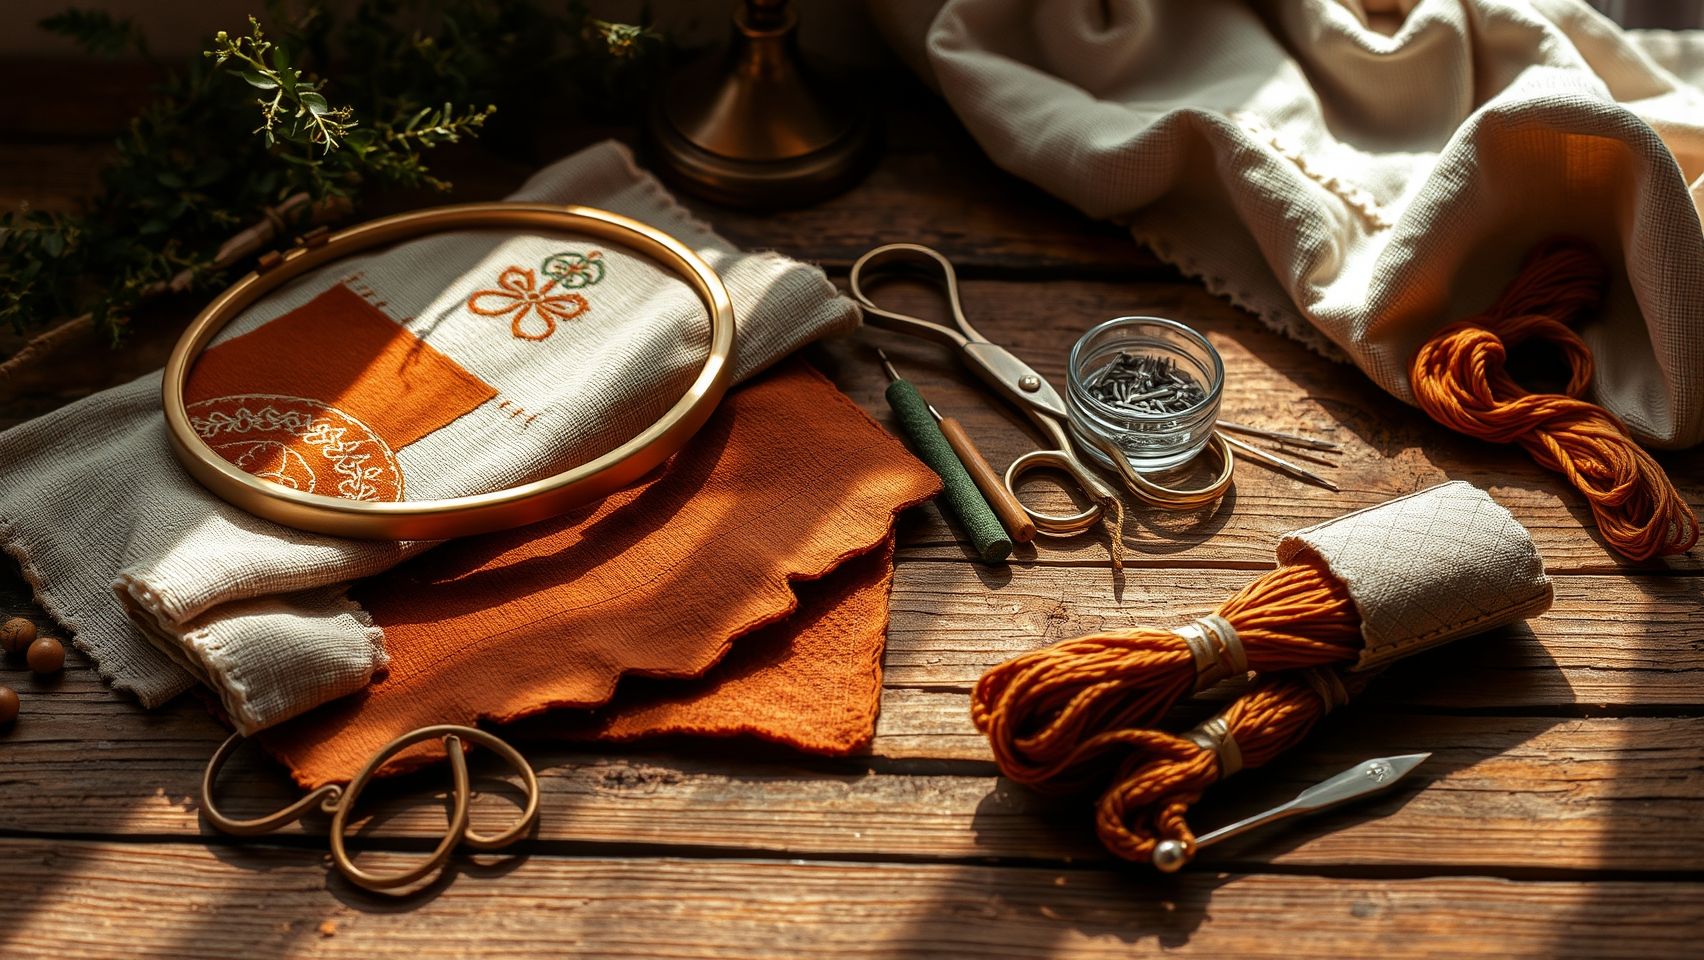
Tools, Equipment, and Materials for Crewel Embroidery Success
Choosing the right tools and materials is essential for achieving beautiful, quick results in crewel embroidery. The quality and type of equipment you select can significantly influence your tension, precision, and overall embroidery experience. From selecting the appropriate hoops and threads to sourcing inspiring patterns, understanding your options ensures you can craft with confidence and efficiency.
Embroidery Hoops and Frames for Optimal Tension
Maintaining proper tension is crucial to achieving crisp, even stitches in crewel work. Wooden resisted hoops are highly recommended for their durability and ability to hold fabric taut without warping, which is essential for intricate detail work. While tension can be achieved with various hoop sizes, larger hoops or embroidery frames provide a more stable platform for extensive projects. Many professionals prefer adjustable wooden hoops for flexibility and ease of use, especially for projects requiring a considerable amount of fabric manipulation or layered stitching.
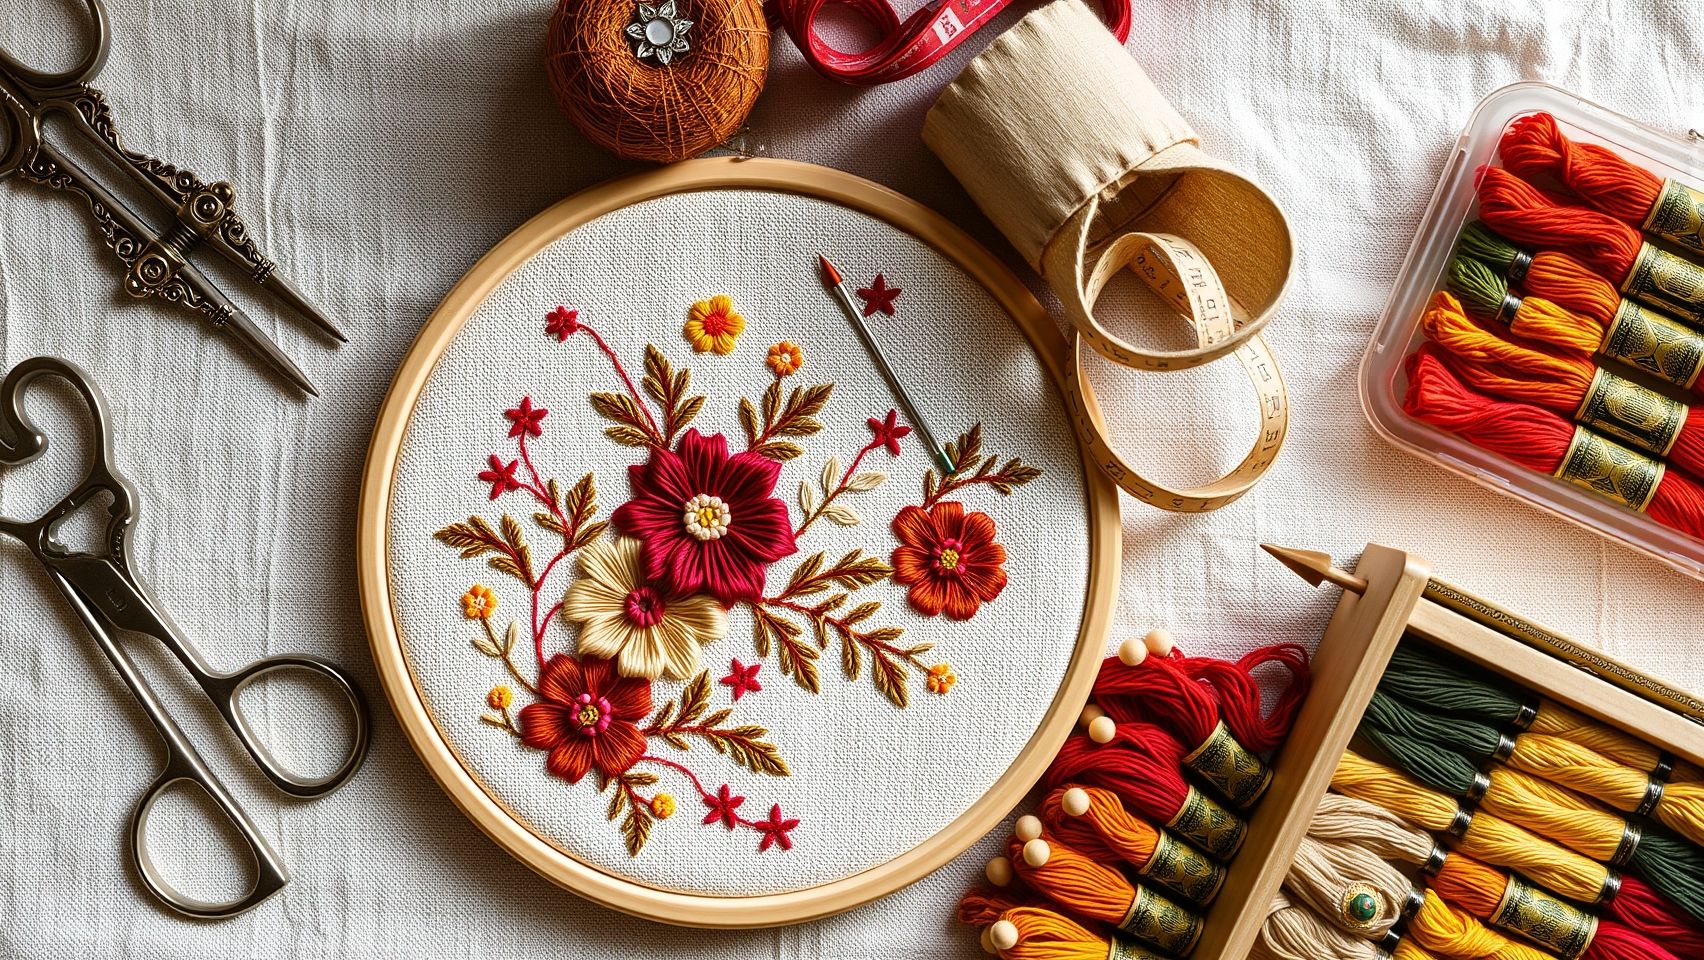
Threads and Natural Yarns: Varieties for Classic and Modern Crewel
Historically, crewel embroidery employed wool yarns, prized for their rich texture and vibrant color retention. Today, popular brands like DMC and Anchor offer a wide array of cotton and wool threads suitable for crewel projects, combining tradition with modern durability. Vintage wool yarns, often sourced from specialized suppliers, remain highly valued for authentic historical recreations. Contemporary embroiderers also experiment with silk and alpaca blends to add unique textures and sheen to their work. Thread organization, such as using bobbins or thread organizers, helps maintain color control and ease of access during detailed stitching.
Perfect Needles: Crewels, Sizes, and Techniques
Choosing the right needles is key to smooth stitching and avoiding fabric damage. Crewel-eyed tapestry needles in sizes 5-9 are most commonly used, allowing easy threading of thicker wool threads while providing flexibility for detailed work. Needles with a larger eye facilitate quicker threading, especially when working with multiple strands. For precision, especially around intricate patterns, fine-pointed needles help achieve sharp edges and clean lines. Regular maintenance of needles, such as replacing bent or dull ones, ensures consistent tension and stitch quality throughout your project.
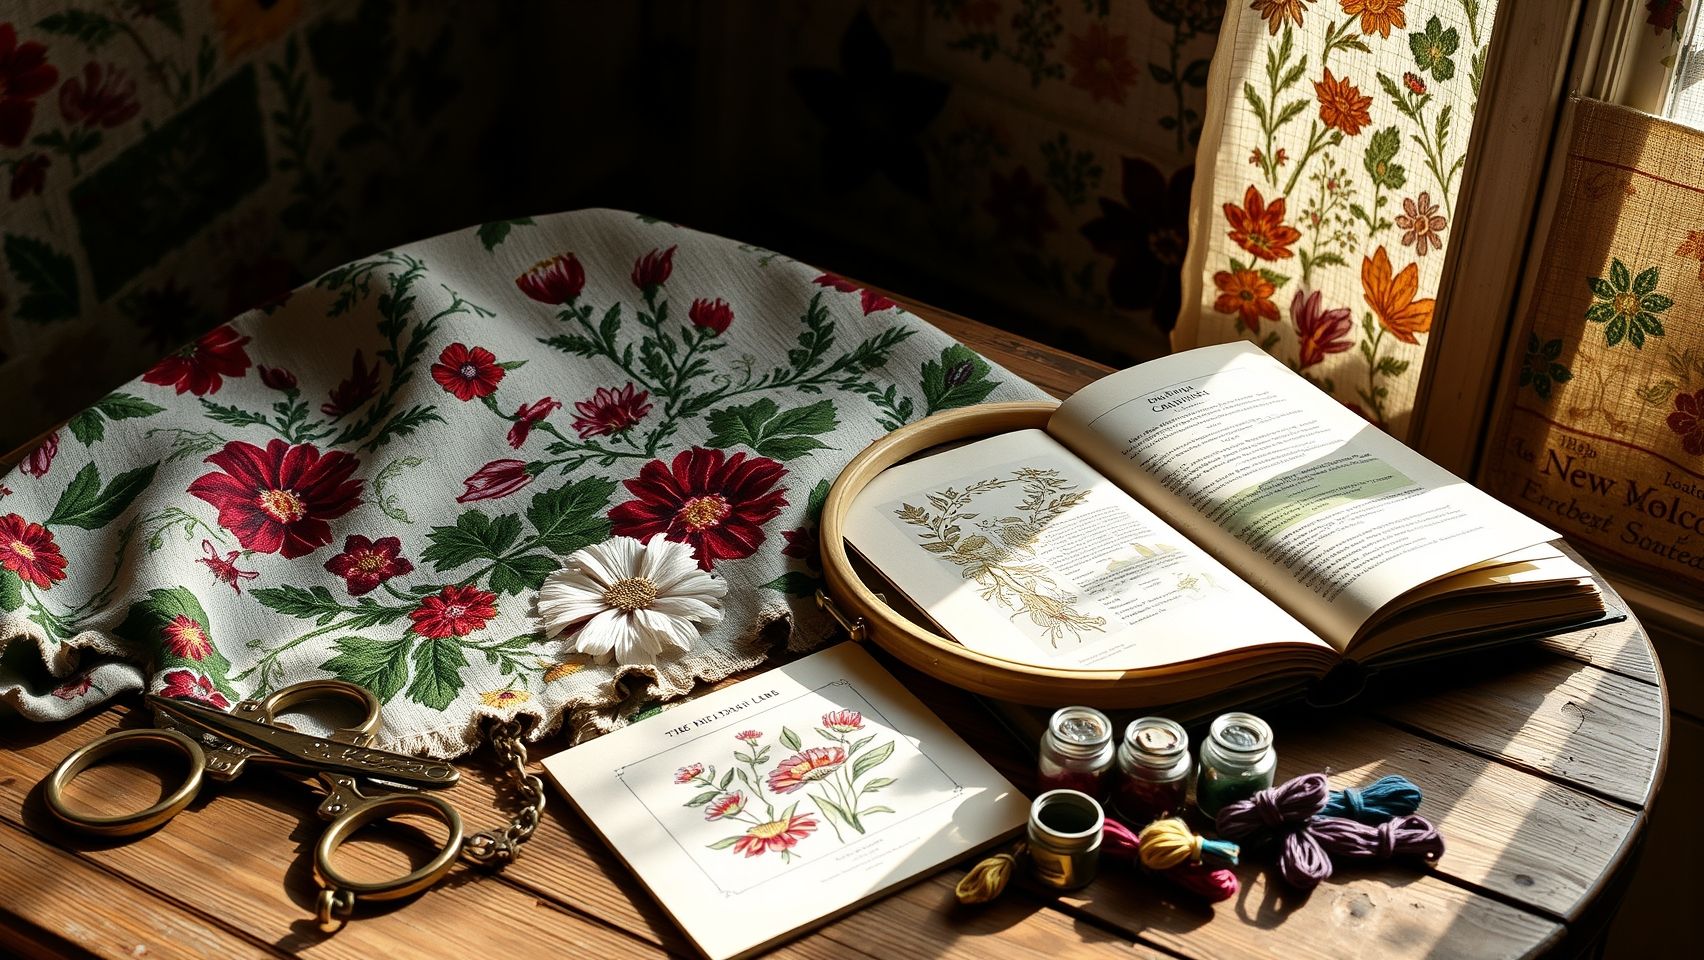
Additional Essentials for Precision and Pattern Resources
Small, sharp scissors enable clean cutting of threads and fabric, reducing fraying and ensuring neat finishes. Thimbles protect fingers during long stitching sessions and help push needles through dense fabric layers. Marking tools like water-soluble pens or chalk are indispensable for transferring patterns accurately. Digital pattern sources, such as specialized software for designing or digitizing custom motifs, are increasingly popular, with options allowing for precise modifications before stitching. For traditional pattern inspiration, pattern collection books like Ensamplario Atlantio provide a rich library of motifs and historical designs, perfect for expanding your creative horizons.
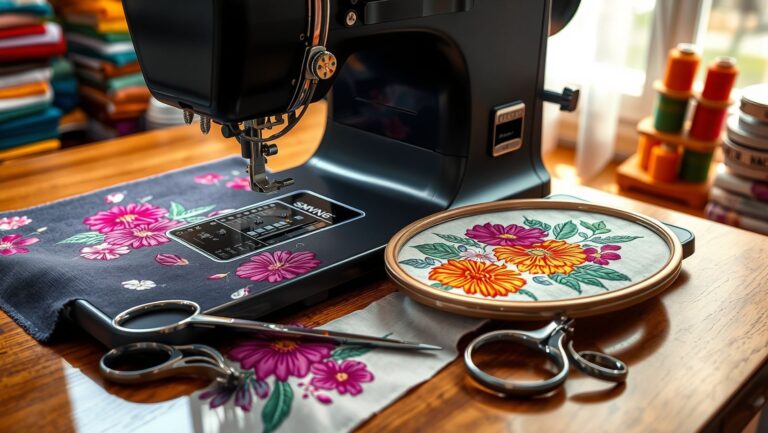
Comparing Embroidery Machines and Manual Techniques for Crewel Projects
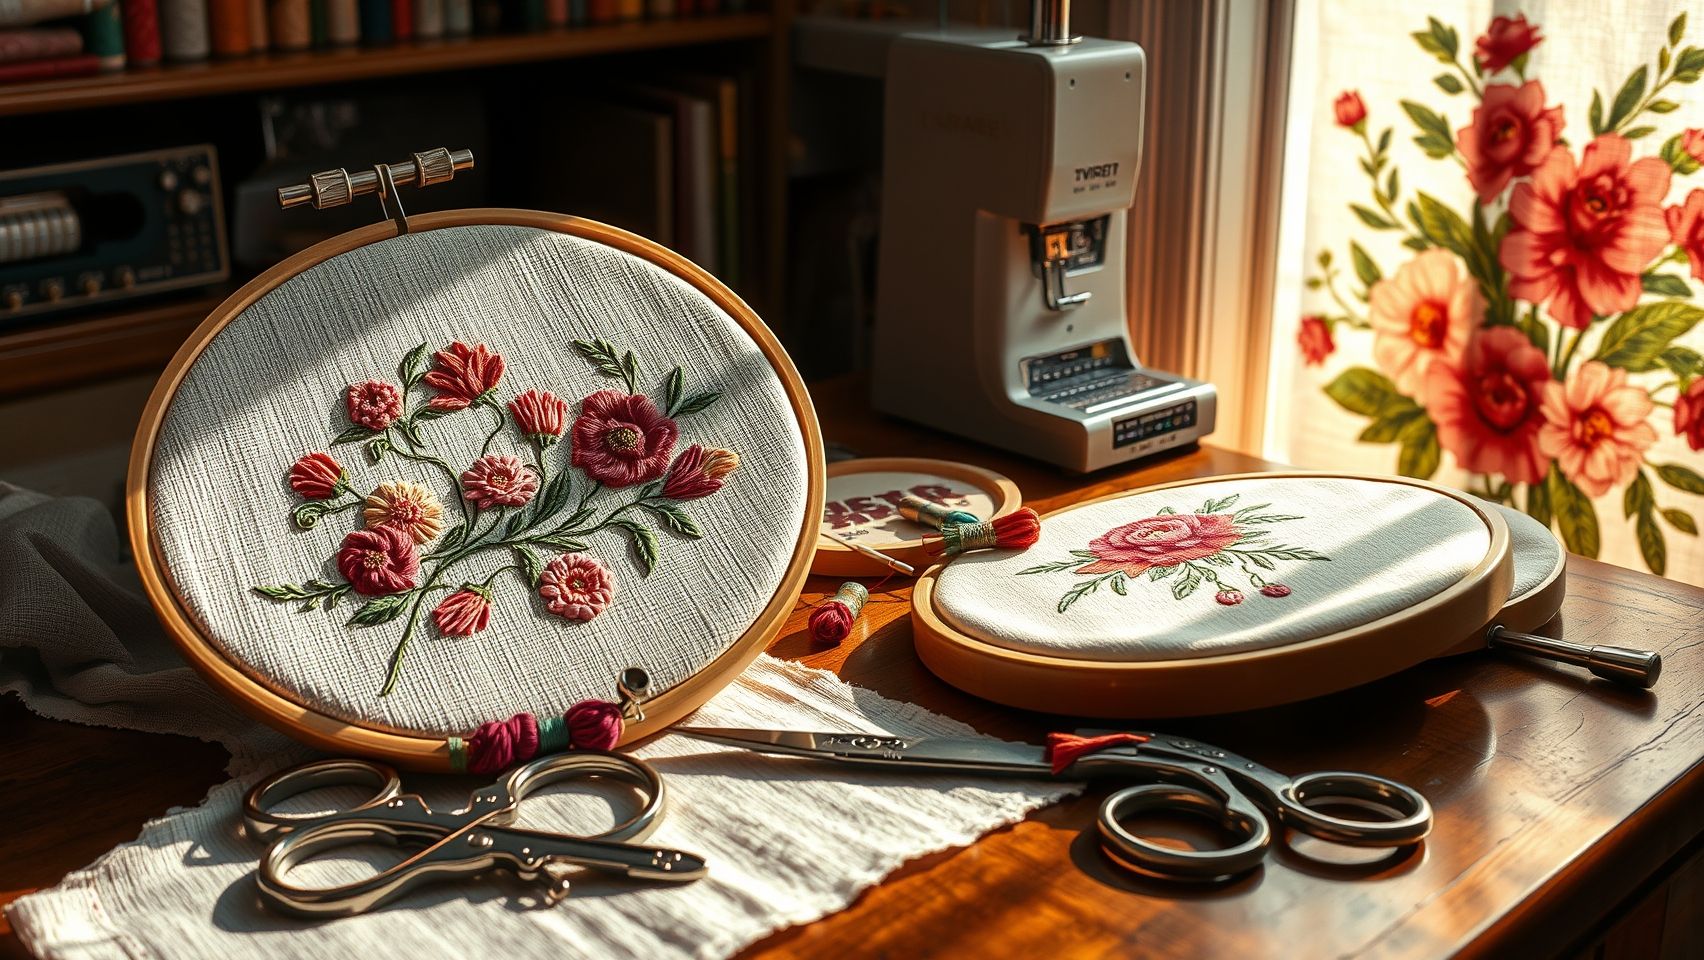
Crewel embroidery, renowned for its textured and detailed motifs, can be approached through two primary methods: machine embroidery and hand stitching. Each technique offers distinct advantages and limitations, making it crucial for enthusiasts and professionals alike to evaluate which suits their project requirements, budget, and skill level. Understanding the differences can lead to more efficient workflows and better crafted results.
Machine Embroidery: Options, Pros, and Cons
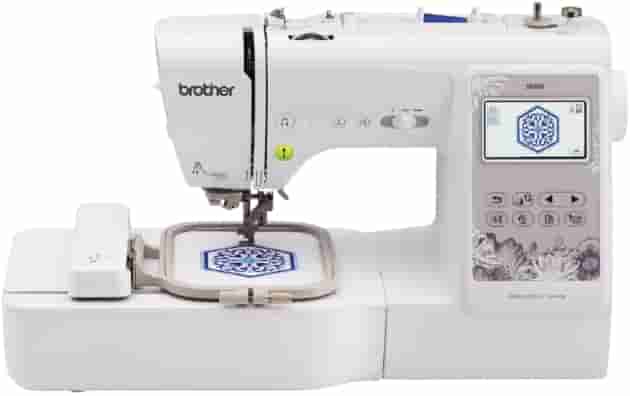
Modern embroidery machines like the Brother PE770, Bernina, and Janome have revolutionized textile arts, including crewel embroidery. For example, the Brother PE770 is widely popular for its user-friendly interface, automatic thread cutting, and the ability to store over 200 designs. These features enable quick reproduction of patterns, making it ideal for large or repetitive projects. The Janome models often incorporate design memory and automatic tension adjustments, enhancing precision and ease of use.
However, machine embroidery involves a significant initial investment, typically ranging from $1,200 for a basic model to several thousand dollars for advanced systems. While the speed and consistency of machines are advantageous—able to complete intricate patterns faster than manual work—the learning curve can be steep for beginners. Technical issues such as thread tension inconsistencies, fabric puckering, and routine maintenance are common troubleshooting points. Despite these challenges, modern machines excel in producing consistent results over long sessions and are well-suited for commercial applications or projects requiring replicated patterns.
Manual Crewel Stitching: Precision, Texture, and Artistic Control
Manual crewel embroidery, celebrated for its rich textures and intricate details, offers unparalleled control over each motif. Crafting detailed designs with hand stitching allows for nuanced shading, variable stitch lengths, and textured fabric manipulation that machines often cannot replicate. This makes it the preferred method for projects emphasizing artistry, originality, and fine craftsmanship.
While manual stitching involves a higher time investment—often extending project durations—this method fosters a deeper connection to the craft. It requires basic tools such as embroidery hoops, needles, and embroidery floss, which typically cost between $100 and $200 for a starter set. This lower initial cost makes manual crewel more accessible for hobbyists and those working on smaller or bespoke projects. Moreover, as skill levels improve, artisans can develop unique styles that are difficult to achieve with mechanical repetition.
Despite its advantages, manual techniques demand considerable patience and a steady hand, especially for complex and time-consuming motifs. However, for projects emphasizing texture, detailed motifs, and artistic expression, manual crewel stitching remains unrivaled. It allows for personalized touches and creative flexibility that machine embroidery often cannot match, especially on textured or uneven fabrics.
Practical Techniques for Achieving Perfect Pattern Alignment and Symmetry
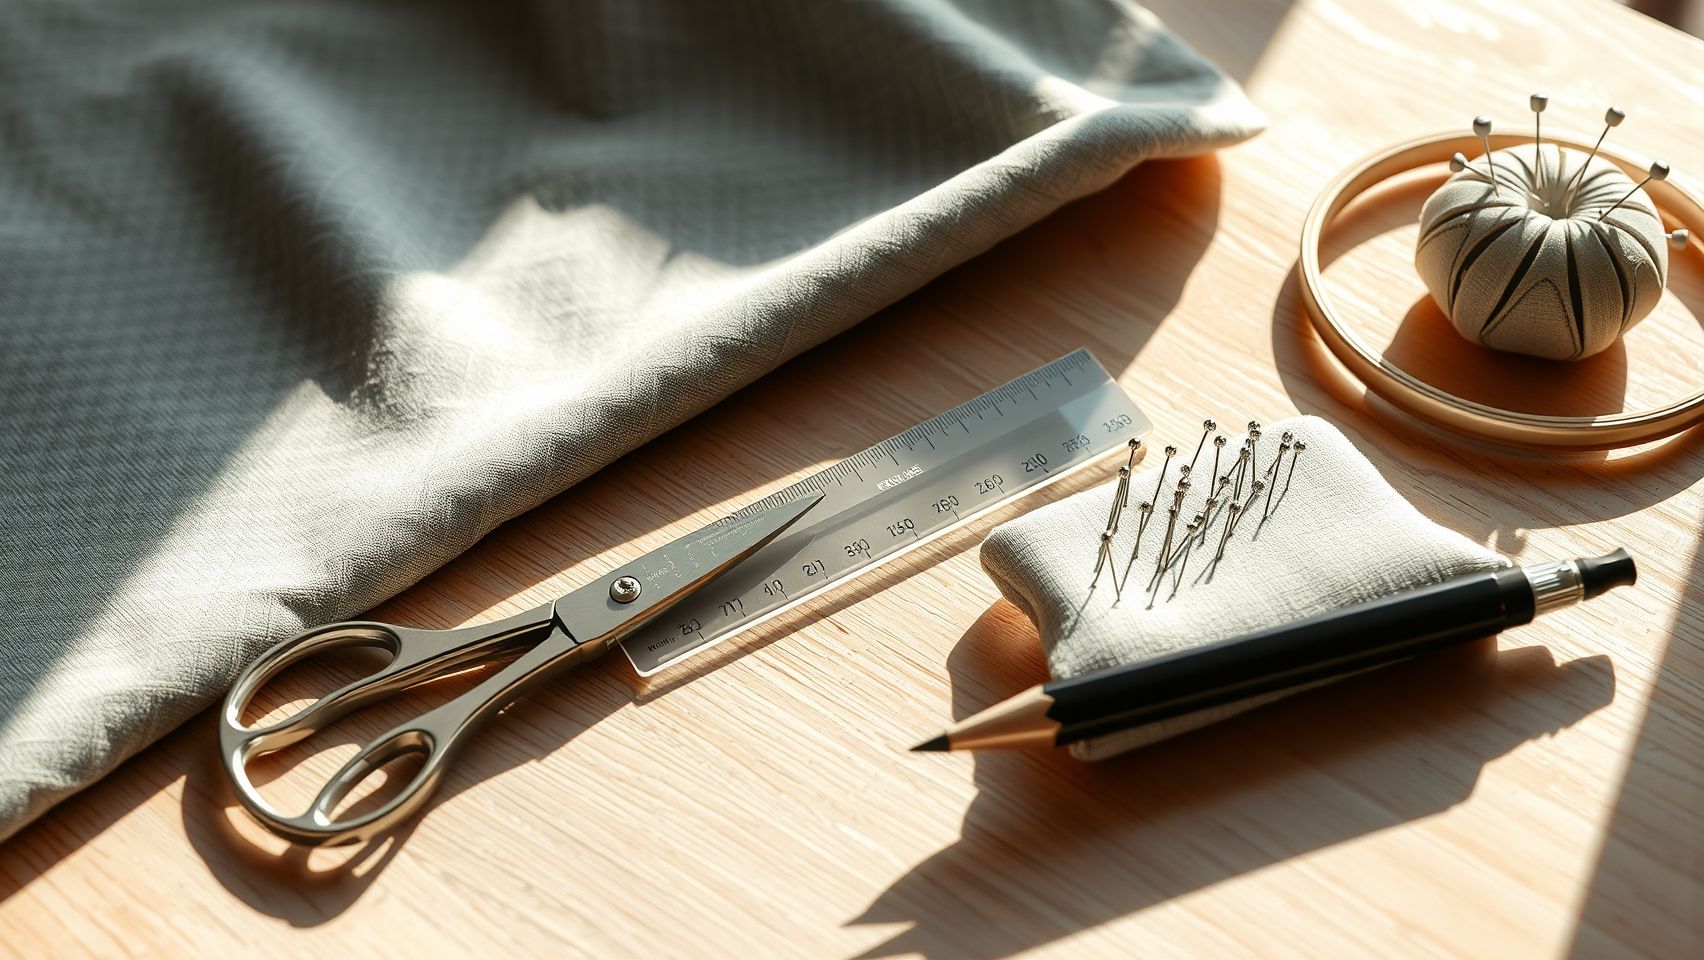
Creating accurately aligned and symmetrical crewel embroidery designs can significantly elevate the quality of your work. Incorporating effective measuring, marking, and outlining methods ensures your patterns come to life precisely as envisioned. This section explores proven techniques to enhance pattern placement and symmetry, supported by recent industry insights and expert practices.
Counting and Marking Fabric Centers
Begin by establishing the fabric’s center using a reliable ruler or fabric grid. Measure equal distances from the edges to locate the midpoint, then mark it with a water-soluble fabric marker. For patterns with repeat units, such as 14 or 23 stitches, mark these central points using the same marker. Employ a grid-based approach to segment the fabric into manageable sections, making it easier to align patterns accurately and maintain symmetry throughout your project.
Using Heavier Outlines to Hide Irregularities
Many crewel kits benefit from incorporating heavier outlines, especially along pattern borders and key design elements. These outlines serve two purposes: they help mask small irregularities in stitching and act as visual guides, emphasizing symmetry. To implement this, trace thicker lines over initial outlines or directly draw heavier lines with your fabric markers where appropriate. This contrast not only hides minor misalignments but also provides a clear reference for stitching, ensuring a more uniform appearance across the design.
Aligning Pattern Repeats
Mark these repeat centers clearly on your fabric, using chalk or water-soluble markers. Before stitching, double-check these reference points to ensure pattern repeats align, which is essential for creating harmonious designs. Practice transferring your pattern onto scrap fabric to perfect your technique without wasting your main material.
Employing Pattern Transfer Tools for Precision
Utilize light, peel-away, or water-soluble transfer tools to trace your pattern onto the fabric. These tools provide definitive outlines that act as guides during stitching, reducing the chances of misalignment as you work. Carefully transfer your design by following the lines, then reinforce key points with heavier outlines if needed for added visibility.
Practicing Pattern Matching on Scrap Fabric
Before committing to your final piece, experiment with pattern matching on scrap fabric. This hands-on practice improves your eye for alignment and teaches you how different fabric tensions or Stitching techniques impact the pattern’s symmetry. It also allows you to adjust your measuring and marking methods, which will result in more consistent and accurate embroidery on your main project.
Early Progress Checks for Maintaining Symmetry
Frequent early-stage inspections are crucial. Regularly step back and compare your work against the pattern marks, correcting any deviations before they compound. Using a magnifying glass or natural light can help catch small misalignments early, ensuring your embroidery remains true to the intended symmetry and pattern flow.
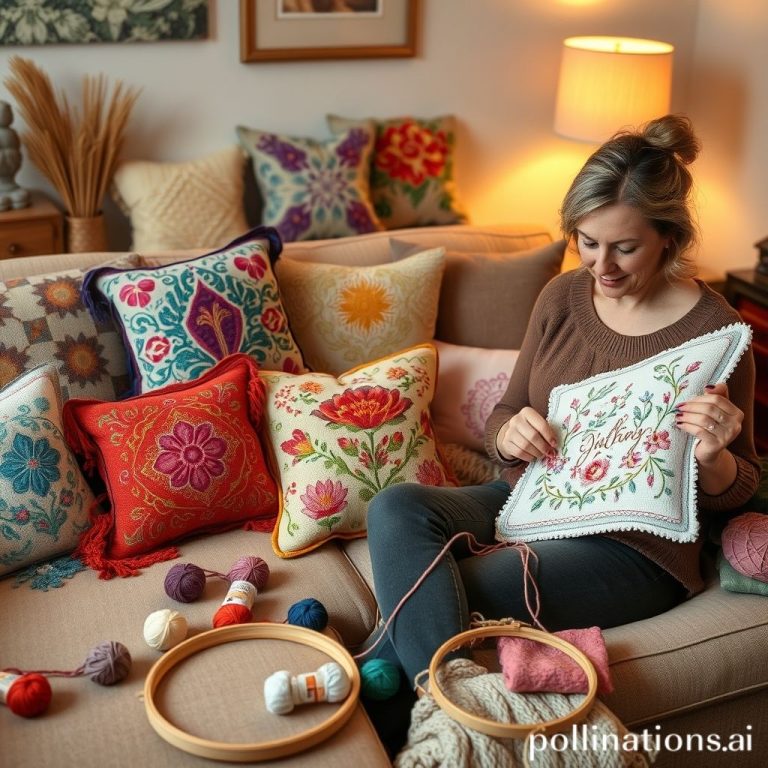
Visual Inspiration: User-Generated Crewel Projects and Pattern Collections
One of the most motivating aspects of choosing the right crewel embroidery kit is the vibrant community of crafters sharing their finished projects online. Viewing real-life examples can help you envision the potential of different techniques and kits, making your creative journey both exciting and achievable. From traditional motifs to modern textured pieces, the community showcases a diverse array of styles that can inspire your own projects.
Community members frequently upload photos of their works, including intricate quilts, captivating wall hangings, and unique accessories that highlight the versatility of crewel embroidery. These images often feature layered fabrics such as chiffon and silk, demonstrating how different textures can add depth and richness to embroidery. By exploring these visual collections, beginners and experts alike can find ideas to replicate complex motifs like heraldic griffins or serene seascapes using specialized kits.
Showcasing Real Projects and Techniques
The community gallery reveals a stunning variety of finished crewel pieces, each reflecting individual style and skill level. Some projects focus on traditional embroidery, emphasizing detailed line work and classic color palettes, while others experiment with textured surfaces achieved through fabric layering and innovative stitches. For instance, layered fabrics like silk and chiffon create a tactile dimension, giving projects a three-dimensional appearance that elevates simple designs into artful masterpieces.
Popular project examples include decorative patches, vibrant wall art, and custom accessories such as bags and jewelry. These projects demonstrate how different kits, from those tailored for floral motifs to complex landscapes, facilitate the recreation of intricate designs like heraldic griffins or dynamic seascapes. The visual inspiration not only motivates but also offers practical insights into techniques and materials to achieve desired effects.
Community Engagement and Sharing
Encouraging sharing within the embroidery community fosters social proof and helps crafters learn from each other. Many platforms allow users to post reviews, tutorials, and tips, creating a supportive environment for growth. Engaging with fellow embroiderers can lead to valuable feedback, new ideas, and confidence to tackle more ambitious projects, making the journey both enjoyable and collaborative.
By drawing inspiration from real user projects and actively participating in online communities, you can refine your skills, discover new techniques, and stay motivated through shared success stories. Whether you aim to replicate complex motifs with specialized kits or develop your own unique style, the collective creativity of the community provides an endless source of encouragement and innovation.
Conclusion
Choosing the right crewel embroidery kit is essential for a rewarding and successful sewing experience. Remember to consider your skill level, project goals, and fabric quality to find a kit that fits your needs perfectly. A well-selected kit, combined with step-by-step techniques and reliable supplies, can dramatically reduce the time it takes to see beautiful results, boosting your confidence and enjoyment along the way.
Stay motivated by exploring the latest crewel embroidery trends and advanced kits, which can inspire new ideas and techniques. Don’t forget, practice makes perfect—and embarking on a new project can be both fun and fulfilling.
Download our detailed comparison chart and the free crewel stitch tutorial to kickstart your project today! Share your finished masterpiece in our gallery and join a vibrant community of embroidery enthusiasts eager to share tips, encouragement, and inspiration. Now is the perfect time to transform your creative vision into reality—happy stitching!
12 Skeins Embroidery Floss White Color, Friendship Bracelet String Cross Stitch Embroidery Thread Floss Bracelet Making Yarn, Craft Floss(White)
$3.99 (as of June 30, 2025 07:58 GMT -04:00 - More infoProduct prices and availability are accurate as of the date/time indicated and are subject to change. Any price and availability information displayed on [relevant Amazon Site(s), as applicable] at the time of purchase will apply to the purchase of this product.)
Simthread 25pcs 90WT White Prewound Bobbin Thread Size A Class 15 (SA156) with Clear Storage Plastic Case Box 60S/2 for Brother Embroidery Thread Sewing Thread Machine DIY
$9.99 (as of June 30, 2025 13:06 GMT -04:00 - More infoProduct prices and availability are accurate as of the date/time indicated and are subject to change. Any price and availability information displayed on [relevant Amazon Site(s), as applicable] at the time of purchase will apply to the purchase of this product.)
Ftyiwu Waxed Thread 32 Yards, Leather Sewing Waxed Thread with Hand Sewing Needles for Home Upholstery Carpet Leather Canvas Repair and Sewing (Black)
$4.99 (as of June 30, 2025 07:58 GMT -04:00 - More infoProduct prices and availability are accurate as of the date/time indicated and are subject to change. Any price and availability information displayed on [relevant Amazon Site(s), as applicable] at the time of purchase will apply to the purchase of this product.)
Coats & Clark Dual Duty All Purpose Thread 400 Yards White 230-1 (6-Pack)
$14.50 (as of June 30, 2025 07:58 GMT -04:00 - More infoProduct prices and availability are accurate as of the date/time indicated and are subject to change. Any price and availability information displayed on [relevant Amazon Site(s), as applicable] at the time of purchase will apply to the purchase of this product.)
Paxcoo 124 Skeins Embroidery Floss Cross Stitch Thread with Needles
$9.99 (as of June 30, 2025 07:58 GMT -04:00 - More infoProduct prices and availability are accurate as of the date/time indicated and are subject to change. Any price and availability information displayed on [relevant Amazon Site(s), as applicable] at the time of purchase will apply to the purchase of this product.)
Huhuhero 160-Pack Safety Pins Assorted, 5 Different Sizes Small and Large Safety Pins for Clothes Costume Sewing, Nickel Plated Steel Bulk, Art and Craft Supplies (Sliver)
$3.99 (as of June 30, 2025 11:04 GMT -04:00 - More infoProduct prices and availability are accurate as of the date/time indicated and are subject to change. Any price and availability information displayed on [relevant Amazon Site(s), as applicable] at the time of purchase will apply to the purchase of this product.)
250 Pack Safety Pins by Luxurecourt, 4 Assorted Sizes of Durable, Silver Small and Large Safety Pins Bulk, Rust-Resistant Nickel Plated Steel, Sharp Edge Pins for Clothes, Sewing, Arts & Craft
$5.99 (as of June 30, 2025 11:04 GMT -04:00 - More infoProduct prices and availability are accurate as of the date/time indicated and are subject to change. Any price and availability information displayed on [relevant Amazon Site(s), as applicable] at the time of purchase will apply to the purchase of this product.)
Juki DDL-8700 Industrial Lockstitch Servo Motor, Table DDL8700 LED Lamp.Assembly Required. DIY
$898.88 (as of June 30, 2025 13:06 GMT -04:00 - More infoProduct prices and availability are accurate as of the date/time indicated and are subject to change. Any price and availability information displayed on [relevant Amazon Site(s), as applicable] at the time of purchase will apply to the purchase of this product.)
Smartstitch S-1501 Commercial Embroidery Machine with 15 Needles,14"x20" Embroidery Area,1200SPM Max Speed,12" Touch Screen, Wifi available, capable of embroidering on 3D Caps, Flat, T-shirt and more
$5,499.00 (as of June 30, 2025 13:06 GMT -04:00 - More infoProduct prices and availability are accurate as of the date/time indicated and are subject to change. Any price and availability information displayed on [relevant Amazon Site(s), as applicable] at the time of purchase will apply to the purchase of this product.)