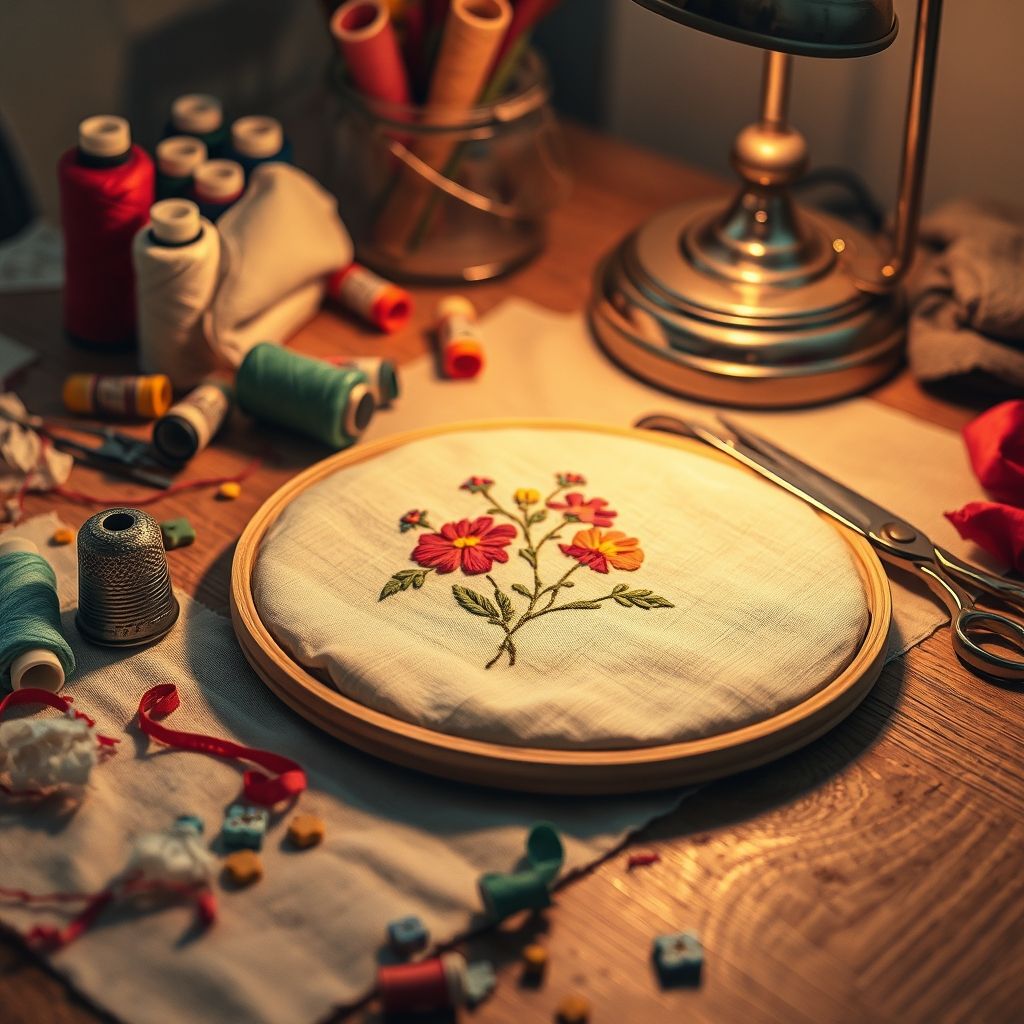
Gears and Stitches? That’s My Kind of Embroidery
Steampunk, a delightful blend of Victorian aesthetics and futuristic technology, has captured imaginations for decades. But it’s not just confined to literature and costuming. It’s also making its mark on the world of embroidery, creating a unique art form that’s both intricate and imaginative. Think gears, goggles, and gadgets meticulously stitched onto fabric, transforming ordinary textiles into extraordinary expressions of “Victorian Futurism.” This isn’t your grandmother’s embroidery – unless your grandmother was a time-traveling inventor!
The beauty of steampunk embroidery lies in its ability to combine the delicate art of needlework with the industrial edge of a bygone era’s vision of the future. It’s a collision of soft fabrics and hard mechanics, of delicate threads and bold designs. This fascinating fusion allows artists to create pieces that are both beautiful and thought-provoking, inviting viewers to imagine a world where steam power reigns supreme and anything is possible.
In this post, we’ll delve into the captivating world of steampunk embroidery. We’ll explore the key elements that define this style, from the iconic imagery to the techniques used to bring these visions to life. We’ll also look at the materials that best lend themselves to this unique art form and offer some inspiration for those who are eager to try their hand at creating their own steampunk masterpieces. Get ready to embark on a journey through time and thread!
The Aesthetics of Gears and Gadgets
Steampunk’s visual language is immediately recognizable, drawing heavily from Victorian-era fashion, architecture, and inventions. Think elaborate clockwork mechanisms, intricate brass fittings, and fanciful flying machines. Embroidery artists translate these elements onto fabric, often using a combination of different stitches to create texture and depth. “Steampunk is all about that retro-futuristic aesthetic,” explains art historian Professor Eleanor Vance. “It’s a reimagining of the past with a touch of what could have been.” This manifests in embroidery through the meticulous rendering of gears, pipes, and other industrial motifs.
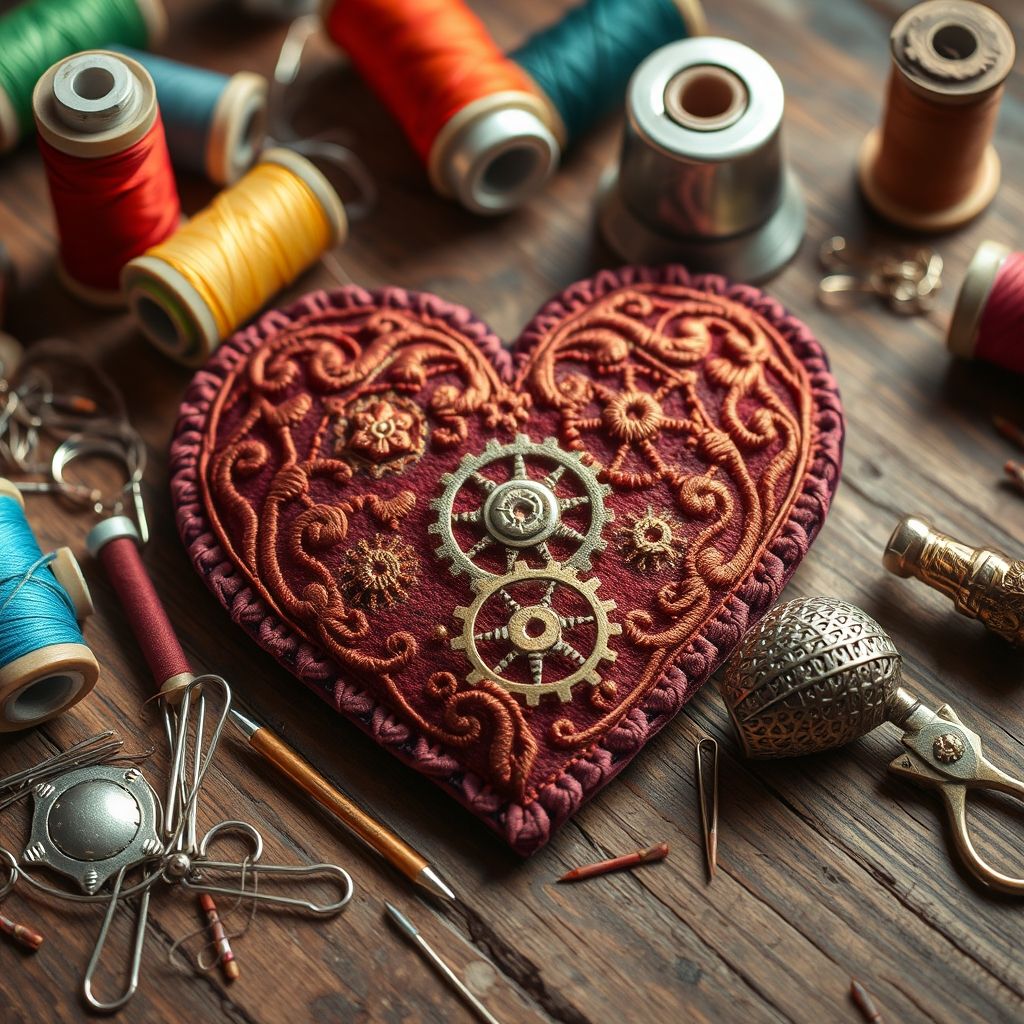
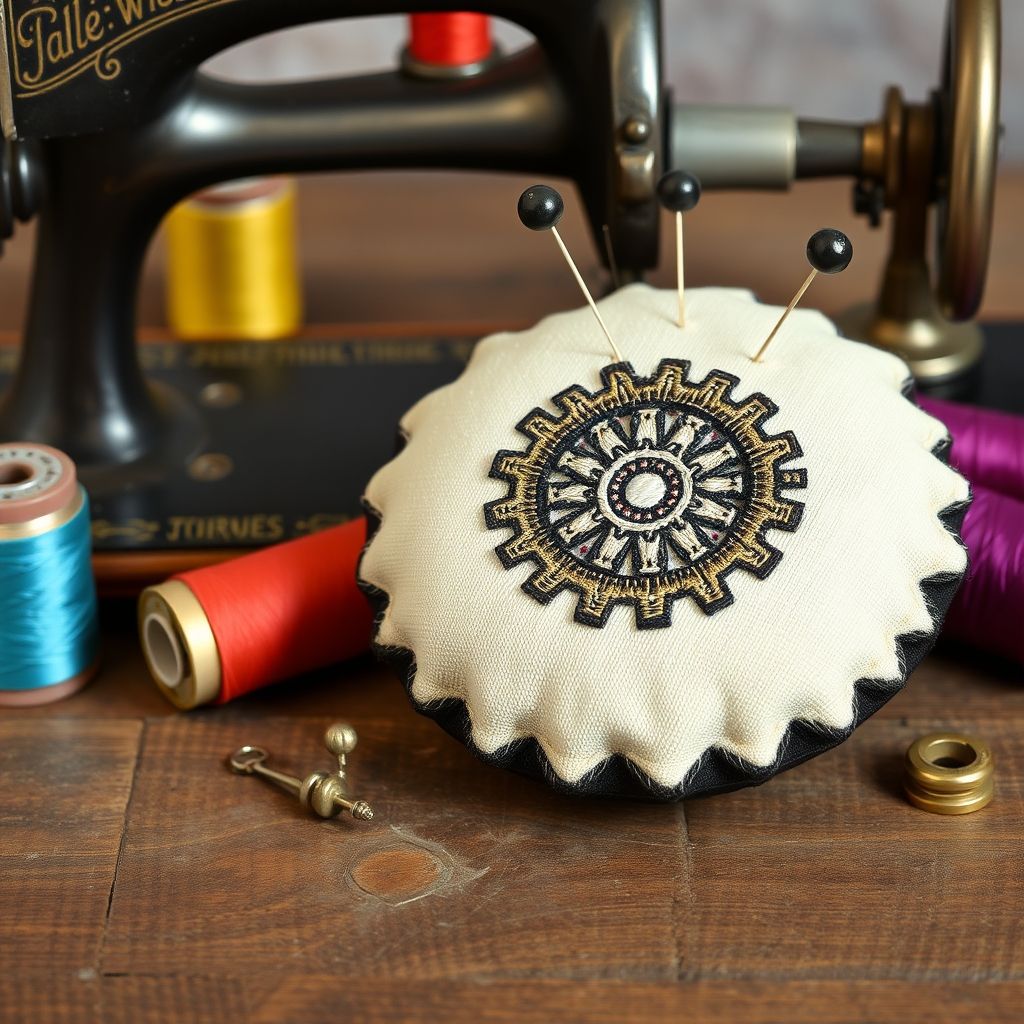
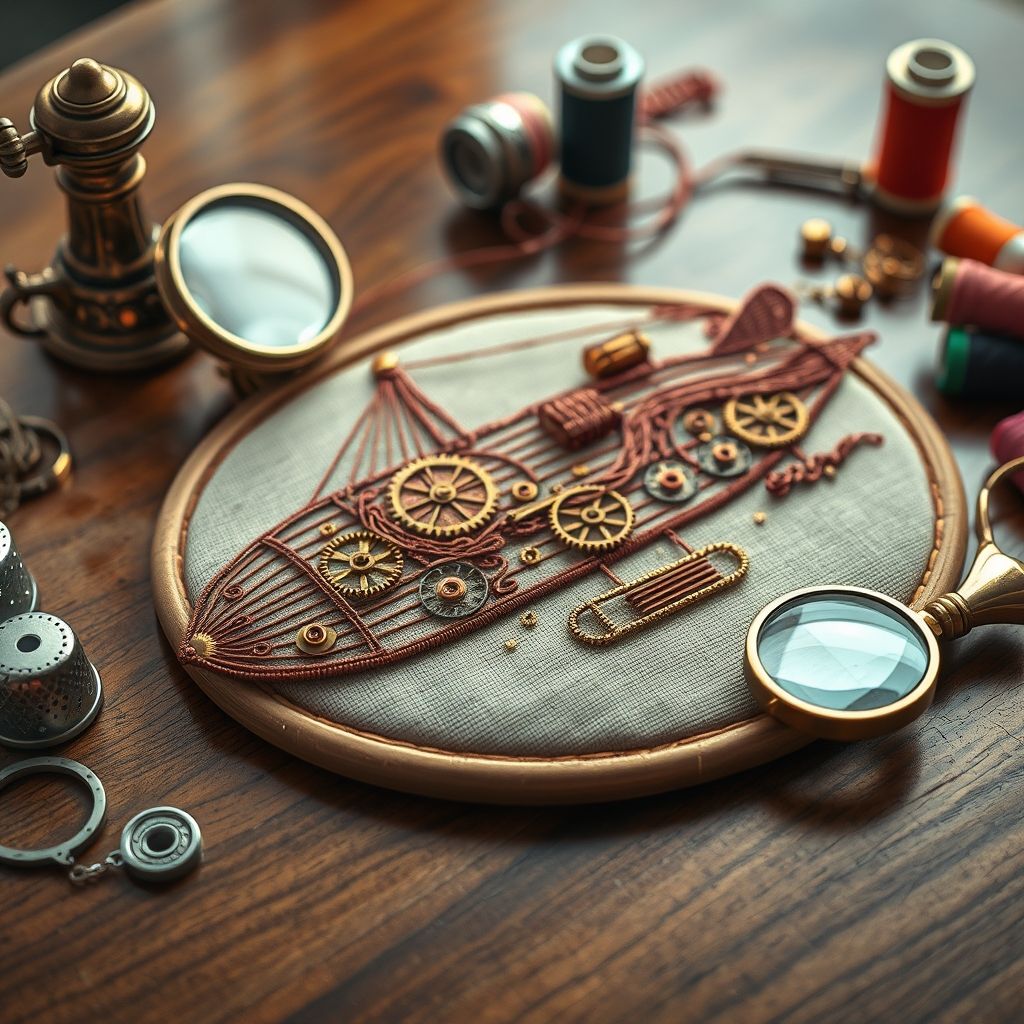
Common motifs include: gears of all sizes, often interlocking and seemingly functional; hot air balloons and airships, symbols of adventure and exploration; goggles, a nod to the adventurous spirit and practical needs of inventors and explorers; and fantastical creatures like clockwork birds and mechanical dragons. These elements are often combined with Victorian-era embellishments like lace, ribbons, and botanical patterns, creating a visual tapestry that is both intricate and intriguing.
The color palette typically leans towards warm, earthy tones like browns, coppers, and golds, reminiscent of the materials used in steam-powered machinery. However, pops of color like deep reds, emerald greens, and sapphire blues can add visual interest and highlight specific details. Ultimately, the aesthetic is about creating a sense of wonder and possibility, inviting the viewer to step into a world where imagination knows no bounds.
The right threads are vital for capturing the steampunk aesthetic. Let’s take a look at some options:

Gutermann Thread Set: Sew-All: 100m: Pack of 20, Assorted
$27.23 (as of June 12, 2025 12:33 GMT -04:00 - More infoProduct prices and availability are accurate as of the date/time indicated and are subject to change. Any price and availability information displayed on [relevant Amazon Site(s), as applicable] at the time of purchase will apply to the purchase of this product.)
Simthread Purple Embroidery Thread 8 Brother Colors 550Yards, 40wt 100% Polyester for Brother, Babylock, Janome, Singer, Pfaff, Husqvarna, Bernina Machine
$9.99 (as of June 12, 2025 05:31 GMT -04:00 - More infoProduct prices and availability are accurate as of the date/time indicated and are subject to change. Any price and availability information displayed on [relevant Amazon Site(s), as applicable] at the time of purchase will apply to the purchase of this product.)
DMC 117F25-PC36 Embroidery Popular Colors Floss Pack, Colors may vary, 8.7-Yard, 36/Pack
$18.80 (as of June 12, 2025 12:33 GMT -04:00 - More infoProduct prices and availability are accurate as of the date/time indicated and are subject to change. Any price and availability information displayed on [relevant Amazon Site(s), as applicable] at the time of purchase will apply to the purchase of this product.)
New brothread 25pcs White 70D/2 (60WT) Prewound Bobbin Thread Plastic Size A SA156 for Embroidery and Sewing Machines DIY Embroidery Thread Sewing Thread
$8.99 (as of June 12, 2025 12:33 GMT -04:00 - More infoProduct prices and availability are accurate as of the date/time indicated and are subject to change. Any price and availability information displayed on [relevant Amazon Site(s), as applicable] at the time of purchase will apply to the purchase of this product.)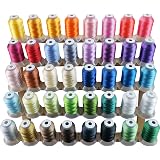
New brothread 40 Brother Colors Polyester Embroidery Machine Thread Kit 500M (550Y) each Spool for Brother Babylock Janome Singer Pfaff Husqvarna Bernina Embroidery and Sewing Machines
$22.94 (as of June 12, 2025 07:58 GMT -04:00 - More infoProduct prices and availability are accurate as of the date/time indicated and are subject to change. Any price and availability information displayed on [relevant Amazon Site(s), as applicable] at the time of purchase will apply to the purchase of this product.)Essential Stitches for Steampunk Success

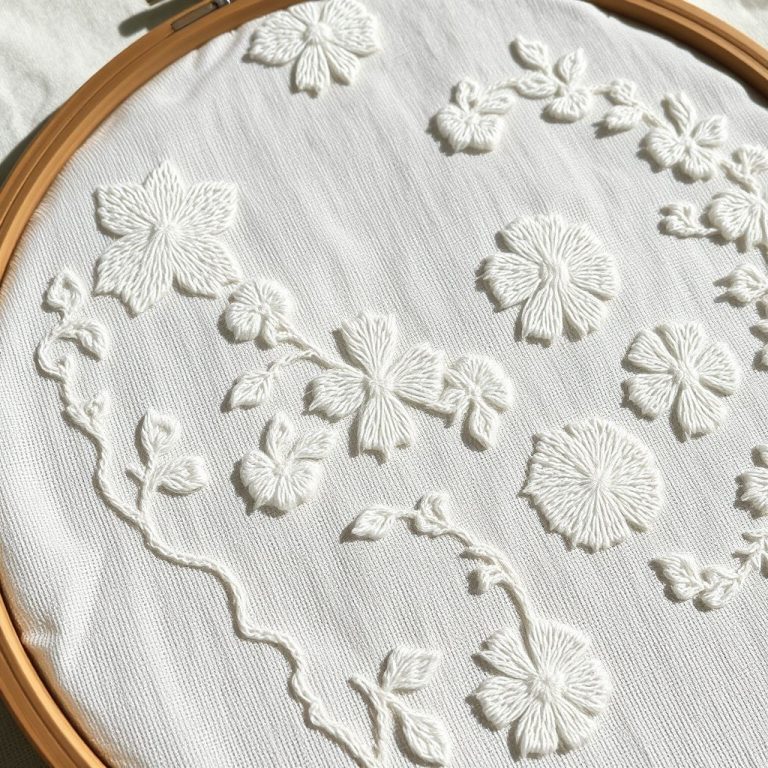
While any embroidery stitch can be used in steampunk embroidery, certain stitches are particularly well-suited to creating the textures and details that define the style. The satin stitch, for example, is perfect for filling in solid shapes like gears and goggles, creating a smooth and polished look. The stem stitch is ideal for outlining shapes and creating fine lines, such as the intricate details of clockwork mechanisms. The chain stitch can be used to create bold outlines or to fill in larger areas with a textured, chain-like effect. According to embroidery artist Sarah Miller, “Experimentation is key. Don’t be afraid to try different stitches and techniques to see what works best for your design.”
Beyond the basic stitches, more advanced techniques like stumpwork (raised embroidery) can add dimension and realism to your designs. For example, you could use stumpwork to create a three-dimensional gear that appears to pop off the fabric. Similarly, couching, a technique where threads are laid across the surface of the fabric and secured with small stitches, can be used to create interesting textures and patterns, such as the coils of a spring or the rivets on a metal plate.
Don’t underestimate the power of texture! Varying the thickness and type of thread can add depth and visual interest to your embroidery. Consider using metallic threads to create a shimmering effect on gears and other metal elements. Or try incorporating different fabrics, such as leather or suede, to add a tactile element to your design. The goal is to create a piece that is both visually appealing and engaging to the touch.
Finally, consider incorporating beadwork. Beads can add a touch of sparkle and can be used to represent rivets, screws, or other small details. They can also be used to create patterns and textures, adding another layer of complexity to your design.
Material Matters: Choosing the Right Foundation
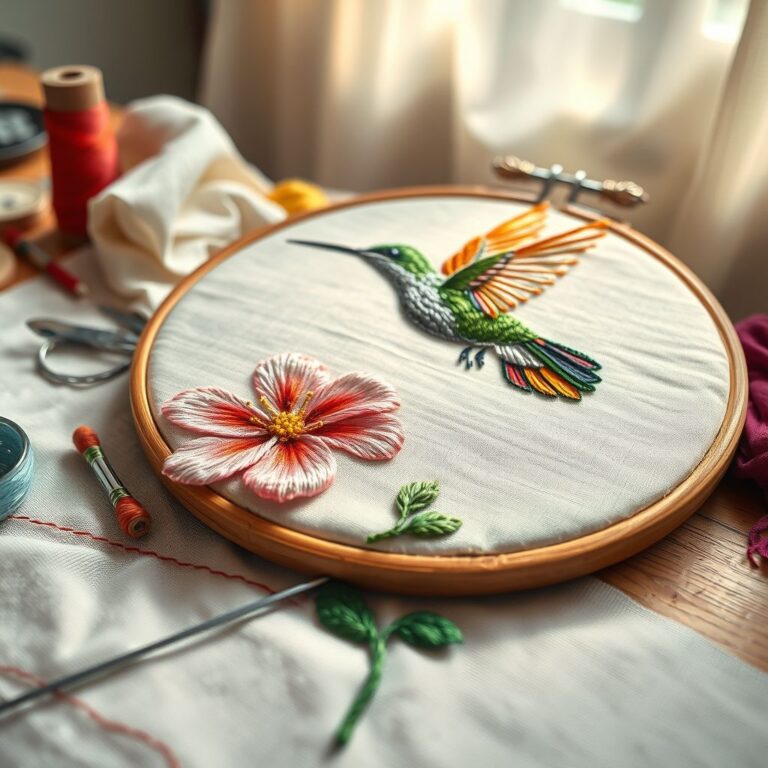
The choice of fabric is crucial in steampunk embroidery. Sturdy, natural fabrics like linen, cotton, and canvas are excellent choices, as they can withstand the weight and complexity of the embroidery. Linen, in particular, has a beautiful texture that complements the vintage aesthetic of steampunk. “The fabric provides the foundation for the entire piece,” notes textile conservator Michael Davis. “A good quality fabric will not only enhance the design but also ensure its longevity.”
Consider the color of your fabric as well. Neutral tones like cream, beige, and brown are classic choices, as they provide a blank canvas for your designs. However, don’t be afraid to experiment with darker colors like navy blue or charcoal gray, which can create a dramatic and sophisticated look. You can also dye your fabric to achieve a specific color or effect. Tea staining, for example, can give your fabric a vintage, aged appearance.
In addition to the main fabric, you may also want to incorporate other materials into your embroidery. Leather scraps can be used to create patches or embellishments, adding a touch of ruggedness to your design. Metal components, such as gears, rivets, and buttons, can be sewn onto the fabric to create a three-dimensional effect. Just be sure to use sturdy needles and thread to ensure that these elements are securely attached.
The type of stabilizer you use is also important. A good stabilizer will prevent your fabric from puckering or distorting during the embroidery process. Choose a stabilizer that is appropriate for the weight and type of fabric you are using. For heavier fabrics, you may need to use a tear-away or cut-away stabilizer. For lighter fabrics, a wash-away stabilizer may be sufficient.
Inspiration from Literature and History
Steampunk draws heavily from Victorian literature, particularly the works of Jules Verne and H.G. Wells. Verne’s “Twenty Thousand Leagues Under the Sea” and Wells’ “The Time Machine” are prime examples of the genre’s early influences. These novels introduced readers to fantastical inventions and futuristic technologies, inspiring generations of artists and creators. “These authors were essentially world-building,” says literary scholar Dr. Emily Carter. “They created entire universes governed by their own rules of science and technology.”
Beyond literature, historical inventions and technological advancements of the Victorian era also serve as a rich source of inspiration. The development of steam power, the invention of the telegraph, and the construction of the first railways all fueled the imagination of the time and continue to resonate with steampunk enthusiasts today. Researching these historical innovations can provide a wealth of ideas for your embroidery designs.
Consider incorporating elements from real-world inventions into your work. You could embroider a replica of the Babbage difference engine, a mechanical calculator developed in the 19th century. Or you could create a stylized representation of a Victorian-era diving suit. The possibilities are endless.
Don’t be afraid to draw inspiration from other art forms as well. Victorian-era architecture, fashion, and decorative arts are all fertile ground for ideas. Look for intricate patterns, ornate details, and unusual color combinations that you can incorporate into your embroidery.
Designing Your Steampunk Masterpiece
Before you start stitching, it’s important to plan out your design. Begin by sketching your ideas on paper, experimenting with different compositions and color schemes. Consider the size and shape of your fabric, as well as the placement of your design. “A well-planned design is half the battle,” advises experienced embroiderer, Mark Johnson. “Take the time to sketch out your ideas and experiment with different layouts before you start stitching.”
Once you have a basic sketch, you can start to refine the details. Add in the gears, goggles, and other steampunk elements that define the style. Think about how these elements will interact with each other and how they will fit within the overall composition. Consider using tracing paper to transfer your design onto your fabric. This will ensure that your design is accurately positioned and that you have a clear guide to follow as you stitch.
Choose your stitches and threads carefully. Select stitches that are appropriate for the different elements of your design. For example, you might use satin stitch to fill in solid shapes and stem stitch to outline fine details. Choose threads that are appropriate for the weight and type of fabric you are using. Consider using metallic threads to add a touch of shimmer and sparkle to your design.
Remember to consider the overall balance and harmony of your design. Ensure that the different elements are visually balanced and that the colors complement each other. Step back from your work periodically to get a fresh perspective and make sure that everything is working together harmoniously.
Adding Personal Touches and Details
While steampunk has a distinct aesthetic, don’t be afraid to add your own personal touches to your embroidery. Incorporate elements that reflect your own interests and passions. Perhaps you’re fascinated by astronomy – you could add celestial motifs like stars, planets, and constellations to your design. Or maybe you’re a history buff – you could incorporate elements from a specific historical period or event. “The most compelling art is always personal,” emphasizes creative writing professor Dr. Jane Holloway. “Let your own unique perspective shine through.”
Experiment with different textures and embellishments. Add beads, sequins, or buttons to create visual interest. Incorporate scraps of leather, lace, or other fabrics to add a tactile element to your design. Consider using dyes or paints to add color and dimension to your embroidery.
Don’t be afraid to make mistakes! Embroidery is a forgiving art form. If you make a mistake, you can always remove the stitches and start over. Or you can embrace the mistake and incorporate it into your design. Sometimes, the most interesting and creative works of art are born from mistakes.
Take your time and enjoy the process. Embroidery is a relaxing and meditative activity. Allow yourself to get lost in the rhythm of the stitches and the beauty of the materials. Let your creativity flow and see where it takes you.
Preserving and Displaying Your Creation
Once you’ve completed your steampunk embroidery masterpiece, it’s important to take steps to preserve and display it properly. Start by gently pressing your embroidery on the wrong side, using a low heat setting and a pressing cloth. This will help to remove any wrinkles or creases and will give your embroidery a polished look. Avoid ironing directly over any beads, sequins, or other embellishments, as this could damage them.
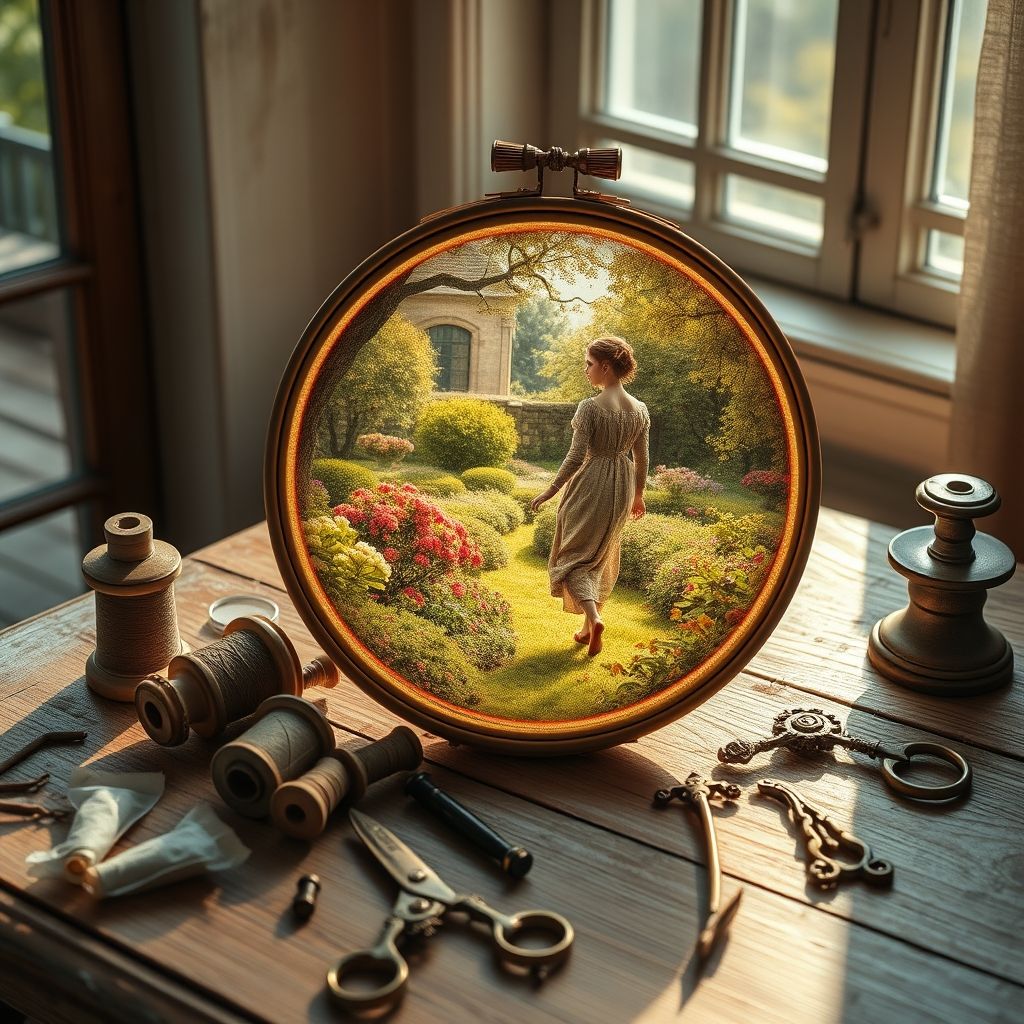
Consider framing your embroidery to protect it from dust, dirt, and sunlight. Choose a frame that complements the style and color scheme of your embroidery. A simple wooden frame with a neutral finish is a classic choice, but you could also opt for a more ornate frame with Victorian-inspired details.
Alternatively, you could incorporate your embroidery into a functional item, such as a pillow, a tote bag, or a wall hanging. If you choose to do this, be sure to use durable materials and construction techniques to ensure that your embroidery will withstand wear and tear.
Regardless of how you choose to display your embroidery, be sure to keep it away from direct sunlight and moisture. Sunlight can fade the colors of your threads and fabric, while moisture can cause mold and mildew to grow. Store your embroidery in a cool, dry place when it’s not on display.
And finally, be proud of your creation! Steampunk embroidery is a unique and fascinating art form that combines the beauty of needlework with the imaginative spirit of Victorian Futurism. Share your work with others and inspire them to explore the world of steampunk embroidery.
Steampunk embroidery allows us to play with historical aesthetics while indulging our fascination with imagined technologies. As you delve into this niche of creative expression, remember to let your imagination guide you, mixing the old with the new in surprising and delightful ways. It’s a chance to create something truly unique, reflecting both the Victorian era and your own artistic vision.
Ultimately, the allure of steampunk embroidery lies in its ability to transport us to another time and place, a world where steam power reigns supreme and anything is possible. It’s an art form that celebrates ingenuity, creativity, and the boundless potential of the human imagination. So, grab your needles, thread, and gears, and embark on your own steampunk embroidery adventure. The possibilities are as limitless as the gears in a clockwork heart!
New brothread - 2 Huge Spools 5000M Each Polyester Embroidery Machine Thread 40WT for Commercial and Domestic Machines - White
$12.99 (as of June 12, 2025 05:31 GMT -04:00 - More infoProduct prices and availability are accurate as of the date/time indicated and are subject to change. Any price and availability information displayed on [relevant Amazon Site(s), as applicable] at the time of purchase will apply to the purchase of this product.)
Richword White Embroidery Thread 4000M(4374Y) 40WT Polyester Thread 100 Colors Selected for Commercial Multi Needles and Single Needle Embroidery Machine 0401
$7.19 (as of June 12, 2025 05:31 GMT -04:00 - More infoProduct prices and availability are accurate as of the date/time indicated and are subject to change. Any price and availability information displayed on [relevant Amazon Site(s), as applicable] at the time of purchase will apply to the purchase of this product.)
Simthread 144 Prewound Bobbin Thread Size L 60WT (SA155) for Husqvarna Viking pfaff Creative Vision Embroidery Machines Plastic Side - White
$24.99 (as of June 12, 2025 05:31 GMT -04:00 - More infoProduct prices and availability are accurate as of the date/time indicated and are subject to change. Any price and availability information displayed on [relevant Amazon Site(s), as applicable] at the time of purchase will apply to the purchase of this product.)
150 Color Skeins Rainbow Color Embroidery Floss,Cross Stitch Threads, Bracelet Yarn, Craft Floss
$8.99 (as of June 12, 2025 07:58 GMT -04:00 - More infoProduct prices and availability are accurate as of the date/time indicated and are subject to change. Any price and availability information displayed on [relevant Amazon Site(s), as applicable] at the time of purchase will apply to the purchase of this product.)
Simthread 6 Gold Metallic Embroidery Machine Thread 500M(550Y) for Embroidery and Decorative Sewing
$15.99 (as of June 12, 2025 05:31 GMT -04:00 - More infoProduct prices and availability are accurate as of the date/time indicated and are subject to change. Any price and availability information displayed on [relevant Amazon Site(s), as applicable] at the time of purchase will apply to the purchase of this product.)
Consew CFC 8" Dual Blades Complete Foam & Rubber Cutter
$689.00 (as of June 12, 2025 10:35 GMT -04:00 - More infoProduct prices and availability are accurate as of the date/time indicated and are subject to change. Any price and availability information displayed on [relevant Amazon Site(s), as applicable] at the time of purchase will apply to the purchase of this product.)
Consew upholstery Walking Foot Industrial Sewing Machine with Table and Servo Motor Drop Feed, Needle Feed, Walking Foot, Lockstitch Machine
$1,549.00 (as of June 12, 2025 10:35 GMT -04:00 - More infoProduct prices and availability are accurate as of the date/time indicated and are subject to change. Any price and availability information displayed on [relevant Amazon Site(s), as applicable] at the time of purchase will apply to the purchase of this product.)
Quick clothing fixator, micro needle clothing sewing gun, mini clothing embroidery gun quick sewing tool, including 1 needle, 1000 white and 1000 black 4.5mm fasteners(Red)
$9.49 (as of June 12, 2025 10:35 GMT -04:00 - More infoProduct prices and availability are accurate as of the date/time indicated and are subject to change. Any price and availability information displayed on [relevant Amazon Site(s), as applicable] at the time of purchase will apply to the purchase of this product.)
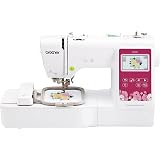
Brother PE550D Embroidery Machine, 125 Built-in Designs Including 45 Disney Designs, 4" x 4" Hoop Area, Large 3.2" LCD Touchscreen, USB Port, 9 Font Styles
(as of June 12, 2025 10:35 GMT -04:00 - More infoProduct prices and availability are accurate as of the date/time indicated and are subject to change. Any price and availability information displayed on [relevant Amazon Site(s), as applicable] at the time of purchase will apply to the purchase of this product.)