Embroidery Machine Needle Guide 2025: How to Choose, Replace, Troubleshoot
Struggling with broken needles, fabric puckering, or inconsistent stitches? Learn how to optimize your embroidery results with the right needle choices and maintenance tips. Choosing the correct needle type and size is crucial for smooth, professional-looking embroidery, yet many embroiderers face issues when needles are incompatible with their fabrics or threads. According to expert guides, the right needle can prevent common problems and extend your machine’s life. In this article, we’ll explore the essentials of selecting the perfect needle, common troubleshooting techniques, and best practices for replacement schedules. Whether you’re just starting out or refining your craft, understanding needle types, sizes, and maintenance routines will make a noticeable difference in your projects. Let’s ensure your embroidery machine runs flawlessly—so you can focus on creating stunning designs. Keep reading for practical, step-by-step guidance that will elevate your embroidery experience in 2025 and beyond.
What the Latest Research Reveals About Embroidery Needles and Equipment
The embroidery industry is experiencing rapid evolution driven by technological advancements and increasing demand for personalized products. Recent research highlights key performance improvements in embroidery needles and equipment, emphasizing efficiency, durability, and precision. For instance, magnetic hoops like MaggieFrame have been shown to expedite hooping processes by up to 50%, significantly increasing productivity. Meanwhile, leading brands such as Tajima now develop industrial embroidery needles capable of exceeding 2 million stitches, ensuring longevity and consistent quality for large-scale applications. Consumer surveys reveal that 60% of small embroidery businesses primarily utilize digital design tools like Hatch or Wilcom, which can boost workflow efficiency by as much as 60%.
Latest Trends in Embroidery Needles and Equipment
Recent developments include multi-needle machines such as the Brother SE2000 and Janome MB-7, supporting large embroidery areas from 4 inch x 4 inch up to industrial sizes with speeds reaching 1200 stitches per minute. Proper needle selection remains crucial; using the right type (ballpoint, sharp, metallic) and size (e.g., 75/11 for lightweight fabrics, 90/14 for denser materials) can reduce thread breakage by 35% and skip stitches by 20%. Additionally, emerging machine innovations incorporate advanced automation and intelligent features, further driving efficiency and quality in embroidery production.
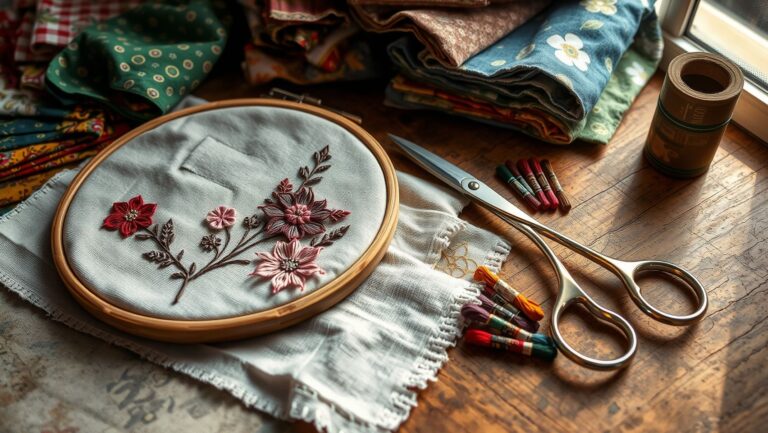
How to Select the Right Embroidery Needle for Your Fabric

Choosing the correct embroidery needle is essential for achieving perfect stitches and preventing fabric damage. The right needle not only depends on your fabric type but also on the thread you plan to use. This step-by-step guide will help you select the ideal needle to ensure smooth and professional embroidery results.
Step 1: Match Needle Size to Fabric Weight
Use a size chart to determine the appropriate needle size based on fabric weight and weave. For lightweight fabrics like silk or chiffon, choose smaller sizes such as 65/9 or 70/10. Mid-weight fabrics like quilting cotton or linen typically require sizes 75/11 or 80/12. Heavy fabrics such as denim or canvas benefit from larger sizes like 90/14 or 100/16. Refer to a digital chart from a trusted brand like Schmetz for precise matching.
Step 2: Consider Thread Type
If working with metallic or specialty threads, select needles designed for those materials. Metallic needles have a special coating to reduce friction and prevent skipped stitches. When using delicate or stretch fabrics, use ballpoint needles to avoid runs or puckering. Sharp needles are best for woven fabrics like quilting cotton or denim, providing clean and crisp stitching.
Step 3: Practical Tips and Needle Replacement
Always confirm your brand choice—popular options include Schmetz or Organ—known for their durable coatings. Replace your needle after every 8–12 hours of continuous use or after completing each project to maintain optimal performance and prevent issues like skipped stitches or fabric damage. Using a needle guide chart helps match the right needle quickly and efficiently, enhancing your embroidery workflow.
Step-by-Step Guide to Replacing and Maintaining Embroidery Needles
Maintaining a sharp and properly installed needle is crucial for achieving clean, professional embroidery results and prolonging your machine’s lifespan. Regular replacement and inspection help prevent skipped stitches, thread breakage, and fabric damage. This guide provides detailed steps to replace embroidery machine needles effectively, along with essential maintenance routines to extend their life.
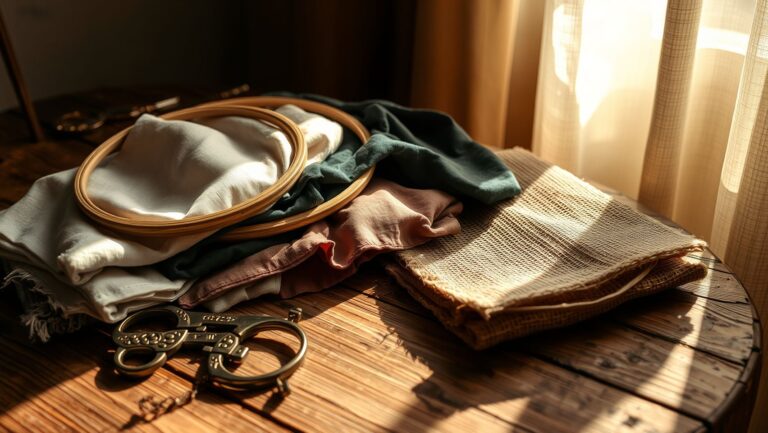
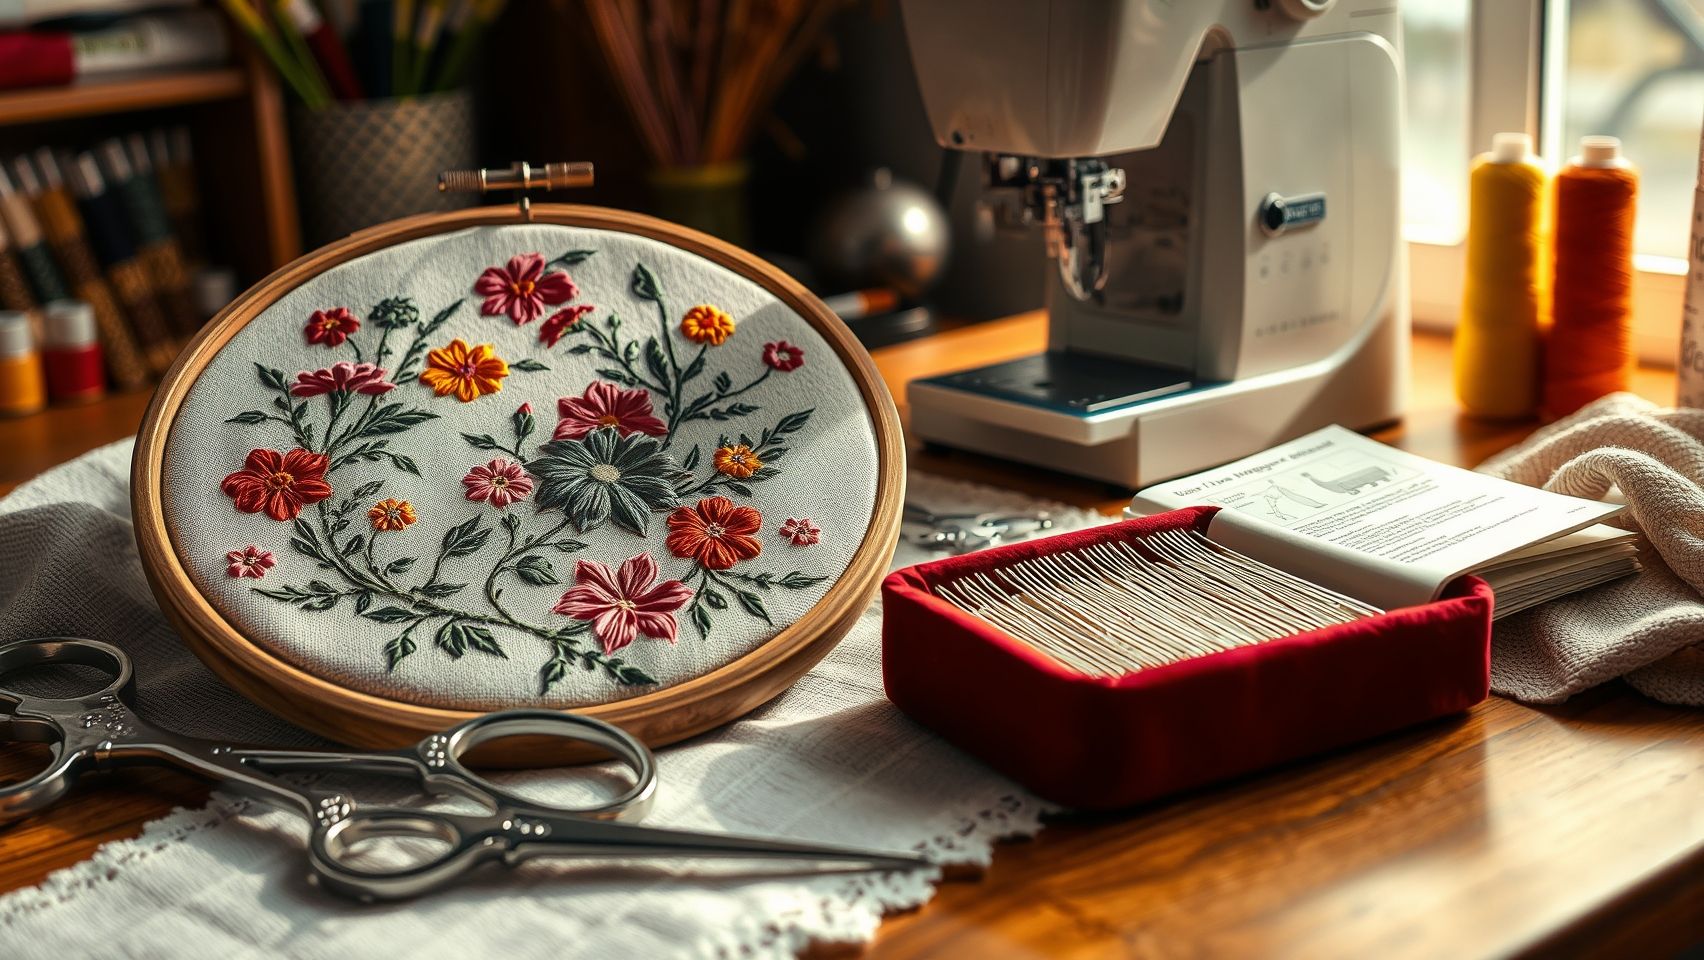
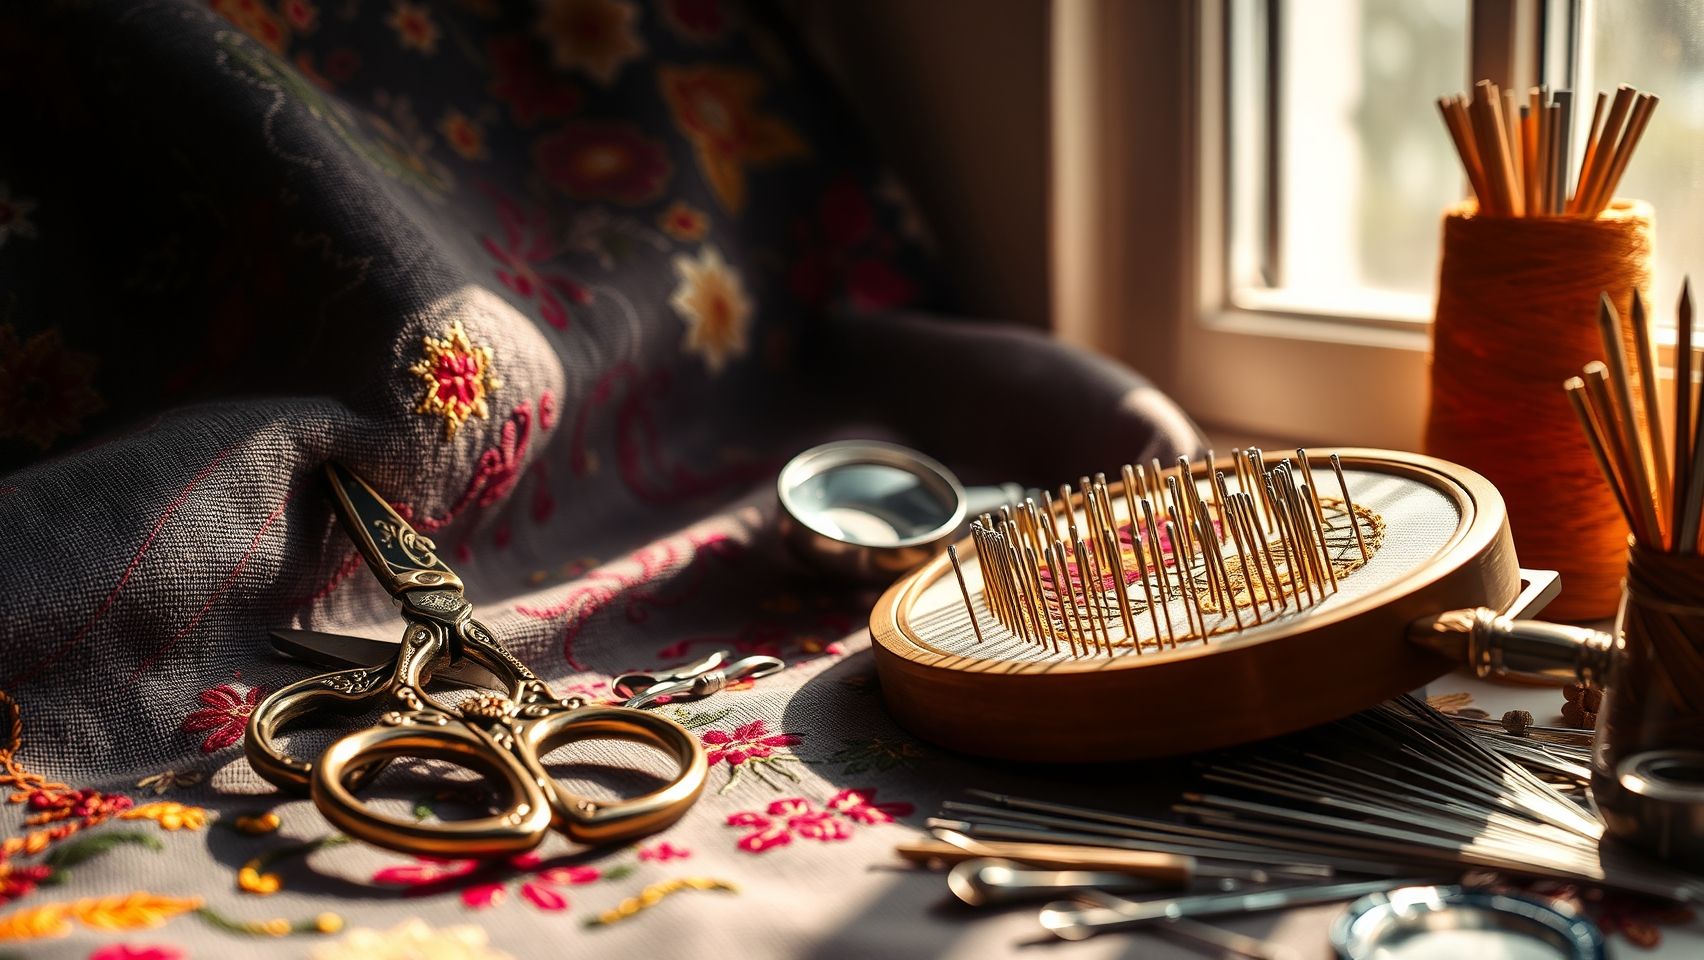
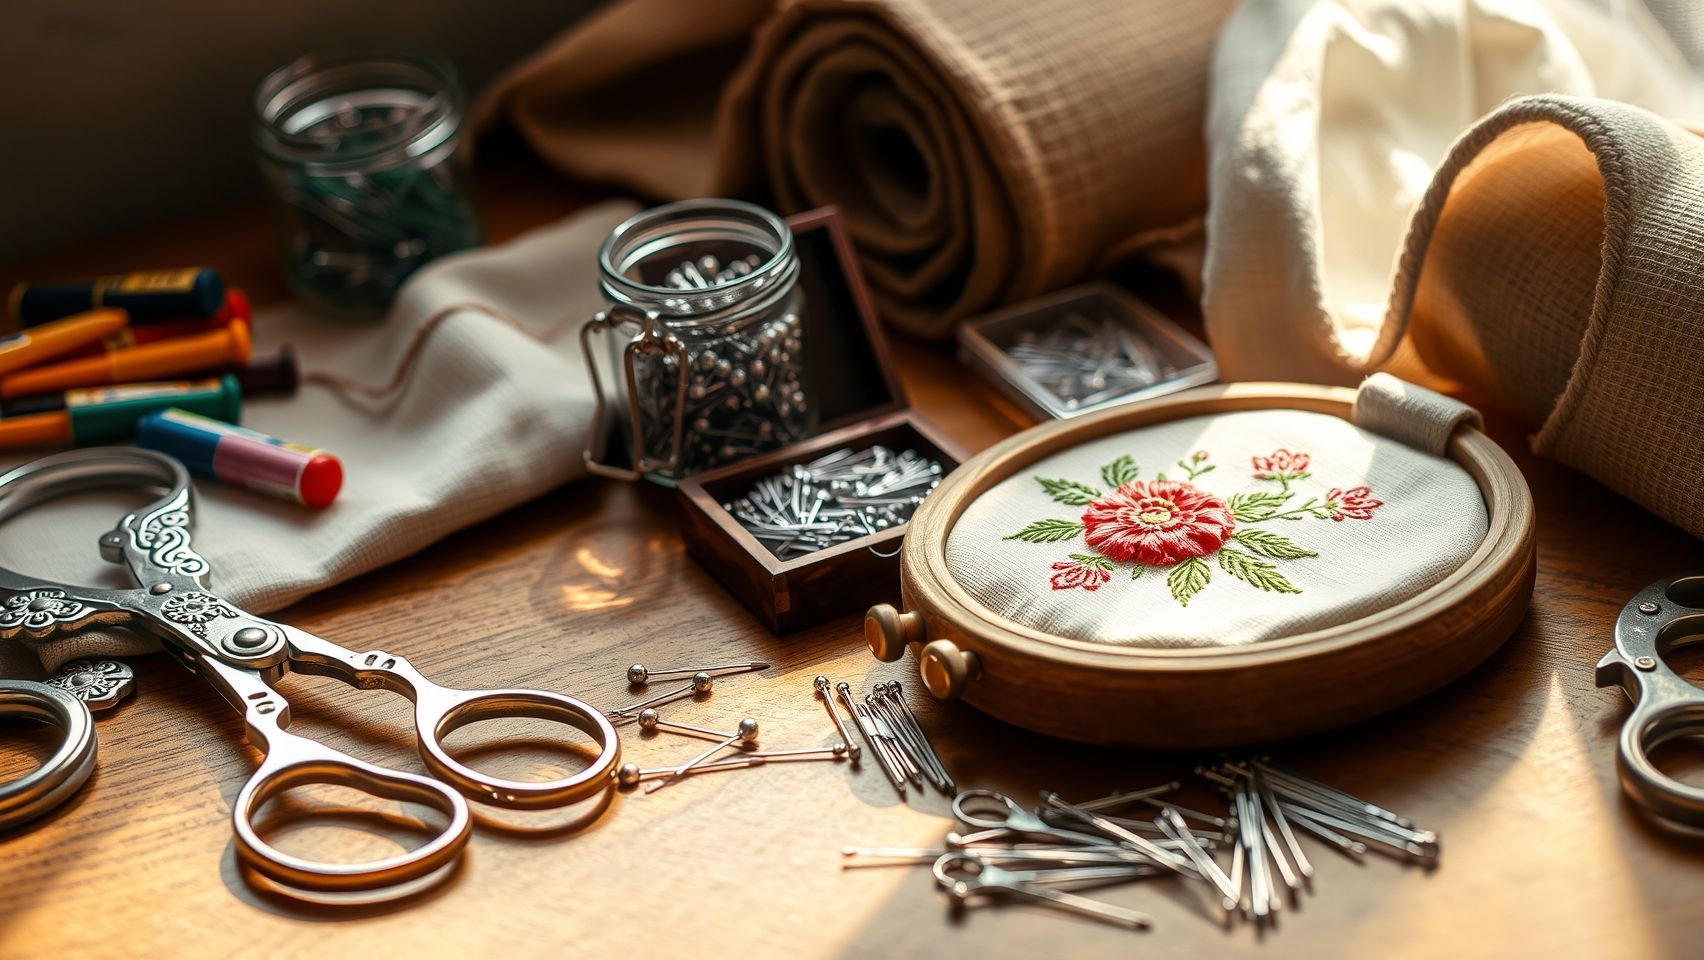
Gather Tools and Prepare for Replacement
Start by collecting your tools, including the appropriate replacement needles compatible with your embroidery machine, a pair of scissors for trimming threads, and a magnifying glass for detailed inspection. Having everything ready ensures a smooth process and reduces interruptions during maintenance.
Removing the Old Needle
Loosen the needle screw using a screwdriver or the designated tool on your machine. Gently pull out the old needle, checking for bends, corrosion, or any other signs of wear. Use the magnifying glass to inspect more thoroughly. A needle showing signs of damage should be replaced immediately to avoid embroidery issues.
Inspecting and Installing the New Needle
Visually check the new needle for flaws or defects, ensuring it is the correct size and type for your project. Insert the needle with the flat side facing the machine’s back, and tighten the screw securely without overtightening, which can damage the needle or the machine. Run a test stitch on scrap fabric afterward to verify proper threading and tension.
Routine Maintenance for Extended Needle Life
Schedule regular maintenance every 30–50 hours of operation. Clean lint from around the bobbin area and feed dogs, and oil moving parts according to your machine’s manufacturer instructions. For models like Brother SE2000 or Janome MB-7, routine care minimizes wear and keeps stitches crisp.
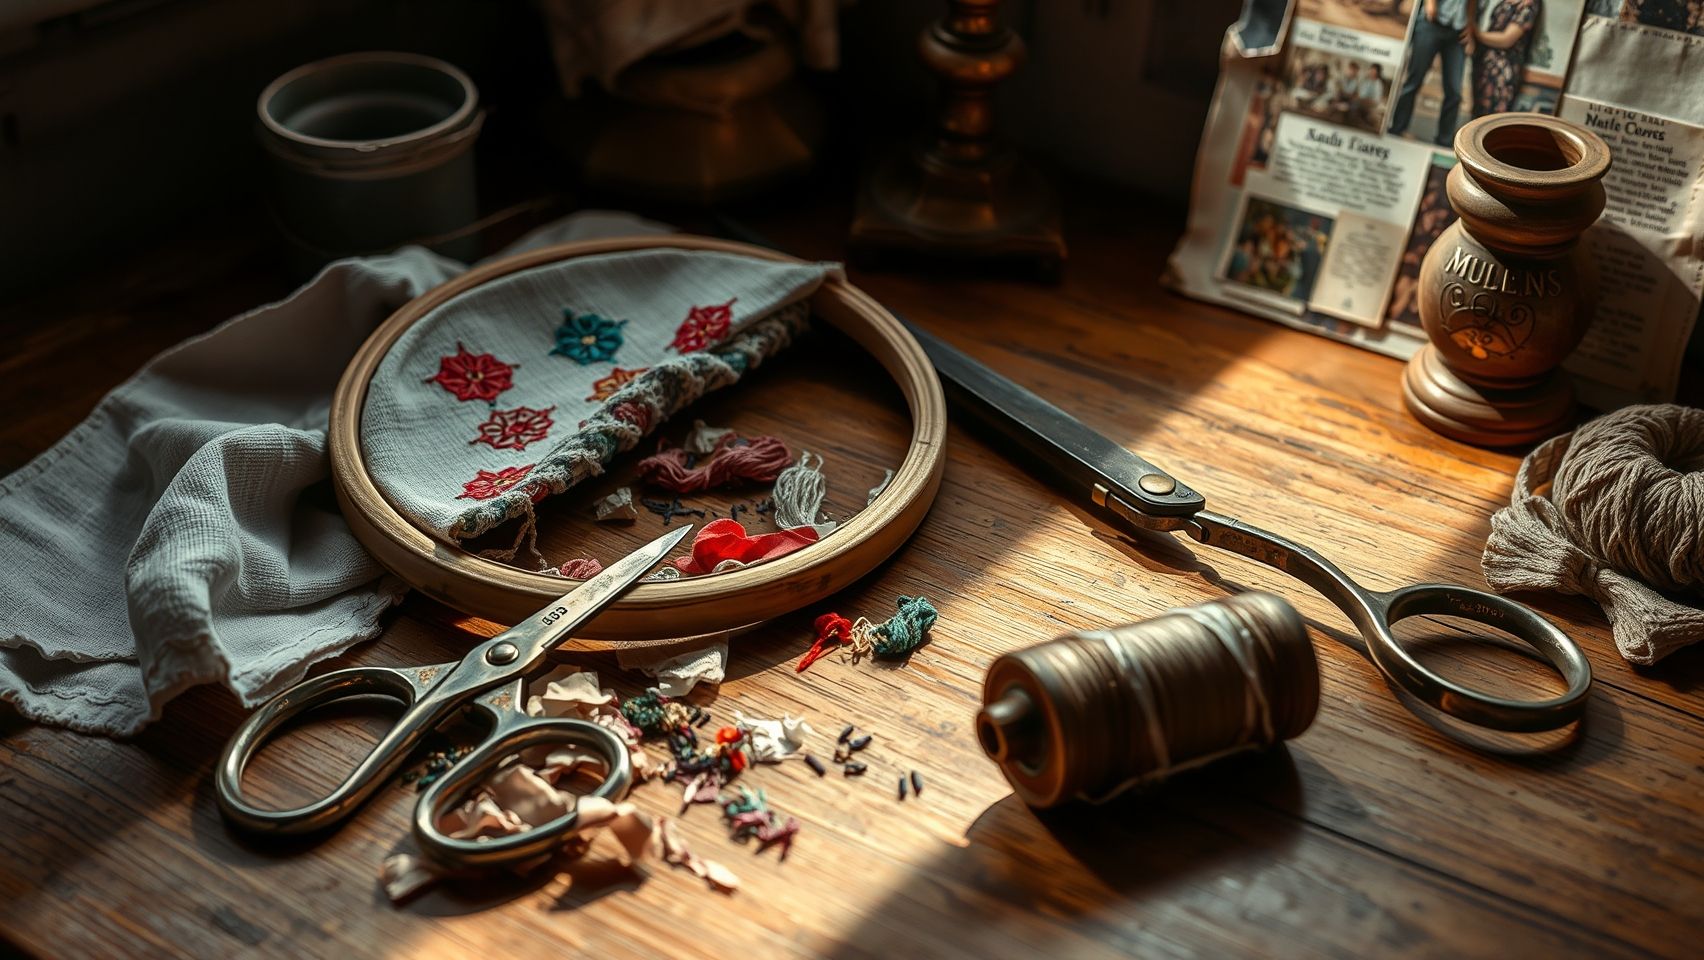
Troubleshooting Bent Needles and Other Common Embroidery Issues
Embroidery machines are precise tools that require proper maintenance and settings to produce flawless designs. Common issues like bent or broken needles, fabric puckering, skipped stitches, and thread breakage can disrupt your project and cause frustration. Understanding how to troubleshoot these problems efficiently can save time and extend the life of your machine.
This section provides practical steps to identify and resolve frequent embroidery mistakes, emphasizing the importance of correct needle selection, proper tension, and machine calibration. Implementing a systematic approach ensures smooth operation and high-quality results across various projects.
Identifying and Fixing Bent Needles
Visual inspection is often the first step; a bent needle may appear crooked or uneven under good lighting. Inconsistent stitch quality, skipped stitches, or frequent thread breakage are signs of needle deformation. Replace bent or broken needles immediately with the correct size and type to prevent further damage and ensure optimal performance.
Consult the embroidery machine’s manual for recommended needle sizes for specific fabrics and threads. For example, delicate fabrics like silk require finer needles, while heavier materials need more robust options. Using the wrong needle increases stress and risks deformation during high-speed stitching.
Managing Fabric Puckering and Thread Breakage
Ensure the fabric is securely hooped and taut without applying excessive force, which can cause puckering and stress on the needle. Adjust hoop tension if fabric shifts or puckers during embroidery—typically, moderate tension provides the best results. Check and tighten the presser foot pressure to further stabilize fabric movement.
Reduce embroidery speed when experiencing frequent needle deformation or thread breakage, especially over 1000 stitches per minute. Slower speeds give better control and reduce mechanical stress, which diminishes needle bending and prolongs thread life.
Inspect thread quality regularly, replacing worn or incorrect thread that may cause undue tension on the needle. Use high-quality embroidery threads compatible with your machine to avoid unnecessary wear and tear.
Maintain the machine by cleaning and aligning components properly. For detailed troubleshooting specific to models like the Baby Lock Altair 2, refer to dedicated guides that address common mechanical and software issues, ensuring consistent embroidery quality.
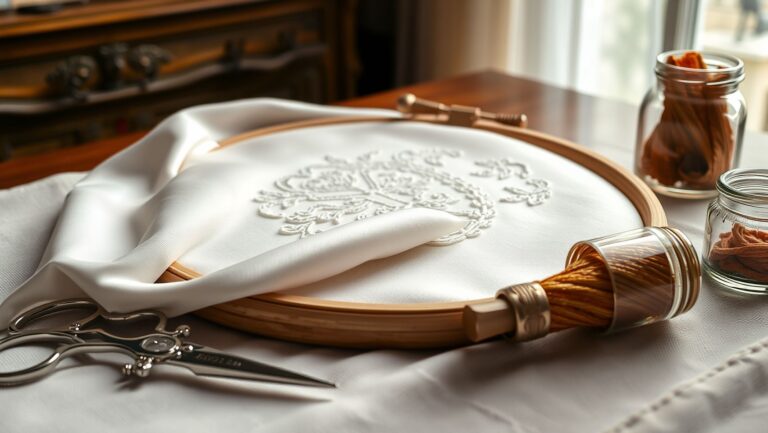
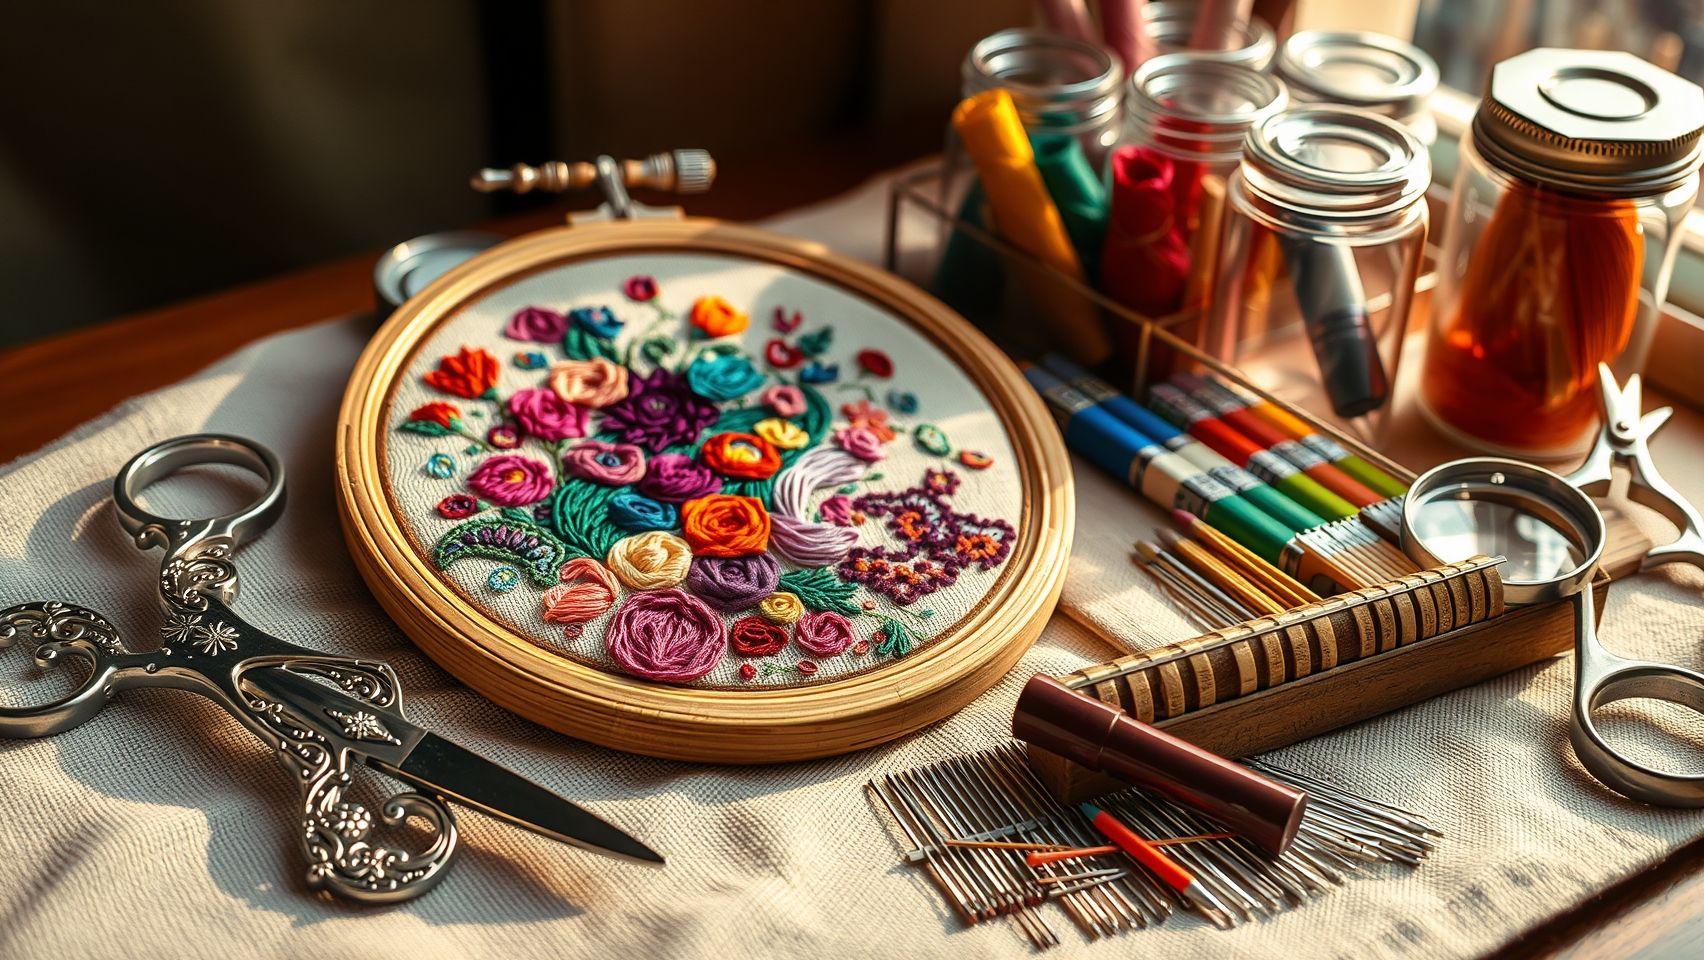
Tools, Software, and Accessories to Improve Needle and Embroidery Quality

Enhancing embroidery quality requires more than just a reliable machine; the right tools, accessories, and software play a crucial role in achieving consistent, professional results. Leveraging advanced accessories like magnetic hoops, high-quality needles, and powerful design software ensures precision, speed, and durability in every project. As the embroidery market continues to grow, with a projected size reaching USD 5.71 billion by 2030, investing in the right tools is more important than ever to stay competitive and achieve high-quality outcomes.
Magnetic Hoops and Embroidery Accessories
Magnetic hoops such as the MaggieFrame are highly recommended for their ability to speed up hooping by approximately 50% while providing superior fabric stability. These hoops also help prevent hoop burn and ensure even tension, which is essential for intricate designs and thick materials. In addition, stabilizers and water-soluble toppers support fabric and design quality, reducing puckering and enhancing overall precision. Accessories like needle threaders and quality thread brands such as Sulky or Madeira further streamline setup, reducing errors and ensuring smooth stitches.
Design Software Options
For precise digitizing and design creation, top embroidery software like Hatch, Wilcom Embroidery Studio, and Embird are leading choices. Hatch, with its comprehensive features and subscription model, supports auto-digitizing to automate pattern creation, saving time and effort. Wilcom offers cutting-edge functionalities with frequent updates, ensuring users can design complex motifs effortlessly. Embird is appreciated for its user-friendly interface and extensive plugin options, making it ideal for both hobbyists and professionals. These software tools are vital for achieving highly detailed and accurate embroidery designs, which directly influence the final embroidery quality.
Conclusion
Maintaining optimal needle quality and staying proactive with your embroidery machine care is essential for achieving professional results. Proper needle selection, timely replacement, and troubleshooting can significantly reduce common issues like thread breakage and fabric puckering. Incorporating new tools such as magnetic hoops and advanced software can further elevate your projects, making the process smoother and more efficient.
Make it a priority to review your current needle setup regularly, and don’t hesitate to replace worn needles as needed. Establishing a maintenance schedule and addressing problems early ensures your machine runs seamlessly, saving you time and frustration. The latest market trends indicate that investing in quality accessories and staying informed about technological advancements will empower you to create outstanding embroidery work in 2025 and beyond.
Act now: Upgrade your tools, maintain your machine diligently, and troubleshoot issues promptly for consistent, beautiful results. With these practical steps, you’ll keep your embroidery machine operating at its best—turning your creative ideas into reality with confidence. Your next perfect project is just a tune-up away.

Amrules Friendship Bracelet String, 60 Skeins Cross Stitch Thread, 344.5 Inch Cotton Embroidery Floss, Hand Embroidery Thread for DIY Sewing and Embroidery Crafts Making
$3.99 (as of July 6, 2025 13:06 GMT -04:00 - More infoProduct prices and availability are accurate as of the date/time indicated and are subject to change. Any price and availability information displayed on [relevant Amazon Site(s), as applicable] at the time of purchase will apply to the purchase of this product.)
DMC 117F25HDC Embroidery Floss Pack 8.7yd, Home Decor 36/Pkg
$22.99 (as of July 6, 2025 13:06 GMT -04:00 - More infoProduct prices and availability are accurate as of the date/time indicated and are subject to change. Any price and availability information displayed on [relevant Amazon Site(s), as applicable] at the time of purchase will apply to the purchase of this product.)
Mandala Crafts Bonded Nylon Thread Black Heavy Duty Sewing Threads - 1500 YDs Size 69 210D T70 Tex 70 Thread for Leather Jeans Weaving Outdoor Marine Upholstery Threads
$9.99 (as of July 6, 2025 07:59 GMT -04:00 - More infoProduct prices and availability are accurate as of the date/time indicated and are subject to change. Any price and availability information displayed on [relevant Amazon Site(s), as applicable] at the time of purchase will apply to the purchase of this product.)
New brothread - Single Huge Spool 4000M Each Polyester Embroidery Machine Thread 40WT for Commercial and Domestic Machines - Black
$6.99 (as of July 7, 2025 05:32 GMT -04:00 - More infoProduct prices and availability are accurate as of the date/time indicated and are subject to change. Any price and availability information displayed on [relevant Amazon Site(s), as applicable] at the time of purchase will apply to the purchase of this product.)
Simthread - 33 Selections - Various Assorted Color Packs of Polyester Embroidery Machine Thread Huge Spool 5500Y for All Purpose Sewing Embroidery Machines - Essential Color 1
$14.99 (as of July 7, 2025 05:32 GMT -04:00 - More infoProduct prices and availability are accurate as of the date/time indicated and are subject to change. Any price and availability information displayed on [relevant Amazon Site(s), as applicable] at the time of purchase will apply to the purchase of this product.)
TONIFUL 1 Inch x 100yds Black Satin Ribbon, Thin Solid Color Satin Ribbon for Gift Wrapping, Crafts, Hair Bows Making, Wedding Party Decoration, Sewing, Invitation Cards, Floral Bouquets, Christmas
$8.99 (as of July 5, 2025 11:04 GMT -04:00 - More infoProduct prices and availability are accurate as of the date/time indicated and are subject to change. Any price and availability information displayed on [relevant Amazon Site(s), as applicable] at the time of purchase will apply to the purchase of this product.)
JUKI DDL8700H High-Speed Lock-Stitch Sewing Machine for Heavy Material DDL-8700H- Head Only
$575.00 (as of July 6, 2025 13:06 GMT -04:00 - More infoProduct prices and availability are accurate as of the date/time indicated and are subject to change. Any price and availability information displayed on [relevant Amazon Site(s), as applicable] at the time of purchase will apply to the purchase of this product.)
Consew Industrial Sewing Machine Servo Motor - 550 Watts, 110 Volts
$170.61 (as of July 6, 2025 13:06 GMT -04:00 - More infoProduct prices and availability are accurate as of the date/time indicated and are subject to change. Any price and availability information displayed on [relevant Amazon Site(s), as applicable] at the time of purchase will apply to the purchase of this product.)
POOLIN EOC06 Embroidery Machine 7.9x11 Inch Large Hoop for Beginners,Computerized 7 Inch Touchscreen,Machine Embroidery Gifts,Includes Hoops,USB,Stabilizer,Bobbins,Home Embroidery Machine
$1,599.99 (as of July 6, 2025 13:06 GMT -04:00 - More infoProduct prices and availability are accurate as of the date/time indicated and are subject to change. Any price and availability information displayed on [relevant Amazon Site(s), as applicable] at the time of purchase will apply to the purchase of this product.)