Embroidery Digitizing Software for Beginners: How to Choose and Use Effectively in 2025
Starting with embroidery digitizing can feel overwhelming—like trying to learn a new language without a tutor. With so many software options popping up, how do you pick the right one for your projects? Beginners often struggle with choosing between free tools and expensive professional programs, worried about wasting time or ending up with subpar designs. Your choice of software directly impacts efficiency, design quality, and ultimately your success in embroidery. Luckily, 2025 brings a wave of innovative tools that make digitizing easier and more intuitive, even for newbies. According to industry guides, understanding the key features—like auto-digitizing vs. manual controls—helps you evaluate what fits your skill level and goals. This article will walk you through actionable steps to choose and use your embroidery software confidently, so you can turn your creative ideas into stunning stitched designs. Ready to elevate your embroidery game? Let’s dive in.
What Do the Latest Embroidery Software Trends Tell Beginners?
The embroidery industry is experiencing significant growth in 2025, fueled by technological advancements and rising demand for customized designs. Market research indicates a substantial 35% increase in the user base over recent years, with an emphasis on user-friendly features tailored for beginners. Popular software options like Hatch Embroidery, Wilcom Embroidery Studio E4, and Embrilliance Essentials dominate the market, while free tools like Ink/Stitch continue to attract new hobbyists.
Current trends suggest that features such as auto-digitizing, expansive design libraries, versatile editing tools, and machine compatibility are highly valued by users. AI automation and cloud access are increasingly becoming standard, streamlining the digitizing process and enabling remote work. User preferences reveal a clear divide: approximately 73% of commercial embroiderers favor Wilcom for its return on investment, whereas 60% of small businesses cite productivity gains with Embrilliance. These insights underscore the importance of choosing software that aligns with specific workflow needs and hardware setups, such as magnetic hoops and machine integration.
Current Market Insights for Beginners
For newcomers, understanding market directions helps in making informed choices. The growing emphasis on educational resources shows that success rates increase by 45% when beginners utilize online courses and tutorials, especially from platforms like Udemy. As technology continues to evolve, newer updates to embroidery machines and software improve ease of use, efficiency, and design quality. Hardware-software synergy remains critical, with machine compatibility and innovative tools like magnetic hoops influencing overall digitizing success.
Adapting to these trends means selecting tools that offer robust features and support learning curves, ensuring beginners can produce professional results with less frustration and more creativity. Staying informed on market developments enables beginners to invest wisely, harnessing the latest features to enhance their embroidery projects effectively in 2025.
Step-by-Step: How to Select the Right Embroidery Digitizing Software
Choosing the appropriate embroidery digitizing software can significantly influence the quality, efficiency, and scope of your embroidery projects. For beginners, navigating the various options might seem overwhelming, but a structured approach ensures you make an informed decision that aligns with your needs and skill level. This guide provides actionable steps to evaluate and select the best software, avoiding common pitfalls.
Assess Your Embroidery Machine Compatibility
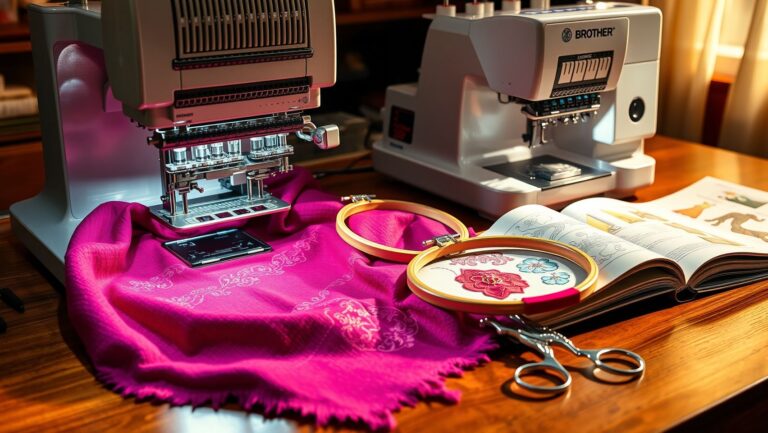
The first crucial step is to verify that the software supports your embroidery machine model. Popular machines like Brother, Bernina, and Janome each have specific software compatibility. For example, Hatch supports over 200 machine brands and models, making it versatile for many users. Checking the manufacturer’s website or user manual can help identify supported file formats and software capabilities, preventing costly mistakes later. Ensuring compatibility means easier integration and smoother operation, which is especially vital for beginners.
Determine Your Skill Level and Project Scope
Your proficiency in embroidery digitizing influences your software choice. Beginners should prioritize user-friendly interfaces like Ink/Stitch or Embrilliance Essentials, both offering intuitive workflows and helpful tutorials. Conversely, if your aim involves professional bulk production or complex designs, advanced suites like Wilcom provide comprehensive tools such as auto-digitizing, stitch editing, and extensive design libraries. Clarifying your skill level and project ambitions helps narrow options and sets realistic expectations.
Test Free Trials and Evaluate Features
Most leading software providers—Hatch, Wilcom E4, and Embrilliance—offer free trial versions. Download and experiment with these trials to assess how user-friendly the interface is, the richness of available features, and output quality. Focus on experience with auto-digitizing, manual stitch editing, and file format support (DST, PES, EXP). Testing ensures you gain hands-on understanding, reducing the risk of investing in software that doesn’t meet your needs.
Compare Key Features and Costs
Align your needs with the software’s capabilities by comparing essential features. Auto-digitizing and AI automation can save time but might come at a higher cost. File format compatibility ensures your designs can be used across different machines. Prices vary significantly—from around $100 for Embrilliance to over $1200 for Wilcom—so it’s vital to weigh these costs against expected benefits like efficiency gains and output quality. Testing trial versions offers clarity on value for money, making your investment justified.
Summary
By systematically assessing machine compatibility, skill level, project scope, features, and costs, beginners can confidently choose embroidery digitizing software tailored to their evolving needs. Taking time to test free versions avoids costly mistakes, ensuring a smooth, rewarding embroidery experience as you grow your skills in 2025.
Maximizing Output Quality: Practical Tips for Embroidery Digitizing Beginners
Achieving professional-looking embroidery designs starts with optimizing your software settings and techniques. For beginners, understanding how to utilize essential features can significantly improve design quality without advanced skills. This section provides actionable, step-by-step tips to enhance your digitizing process using popular software tools and best practices.
Start with High-Resolution, Vector-Based Design Files
Begin your design process with high-resolution, vector-based files such as SVG or AI formats. These files maintain sharp edges and allow for easier scaling and editing within embroidery software. Importantly, they serve as a clean foundation for precise stitch placement, reducing errors during digitizing. When creating or importing patterns, ensure they are vector-based to maximize clarity and flexibility.
Utilize Software Features to Optimize Stitch Output
Leverage key features in your digitizing software to control stitch quality. For example, Wilcom’s stitch density control allows you to adjust the spacing of stitches, preventing fabric puckering or gaps. Proper underlay settings help stabilize fabric and enhance design sharpness. Adjust these parameters carefully, and always perform test runs on scrap fabric to dial in tension, speed, and thread tension, following software-recommended guidelines for your machine.
Refine Auto-Digitized Stitches and Ensure Proper Fabric Stabilization
Auto-digitizing tools can save time, but manual fine-tuning is essential for professional results. Carefully review and edit auto-generated stitches to improve accuracy and aesthetic appeal. Additionally, ensure your fabric is properly hooped and stabilized—software often provides guidance on hoop placement. Using correctly hooped fabric prevents distortion and maintains design integrity during stitching.
Optimize Thread Colors and Use Software Enhancements for Vibrancy
Choose thread colors thoughtfully within your software’s color management settings to achieve vibrant and cohesive designs. Utilize shading options to add depth and realism. Proper color management ensures your finished embroidery displays professional vibrancy and precision, making your designs stand out effectively in 2025’s competitive craft market.
Essential Tools and Equipment for Successful Embroidery Digitizing
Embroidery digitizing is an intricate craft that requires the right hardware and accessories to achieve professional-quality results. For beginners, selecting reliable equipment and setting it up properly can make the learning curve smoother and the process more enjoyable. This guide offers a step-by-step overview of must-have tools and how to prepare your workspace for successful embroidery digitizing in 2025.
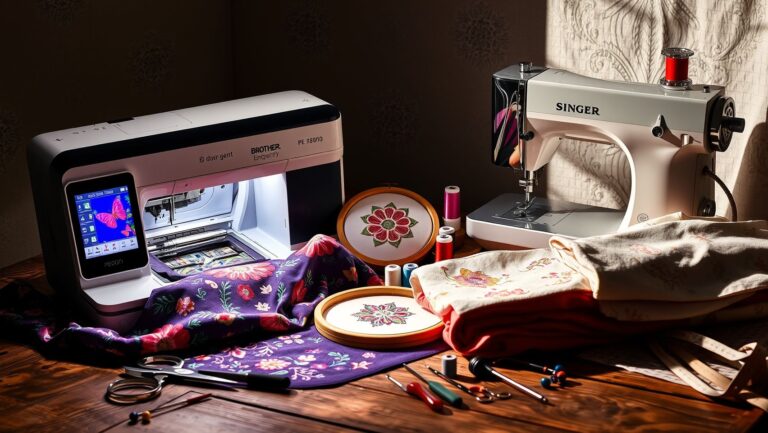
Choosing the Right Embroidery Machine
The foundation of your setup is a dependable embroidery machine. Current market leaders include models like the Brother PE770, priced around $700, and the Janome Memory Craft 400E, which costs approximately $2,000. The Brother PE770 offers excellent features for beginners with its user-friendly interface and versatile embroidery capabilities, making it a popular choice for newcomers. The Janome 400E provides more advanced features suited for those wanting to expand their skills. Newer models are incorporating smart technologies, enhanced stitching speed, and larger embroidery areas to improve the design process.
Essential Hardware and Accessories
Once you’ve selected an embroidery machine, focus on essential accessories:
- Magnetic Hoops: These improve design accuracy and ease of use. Start with a 5×7 inch hoop, as it offers versatility for various project sizes.
- Stabilizers: Choose the right stabilizer based on fabric type and design complexity to prevent puckering and ensure clean stitches.
- Threads and Needles: Invest in high-quality threads from brands like Sulky or Madeira. Select needles specifically suited for your fabric—sharp needles for woven fabrics, ballpoint for knit or jersey.
Setting Up Your Workspace
Create a comfortable, well-lit environment with a sturdy table and appropriate chair height. Proper lighting is crucial to prevent eye strain during detailed digitizing work. Keep your tools organized in storage drawers or on a pegboard for easy access. Establishing a dedicated workspace minimizes distractions and enhances focus for intricate embroidery projects.
Software Installation and Machine Connectivity
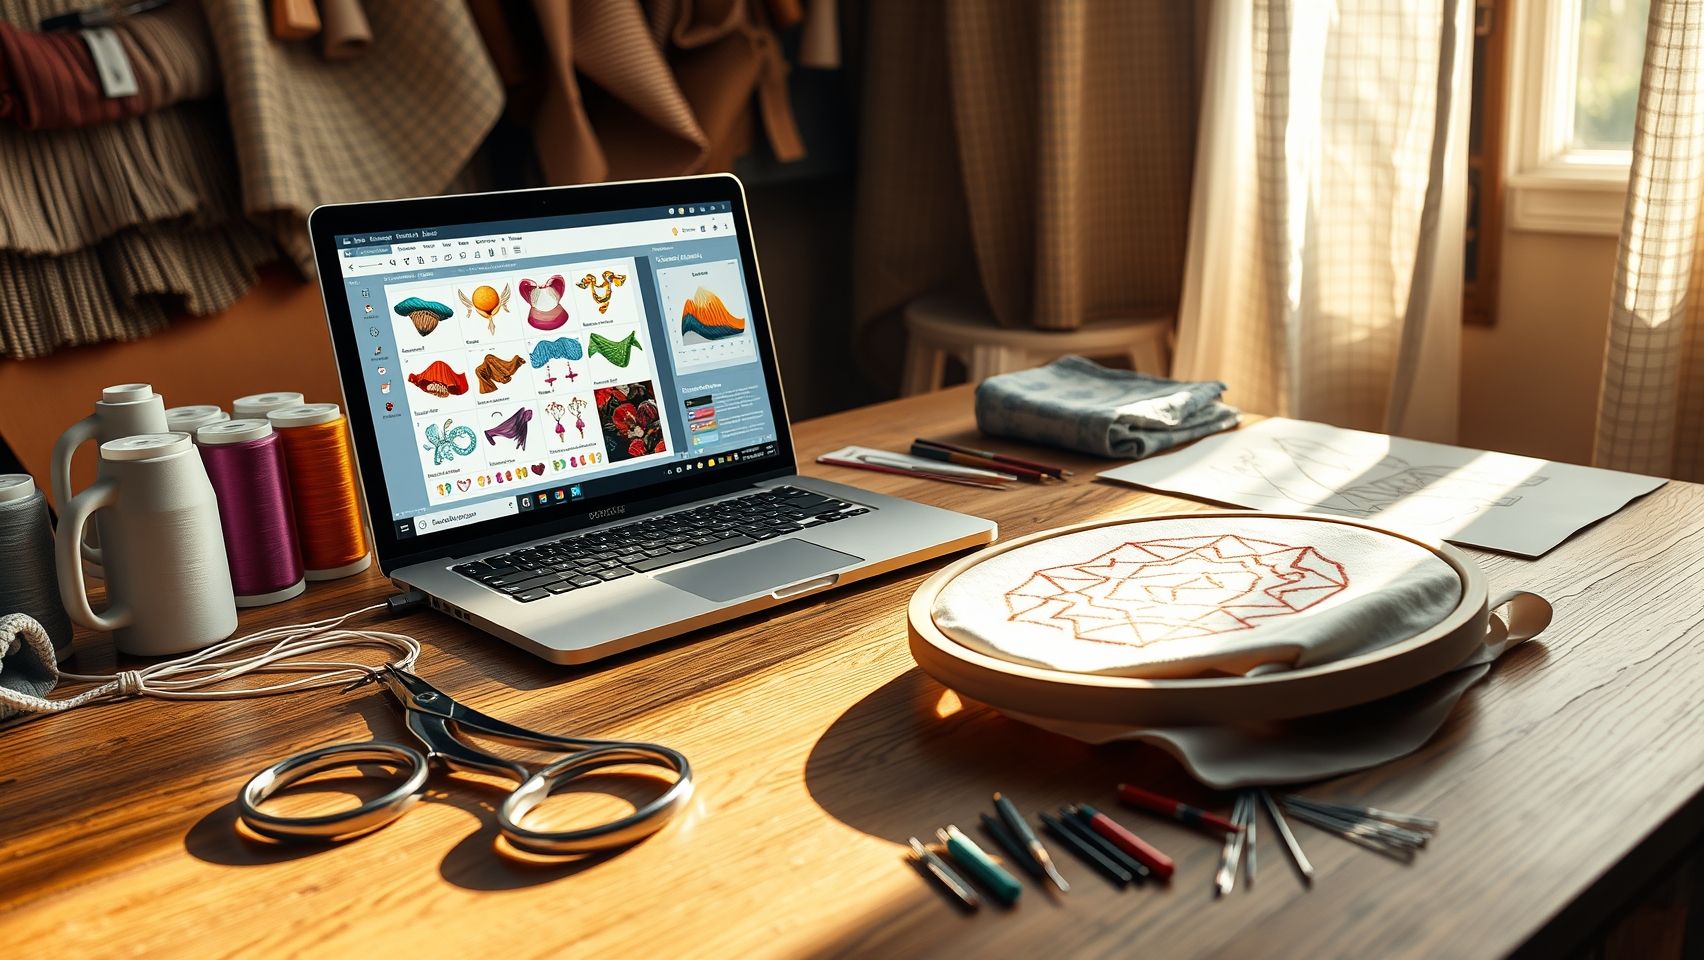
Choose embroidery digitizing software compatible with your PC or Mac, ensuring it matches your machine’s specifications. Follow the manufacturer’s instructions carefully for installation and updates. Connecting your machine via USB or Wi-Fi is essential for seamless design transfer. Verify compatibility and establish a stable connection to avoid interruptions during digitizing tasks.
Comparing Paid vs Free Embroidery Digitizing Software: Pros, Cons, and Value
Choosing the right embroidery digitizing software can significantly impact both the quality of your designs and your overall workflow, especially for beginners. With options ranging from free, open-source programs to premium paid solutions, understanding their differences is crucial for making an informed decision. This section provides a straightforward analysis of the benefits and limitations of each, along with a practical comparison to help beginners determine which option offers the best value for their needs in 2025.
Free Embroidery Digitizing Software: Ink/Stitch
Ink/Stitch is a popular free, open-source embroidery software that appeals to hobbyists and those just starting out. It offers a cost-effective way to learn the fundamentals of digitizing without upfront investment. Supported by an active community, users can access tutorials and troubleshooting help, making it a solid choice for beginners exploring the craft.
However, free software like Ink/Stitch tends to have limited features. It often lacks advanced tools like auto-digitizing, extensive design libraries, and sophisticated stitch editing, which are staples in paid platforms. Additionally, output quality may not match the standards required for professional or commercial projects, and the steeper learning curve can be a barrier for newcomers aiming for quick, high-quality results.
Paid Embroidery Digitizing Software: Hatch, Wilcom, Embrilliance
Paid options such as Hatch (~$200/month subscription), Wilcom (over $1,200 for a full license), and Embrilliance (~$100) provide a comprehensive set of tools tailored for different skill levels and professional needs. These platforms generally include features like auto-digitizing powered by AI, extensive design libraries, and advanced stitch editing, which significantly streamline the design process.
The investment in paid software often translates to a reduction in design time by approximately 20-40%, yielding a better return on investment (ROI), particularly for small embroidery businesses or commercial use. Enhanced customer support and regular updates also ensure that users stay current with technological advancements and industry standards.
Common Questions About Embroidery Digitizing for Beginners
Getting started with embroidery digitizing can feel overwhelming, but understanding some key factors can significantly ease your journey. Whether it’s choosing the right software, learning the basics, or avoiding common pitfalls, having practical answers helps you make confident decisions and improve your results quickly.
Let’s explore some of the most frequently asked questions among beginners, with actionable tips and current market insights to guide your progress in 2025.
How much does quality embroidery digitizing software cost?
The cost varies widely based on features and complexity. Entry-level software like Hatch or Wilcom starts around $600 to $1,200+, offering advanced tools for professional results. More budget-friendly options or subscriptions can be found for under $100, but they may lack some automation and editing features. It’s essential to evaluate your needs and future growth plans to choose a software that balances cost and functionality.
Can I start with free software and upgrade later?
Absolutely! Free options like Ink/Stitch allow you to learn the basics without investment. As your skills develop and your projects demand more precision or automation, upgrading to robust software like Hatch or Wilcom becomes worthwhile. This gradual approach minimizes risk and helps you build confidence step-by-step.
How long does it take to learn digitizing?
With structured tutorials and practice, most beginners achieve basic proficiency within 1 to 3 months. Consistent practice on different designs, along with online courses or community forums, accelerates learning and troubleshooting.
What common mistakes cause poor output quality?
Frequent issues include improper hooping, incorrect tension settings, using inadequate fabric stabilizers, and misconfiguring software settings. These errors lead to puckering, stitching errors, or design distortions. Paying close attention to hooping, tension, and test stitch-outs helps maintain high quality.
How can I reduce design errors by up to 25%?
Utilize software features like preview modes, test stitch-outs, and regular updates to catch and fix errors early. Adjusting design transfer, optimizing stitch density, and performing test runs on similar fabric types also improve accuracy significantly.
Is it worth investing in hardware like magnetic hoops?
Yes—magnetic hoops provide superior fabric stability, especially for intricate or large designs. They reduce shifting and puckering, resulting in more precise stitching. For serious hobbyists or small businesses, this hardware investment enhances overall output quality and efficiency.
Conclusion
As you embark on your embroidery digitizing journey, remember that selecting the right software is a vital step toward achieving high-quality, efficient, and creative designs. In 2025, the market is evolving rapidly with innovations like AI automation, cloud-based platforms, and mobile-friendly options that cater to beginners and professionals alike. Testing free demos allows you to compare features, assess compatibility with your machine, and find a tool that fits your skill level and budget. Combining this with proper hardware setup and continuous learning will accelerate your mastery and boost your confidence in your projects.
- Assess your needs based on your machine, skill level, project scope, and budget
- Take advantage of free trials to evaluate which software enhances your workflow and creativity
- Stay informed about the latest trends, such as 3D embroidery and automation, to keep your skills current
Don’t wait any longer—start exploring free demos today and take the first step towards transforming your embroidery projects into works of art. The key to success is action, so choose the software that inspires you and begin creating with confidence. Your embroidery mastery awaits!

Friendship Bracelet String 50 Skeins Rainbow Color Embroidery Floss Cross Stitch Embroidery Thread Cotton Floss Bracelet Yarn, Craft Floss
$5.99 (as of July 7, 2025 07:59 GMT -04:00 - More infoProduct prices and availability are accurate as of the date/time indicated and are subject to change. Any price and availability information displayed on [relevant Amazon Site(s), as applicable] at the time of purchase will apply to the purchase of this product.)
Simthread 6 Polyester White Machine Embroidery Threads 1000M(1100Yards) for Brother, Babylock, Janome, Pfaff, Singer, Bernina and Other Home Machines (White)
$14.99 (as of July 7, 2025 05:32 GMT -04:00 - More infoProduct prices and availability are accurate as of the date/time indicated and are subject to change. Any price and availability information displayed on [relevant Amazon Site(s), as applicable] at the time of purchase will apply to the purchase of this product.)
DMC 117F25HDC Embroidery Floss Pack 8.7yd, Home Decor 36/Pkg
$22.99 (as of July 7, 2025 13:07 GMT -04:00 - More infoProduct prices and availability are accurate as of the date/time indicated and are subject to change. Any price and availability information displayed on [relevant Amazon Site(s), as applicable] at the time of purchase will apply to the purchase of this product.)
Simthread 25pcs Assorted Colors Size A Class 15 (SA156) 60WT Prewound Bobbins Thread with Clear Storage Plastic Box for Brother Embroidery Thread Sewing Thread Machine DIY
$10.99 (as of July 7, 2025 13:07 GMT -04:00 - More infoProduct prices and availability are accurate as of the date/time indicated and are subject to change. Any price and availability information displayed on [relevant Amazon Site(s), as applicable] at the time of purchase will apply to the purchase of this product.)
New brothread 63 Brother Colors Polyester Embroidery Machine Thread Kit 500M (550Y) Each Spool for Brother Babylock Janome Singer Pfaff Husqvarna Bernina Embroidery and Sewing Machines
$37.39 (as of July 7, 2025 05:32 GMT -04:00 - More infoProduct prices and availability are accurate as of the date/time indicated and are subject to change. Any price and availability information displayed on [relevant Amazon Site(s), as applicable] at the time of purchase will apply to the purchase of this product.)
OZXTYO Triangle Tailors Chalk,Sewing Fabric Chalk and Fabric Markers for Quilting,Sewing Supplies Accessories (10Pcs)
$5.95 (as of July 7, 2025 11:04 GMT -04:00 - More infoProduct prices and availability are accurate as of the date/time indicated and are subject to change. Any price and availability information displayed on [relevant Amazon Site(s), as applicable] at the time of purchase will apply to the purchase of this product.)
HTVRONT Heat Transfer Vinyl White HTV Rolls - 12" x 20ft White Iron on Vinyl for All Cutting Machines, HTV Vinyl for Shirts - Easy to Cut & Weed for Heat Transfer Design
$17.99 (as of July 7, 2025 11:04 GMT -04:00 - More infoProduct prices and availability are accurate as of the date/time indicated and are subject to change. Any price and availability information displayed on [relevant Amazon Site(s), as applicable] at the time of purchase will apply to the purchase of this product.)
32Ft *1 Inch Hook and Loop Tape with Adhesive Back, Heavy Duty Double Sided Adhesive Strips, Strong Sticky Strips Roll for Home/Office/School/Car, Black
$9.99 (as of July 7, 2025 11:04 GMT -04:00 - More infoProduct prices and availability are accurate as of the date/time indicated and are subject to change. Any price and availability information displayed on [relevant Amazon Site(s), as applicable] at the time of purchase will apply to the purchase of this product.)
Navona 30Ft x 1 Inch Hook and Loop Strips with Adhesive, Double Rolls of Heavy Duty Self Adhesive Tape with Backing, Nylon Self Adhesive Tape for Home Office School and Crafting,Black
$9.99 (as of July 7, 2025 11:04 GMT -04:00 - More infoProduct prices and availability are accurate as of the date/time indicated and are subject to change. Any price and availability information displayed on [relevant Amazon Site(s), as applicable] at the time of purchase will apply to the purchase of this product.)