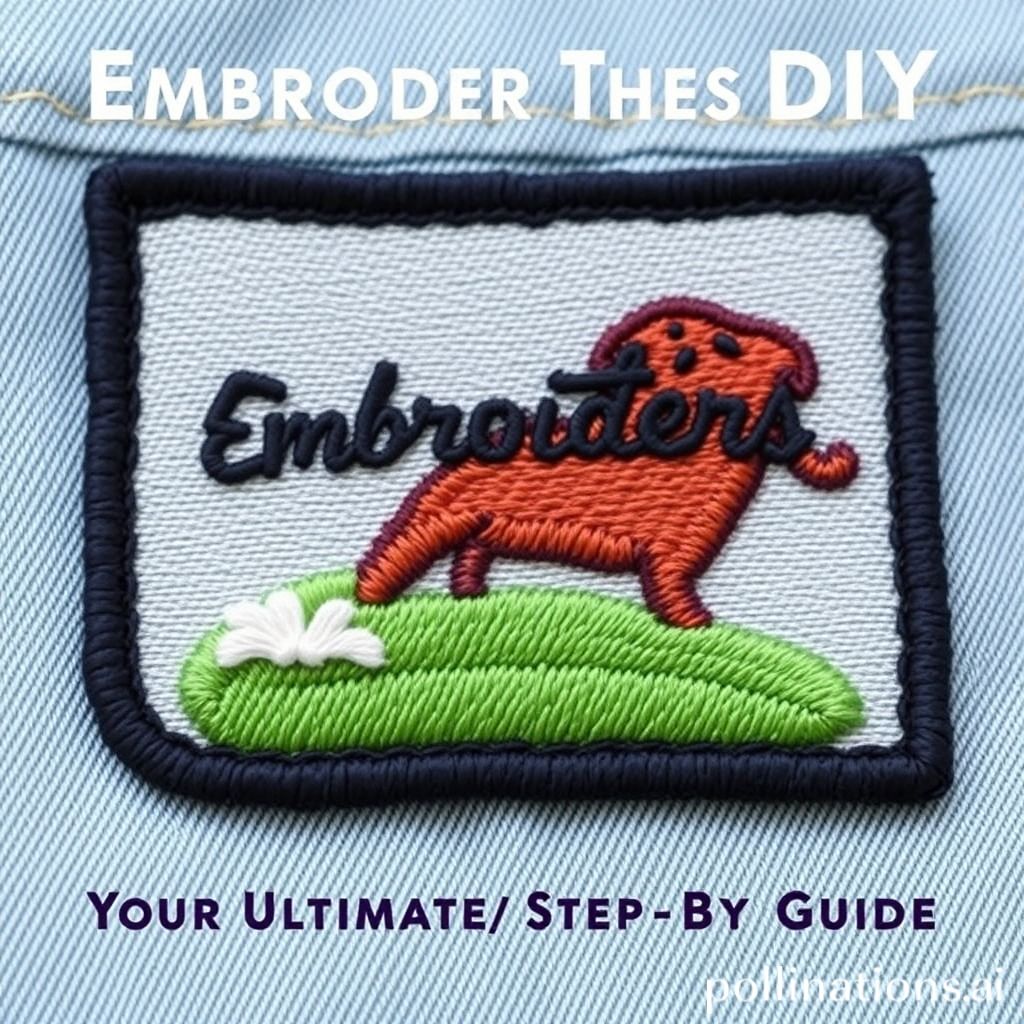
Embroidered Patches DIY: Your Ultimate Step-by-Step Guide
Ever looked at a cool jacket or backpack and admired the unique patches adorning it? Embroidered patches are more than just decorations; they’re badges of honor, expressions of personality, and miniature works of art. From biker gangs and military units to fashion icons and hobby enthusiasts, patches have served as powerful symbols for centuries. But what if you could create your very own, completely personalized patch? This isn’t just about sewing on a pre-made design; it’s about crafting a tangible piece of yourself. Creating embroidered patches at home is surprisingly accessible, offering a fulfilling creative outlet and a chance to showcase your individual style. In this guide, we’ll take you through each step of the patch-making process, from initial design to final application. We’ll cover selecting the right materials, mastering the embroidery techniques, and ensuring your patch is durable and ready for anything. Get ready to transform your ideas into wearable art!
Choosing Your Design and Materials
The foundation of any great patch lies in a well-thought-out design and the selection of appropriate materials. Start by sketching your design. Consider the size, shape, and complexity of your image. Simpler designs are often easier to execute, especially for beginners. Think about the colors you want to use and how they will interact with each other. Once you have a clear design, it’s time to gather your materials. The most crucial element is the fabric backing. Denim, felt, and canvas are popular choices due to their durability and ease of embroidery. Choose a fabric color that complements your design. Next, you’ll need embroidery floss in the colors you’ve chosen. High-quality floss will prevent fraying and ensure a vibrant, long-lasting finish. A sturdy embroidery needle, appropriate for the fabric you’ve selected, is essential for smooth stitching. Don’t forget essential tools like embroidery scissors, a water-soluble stabilizer, and a hoop to keep your fabric taut. According to Sarah Howard, author of “The Embroidery Handbook,” “The quality of your materials directly impacts the longevity and appearance of your finished piece. Investing in good materials is an investment in your craft.” Finally, consider the backing you’ll use to attach the patch. Iron-on adhesive, sew-on fabric, or even Velcro can be used, depending on your preference and intended use. Making these critical decisions early on will significantly improve your chances of producing a high-quality embroidered patch.
Transferring Your Design to Fabric
With your design finalized and materials gathered, the next step involves accurately transferring your design onto your chosen fabric. This is a critical stage, as precision here ensures your embroidered patch accurately reflects your vision. There are several methods for transferring designs, each with its own advantages. A simple and effective technique is using a water-soluble stabilizer. Trace your design onto the stabilizer, then adhere it to your fabric. The stabilizer provides a clear guide for your stitching and dissolves easily in water after you’ve finished embroidering. Another option is using a transfer pen or pencil. Lightly trace your design onto tracing paper, then transfer it to the fabric by pressing firmly with a warm iron. Be sure to test the pen or pencil on a scrap of fabric first to ensure it doesn’t leave permanent marks. For darker fabrics, you can use dressmaker’s carbon paper, placing it between your design and the fabric and tracing over the lines. However, be careful not to press too hard, as this can leave smudges. Regardless of the method you choose, ensure your design is accurately positioned and securely attached to the fabric before you begin embroidering. As stated in “Embroidery for Dummies,” “Taking the time to transfer your design carefully will save you countless headaches later on. Accuracy is key to a professional-looking result.” Consider the fabric type when choosing your transfer method. Delicate fabrics may be better suited to the water-soluble stabilizer method, while more robust fabrics can handle the pressure of tracing. A well-transferred design serves as a roadmap for your embroidery, leading to a more polished and professional-looking patch.
Mastering Basic Embroidery Stitches
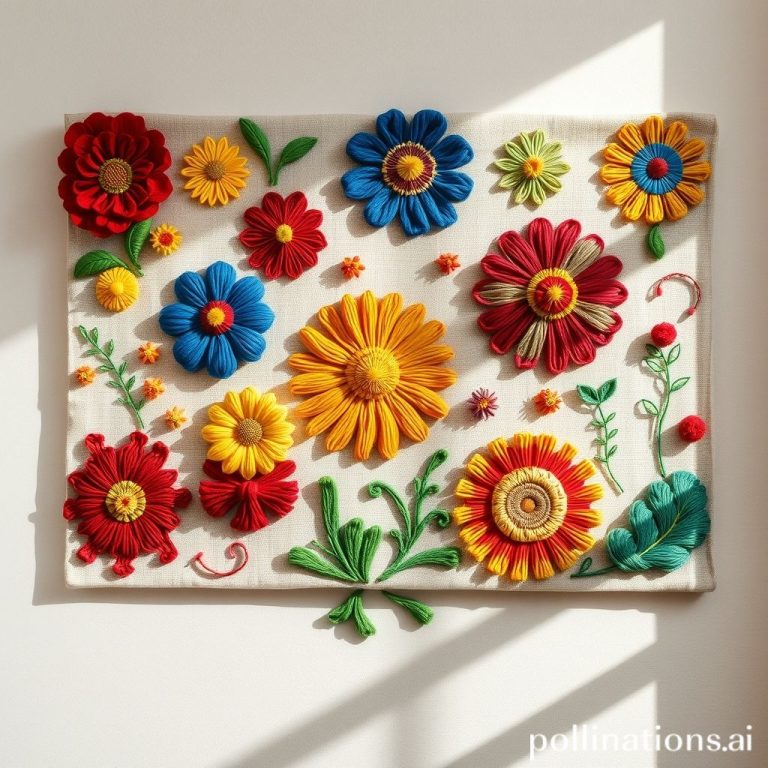
Now comes the exciting part: bringing your design to life with embroidery! Mastering a few basic embroidery stitches is crucial for creating a professional-looking patch. The back stitch is a fundamental stitch used for outlining and creating fine lines. Bring the needle up through the fabric, then take it back down a short distance away. Bring the needle up again, slightly ahead of the previous stitch, and repeat. This creates a solid, continuous line. The satin stitch is perfect for filling in larger areas with smooth, even color. Bring the needle up on one side of the area and down on the other, creating closely spaced parallel stitches. Keep the tension consistent to avoid puckering. The split stitch is excellent for creating textured lines and filling in shapes with a slightly rougher appearance. Bring the needle up through the fabric, then take a small back stitch. Bring the needle up again, splitting the previous stitch in half, and repeat. The chain stitch creates a decorative, chain-like line. Bring the needle up through the fabric and create a small loop. Bring the needle up again inside the loop, and pull gently to form a chain link. Repeat this process, connecting each link to the previous one. Practice these stitches on a scrap piece of fabric before you start working on your patch. Experiment with different thread colors and densities to see the variety of effects you can achieve. According to Mary Corbet of Needle ‘n Thread, “Proficiency in a few essential stitches will unlock a world of creative possibilities.” Remember to keep your stitches neat and consistent, and don’t be afraid to experiment and develop your own unique style.
Embroidering Your Patch Design
With your design transferred and basic stitches mastered, you’re now ready to embark on the main embroidery process. Begin by outlining your design using a back stitch or split stitch. This defines the shape and provides a clear boundary for filling in the details. Pay close attention to the lines of your design, ensuring accuracy and consistency. Once the outline is complete, start filling in the larger areas using a satin stitch or other appropriate filling stitch. Work in small sections, carefully building up the color and texture. Avoid pulling the thread too tight, as this can cause the fabric to pucker. Keep the tension even and consistent for a smooth, professional finish. For smaller details and intricate areas, use a smaller needle and finer thread. This allows for greater precision and control. Don’t be afraid to use a variety of stitches to add depth and dimension to your design. Experiment with different thread colors and blending techniques to create subtle shading and highlights. As you work, regularly check your progress against your original design. Make any necessary adjustments to ensure accuracy and balance. “Embroidery is a journey, not a race,” advises Trish Burr, author of “Colour Confidence in Embroidery.” “Take your time, enjoy the process, and don’t be afraid to make mistakes. Each stitch is a learning opportunity.” If you make a mistake, don’t panic! Carefully unpick the stitches and try again. With patience and practice, you’ll be amazed at the beautiful and intricate designs you can create.
Finishing and Preparing Your Patch
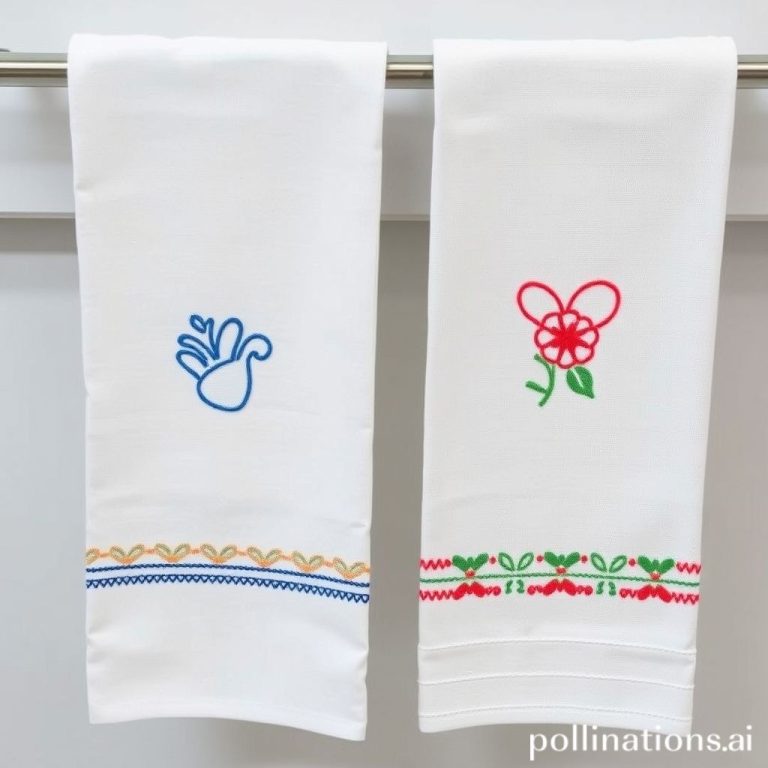
After you’ve completed the embroidery, it’s time to finish and prepare your patch for application. The first step is to carefully remove the stabilizer (if you used one). For water-soluble stabilizers, simply rinse the fabric under cool water until the stabilizer dissolves completely. For other types of stabilizers, follow the manufacturer’s instructions. Next, trim the excess fabric around the embroidered design, leaving a small border (approximately 1/4 inch) around the edge. This border will be used to secure the patch and prevent fraying. There are several ways to finish the edges of your patch. One option is to turn the border under and stitch it in place using a whip stitch or blanket stitch. This creates a clean, professional-looking edge. Another option is to use a zigzag stitch on your sewing machine to secure the border. This is a faster and easier method, but it may not be as durable as hand-stitching. For a more polished look, you can use a serger to finish the edges. A serger creates a clean, overlocked edge that prevents fraying and adds a professional touch. Once the edges are finished, it’s time to add a backing. Iron-on adhesive is a popular choice for easy application. Simply cut a piece of iron-on adhesive to the size of your patch, place it on the back, and fuse it to the fabric using a hot iron. Sew-on fabric is another option. Cut a piece of fabric to the size of your patch and stitch it to the back using a running stitch or zigzag stitch. “A well-finished patch is a durable patch,” emphasizes Nancy Zieman, renowned sewing expert. “Taking the time to secure the edges and add a strong backing will ensure your patch lasts for years to come.” Consider the intended use of your patch when choosing a backing. Iron-on adhesive is suitable for patches that will be applied to clothing or accessories that are not frequently washed, while sew-on fabric is a more durable option for items that will be subjected to more wear and tear.
Attaching Your Embroidered Patch
With your patch finished and backed, the final step is to attach it to your desired garment or accessory. The method you use will depend on the type of backing you’ve chosen. If you’ve used iron-on adhesive, place the patch in the desired location and cover it with a thin cloth. Press a hot iron firmly over the cloth for the recommended time, following the manufacturer’s instructions. Be sure to apply even pressure and check the edges to ensure they are securely bonded. If you’ve used sew-on fabric, pin the patch in place and stitch it to the garment using a running stitch, back stitch, or zigzag stitch. Choose a thread color that matches the patch or the garment. For a more secure attachment, consider using a combination of stitching and fabric glue. Apply a thin layer of fabric glue to the back of the patch before stitching it in place. This will help to prevent the patch from shifting or coming loose. For items that need to be easily removable or interchangeable, Velcro is a great option. Sew one side of the Velcro to the back of the patch and the other side to the garment. This allows you to attach and detach the patch as needed. “The key to a successful patch application is careful planning and attention to detail,” advises Kenneth D. King, author of “Cool Couture.” “Take the time to position the patch accurately and use the appropriate method for your chosen backing.” Before attaching your patch, consider the fabric of the garment. Delicate fabrics may require a gentler approach, such as hand-stitching or using a fusible interfacing to reinforce the area. And finally, enjoy the process! Your beautifully crafted embroidered patch is now ready to adorn your favorite item, adding a touch of personal flair and individuality.
Care and Maintenance for Long-Lasting Patches
Congratulations, you’ve successfully created and attached your own embroidered patch! To ensure your patch stays looking its best for years to come, proper care and maintenance are essential. When washing garments with embroidered patches, turn them inside out to protect the embroidery from friction and abrasion. Hand-washing is the gentlest option, but if you choose to machine wash, use a delicate cycle and cold water. Avoid using harsh detergents or bleach, as these can damage the embroidery threads and fade the colors. It is best to air dry items with embroidered patches, as high heat from a dryer can cause the threads to shrink or warp. If you must use a dryer, use a low heat setting and remove the item promptly. If your patch becomes soiled, gently spot-clean it with a mild detergent and a soft cloth. Avoid scrubbing or rubbing the embroidery, as this can damage the stitches. For stubborn stains, consider taking the item to a professional cleaner who specializes in delicate fabrics and embroidery. Over time, the embroidery threads may start to fray or loosen. To prevent further damage, carefully trim any loose threads with embroidery scissors. If the stitches become significantly damaged, you may need to re-embroider the affected area. Store items with embroidered patches in a cool, dry place away from direct sunlight. This will help to prevent the colors from fading and the threads from deteriorating. “Proper care is essential for preserving the beauty and longevity of your embroidered creations,” notes Hope Yoder, an embroidery expert. “Taking the time to protect and maintain your patches will ensure they remain cherished keepsakes for years to come.” By following these simple care and maintenance tips, you can keep your embroidered patches looking vibrant and beautiful for years to come, allowing them to continue expressing your unique style and personality.
Conclusion
Creating your own embroidered patches is a rewarding and empowering experience. This step-by-step guide has armed you with the knowledge and skills needed to transform your creative visions into tangible works of art. From selecting the perfect materials and mastering basic embroidery stitches to finishing the edges and attaching the patch securely, you’ve learned the essential techniques for crafting professional-looking embroidered patches at home. Remember, the key to success lies in patience, practice, and attention to detail. Don’t be afraid to experiment with different designs, stitches, and materials to discover your own unique style. The possibilities are endless! Embracing the art of embroidered patch creation opens up a world of creative expression. Patches allow you to personalize your clothing, accessories, and even home décor, transforming ordinary items into unique reflections of your personality. They can commemorate special events, showcase your hobbies, and express your beliefs. Moreover, crafting your own patches fosters a sense of accomplishment and pride. Knowing that you created something beautiful and unique with your own hands is an incredibly fulfilling feeling. So, gather your materials, unleash your creativity, and embark on your own patch-making journey. The world of embroidered patches awaits, ready to be filled with your unique designs and personal stories. As you continue to hone your skills, consider exploring more advanced techniques, such as free-motion embroidery, appliqué, and mixed-media embroidery. The more you learn, the more creative you can become. The journey of embroidery is a lifelong pursuit, filled with endless opportunities for learning and growth. And as you create, remember to share your creations with the world. Inspire others to embrace their own creativity and discover the joy of embroidered patch making. Happy stitching!
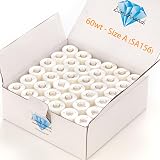
Simthread 144pcs Embroidery Pre-Wound Bobbins Thread, Class 15 Type A Size SA156, Polyester White 60 wt, Bernina Pfaff Ambition BabyLock Brother Embroidery and Sewing Machines Plastic Side
$24.99 (as of May 18, 2025 04:09 GMT -04:00 - More infoProduct prices and availability are accurate as of the date/time indicated and are subject to change. Any price and availability information displayed on [relevant Amazon Site(s), as applicable] at the time of purchase will apply to the purchase of this product.)
Paxcoo 124 Skeins Embroidery Floss Cross Stitch Thread with Needles
$9.99 (as of May 18, 2025 04:08 GMT -04:00 - More infoProduct prices and availability are accurate as of the date/time indicated and are subject to change. Any price and availability information displayed on [relevant Amazon Site(s), as applicable] at the time of purchase will apply to the purchase of this product.)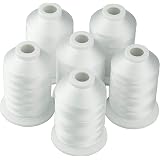
Simthread 6 Polyester White Machine Embroidery Threads 1000M(1100Yards) for Brother, Babylock, Janome, Pfaff, Singer, Bernina and Other Home Machines (White)
$14.99 (as of May 18, 2025 04:09 GMT -04:00 - More infoProduct prices and availability are accurate as of the date/time indicated and are subject to change. Any price and availability information displayed on [relevant Amazon Site(s), as applicable] at the time of purchase will apply to the purchase of this product.)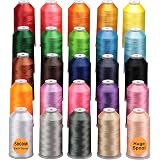
New brothreads - 25 Basic Colors of Huge Spool 5000M Polyester Embroidery Machine Thread for Commercial and Domestic Embroidery Machines
$59.99 (as of May 18, 2025 04:09 GMT -04:00 - More infoProduct prices and availability are accurate as of the date/time indicated and are subject to change. Any price and availability information displayed on [relevant Amazon Site(s), as applicable] at the time of purchase will apply to the purchase of this product.)
Friendship Bracelet String 50 Skeins Rainbow Color Embroidery Floss Cross Stitch Embroidery Thread Cotton Floss Bracelet Yarn, Craft Floss
$5.99 (as of May 18, 2025 04:08 GMT -04:00 - More infoProduct prices and availability are accurate as of the date/time indicated and are subject to change. Any price and availability information displayed on [relevant Amazon Site(s), as applicable] at the time of purchase will apply to the purchase of this product.)
Huhuhero 340 Pack Safety Pins Assorted, Small and Large Safety Pins for Clothes Costume, 5 Different Sizes Nickel Plated Steel Pin Bulk, Sewing Crafts Art Supplies, Silver
$5.69 (as of May 18, 2025 03:53 GMT -04:00 - More infoProduct prices and availability are accurate as of the date/time indicated and are subject to change. Any price and availability information displayed on [relevant Amazon Site(s), as applicable] at the time of purchase will apply to the purchase of this product.)
Elastic Bands for Sewing White 1 Inch 12 Yard High Elasticity Knit Spool Sewing Band for Waistbands Pants Clothes and Crafts DIY, Airisoer
$5.99 (as of May 18, 2025 03:53 GMT -04:00 - More infoProduct prices and availability are accurate as of the date/time indicated and are subject to change. Any price and availability information displayed on [relevant Amazon Site(s), as applicable] at the time of purchase will apply to the purchase of this product.)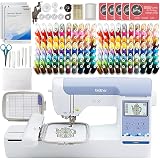
Brother PE900 5" x 7" Embroidery Machine with 160 Embroidery Thread Spools and Accessories
$1,099.99 (as of May 18, 2025 03:53 GMT -04:00 - More infoProduct prices and availability are accurate as of the date/time indicated and are subject to change. Any price and availability information displayed on [relevant Amazon Site(s), as applicable] at the time of purchase will apply to the purchase of this product.)
Juki Heavy Material Industrial Straight Stitch Sewing Machine, Table & Servo Motor Assembly Required.
$899.00 (as of May 18, 2025 03:53 GMT -04:00 - More infoProduct prices and availability are accurate as of the date/time indicated and are subject to change. Any price and availability information displayed on [relevant Amazon Site(s), as applicable] at the time of purchase will apply to the purchase of this product.)