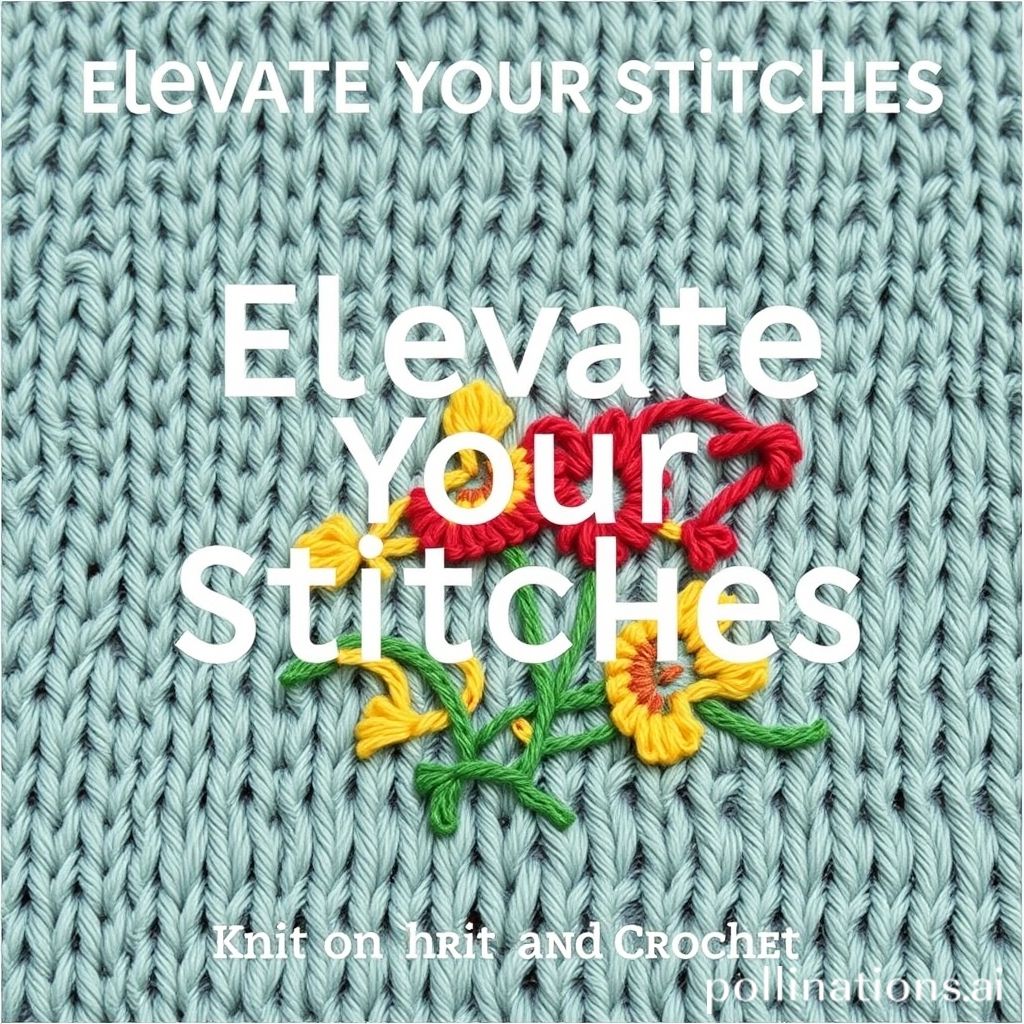
Elevate Your Stitches: Embroidery on Knit and Crochet
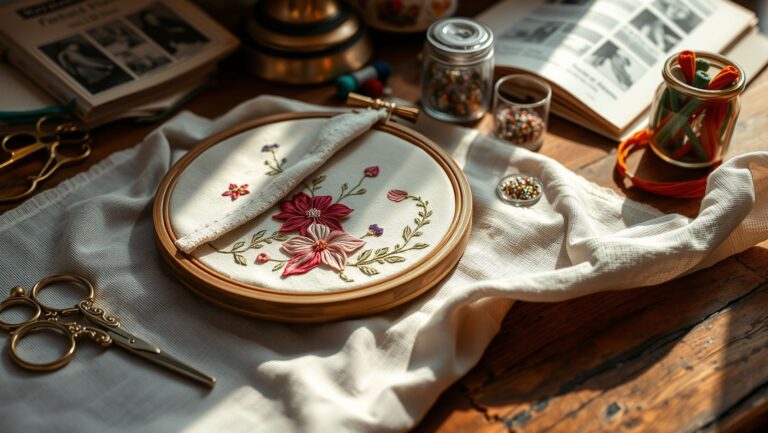
Ever gaze upon a simple knitted sweater or crocheted blanket and think, “It needs something more”? The answer might be closer than you think – a needle and thread! Embroidering on knitted or crocheted items is a fantastic way to add personality, texture, and a touch of artistry to your handmade creations. It transforms the ordinary into the extraordinary, allowing you to personalize gifts, mend imperfections creatively, or simply express your unique style. But diving into this craft requires a bit of know-how. The stretch and texture of knit and crochet fabrics present unique challenges compared to traditional embroidery on woven cloth. Think about it: a misplaced stitch can easily distort the fabric, undoing all your hard work.
This blog post will guide you through the essentials of embroidering on knitted and crocheted projects. We’ll explore the best threads and needles for the job, delve into essential techniques to avoid puckering and distortion, discover stunning stitch options that complement the fabric’s texture, and offer design inspiration to spark your creativity. So, grab your yarn, needles, and let’s embark on a journey to embellish your handmade masterpieces!
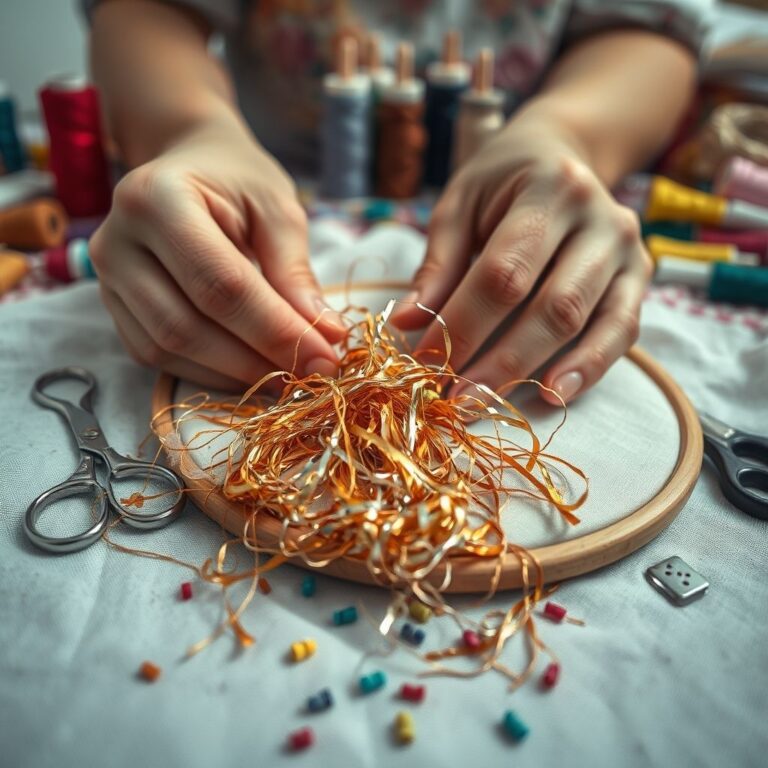
Choosing the Right Threads and Needles
Selecting the correct threads and needles is paramount to successful embroidery on knit and crochet. Unlike the rigid structure of woven fabric, knitted and crocheted items boast significant give, requiring a more delicate approach. “The key to successful embroidery on knits is to choose threads and needles that won’t damage or distort the fabric,” advises renowned embroidery artist, Trish Burr. Using a thread that is too heavy can pull on the delicate loops, creating unsightly puckering. Similarly, a needle that is too large can leave visible holes.
For most projects, embroidery floss is a reliable choice. Stranded cotton floss offers versatility, allowing you to adjust the thickness by separating the strands. Pearl cotton, with its slightly twisted texture, adds a subtle dimension to your designs. Wool yarn, especially for embellishing chunky knits, creates a cohesive and rustic look. Experiment with different fibers like silk or rayon for a luxurious touch, but be mindful of their drape and care requirements. In terms of needles, opt for blunt-tipped tapestry needles or ballpoint needles. These glide between the fibers instead of piercing them, minimizing the risk of snagging or splitting the yarn. The needle size should correspond to the thickness of your thread and the gauge of your fabric. A general rule of thumb is to use a smaller needle for finer yarn and a larger needle for bulkier yarn.
Beyond fiber type and size, consider the colorfastness of your threads. Choose high-quality, colorfast threads, especially for items that will be washed. Nothing is more disheartening than seeing your beautiful embroidery bleed and stain the surrounding fabric. Before starting your project, test the thread on a scrap of fabric to ensure its color stability. With the right tools, your embroidery will enhance, not detract, from the beauty of your knitted or crocheted creation.
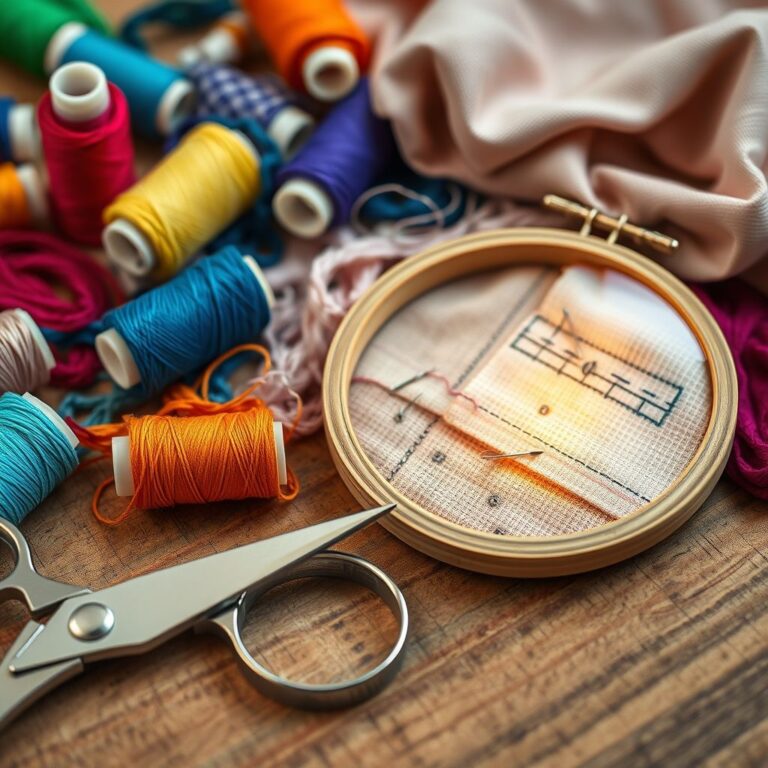
Mastering Essential Embroidery Techniques
Embroidery on knit and crochet demands a different set of techniques compared to working on stable woven fabric. The elasticity of these materials necessitates a gentle hand and careful attention to tension. One of the most common challenges is preventing puckering, which occurs when the embroidery thread pulls the fabric too tightly. “The golden rule is to avoid pulling your stitches too tight,” emphasizes expert knitter and embroiderer, Erika Knight. She suggests visualizing each stitch as a gentle embrace, rather than a firm grip, on the fabric. To minimize puckering, consider using a stabilizer. A lightweight, fusible interfacing ironed to the back of the embroidered area provides extra support without adding bulk. Alternatively, use a water-soluble stabilizer that dissolves after the embroidery is complete.
When working with stretchy fabrics, it’s also crucial to avoid distorting the underlying stitches. Instead of piercing the yarn directly, aim to slip your needle between the stitches. This allows the fabric to retain its natural stretch and prevents unsightly holes. Running stitch, back stitch, and chain stitch are excellent choices for outlining and creating intricate details, but be sure to keep your stitches relatively short and evenly spaced. Consider the direction of your embroidery in relation to the knit or crochet fabric’s structure. Working along the grain, following the direction of the stitches, will help maintain the fabric’s integrity and prevent distortion. If you’re embroidering a large area, consider dividing it into smaller sections and working on each section individually. This prevents the entire fabric from becoming stretched or distorted during the process.
Remember to experiment and practice different techniques on scrap yarn to determine what works best for your specific project and fabric. With patience and a mindful approach, you can master the art of embroidering on knit and crochet, creating stunning embellishments that enhance the beauty of your handcrafted items.
Exploring Stunning Stitch Options
The world of embroidery stitches offers a wealth of creative possibilities for embellishing knit and crochet. But not all stitches are created equal when it comes to working with these flexible fabrics. Certain stitches lend themselves particularly well to the textured surfaces of knit and crochet, enhancing their visual appeal and adding depth to your designs. Back stitch, a simple yet versatile stitch, is ideal for outlining shapes and creating delicate lines. Its close-knit appearance provides a clean, defined edge that complements the soft texture of the yarn. “Back stitch is a workhorse stitch for embroidery on knits and crochet because it’s strong, versatile, and creates a crisp outline,” states embroidery teacher, Sarah Homfray.
For adding texture and dimension, consider using French knots, bullion knots, or colonial knots. These raised stitches create a tactile element that is especially appealing on knitted or crocheted items. Cluster them together for a concentrated burst of texture or scatter them across the surface for a subtle, whimsical effect. Chain stitch, with its looped appearance, mimics the structure of knit and crochet, creating a seamless and cohesive look. It’s perfect for filling in larger areas or creating bold outlines. Lazy daisy stitch, also known as detached chain stitch, adds a delicate floral touch to your embroidery. Arrange them individually for scattered blossoms or combine them to create more complex floral arrangements. Seed stitch, a scattering of tiny straight stitches, is a great way to fill in backgrounds or add subtle texture to your designs. It’s particularly effective on solid-colored fabrics, where it creates a gentle, organic effect.
Experiment with different stitch combinations to create your own unique designs. Try layering stitches, combining different textures, and playing with color variations to add depth and complexity to your embroidery. Remember to keep your stitches relatively small and evenly spaced to avoid puckering or distorting the fabric. With a little creativity and experimentation, you can transform your knitted or crocheted items into stunning works of art.
Designing for Knit and Crochet: Inspiration and Ideas
Embroidery offers a boundless canvas for creative expression, and when applied to knit and crochet, the possibilities are truly limitless. From subtle accents to bold statement pieces, embroidery can transform ordinary handmade items into personalized works of art. When designing for knit and crochet, consider the overall aesthetic of your project. Are you aiming for a rustic, bohemian vibe, or a more refined, sophisticated look? Let the style of your garment or accessory guide your embroidery choices. For example, a chunky knitted sweater might benefit from simple, bold designs using wool yarn, while a delicate crocheted shawl might call for intricate floral patterns using fine embroidery floss. “Think about the story you want your piece to tell,” advises textile artist, Jess Brown. “Let your imagination guide you, and don’t be afraid to experiment with different styles and techniques.”
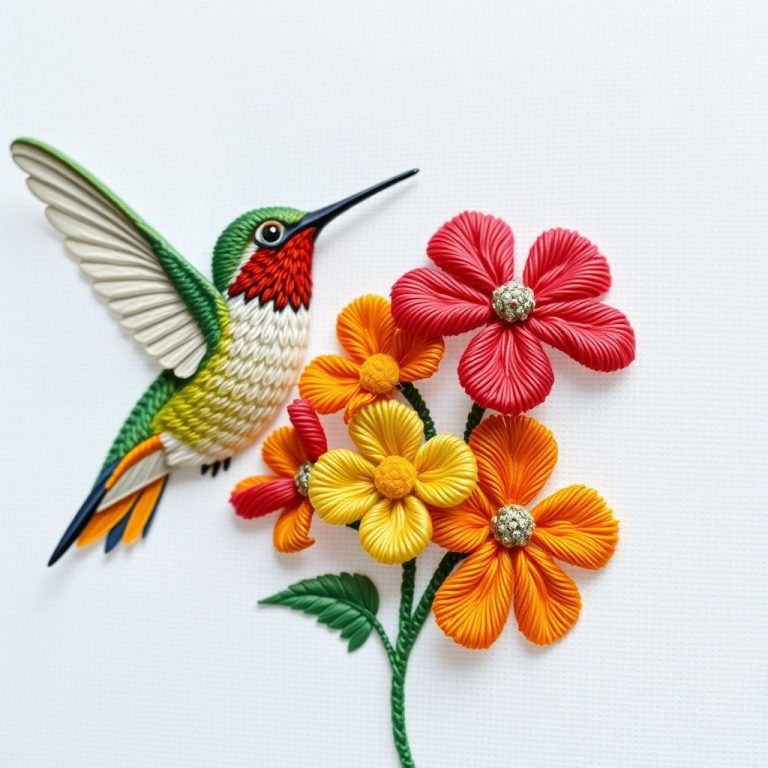
Nature-inspired motifs, such as flowers, leaves, and vines, are always a popular choice for embroidery. They add a touch of organic beauty and can be adapted to suit a wide range of styles. Geometric patterns, inspired by traditional knit and crochet designs, create a modern and graphic look. Experiment with repeating shapes, bold colors, and contrasting textures to create eye-catching designs. Monograms and initials are a timeless way to personalize gifts and add a touch of elegance to your handmade items. Use a simple script font or a more elaborate decorative font to create a unique and meaningful embellishment. Consider incorporating mixed media elements into your embroidery, such as beads, sequins, or ribbons. These additions can add sparkle, texture, and visual interest to your designs. Remember to choose embellishments that are lightweight and compatible with the fabric you’re working with.
Ultimately, the best design is one that reflects your personal style and creativity. Don’t be afraid to experiment with different ideas and techniques until you find something that you love. Browse through books, magazines, and online resources for inspiration, but don’t be afraid to put your own unique spin on existing designs. With a little imagination and practice, you can create stunning embroidery that enhances the beauty of your knitted or crocheted items.
Avoiding Common Mistakes and Troubleshooting
Even with careful planning and execution, embroidering on knit and crochet can present its fair share of challenges. Understanding common pitfalls and how to address them can significantly improve your success rate and prevent frustration. One of the most frequent issues is puckering, which, as we’ve discussed, arises from excessive tension on the embroidery thread. Review your stitch tension, ensuring it’s relaxed and gentle. Experiment with stabilizers to provide extra support and prevent the fabric from pulling. Another common problem is thread breakage. This can occur if the thread is too weak for the fabric, if the needle is too small, or if the thread is being pulled too tightly. Switch to a stronger thread, use a larger needle, and adjust your tension to alleviate the issue. According to experienced embroiderer, Lisa Congdon, “Don’t be afraid to rip out stitches and start again if something doesn’t look right. It’s better to fix a mistake early on than to live with it later.”
Sometimes, the embroidery can distort the shape of the knitted or crocheted item. This is particularly common when working on large areas or intricate designs. Divide your embroidery into smaller sections and work on each section individually to minimize distortion. Also, avoid stretching the fabric while you’re embroidering. Let the fabric relax naturally and avoid pulling it taut. If your embroidery looks uneven or messy, it may be due to inconsistent stitch length or spacing. Practice your stitches on scrap fabric to improve your technique. Use a ruler or measuring tape to ensure that your stitches are evenly spaced. Remember that practice makes perfect. Don’t be discouraged if your first few attempts aren’t flawless. With each project, you’ll refine your technique and develop a better understanding of how to work with knit and crochet fabrics.
If you encounter a particularly stubborn problem, seek out advice from experienced embroiderers or online communities. There are countless resources available to help you troubleshoot your projects and learn new techniques. With patience, persistence, and a willingness to learn, you can overcome any challenge and create beautiful embroidered embellishments on your knitted or crocheted items.
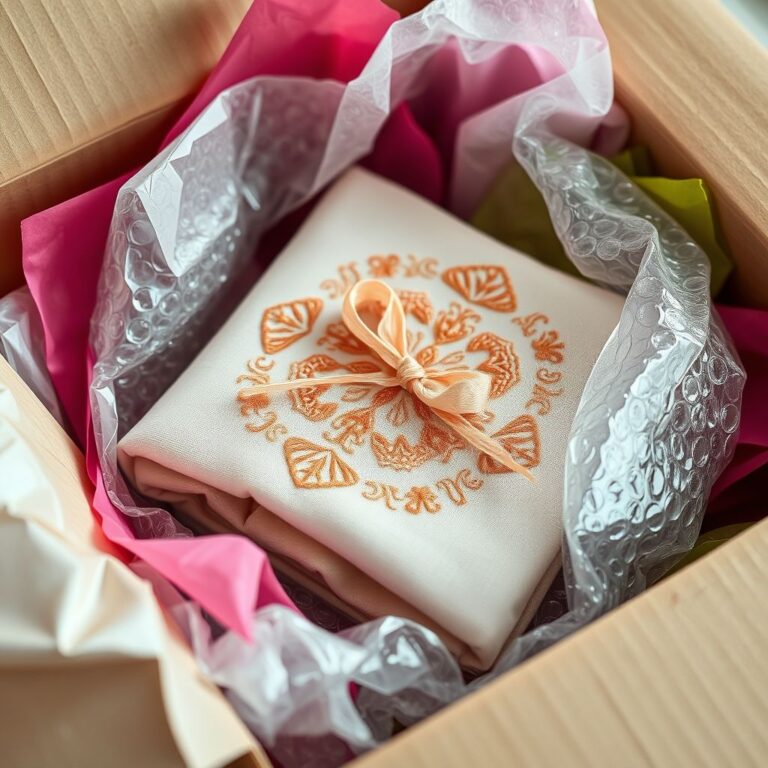
Caring for Your Embroidered Creations
Once you’ve poured your heart and soul into creating a beautifully embroidered knitted or crocheted item, it’s essential to care for it properly to ensure its longevity and maintain its beauty. Washing and drying embroidered garments and accessories require special attention, as harsh treatments can damage the delicate embroidery or distort the fabric. Before washing, always check the care instructions for both the yarn used in the knit or crochet and the embroidery thread. If in doubt, hand-washing is the safest option. Use a mild detergent specifically designed for delicate fabrics and avoid harsh chemicals like bleach. “Gentle care is key to preserving the beauty of your embroidered creations,” advises textile conservator, Jane Smith. “Avoid harsh chemicals and excessive heat, and always handle your items with care.”
When hand-washing, gently swish the item in cool water, avoiding excessive rubbing or agitation. Rinse thoroughly with cool water until all traces of detergent are gone. To remove excess water, gently squeeze the item, but do not wring it. Lay the item flat on a clean towel and roll it up to absorb the remaining moisture. Unroll the towel and lay the item flat on a clean, dry surface to air dry. Avoid hanging the item, as this can stretch the fabric and distort the embroidery. If machine washing is necessary, place the item in a mesh laundry bag to protect the embroidery. Use a gentle cycle with cool water and a mild detergent. Avoid using the dryer, as the heat can damage the embroidery and shrink the fabric. Instead, lay the item flat to air dry. If ironing is needed, iron the item inside out on a low setting. Place a pressing cloth between the iron and the embroidery to protect the stitches. With proper care, your embroidered knitted or crocheted creations will remain beautiful and cherished for years to come.
Conclusion: Stitching Your Style, One Loop at a Time
Embroidery on knitted and crocheted items is more than just a craft; it’s a way to infuse your personality and creativity into every stitch. As we’ve explored, the journey involves understanding the unique challenges presented by these flexible fabrics, selecting the right tools, mastering essential techniques, and drawing inspiration from the world around us. From choosing the perfect threads and needles to designing intricate patterns and caring for your finished creations, each step contributes to the final masterpiece. The key takeaways are clear: prioritize gentle tension, select appropriate stitch options, and always test your materials before embarking on a large project.
The ability to embellish your hand-knitted or crocheted pieces with embroidery opens up a world of possibilities. Imagine personalizing gifts with meaningful monograms, mending cherished sweaters with creative floral patches, or transforming simple blankets into heirloom-worthy treasures. As you continue to experiment and refine your skills, you’ll discover your unique style and develop a deeper appreciation for the art of embroidery. The intersection of yarn crafts and needlework creates a powerful form of self-expression, allowing you to transform ordinary materials into extraordinary works of art. So, embrace the challenge, unleash your creativity, and let your stitches tell your story. Every loop and every stitch is a testament to your dedication and artistry, resulting in a truly unique and personalized creation that you can cherish for years to come. Now, pick up your needle and thread, and start stitching your style, one loop at a time!

New brothread - 20 Options - 8 Snap Spools of 1000m Each Polyester Embroidery Machine Thread with Clear Plastic Storage Box for Embroidery & Quilting - Different Brown
$14.99 (as of July 3, 2025 05:32 GMT -04:00 - More infoProduct prices and availability are accurate as of the date/time indicated and are subject to change. Any price and availability information displayed on [relevant Amazon Site(s), as applicable] at the time of purchase will apply to the purchase of this product.)
12 Skeins Embroidery Floss White Color, Friendship Bracelet String Cross Stitch Embroidery Thread Floss Bracelet Making Yarn, Craft Floss(White)
$3.99 (as of July 2, 2025 07:59 GMT -04:00 - More infoProduct prices and availability are accurate as of the date/time indicated and are subject to change. Any price and availability information displayed on [relevant Amazon Site(s), as applicable] at the time of purchase will apply to the purchase of this product.)
BAGERLA 273 Yards Leather Waxed Thread Sewing Kit Including Black Waxed Thread Needle Awl Thimble, Upholstery Repair Kit for Leather Carpet Sofa Seat Shoe Sewing and Repair
$4.34 (as of July 2, 2025 07:59 GMT -04:00 - More infoProduct prices and availability are accurate as of the date/time indicated and are subject to change. Any price and availability information displayed on [relevant Amazon Site(s), as applicable] at the time of purchase will apply to the purchase of this product.)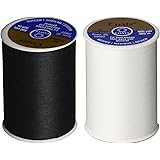
2-Pack - BLACK & WHITE - Coats & Clark Dual Duty All-Purpose Thread - One 400 Yard Spool each of BLACK & White
$7.44 (as of July 2, 2025 07:59 GMT -04:00 - More infoProduct prices and availability are accurate as of the date/time indicated and are subject to change. Any price and availability information displayed on [relevant Amazon Site(s), as applicable] at the time of purchase will apply to the purchase of this product.)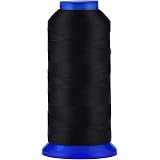
Selric [1500Yards / 36 Colors Available] UV Resistant High Strength Polyester Thread #69 T70 Size 210D/3 for Upholstery, Outdoor Market, Drapery, Beading, Purses, Leather (Black)
$6.99 (as of July 2, 2025 07:59 GMT -04:00 - More infoProduct prices and availability are accurate as of the date/time indicated and are subject to change. Any price and availability information displayed on [relevant Amazon Site(s), as applicable] at the time of purchase will apply to the purchase of this product.)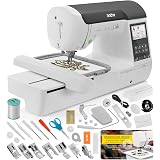
Brother SE2000 Sewing and Embroidery Machine, 5" x 7" Field Size, 241, Sewing Stitches, Cuts Jump Stitches, Wireless, WLAN, Includes Mr. Vac & Mrs. Sew - Embroidery Magic: Quick Start Video
$1,299.99 (as of July 1, 2025 13:06 GMT -04:00 - More infoProduct prices and availability are accurate as of the date/time indicated and are subject to change. Any price and availability information displayed on [relevant Amazon Site(s), as applicable] at the time of purchase will apply to the purchase of this product.)
Brother PED-Basic Embroidery Card Writer
(as of July 1, 2025 13:06 GMT -04:00 - More infoProduct prices and availability are accurate as of the date/time indicated and are subject to change. Any price and availability information displayed on [relevant Amazon Site(s), as applicable] at the time of purchase will apply to the purchase of this product.)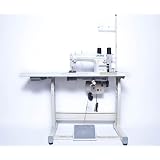
Industrial Sewing Machine Juki DDL-8700 Lockstitch Sewing Machine with Ergonomic Chair + Servo Motor + Table Stand Cut Juki DDL8700 Combo + LED Lamp Commercial Grade Sewing Machine
$909.00 (as of July 1, 2025 13:06 GMT -04:00 - More infoProduct prices and availability are accurate as of the date/time indicated and are subject to change. Any price and availability information displayed on [relevant Amazon Site(s), as applicable] at the time of purchase will apply to the purchase of this product.)
32Ft *1 Inch Hook and Loop Tape with Adhesive Back, Heavy Duty Double Sided Adhesive Strips, Strong Sticky Strips Roll for Home/Office/School/Car, Black
$9.99 (as of July 2, 2025 11:04 GMT -04:00 - More infoProduct prices and availability are accurate as of the date/time indicated and are subject to change. Any price and availability information displayed on [relevant Amazon Site(s), as applicable] at the time of purchase will apply to the purchase of this product.)