Elevate Embroidery Bead by Bead A Stitching Symphony
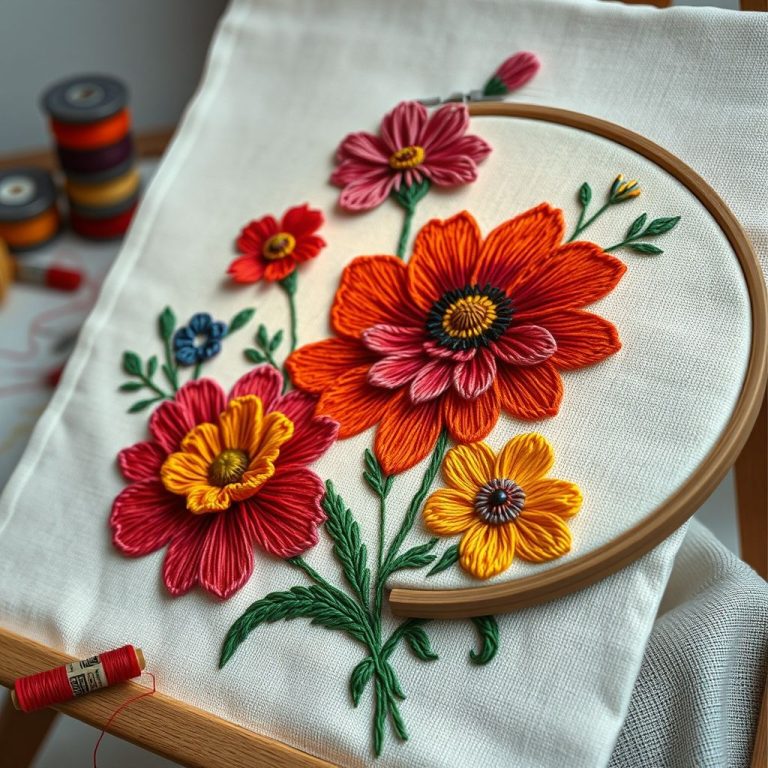
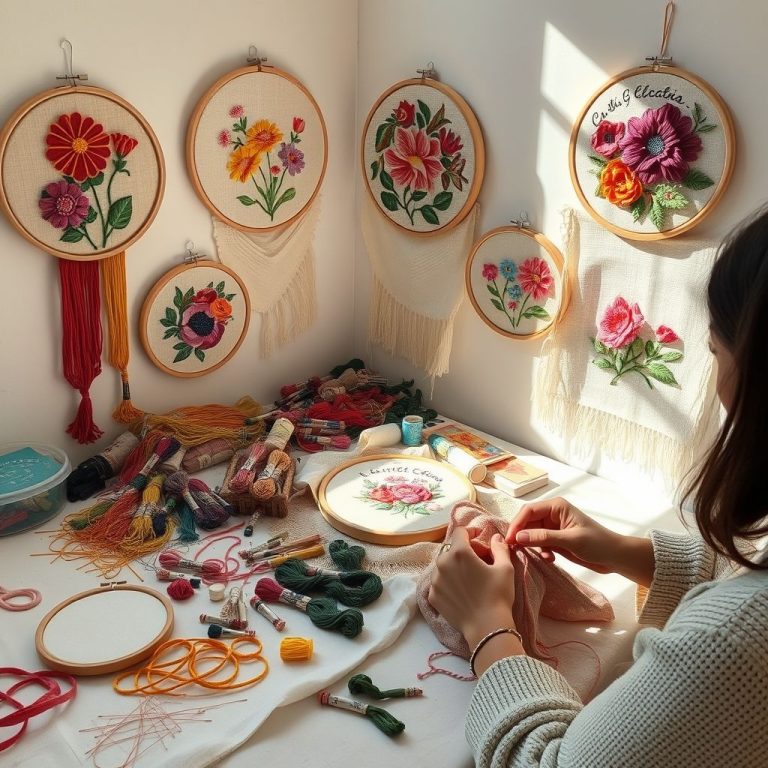
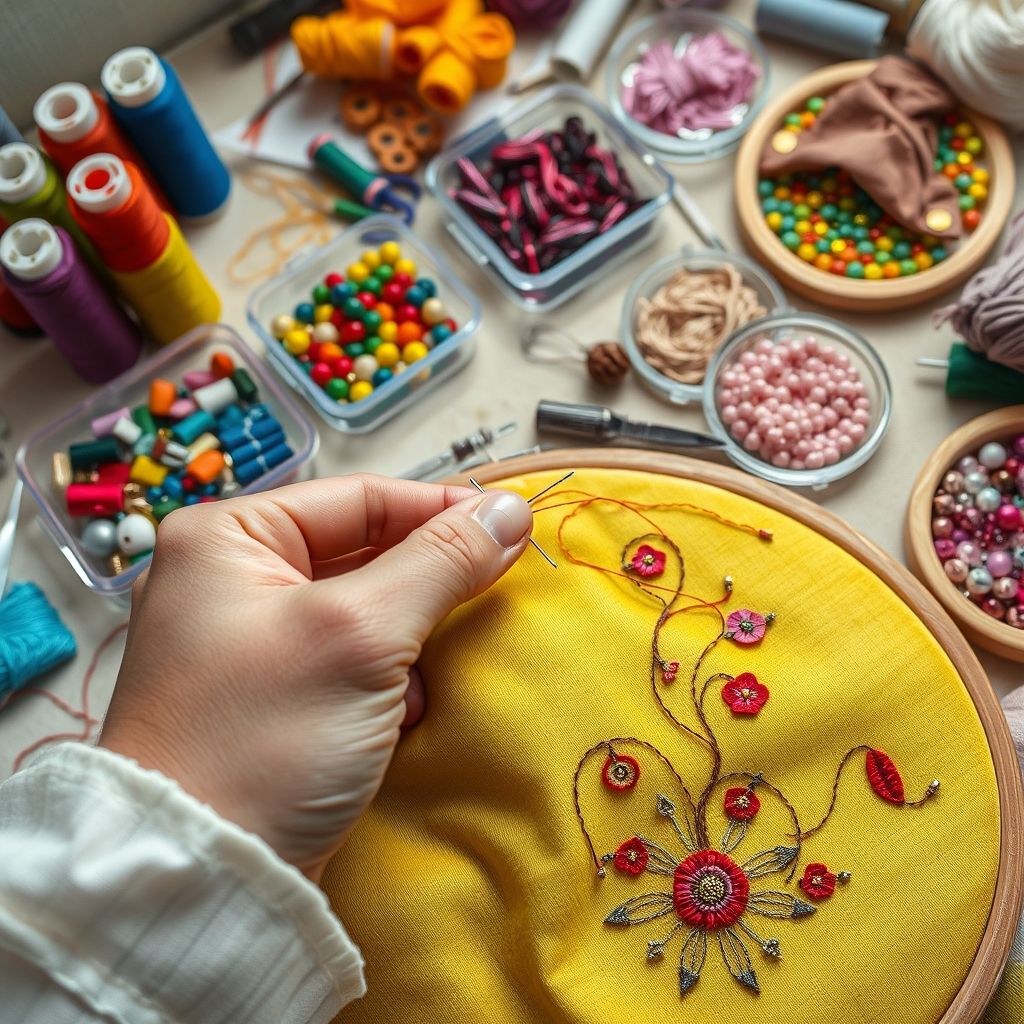
Embroidery, an art form steeped in history and tradition, has always been a canvas for creativity and self-expression. From the simplest cross-stitch to the most elaborate goldwork, the possibilities are truly endless. But what happens when you introduce the captivating sparkle and texture of beads into the mix? Bead embroidery transcends traditional stitching, transforming ordinary fabric into breathtaking works of art. It’s a technique that empowers you to add depth, dimension, and a touch of opulence to your projects.
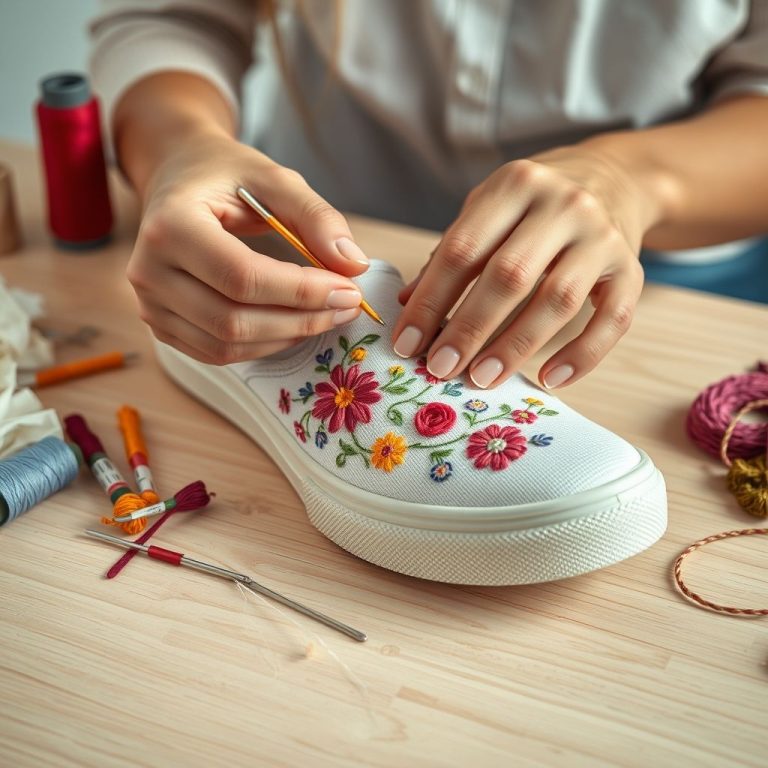
The beauty of bead embroidery lies in its versatility. Whether you’re embellishing clothing, creating stunning jewelry, or adding intricate details to home décor, incorporating beads opens up a whole new world of design potential. In this guide, we’ll explore the fundamental techniques of bead embroidery, delving into different stitches, bead types, and design considerations that will help you embark on your own beaded journey. We’ll uncover how to secure beads effectively, master essential stitches, and explore creative design ideas. Get ready to discover how easy it is to unlock this dazzling embroidery form!
Understanding Bead Embroidery Basics
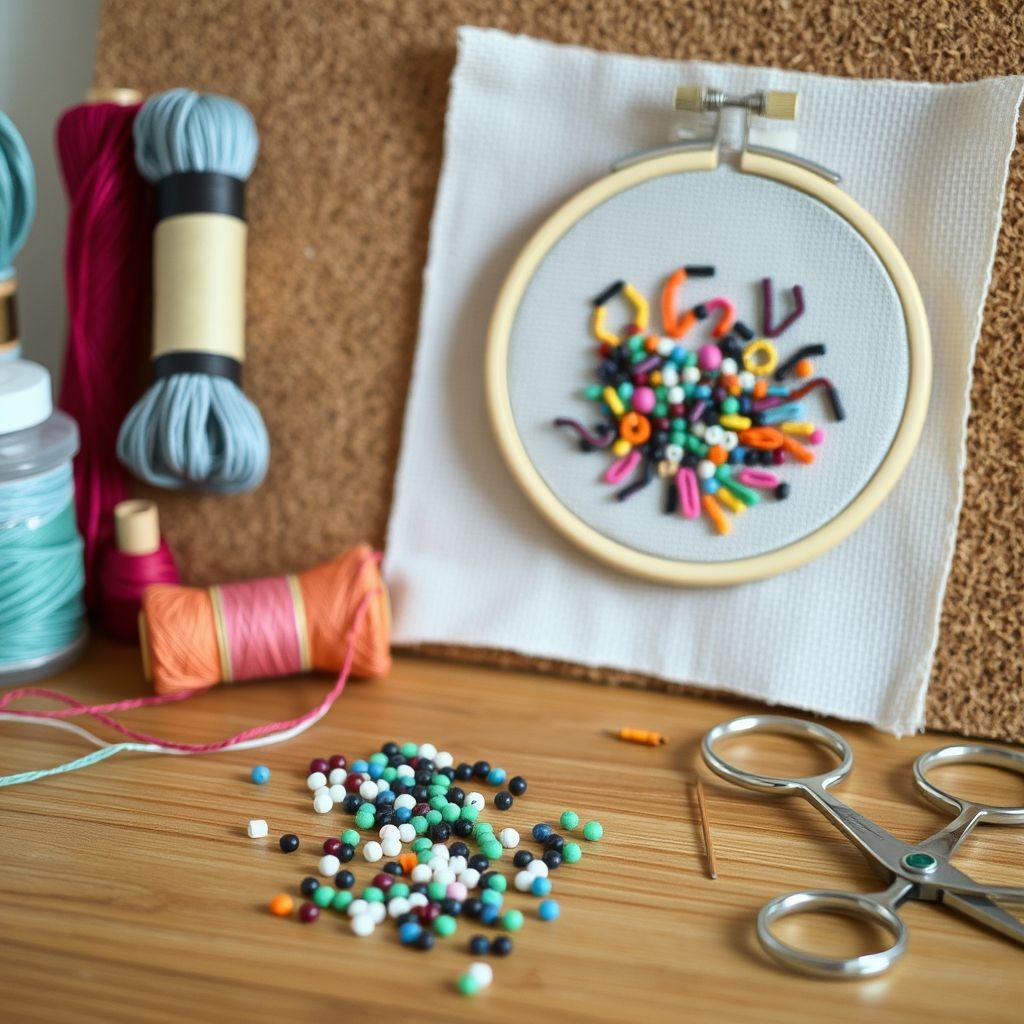
Before diving into specific stitches, it’s essential to grasp the foundational principles of bead embroidery. Unlike traditional embroidery where the thread is the primary visual element, in bead embroidery, the beads take center stage. The thread’s role shifts to that of a supportive structure, securing the beads in place to create the desired design. “The true secret of bead embroidery is not in the complexity of the stitches, but in the careful selection and placement of the beads themselves,” notes embroidery artist, Sarah Thompson, in her book, The Art of Embellishment. This highlights the importance of thoughtful planning and material selection.
Choosing the right needle and thread is paramount. A fine, sharp needle is crucial for passing through the small holes of the beads without damaging them. Beading needles are specifically designed for this purpose and come in various sizes. As for thread, a strong, flexible thread like Nymo or C-Lon is recommended, as it can withstand the constant friction and tension created by the beads. Always pre-condition your thread with beeswax or thread conditioner to prevent tangling and breakage. Fabric selection also plays a critical role. Sturdy fabrics such as felt, canvas, or linen provide a stable base for the beads, preventing them from shifting or pulling the fabric out of shape.
Furthermore, consider the size and type of beads you’ll be using. Seed beads, bugle beads, and larger decorative beads each offer unique textures and visual effects. Experiment with different combinations to achieve the desired aesthetic. Finally, remember to work in a well-lit area and use a comfortable embroidery hoop or frame to keep your fabric taut. A tidy workspace is a happy workspace!
Essential Stitches for Bead Embroidery
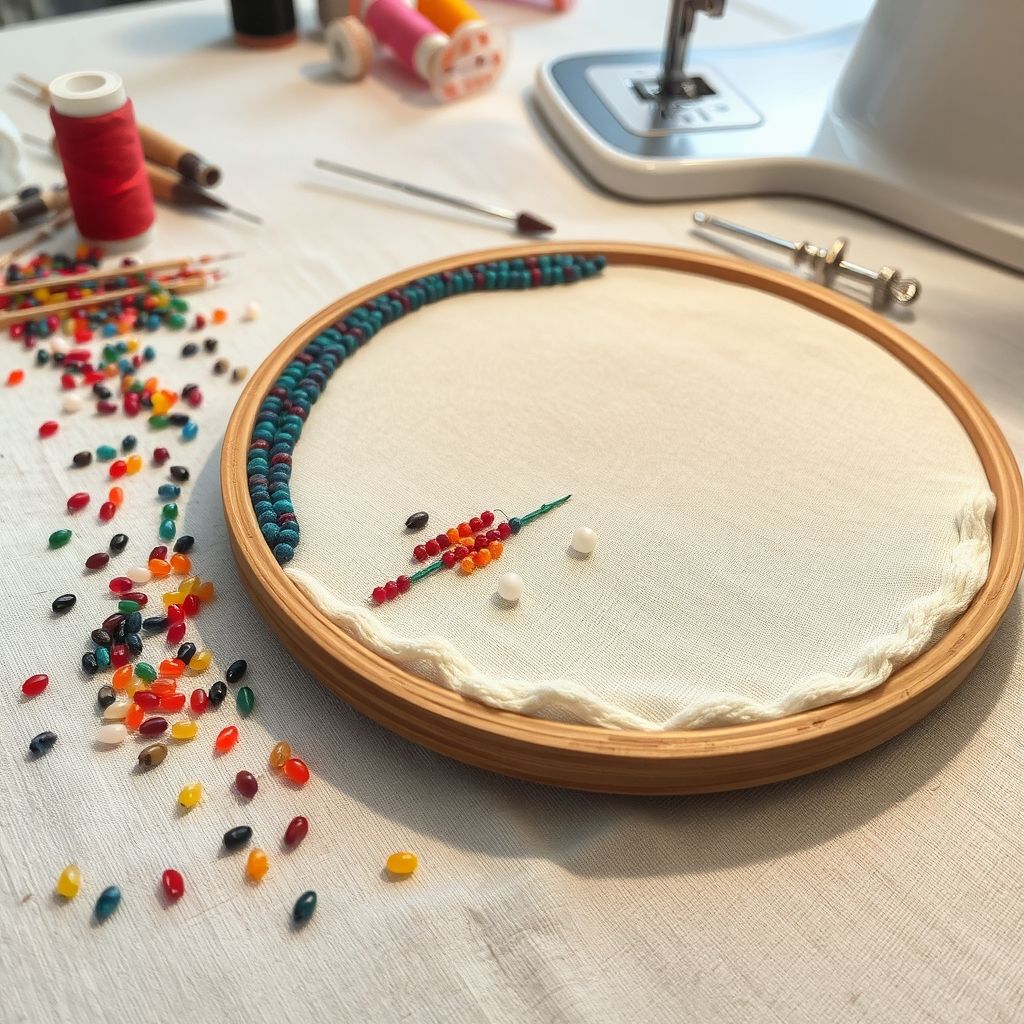
Several fundamental stitches form the backbone of bead embroidery. The back stitch is a workhorse, providing a secure and reliable way to attach individual beads. To execute a back stitch, bring the needle up through the fabric, string a bead, and then pass the needle back down through the fabric a short distance away from where you initially came up. Then, bring the needle back up again, right next to the bead. This anchors the bead firmly in place.
The running stitch is another versatile option, particularly useful for creating lines and curves of beads. Simply string several beads onto your needle and then pass the needle through the fabric at regular intervals, creating a continuous line. This stitch is perfect for outlining shapes or adding delicate accents. A couching stitch is also quite useful, wherein you lay a string of beads and use another thread to tack it down in place every few beads. This is ideal for creating curved lines and detailed patterns.
Mastering these basic stitches opens the door to more complex techniques. As you gain confidence, you can experiment with variations such as the ladder stitch, which creates a stable base for adding subsequent rows of beads, or the brick stitch, which allows you to create dense, textured surfaces. Each stitch offers a unique visual effect, and experimenting with different combinations is key to developing your own signature style. As Jessica Long, author of “Bead Embroidery Stitching Handbook,” points out, “Don’t be afraid to experiment and adapt these stitches to suit your own creative vision.” Remember that practice makes perfect, so dedicate time to experimenting with these different options. We can consider our options when reviewing various methods to embellish embroidery with beads and sequins.
Designing Your Bead Embroidery Project
Before you begin stitching, take some time to plan your design. Start by sketching out your ideas on paper, considering the size, shape, and placement of your beads. Think about the colors and textures you want to incorporate and how they will complement each other. “A well-planned design is half the battle won,” asserts renowned embroidery instructor, Mary Corbet, on her popular Needle ‘n Thread blog. This is especially true for bead embroidery, where the precision and placement of each bead can significantly impact the overall outcome.
Consider the scale of your design in relation to the fabric you’re using. Smaller, more intricate designs are well-suited for delicate fabrics like silk or linen, while larger, bolder designs can be used on sturdier fabrics like denim or canvas. When transferring your design to the fabric, use a water-soluble marker or tracing paper to ensure accuracy. Remember to account for the thickness of the beads when planning your design, as they will add dimension and depth to your work.
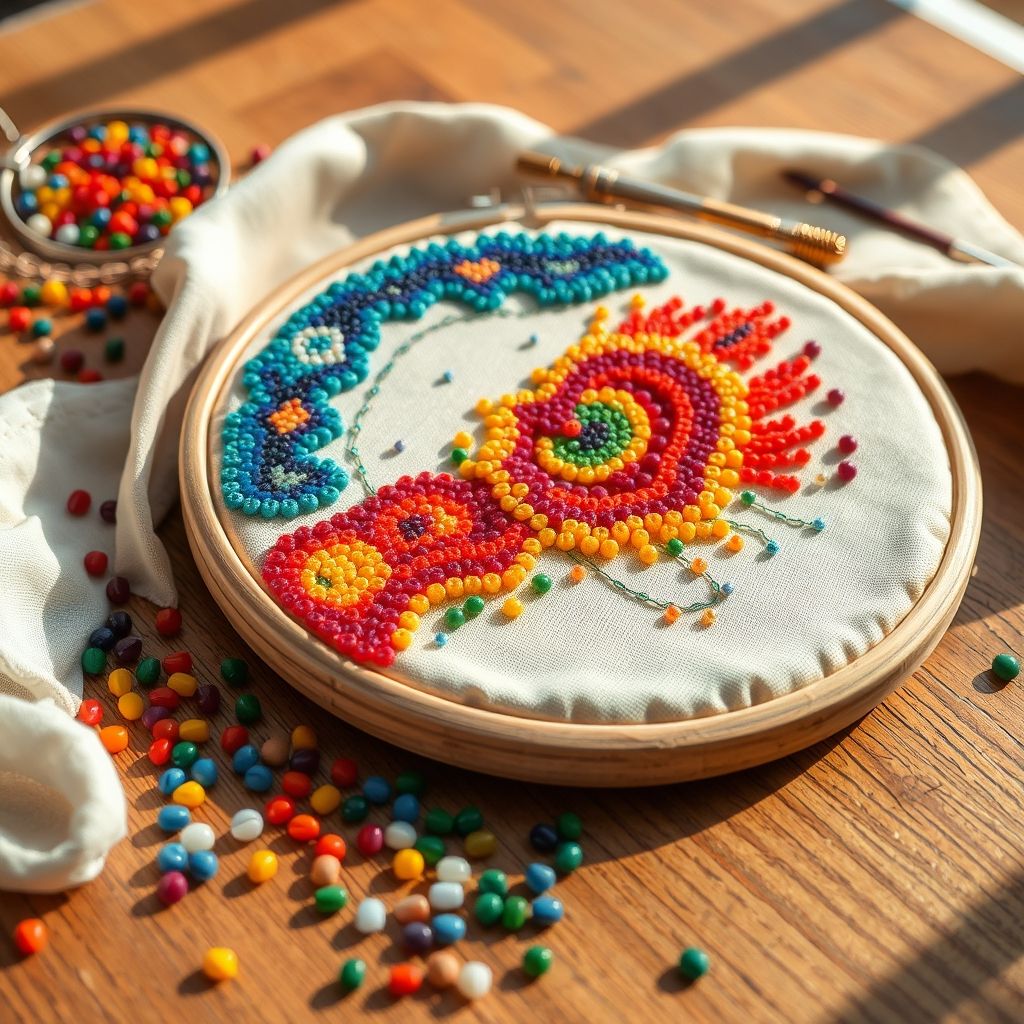
Experiment with different color palettes and bead combinations to create visual interest. Consider using complementary colors for contrast or analogous colors for a harmonious effect. Adding different bead sizes can add depth and texture to your design. Ultimately, the most important aspect of design is to let your creativity flow and have fun with the process. Whether you’re creating a whimsical floral motif or a geometric pattern, the possibilities are endless. You can use embroidery machines to make your work a bit easier.
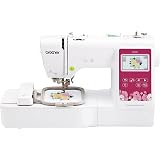
Brother PE545 Embroidery Machine, Wireless LAN Connected, 135 Built-in Designs, 4" x 4" Hoop Area, Large 3.7" LCD Touchscreen, USB Port, 10 Font Styles
$459.99 (as of May 28, 2025 05:48 GMT -04:00 - More infoProduct prices and availability are accurate as of the date/time indicated and are subject to change. Any price and availability information displayed on [relevant Amazon Site(s), as applicable] at the time of purchase will apply to the purchase of this product.)
Brother Skitch PP1 4" x 4" Embroidery Machine with 80 Spool Thread and Acessory Bundle
$569.99 (as of May 28, 2025 05:48 GMT -04:00 - More infoProduct prices and availability are accurate as of the date/time indicated and are subject to change. Any price and availability information displayed on [relevant Amazon Site(s), as applicable] at the time of purchase will apply to the purchase of this product.)
Brother SE2000 5" x 7" Combo Embroidery & Sewing Machine with Deluxe 130 Thread Spools & Accessories
$1,399.99 (as of May 28, 2025 05:48 GMT -04:00 - More infoProduct prices and availability are accurate as of the date/time indicated and are subject to change. Any price and availability information displayed on [relevant Amazon Site(s), as applicable] at the time of purchase will apply to the purchase of this product.)
OZXTYO Triangle Tailors Chalk,Sewing Fabric Chalk and Fabric Markers for Quilting,Sewing Supplies Accessories (10Pcs)
$5.95 (as of May 28, 2025 05:48 GMT -04:00 - More infoProduct prices and availability are accurate as of the date/time indicated and are subject to change. Any price and availability information displayed on [relevant Amazon Site(s), as applicable] at the time of purchase will apply to the purchase of this product.)
TransOurDream Tru-Iron on Heat Transfer Paper for Dark Fabric (20 Sheets, 8.5x11") T Shirt Transfers Paper for Inkjet Printer Printable Heat Transfer Vinyl for T-Shirts (TOD-7)
$13.59 (as of May 28, 2025 05:48 GMT -04:00 - More infoProduct prices and availability are accurate as of the date/time indicated and are subject to change. Any price and availability information displayed on [relevant Amazon Site(s), as applicable] at the time of purchase will apply to the purchase of this product.)Adding Texture and Dimension
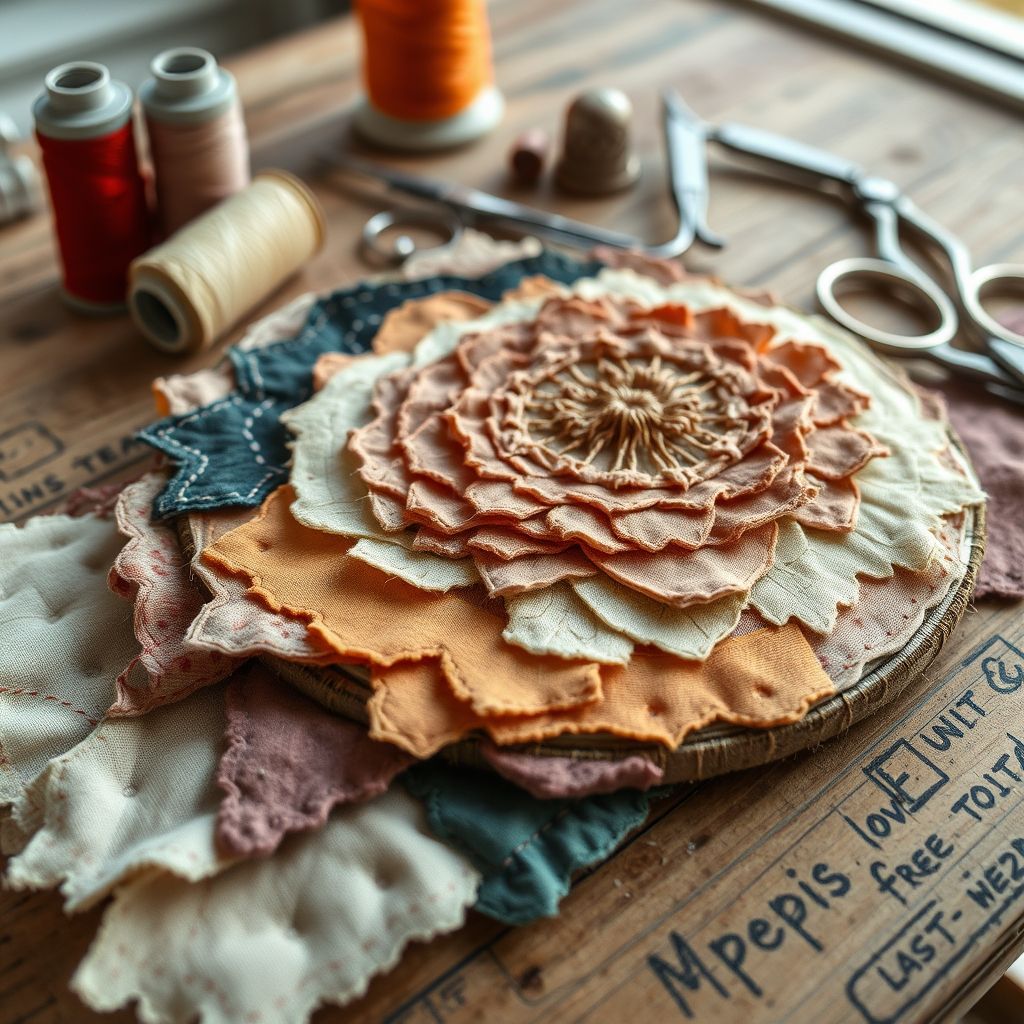
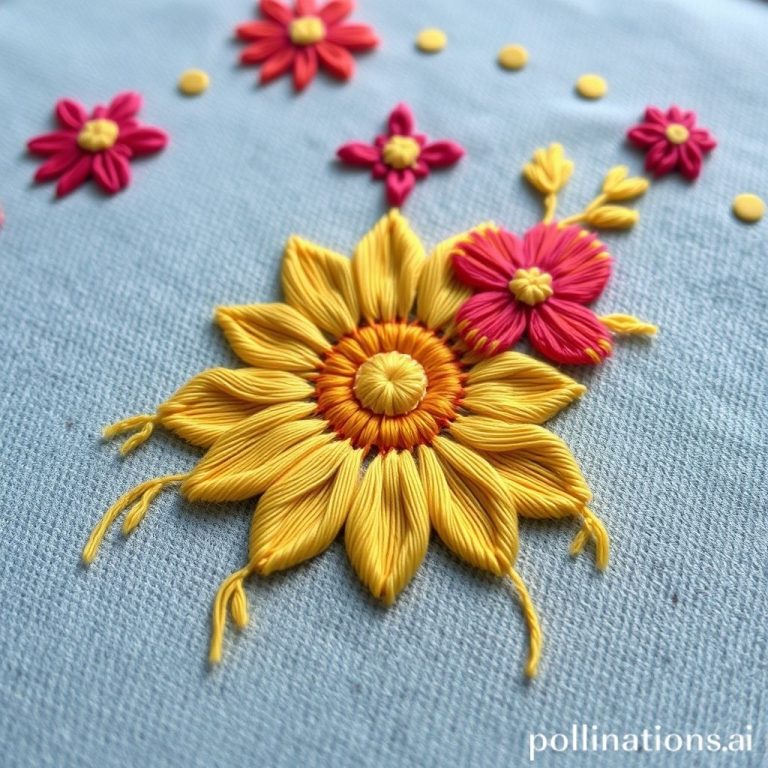
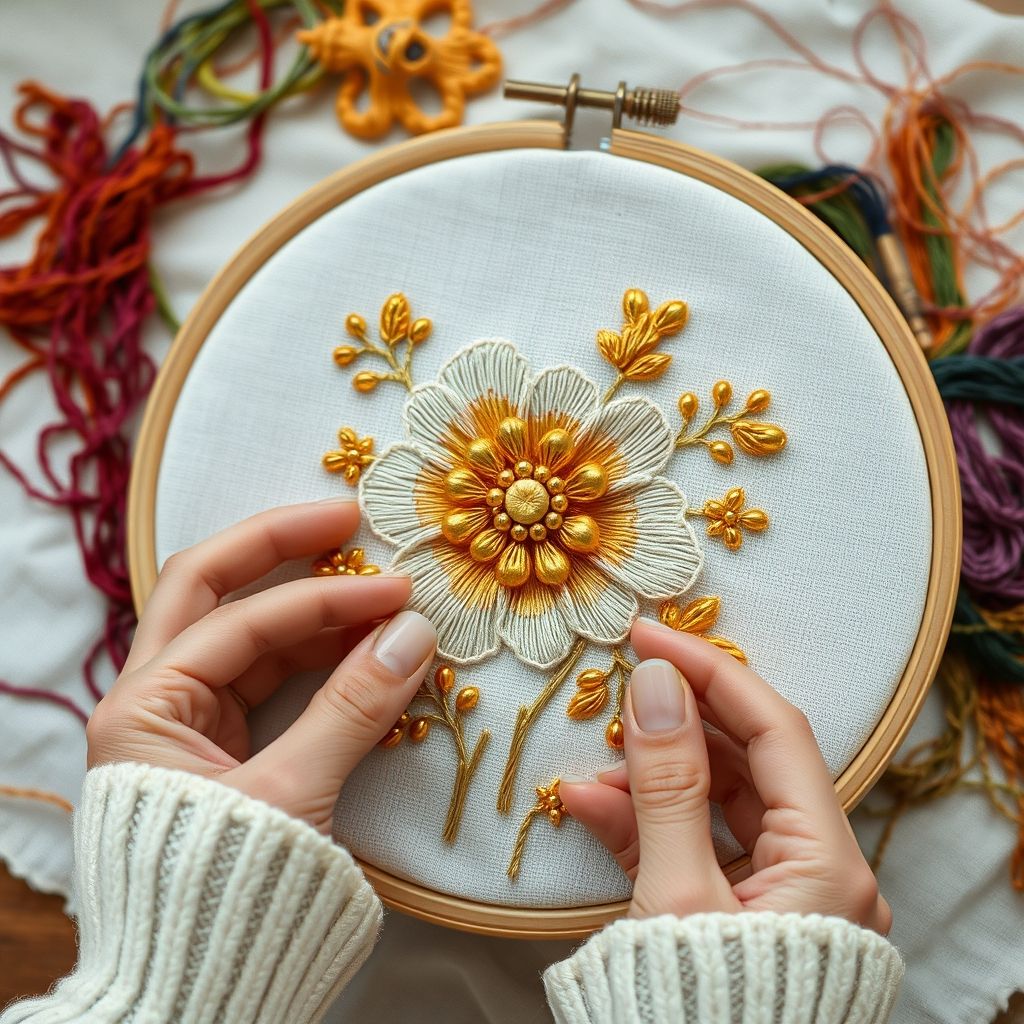
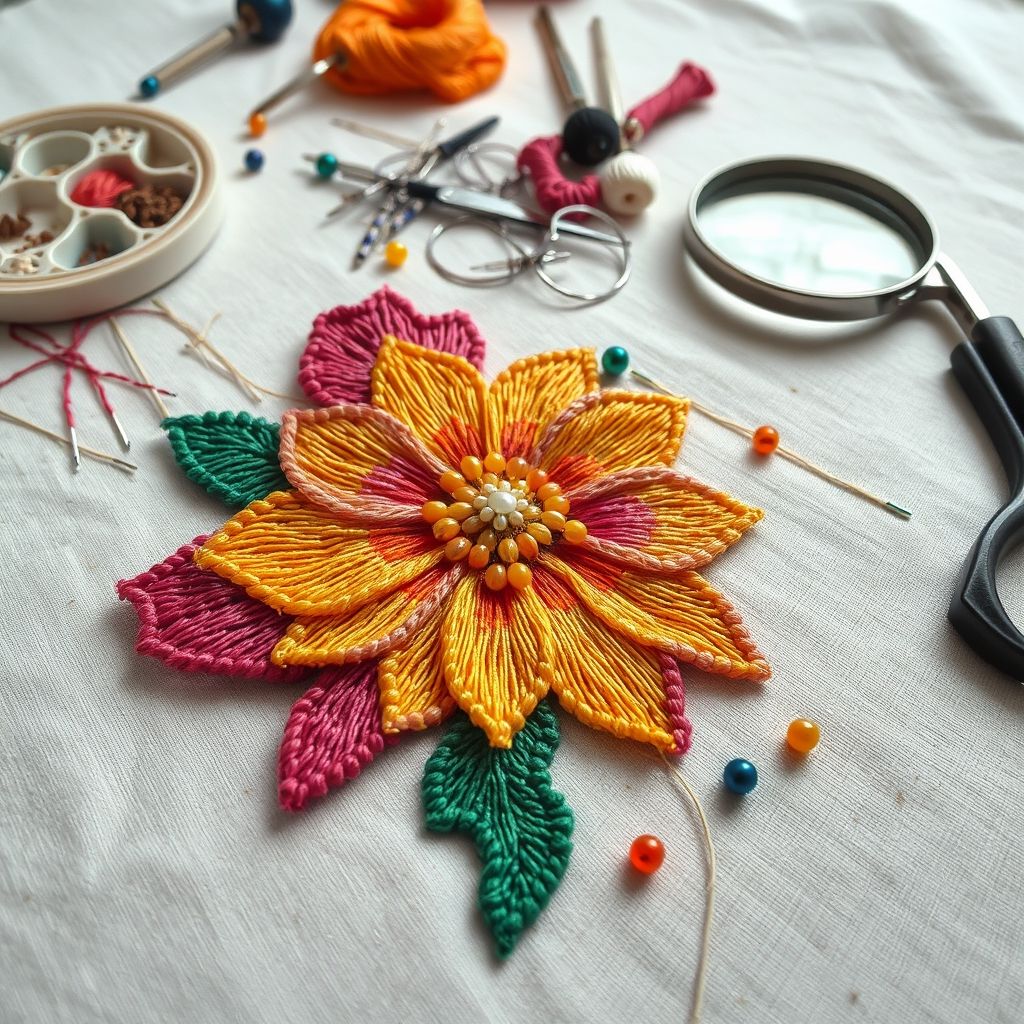
One of the most captivating aspects of bead embroidery is its ability to add texture and dimension to your projects. By layering different bead sizes, shapes, and colors, you can create a rich and tactile surface that begs to be touched. Consider using seed beads as a base layer to fill in areas and then adding larger decorative beads on top for added impact. “Texture is the spice of bead embroidery,” proclaims beadwork artist, Sherry Serafini, in her instructional videos. “It’s what elevates a simple design into a truly extraordinary piece.”
Experiment with different stitching techniques to create unique textures. For example, you can use the brick stitch to create a raised, textured surface or the peyote stitch to create a flexible, woven effect. Adding fringe is another way to incorporate movement and dimension into your work. Simply string a series of beads onto a thread and then attach it to the edge of your design. Varying the length and density of the fringe will create a dynamic and eye-catching effect. You can also experiment with adding other embellishments, such as sequins, crystals, or even small pieces of metal, to further enhance the texture and visual interest of your bead embroidery. When trying to figure out a good color combination, it is important to remember the role of embellishments in adding to the texture.
Don’t be afraid to break the rules and experiment with unexpected combinations. The key is to create a harmonious balance between texture, color, and design. Ultimately, the goal is to create a piece that is not only visually stunning but also invites the viewer to explore it with their sense of touch.
Securing Beads and Finishing Techniques
Ensuring that your beads are securely attached is crucial for the longevity of your bead embroidery. Regularly inspect your work as you go, reinforcing any loose beads as needed. When securing the end of your thread, use a small knot and then bury the tail within the beadwork to prevent it from unraveling. “A well-secured bead is a happy bead,” jokes bead embroidery instructor, Lisa Kan, in her online workshops. “It’s the foundation of a lasting piece.”
When finishing the edges of your bead embroidery, consider using a blanket stitch or a whip stitch to create a clean and professional look. You can also add a backing fabric to protect the back of your work and provide additional support. Felt is a popular choice for backing, as it is soft, durable, and easy to work with. Alternatively, you can use a lining fabric to create a more polished and refined finish.
Depending on the project, you may need to add closures, such as clasps or buttons. Ensure that these closures are securely attached and blend seamlessly with the overall design. Finally, give your bead embroidery a gentle cleaning with a soft brush or cloth to remove any dust or debris. Avoid using harsh chemicals or detergents, as they can damage the beads and thread. With proper care and maintenance, your bead embroidery will remain a cherished heirloom for years to come.
Troubleshooting Common Bead Embroidery Issues
Even the most experienced bead embroiderers encounter challenges from time to time. One common issue is tangled thread. To prevent tangles, use a shorter length of thread, condition it with beeswax or thread conditioner, and avoid pulling too tightly. If a tangle does occur, gently work it out with a needle or pin, rather than trying to force it apart. “Patience is a virtue, especially when it comes to bead embroidery,” advises experienced bead artist, Emily Wessels. “A calm and steady hand will always yield better results.”
Another common problem is broken beads. To minimize breakage, use high-quality beads, avoid over-tightening your stitches, and use a needle that is the correct size for the bead hole. If a bead does break, carefully remove it and replace it with a new one. If you find that your beads are shifting or moving out of place, try using a more stable fabric or adding a layer of interfacing to the back of your work. Additionally, using a stronger thread can help to secure the beads more firmly. And finally, remember that sometimes you have to adapt your thread, as you might require other varieties for embroidery:
Richword White Embroidery Thread 4000M(4374Y) 40WT Polyester Thread 100 Colors Selected for Commercial Multi Needles and Single Needle Embroidery Machine 0401
$7.99 (as of May 27, 2025 05:24 GMT -04:00 - More infoProduct prices and availability are accurate as of the date/time indicated and are subject to change. Any price and availability information displayed on [relevant Amazon Site(s), as applicable] at the time of purchase will apply to the purchase of this product.)
284Yards Leather Sewing Waxed Thread-Practical Long Stitching Thread for Leather Craft DIY/Bookbinding/Shoe Repairing/Leather Projects
$6.99 (as of May 28, 2025 05:48 GMT -04:00 - More infoProduct prices and availability are accurate as of the date/time indicated and are subject to change. Any price and availability information displayed on [relevant Amazon Site(s), as applicable] at the time of purchase will apply to the purchase of this product.)
12 Skeins Embroidery Floss White Color, Friendship Bracelet String Cross Stitch Embroidery Thread Floss Bracelet Making Yarn, Craft Floss(White)
$3.99 (as of May 28, 2025 05:48 GMT -04:00 - More infoProduct prices and availability are accurate as of the date/time indicated and are subject to change. Any price and availability information displayed on [relevant Amazon Site(s), as applicable] at the time of purchase will apply to the purchase of this product.)
Simthread 63 Brother Colors Polyester Embroidery Machine Thread Kit 40 Weight for Brother Babylock Janome Singer Pfaff Husqvarna Bernina Embroidery and Sewing Machines 550Y
$42.29 (as of May 28, 2025 05:48 GMT -04:00 - More infoProduct prices and availability are accurate as of the date/time indicated and are subject to change. Any price and availability information displayed on [relevant Amazon Site(s), as applicable] at the time of purchase will apply to the purchase of this product.)
Simthread All Purpose Thread Polyester 400 Yards (1 White 1 Black)
$5.99 (as of May 28, 2025 05:48 GMT -04:00 - More infoProduct prices and availability are accurate as of the date/time indicated and are subject to change. Any price and availability information displayed on [relevant Amazon Site(s), as applicable] at the time of purchase will apply to the purchase of this product.)Don’t be discouraged by these challenges. Bead embroidery is a skill that improves with practice and experimentation. Embrace the learning process and view each mistake as an opportunity to grow and refine your technique.
Finding Inspiration and Resources
The world of bead embroidery is brimming with inspiration and resources. Explore online galleries, books, and workshops to discover new techniques, designs, and materials. Follow bead embroidery artists on social media to stay up-to-date on the latest trends and innovations. “The internet is a treasure trove of bead embroidery inspiration,” exclaims beadwork enthusiast, Susan Bates. “From online tutorials to virtual workshops, there’s something for everyone.”
Consider joining a local bead embroidery group or online forum to connect with other enthusiasts, share your work, and learn from their experiences. Attending bead shows and conferences is another great way to discover new materials, tools, and techniques. Don’t be afraid to experiment with different styles and approaches to find what resonates with you. Most importantly, trust your instincts and let your creativity guide you.
The possibilities of bead embroidery are truly limitless. Whether you’re a seasoned embroiderer or a complete beginner, there’s always something new to learn and discover. So, grab your needle, thread, and beads, and embark on a journey of creativity and self-expression. Let the beads be your muse, and watch as your embroidery transforms into a dazzling work of art.
Conclusion
Bead embroidery offers a unique and rewarding avenue for creative expression, transforming ordinary fabric into shimmering masterpieces. From understanding the foundational techniques to mastering essential stitches and exploring diverse design possibilities, we’ve uncovered the secrets to unlocking this captivating art form. The key takeaways from this guide are the importance of material selection, the mastery of basic stitches like the back stitch and running stitch, and the significance of thoughtful design planning. By considering texture, dimension, and secure finishing techniques, you can ensure that your bead embroidery projects are not only beautiful but also durable.
Furthermore, we’ve addressed common challenges such as tangled threads and broken beads, offering practical solutions to overcome these obstacles. The journey of bead embroidery is one of continuous learning and experimentation. Embrace the process, seek inspiration from various sources, and connect with fellow enthusiasts to expand your knowledge and skills. As you delve deeper into this art form, you’ll discover the joy of transforming simple beads into intricate and captivating designs.
So, let your imagination soar, and let the beads guide your needle. Whether you’re embellishing clothing, creating stunning jewelry, or adding a touch of sparkle to your home décor, bead embroidery empowers you to express your unique style and creativity. Go forth and create your own dazzling embroidery today!
Simthread 144pcs Embroidery Pre-Wound Bobbins Thread, Class 15 Type A Size SA156, Polyester White 60 wt, Bernina Pfaff Ambition BabyLock Brother Embroidery and Sewing Machines Plastic Side
$24.99 (as of May 27, 2025 05:24 GMT -04:00 - More infoProduct prices and availability are accurate as of the date/time indicated and are subject to change. Any price and availability information displayed on [relevant Amazon Site(s), as applicable] at the time of purchase will apply to the purchase of this product.)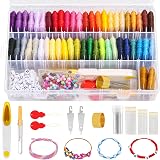
PAXCOO 488Pcs String Bracelet Making Kit, Friendship Bracelet String Kit with 50 Skeins Embroidery Floss Cross Stitch Thread, 400Pcs Friendship Bracelet Beads, 37Pcs Embroidery Tools
$11.99 (as of May 28, 2025 05:48 GMT -04:00 - More infoProduct prices and availability are accurate as of the date/time indicated and are subject to change. Any price and availability information displayed on [relevant Amazon Site(s), as applicable] at the time of purchase will apply to the purchase of this product.)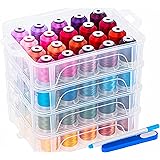
New brothread 80 Spools 500m Each Embroidery Machine Thread with Clear Plastic Storage Box - Colors Compatible with Janome and Robison-Anton Colors
$47.59 (as of May 28, 2025 05:48 GMT -04:00 - More infoProduct prices and availability are accurate as of the date/time indicated and are subject to change. Any price and availability information displayed on [relevant Amazon Site(s), as applicable] at the time of purchase will apply to the purchase of this product.)
Friendship Bracelet String 12 Skeins, Embroidery Floss Cross Stitch Embroidery Thread Floss Bracelet Making Yarn, Craft Floss (Green Series)
$3.99 (as of May 28, 2025 05:48 GMT -04:00 - More infoProduct prices and availability are accurate as of the date/time indicated and are subject to change. Any price and availability information displayed on [relevant Amazon Site(s), as applicable] at the time of purchase will apply to the purchase of this product.)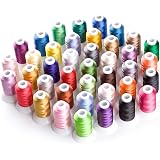
Simthread Brother 40 Colors 40 Weight Polyester Embroidery Machine Thread Kit 550Y(500M) for Brother Babylock Janome Singer Husqvarna Bernina Embroidery and Sewing Machines
$25.19 (as of May 27, 2025 05:24 GMT -04:00 - More infoProduct prices and availability are accurate as of the date/time indicated and are subject to change. Any price and availability information displayed on [relevant Amazon Site(s), as applicable] at the time of purchase will apply to the purchase of this product.)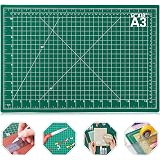
anezus Self Healing Sewing Mat, 12inch x 18inch Rotary Cutting Mat Double Sided 5-Ply Craft Cutting Board for Sewing Crafts Hobby Fabric Precision Scrapbooking Project
$8.99 (as of May 28, 2025 05:48 GMT -04:00 - More infoProduct prices and availability are accurate as of the date/time indicated and are subject to change. Any price and availability information displayed on [relevant Amazon Site(s), as applicable] at the time of purchase will apply to the purchase of this product.)
Juki DDL-5550 LockStitch Industrial Sewing Machine + chair, table,servo motor,lamp,DDL5550n Made in Japan DIY
$1,198.99 (as of May 28, 2025 05:48 GMT -04:00 - More infoProduct prices and availability are accurate as of the date/time indicated and are subject to change. Any price and availability information displayed on [relevant Amazon Site(s), as applicable] at the time of purchase will apply to the purchase of this product.)
Brother PE900 Embroidery Machine with WLAN, White
$998.99 (as of May 28, 2025 05:48 GMT -04:00 - More infoProduct prices and availability are accurate as of the date/time indicated and are subject to change. Any price and availability information displayed on [relevant Amazon Site(s), as applicable] at the time of purchase will apply to the purchase of this product.)
Industrial Sewing Machine,Walking Foot Machine,Commercial Grade Sewing Machine, Used In Tailors, Alteration Stores, DIY(No Table)
$482.00 (as of May 28, 2025 05:48 GMT -04:00 - More infoProduct prices and availability are accurate as of the date/time indicated and are subject to change. Any price and availability information displayed on [relevant Amazon Site(s), as applicable] at the time of purchase will apply to the purchase of this product.)