Choosing the Right Stabilizer for Your Embroidery Project
Embroidery can transform ordinary fabric into extraordinary art. However, the journey from digital design to perfectly stitched creation isn’t always smooth. One of the most crucial, yet often overlooked, elements for success is the stabilizer. Think of it as the unsung hero working behind the scenes to ensure your design shines, without puckering, stretching, or distortion. Selecting the wrong stabilizer can lead to frustrating results, wasted materials, and a design that simply doesn’t live up to your vision.
With a vast array of stabilizers available, each designed for specific fabrics and techniques, the choice can feel overwhelming. This blog post will act as your comprehensive guide to navigating the world of embroidery stabilizers. We’ll explore the different types, their uses, and how to choose the perfect one for your next project. We’ll delve into cut-away, tear-away, wash-away, and heat-away stabilizers, examining their strengths and weaknesses. Additionally, we’ll discuss the crucial factors to consider when making your selection, such as fabric type, stitch density, and desired end result. Let’s unlock the secrets to perfect embroidery, one stabilizer at a time.
Understanding Cut-Away Stabilizers
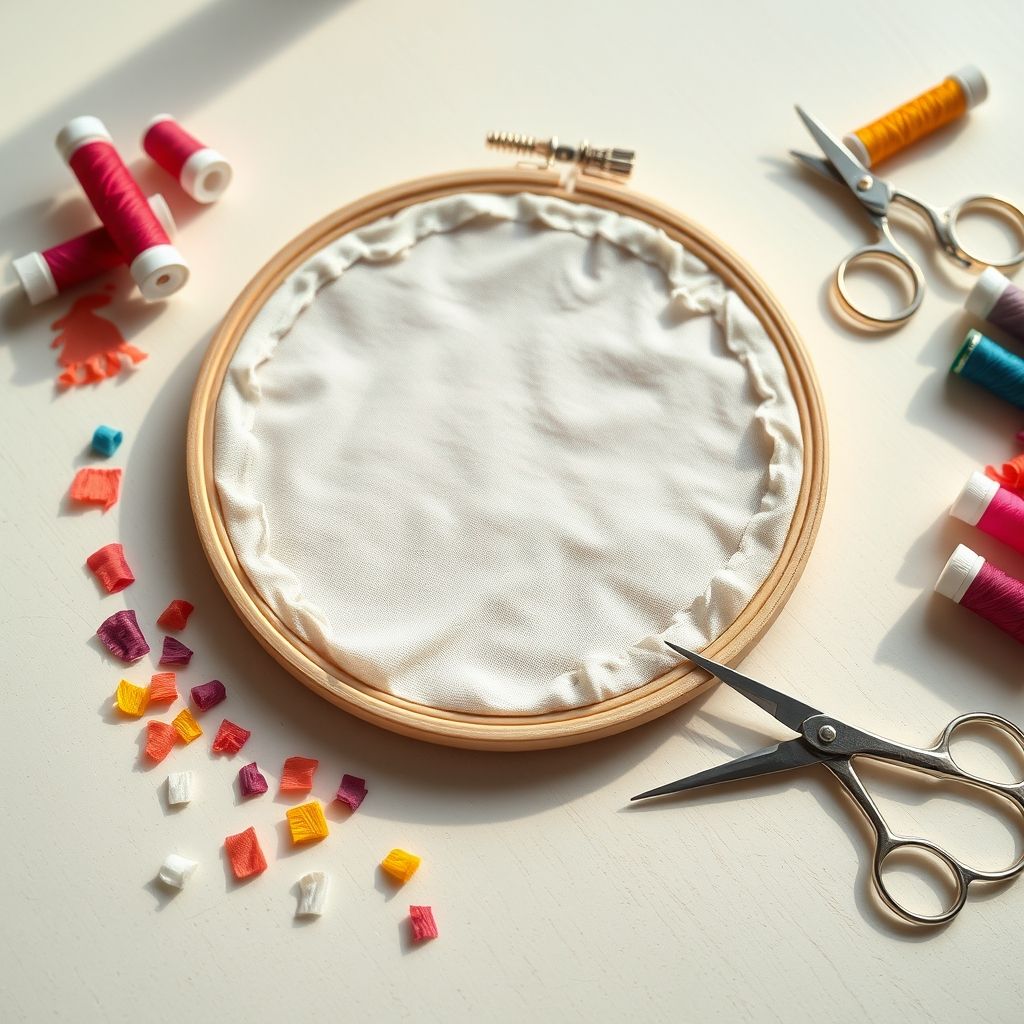
Cut-away stabilizers are designed to provide permanent support to your embroidered design. As the name suggests, the excess stabilizer is carefully trimmed away after the embroidery is complete, leaving a layer of support behind the stitching. This type is ideal for projects where you need long-lasting stability and durability, particularly on fabrics that are prone to stretching or distortion, such as knits, fleece, and loosely woven materials.
The key advantage of cut-away stabilizer is its ability to prevent the embroidered design from losing its shape over time. It effectively counteracts the pulling forces of the stitching, ensuring that the design remains crisp and defined, even after repeated washing and wear. When working with intricate or densely stitched designs, cut-away stabilizer is almost always the best choice. “Cut-away stabilizers are ideal for projects that require long-term support and stability, especially on knit fabrics,” according to embroidery expert Jane Smith. There are different weights of cut-away stabilizers available, so consider the weight of your fabric and the density of your design when making your selection. Heavier fabrics and denser designs will generally require a heavier stabilizer.
While cut-away stabilizer offers excellent support, it’s important to choose the right type for your project. Some cut-away stabilizers are softer and more flexible, while others are stiffer. Softer stabilizers are generally preferred for garments that will be worn close to the skin, while stiffer stabilizers are better suited for items like bags and home décor projects. Careful trimming is also essential to avoid leaving unsightly edges that could irritate the skin or detract from the overall appearance of your project. Choosing a high-quality pair of embroidery scissors and taking your time during the trimming process will yield the best results. Speaking of professional-looking results, perhaps you need to review the basics of when to use what type of stabilizer? Here is a good start: Embroidery Stabilizers: Mastering When and Why to Use Them.
Ultimately, selecting the right cut-away stabilizer involves balancing the need for support with the desired comfort and aesthetic of your finished project. By carefully considering the properties of different cut-away stabilizers and practicing your trimming techniques, you can achieve professional-looking results that will last for years to come.
Exploring Tear-Away Stabilizers
Tear-away stabilizers offer a different approach to embroidery support. Unlike cut-away stabilizers, tear-away stabilizers are designed to be easily torn away from the fabric after the embroidery is complete. This makes them a convenient option for projects where you don’t want any stabilizer remaining on the finished item. Tear-away stabilizers are best suited for stable, tightly woven fabrics that don’t require long-term support, such as quilting cotton, linen, and denim.
The primary advantage of tear-away stabilizer is its ease of use. After the embroidery is finished, you simply tear away the excess stabilizer around the design. This eliminates the need for precise trimming, saving you time and effort. However, it’s important to tear the stabilizer carefully to avoid distorting or damaging the surrounding fabric or stitches. “Tear-away stabilizers are a great option for projects where you want a clean finish and don’t need permanent support,” says experienced embroiderer Sarah Miller. Tear-away stabilizers come in various weights and thicknesses. Choosing a weight appropriate for your fabric will ensure the stabilizer tears away cleanly without pulling on the stitches. If your fabric is especially delicate, you may want to consider using a lighter-weight tear-away stabilizer or a combination of tear-away and wash-away stabilizer.
One potential drawback of tear-away stabilizer is that it may not provide sufficient support for intricate or densely stitched designs. Because it’s designed to be torn away, it doesn’t offer the same level of permanent stability as cut-away stabilizer. This can lead to puckering or distortion, especially on fabrics that are prone to stretching. Additionally, small pieces of the stabilizer can sometimes get trapped under the stitches, which can be difficult to remove. If you are using tear-away stabilizer on a project with dense stitching, it’s helpful to perforate the stabilizer around the edges of the design before tearing. This will make it easier to tear away cleanly and reduce the risk of damaging your embroidery.
In conclusion, tear-away stabilizers are a valuable tool for certain embroidery projects. Their ease of use and ability to leave a clean finish make them a popular choice for many embroiderers. However, it’s essential to carefully consider the fabric type, stitch density, and desired end result before choosing tear-away stabilizer over other options.
The Magic of Wash-Away Stabilizers
Wash-away stabilizers, also known as water-soluble stabilizers, offer a unique approach to embroidery support by dissolving completely when exposed to water. This type of stabilizer is ideal for delicate fabrics, freestanding lace, and projects where you want no visible stabilizer remaining on the finished item. Wash-away stabilizers come in two main forms: film and fabric. Film stabilizers are thin and transparent, while fabric stabilizers are thicker and more closely resemble traditional fabric. Both types dissolve completely in water, leaving behind only your beautiful embroidery.
The key advantage of wash-away stabilizer is its ability to provide support during the embroidery process without leaving any residue behind. This makes it an excellent choice for projects where the stabilizer would be difficult or impossible to remove otherwise, such as intricate lace designs or sheer fabrics. “Wash-away stabilizers are perfect for creating delicate embroidery and lace,” explains textile artist Emily Carter. “They allow you to achieve intricate details without worrying about visible stabilizer.” When using wash-away stabilizer, it’s important to follow the manufacturer’s instructions carefully. The water temperature and soaking time can vary depending on the type of stabilizer. Using water that is too hot or soaking the stabilizer for too long can damage your embroidery. It’s always best to test a small sample of your embroidered fabric with the wash-away stabilizer before using it on your entire project. Threads are also vital to the entire project. Let’s consider what options are available for threads:
UMC STAG Pack of 12 Black Premium Embroidery Thread | 100% Egyptian Cotton Premium Skeins | Cross Stitch Embroidery Floss | Oeko TEX Certified Stranded Cotton | Ideal for Arts & Crafts (Black-12)
$4.38 (as of June 2, 2025 08:15 GMT -04:00 - More infoProduct prices and availability are accurate as of the date/time indicated and are subject to change. Any price and availability information displayed on [relevant Amazon Site(s), as applicable] at the time of purchase will apply to the purchase of this product.)72Pcs 36 Colors Prewound Bobbins and Thread Spools for Hand & Machine Sewing, Emergency and Travel, DIY and Home, 36 Colors 400 Yards per Polyester Thread Spools
$17.88 (as of June 2, 2025 06:05 GMT -04:00 - More infoProduct prices and availability are accurate as of the date/time indicated and are subject to change. Any price and availability information displayed on [relevant Amazon Site(s), as applicable] at the time of purchase will apply to the purchase of this product.)New brothread - Single Huge Spool 4000M Each Polyester Embroidery Machine Thread 40WT for Commercial and Domestic Machines - Navy Blue (Janome Color)
$6.99 (as of June 2, 2025 05:31 GMT -04:00 - More infoProduct prices and availability are accurate as of the date/time indicated and are subject to change. Any price and availability information displayed on [relevant Amazon Site(s), as applicable] at the time of purchase will apply to the purchase of this product.)New brothread 80 Spools 500m Each Embroidery Machine Thread with Clear Plastic Storage Box - Colors Compatible with Janome and Robison-Anton Colors
$47.59 (as of June 2, 2025 05:31 GMT -04:00 - More infoProduct prices and availability are accurate as of the date/time indicated and are subject to change. Any price and availability information displayed on [relevant Amazon Site(s), as applicable] at the time of purchase will apply to the purchase of this product.)New brothread - Single Huge Spool 5000M Each Polyester Embroidery Machine Thread 40WT for Commercial and Domestic Machines - Black
$7.99 (as of June 2, 2025 06:05 GMT -04:00 - More infoProduct prices and availability are accurate as of the date/time indicated and are subject to change. Any price and availability information displayed on [relevant Amazon Site(s), as applicable] at the time of purchase will apply to the purchase of this product.)While wash-away stabilizers are incredibly versatile, they are not suitable for all embroidery projects. They are generally not recommended for fabrics that shrink or distort easily when wet, as the water can cause the fabric to lose its shape. Additionally, wash-away stabilizers can be more expensive than other types of stabilizers. So, they may not be the most cost-effective option for large or simple projects. However, for projects where a clean, residue-free finish is essential, wash-away stabilizers are an invaluable tool.
In summary, wash-away stabilizers offer a unique and effective way to support your embroidery projects. Their ability to dissolve completely in water makes them an ideal choice for delicate fabrics, freestanding lace, and any project where you want no visible stabilizer remaining. By carefully following the manufacturer’s instructions and considering the specific needs of your project, you can achieve stunning results with wash-away stabilizers.
Heat-Away Stabilizers: A Modern Solution
Heat-away stabilizers, a relatively new addition to the embroidery stabilizer family, offer a unique method of removal – heat! These stabilizers are designed to disintegrate when exposed to a high temperature from an iron. This method is particularly useful for projects where moisture might damage the fabric or the embroidered design, or where the texture created by other stabilizer types is unwanted. They’re a great choice for delicate fabrics, 3D embroidery, and projects requiring a crisp, clean finish.
The main advantage of heat-away stabilizers lies in their clean removal process. Unlike cut-away stabilizers that require careful trimming, or wash-away stabilizers that require water and potential fabric distortion, heat-away stabilizers simply vanish with the application of heat. This makes them ideal for projects with intricate details or difficult-to-reach areas. However, careful testing is crucial. “Always test heat-away stabilizer on a scrap of fabric before using it on your final project,” advises embroidery instructor David Lee. “Different stabilizers react differently to heat, and you want to ensure it completely disappears without damaging your fabric or embroidery.” It’s also essential to use the correct iron temperature. Too low, and the stabilizer won’t fully disappear; too high, and you risk scorching your fabric or embroidery thread.
One potential drawback of heat-away stabilizers is their limited availability compared to other types. They may also be slightly more expensive. They are not suitable for all fabrics or threads. Some synthetic fabrics may melt or distort under the heat required to remove the stabilizer, and some embroidery threads may change color or lose their sheen. However, for the right project, heat-away stabilizers can provide unparalleled convenience and a flawless finish. When choosing heat-away stabilizer, consider the weight and density of your fabric and the complexity of your design. Heavier fabrics and more intricate designs may require a thicker, more supportive stabilizer.
In conclusion, heat-away stabilizers are a valuable addition to any embroiderer’s toolkit. Their clean removal process and suitability for delicate fabrics make them a worthy investment. By carefully testing and following the manufacturer’s instructions, you can achieve stunning results with heat-away stabilizers.
Fabric Type: The Foundation of Your Stabilizer Choice
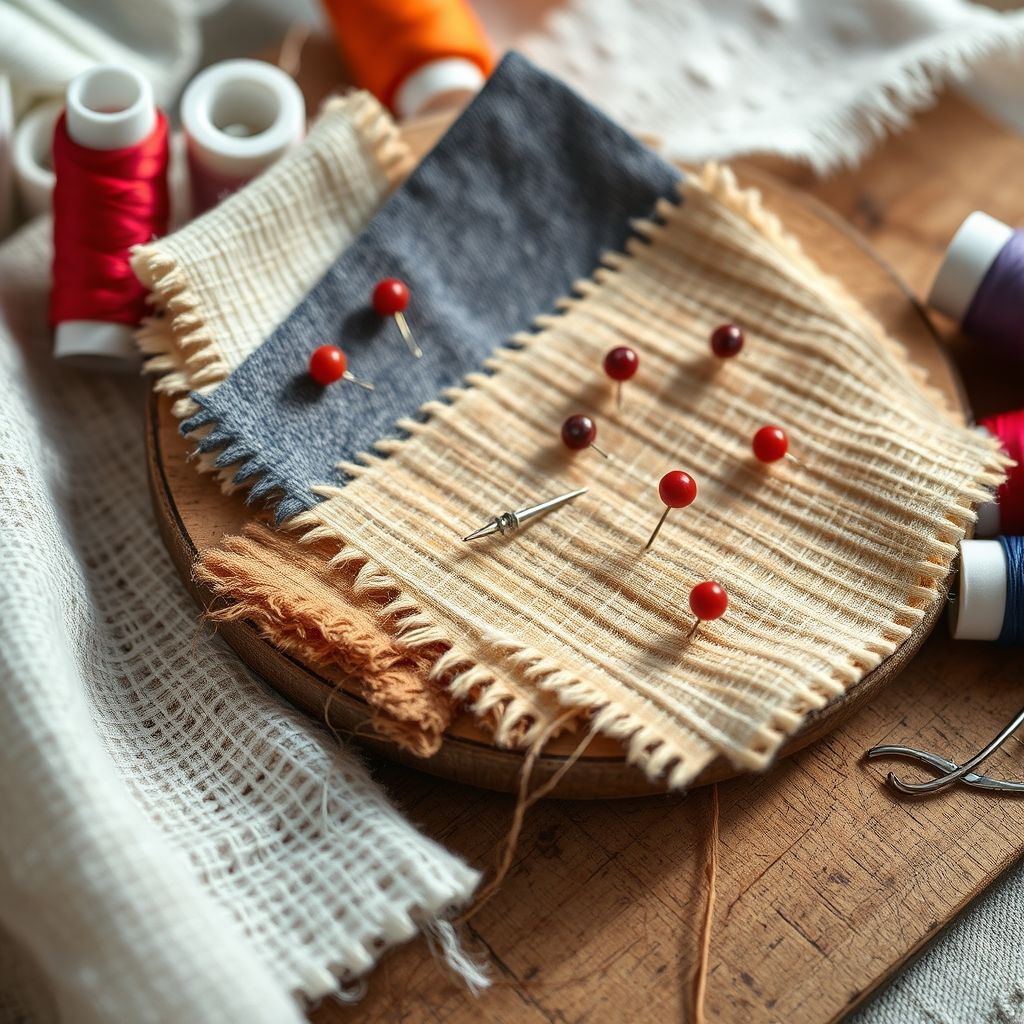
The type of fabric you’re embroidering on is arguably the most critical factor in choosing the right stabilizer. Different fabrics have different properties, such as weight, stretch, and weave, which will affect how they interact with the embroidery process. Selecting a stabilizer that is compatible with your fabric will ensure that your design is stable, prevents puckering and distortion, and results in a professional-looking finish.
For example, knit fabrics, such as t-shirt material and fleece, are highly prone to stretching. Therefore, they require a stabilizer that provides strong support and prevents the fabric from distorting during stitching. Cut-away stabilizers are generally the best choice for knit fabrics, as they offer permanent support and prevent the design from losing its shape over time. Conversely, stable woven fabrics, such as quilting cotton and linen, are less prone to stretching and can often be embroidered with tear-away or wash-away stabilizers. “Understanding your fabric’s properties is essential for choosing the right stabilizer,” states textile expert Maria Rodriguez. “A stabilizer that works well on one fabric may be completely unsuitable for another.” If you are planning a project that involves leather, then you must first understand what equipment and techniques are needed: Machine Embroidery on Leather: Choosing the Right Machine and Tips for Success.
Delicate fabrics, such as silk and chiffon, require a very gentle stabilizer that won’t damage the fabric. Wash-away stabilizers are often the best choice for these types of fabrics, as they dissolve completely in water and leave no residue behind. It’s also important to use a fine needle and a low stitch density when embroidering on delicate fabrics to minimize the risk of damage. When in doubt, always test your stabilizer on a scrap of fabric before using it on your final project. This will allow you to assess how the stabilizer interacts with the fabric and make any necessary adjustments before you begin embroidering.
In conclusion, carefully considering your fabric type is essential for choosing the right stabilizer. By understanding the properties of your fabric and selecting a stabilizer that is compatible with those properties, you can ensure that your embroidery project is a success.
Stitch Density and Design Complexity
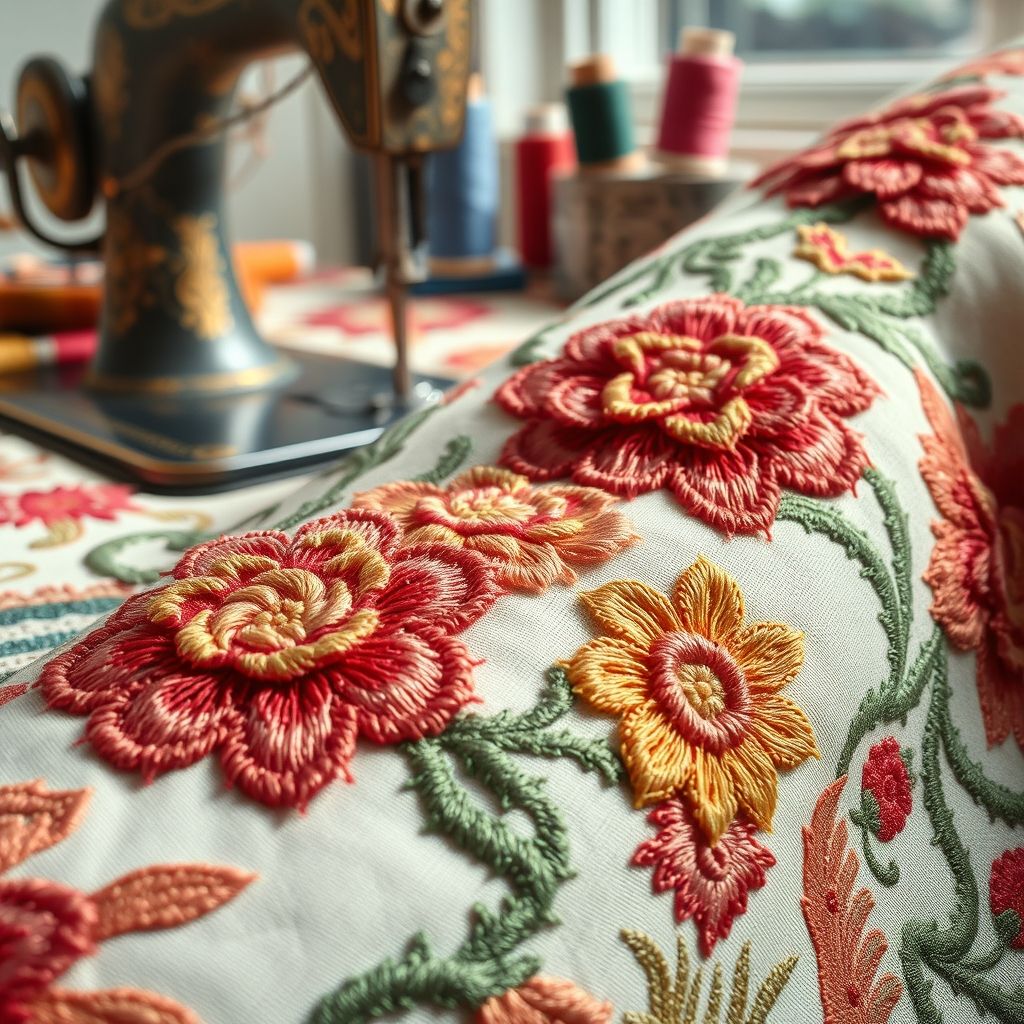
Beyond fabric type, the density of your embroidery design and its overall complexity also play a crucial role in determining the appropriate stabilizer. A design with high stitch density, meaning a large number of stitches packed closely together, will exert more force on the fabric. Therefore, it requires a stabilizer that can provide ample support to prevent puckering, distortion, and needle breaks. Similarly, complex designs with intricate details and multiple layers of stitching will benefit from a more robust stabilizer.
For designs with high stitch density, cut-away stabilizers are generally the best choice, as they offer the strongest level of support. The weight of the stabilizer should be chosen according to the stitch density. A very dense design might require multiple layers of cut-away stabilizer for optimal support. Tear-away stabilizers may be insufficient for high-density designs, as they can tear or distort under the pressure of the stitches. “Consider the stitch density and complexity of your design when choosing a stabilizer,” advises embroidery artist Kevin Williams. “A simple design on a stable fabric may only require a light stabilizer, while a complex, dense design will need a heavier, more supportive stabilizer.”
When working with complex designs, it’s also important to consider the direction of the stitches. If the stitches are primarily oriented in one direction, the fabric may be more prone to stretching or distortion in that direction. In such cases, it may be helpful to use a stabilizer that provides extra support in that direction. This can be achieved by layering multiple stabilizers, using a heavier weight stabilizer, or hooping the fabric in a way that provides additional stability. Ultimately, the best way to determine the appropriate stabilizer for your design is to test it on a scrap of fabric. Experiment with different stabilizers and stitching techniques until you find a combination that produces the desired results.
In summary, stitch density and design complexity are crucial factors to consider when choosing an embroidery stabilizer. By carefully assessing the requirements of your design and selecting a stabilizer that provides adequate support, you can ensure that your embroidery project is both beautiful and durable.
Achieving the Desired End Result
Ultimately, the best choice of stabilizer depends not only on the fabric and design but also on the desired end result. Consider how the finished item will be used and laundered, and whether you want any visible stabilizer to remain. For items that will be frequently washed, such as clothing and linens, a cut-away stabilizer is generally the best choice, as it provides permanent support and prevents the design from losing its shape over time. However, it’s essential to choose a soft, flexible cut-away stabilizer that won’t irritate the skin.
For items that will be displayed or used decoratively, such as wall hangings and quilts, the choice of stabilizer is less critical. Tear-away or wash-away stabilizers may be suitable, as long as they provide adequate support during the embroidery process. However, it’s important to ensure that any remaining stabilizer is completely removed to avoid any unsightly residue or stiffness. “Think about the end use of your embroidered item when choosing a stabilizer,” advises sewing instructor Lisa Thompson. “A stabilizer that works well for a decorative item may not be suitable for a garment that will be worn and washed frequently.”
When working with delicate or sheer fabrics, wash-away stabilizers are often the best choice, as they dissolve completely in water and leave no residue behind. This is particularly important for projects where you want a soft, flowing drape. For projects where you want to create a three-dimensional effect, such as puff embroidery, a specialty foam stabilizer is required. This type of stabilizer is designed to be stitched over and then trimmed away, leaving a raised, sculpted effect. In any case, remember that a little planning goes a long way. Take the time to research and experiment with different stabilizers to find the perfect one for your project. By carefully considering your desired end result, you can ensure that your embroidery is both beautiful and functional.
In conclusion, the desired end result is a crucial factor to consider when choosing an embroidery stabilizer. By thinking about how the finished item will be used and cared for, you can select a stabilizer that will provide the optimal level of support and ensure that your embroidery project is a success. Whether you’re a seasoned embroiderer or just starting out, understanding the different types of stabilizers and their applications is essential for achieving professional-looking results.
Conclusion: The Final Stitch in Stabilizer Selection
Choosing the right embroidery stabilizer can feel like navigating a complex maze, but understanding the key principles will lead you to success. Remember, the ideal stabilizer is a carefully considered choice, not an afterthought. It’s about harmonizing fabric type, stitch density, design complexity, and your desired end result. By mastering this selection process, you can transform potential frustrations into flawless embroidery.
Key takeaways from our journey: Cut-away stabilizers offer lasting support, ideal for knits and dense designs; tear-away stabilizers provide convenience for stable fabrics and simpler patterns; wash-away stabilizers excel with delicate materials, leaving no trace; and heat-away stabilizers offer a clean removal method for sensitive fabrics. Consider the project’s longevity, washing instructions, and the fabric’s natural behavior. A test stitch on a fabric scrap is your best friend, helping you predict the stabilizer’s performance and adjust accordingly.
Embroidery is more than just stitching; it’s a blend of art and science. By understanding the role of stabilizers, you’re not just preventing puckering; you’re ensuring your creative vision is translated perfectly onto fabric. So, embrace the variety, experiment with different types, and let your knowledge of stabilizers elevate your embroidery to new heights. Remember, every stitch tells a story, and the right stabilizer helps you tell it beautifully. The world of embroidery offers endless possibilities; embrace the journey and create something extraordinary.
