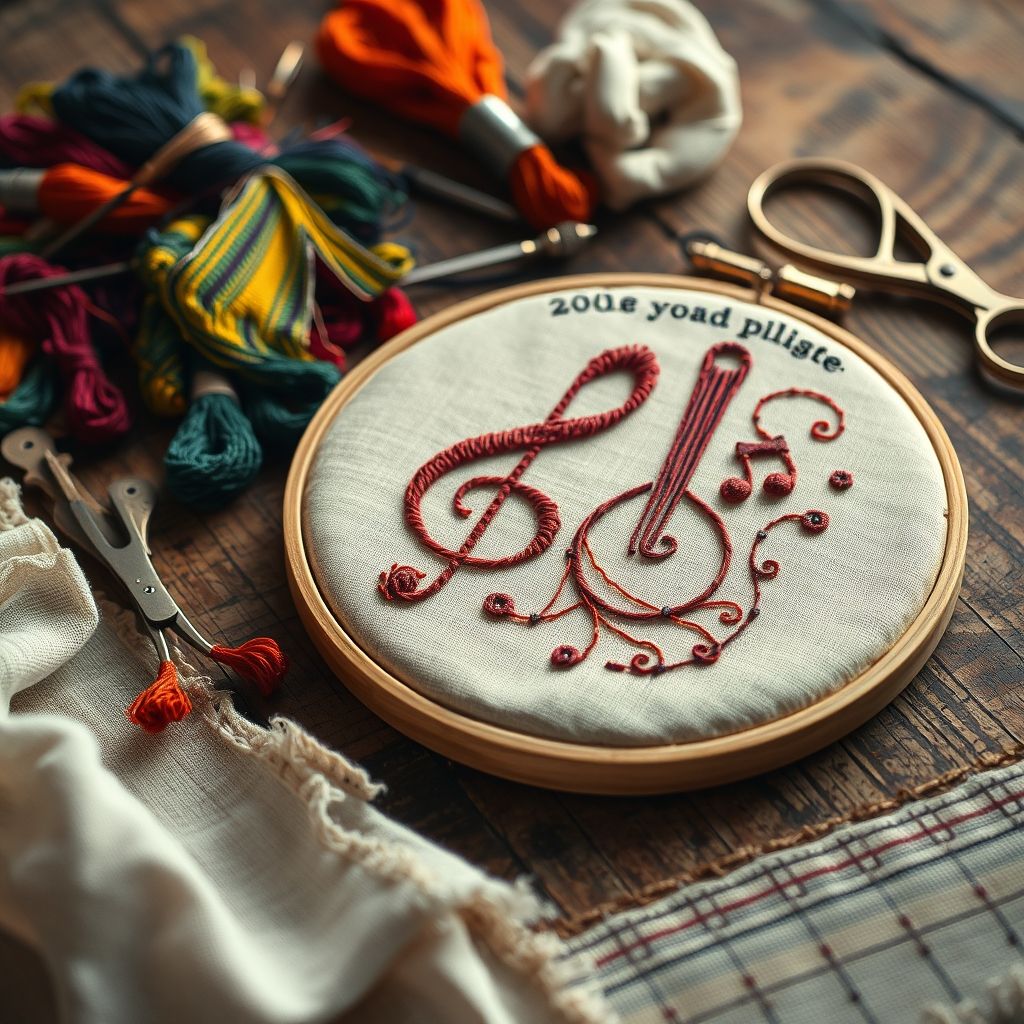
Can You Embroider a Saxophone? (Sort Of!)
Music moves us. It’s a universal language that evokes emotions, memories, and connections. For music lovers, instruments aren’t just tools; they’re extensions of their soul. But what if you could take that passion one step further, intertwining the visual art of embroidery with the auditory joy of music? Embroidering musical instruments, or rather, incorporating musical instrument motifs into embroidery, opens a world of creative possibilities. From delicate embellishments on clothing to intricate wall hangings, the fusion of these two art forms creates unique and personalized expressions.
This isn’t about stitching *directly* onto a priceless Stradivarius (please don’t!). Instead, we’ll explore creative ways to capture the essence of your favorite instruments and musical themes through the art of embroidery. We’ll delve into selecting appropriate fabrics, mastering essential embroidery stitches, finding inspiring patterns, and discovering innovative projects that celebrate the harmonious blend of music and needlecraft. Get ready to transform your love for music into stunning embroidered creations.
Choosing the Right Fabric for Your Musical Masterpiece
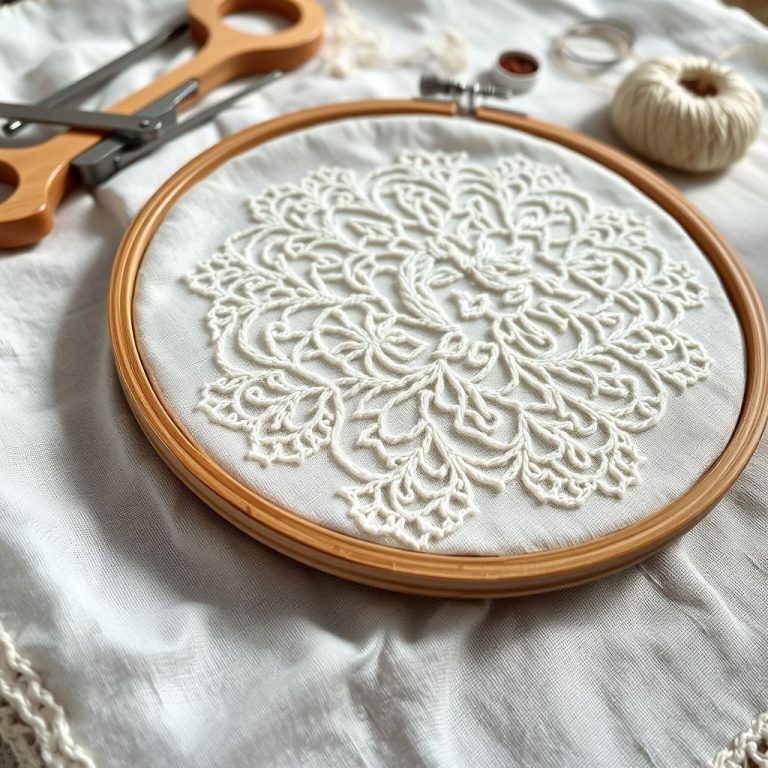
The foundation of any embroidery project is the fabric. Selecting the right material is crucial, especially when translating the intricacies of musical instruments into stitch art. Consider the weight, texture, and color of the fabric in relation to your design. A tightly woven linen or cotton fabric is generally a good starting point for beginners. These fabrics provide a stable base for your stitches and prevent the design from distorting. For more delicate designs, consider using silk or muslin, but be prepared for a more challenging stitching experience.
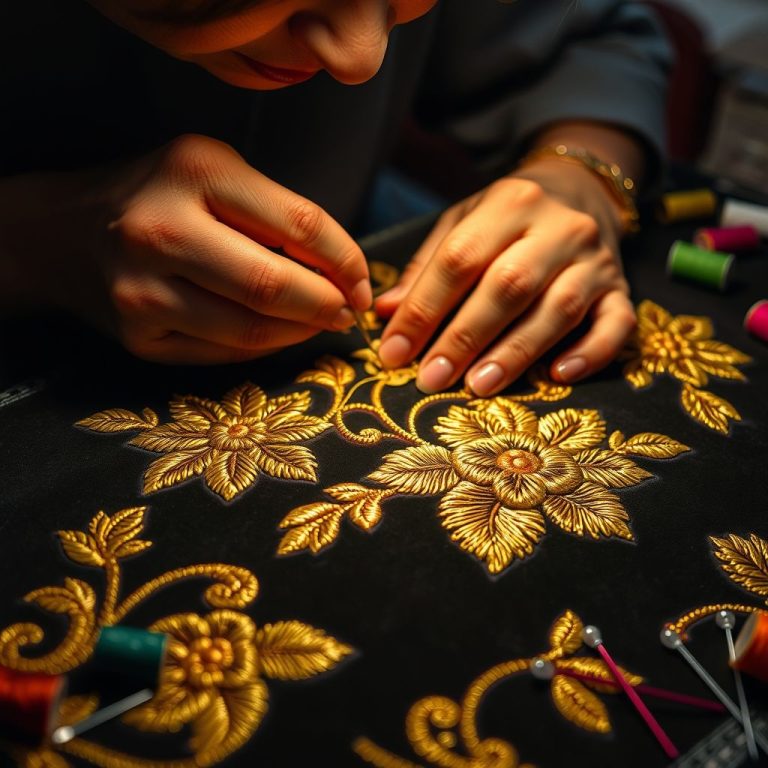
Furthermore, the color of your fabric plays a significant role in highlighting the details of your musical instrument motif. A dark fabric can make light-colored threads pop, creating a dramatic contrast. Conversely, a light fabric allows for subtle shading and intricate details to shine. Think about the overall aesthetic you’re aiming for. Do you want a bold and vibrant piece, or a more understated and elegant design? The fabric choice is key. According to “The Embroiderer’s Handbook,” “The choice of fabric is just as important as the choice of thread. It will influence the texture, drape, and overall look of your finished piece.”
Consider the intended use of your embroidered piece. Will it be a wall hanging, a decorative cushion, or an embellishment on clothing? A heavier fabric like canvas or denim is more suitable for items that will withstand wear and tear, while a lighter fabric like voile is perfect for delicate embellishments. Don’t be afraid to experiment with different fabric types to find the perfect match for your vision. To bring your vision to life, you’ll need a variety of threads::
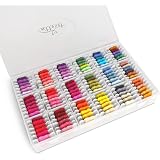
The Original 108-Color Embroidery Floss Kit – 99 Cotton & 9 Metallic Threads with DMC Color Coding – Perfect for Cross Stitch, Friendship Bracelets, String Crafts, and Embroidery Thread Organizer Box
$25.97 (as of June 11, 2025 10:12 GMT -04:00 - More infoProduct prices and availability are accurate as of the date/time indicated and are subject to change. Any price and availability information displayed on [relevant Amazon Site(s), as applicable] at the time of purchase will apply to the purchase of this product.)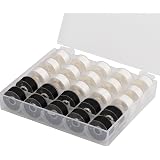
Simthread 25pcs 15White+10Black Prewound Bobbin Thread Size A Class 15 (SA156) 60WT with Clear Storage Plastic Case Box 70D/2 for Brother Embroidery Thread Sewing Thread Machine DIY
$9.99 (as of June 11, 2025 10:12 GMT -04:00 - More infoProduct prices and availability are accurate as of the date/time indicated and are subject to change. Any price and availability information displayed on [relevant Amazon Site(s), as applicable] at the time of purchase will apply to the purchase of this product.)
Gutermann Thread Set: Sew-All: 100m: Pack of 20, Assorted
$28.54 (as of June 11, 2025 10:12 GMT -04:00 - More infoProduct prices and availability are accurate as of the date/time indicated and are subject to change. Any price and availability information displayed on [relevant Amazon Site(s), as applicable] at the time of purchase will apply to the purchase of this product.)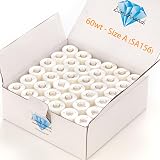
Simthread 144pcs Embroidery Pre-Wound Bobbins Thread, Class 15 Type A Size SA156, Polyester White 60 wt, Bernina Pfaff Ambition BabyLock Brother Embroidery and Sewing Machines Plastic Side
$24.99 (as of June 11, 2025 05:31 GMT -04:00 - More infoProduct prices and availability are accurate as of the date/time indicated and are subject to change. Any price and availability information displayed on [relevant Amazon Site(s), as applicable] at the time of purchase will apply to the purchase of this product.)
Connecting Threads White 100% Cotton Thread for Sewing, Quilting, and Crafting - 50-Weight - 1200 Yard Large Spool (White)
$8.99 (as of June 11, 2025 07:58 GMT -04:00 - More infoProduct prices and availability are accurate as of the date/time indicated and are subject to change. Any price and availability information displayed on [relevant Amazon Site(s), as applicable] at the time of purchase will apply to the purchase of this product.)Mastering Essential Embroidery Stitches for Musical Motifs
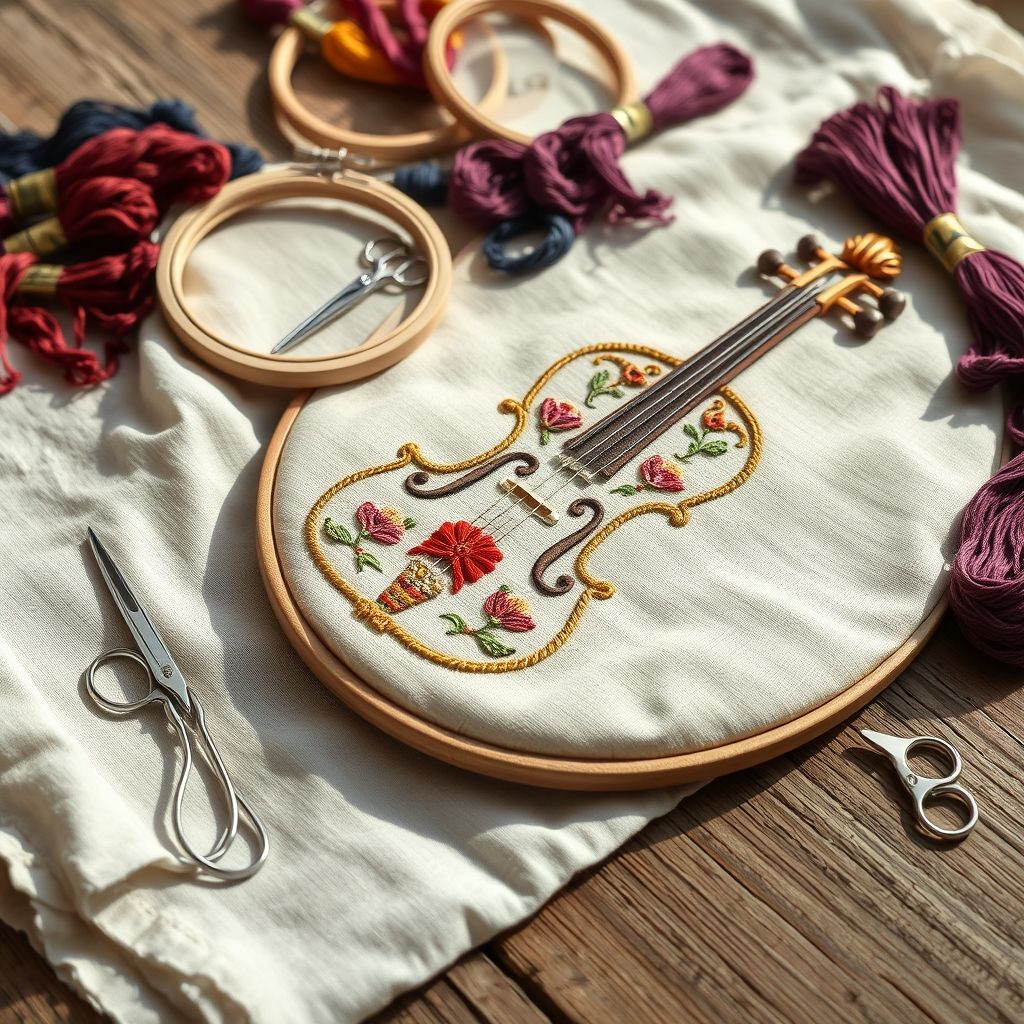
Once you’ve selected your fabric, it’s time to explore the world of embroidery stitches. Several stitches are particularly well-suited for capturing the unique shapes and textures of musical instruments. The satin stitch is perfect for filling in large areas, such as the body of a guitar or the keys of a piano. The back stitch is ideal for outlining details and creating crisp lines, essential for defining the contours of instruments. For adding texture, consider using the French knot to represent the sound holes of a violin or the rivets on a drum.
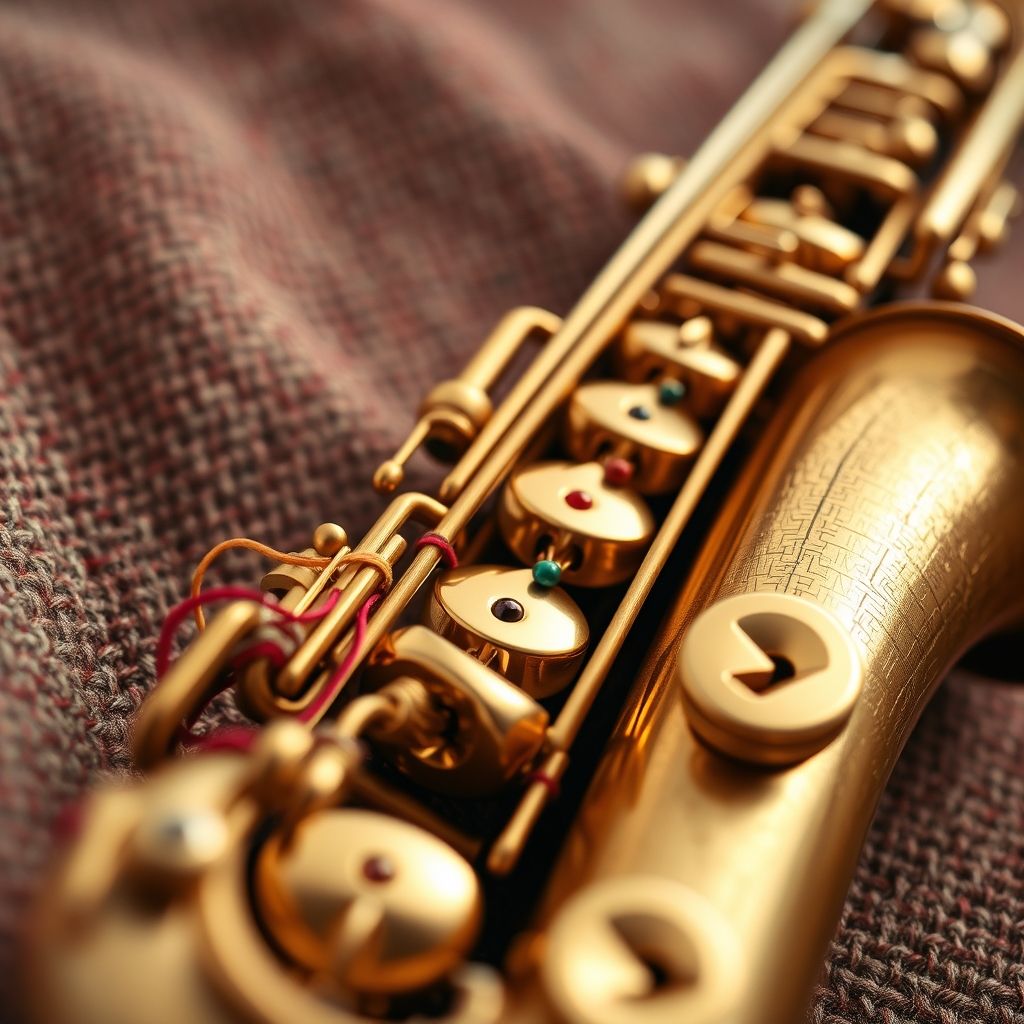
The split stitch is another valuable technique for creating realistic details. It mimics the look of chain stitch but offers a more refined appearance, making it ideal for outlining complex shapes like the curves of a saxophone or the frets on a guitar. The long and short stitch, also known as needle painting, allows you to blend different shades of thread, creating depth and dimension in your embroidered design. This is especially useful for capturing the subtle gradations of color on a wooden instrument.
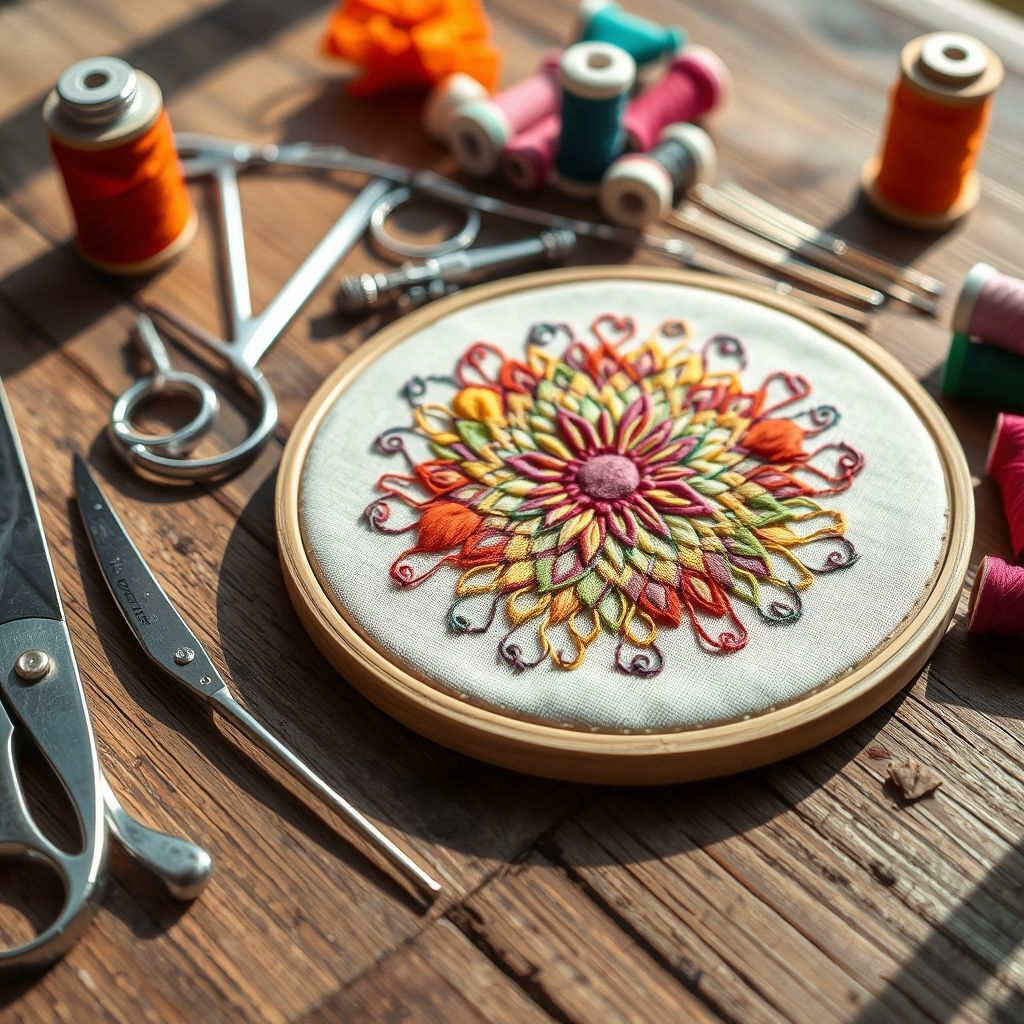
Don’t be afraid to experiment with different stitch combinations to achieve the desired effect. For example, you could use a combination of satin stitch and back stitch to create a raised effect on the body of a guitar, or use French knots and seed stitch to add texture to a drum cymbal. Practice your stitches on a scrap piece of fabric before embarking on your main project. As Mary Corbet of Needle ‘n Thread says, “Practice is the key to perfecting any embroidery technique. Don’t be afraid to experiment and try new things.”
Finding Inspiration: Musical Instrument Embroidery Patterns
Finding the right pattern is essential for bringing your musical embroidery vision to life. Fortunately, a wealth of resources are available, both online and in print. Websites like Etsy and DMC offer a wide variety of downloadable embroidery patterns featuring musical instruments of all kinds, from guitars and pianos to saxophones and drums. Search for patterns that match your skill level and aesthetic preferences. Consider the size and complexity of the design, as well as the number of colors and stitches involved. For those who like to make it their own, learning how to transfer embroidery patterns can open new design possibilities.
Libraries and bookstores are also valuable sources of inspiration. Look for embroidery books that feature musical themes or patterns suitable for adaptation. Many vintage embroidery books contain intricate designs that can be updated and personalized to reflect your own unique style. Consider the overall composition of the pattern. Does it capture the essence of the instrument you’re trying to portray? Does it convey the mood and emotion of the music you love? Don’t be afraid to adapt or modify existing patterns to suit your own needs and preferences.
Another great way to find inspiration is to look at real-life examples of musical instruments. Study the shapes, textures, and colors of your favorite instruments, and try to translate those elements into your embroidery design. Take photographs of instruments from different angles, and use those photos as a reference for your stitching. Remember, the goal is to capture the essence of the instrument, not to create a perfect replica. As Trish Burr, author of “Color Confidence for Embroidery,” notes, “Embroidery is about interpretation, not imitation. Let your creativity guide you.”
Innovative Project Ideas: Beyond the Hoop
While traditional embroidery hoops are a great way to display your finished artwork, there are countless other ways to showcase your musical embroidery creations. Consider embellishing clothing with embroidered musical instrument motifs. A small embroidered guitar on a denim jacket, a delicate piano on a silk scarf, or a vibrant saxophone on a tote bag can add a personal touch to your wardrobe.
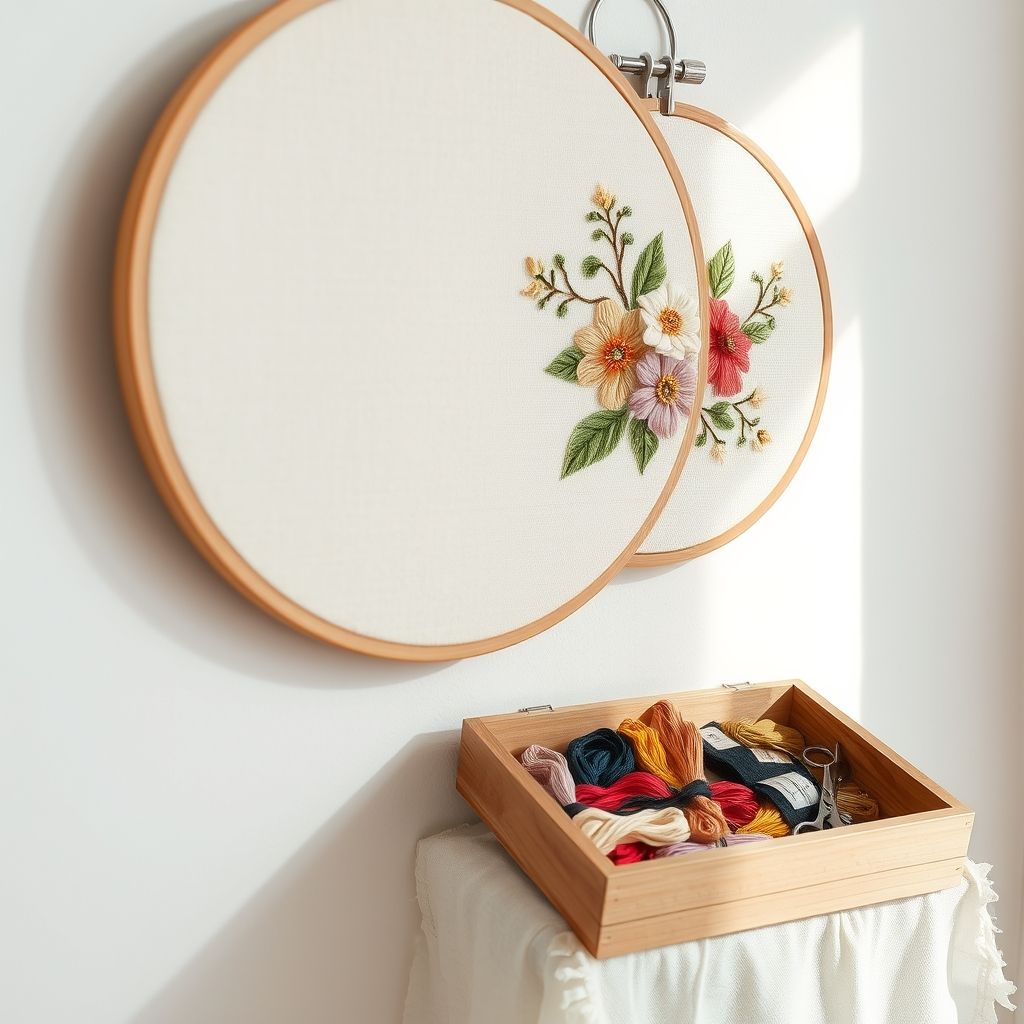
Another exciting project idea is to create embroidered wall hangings. Use your embroidery skills to create a stunning piece of art that celebrates your love for music. Consider framing your finished embroidery in a shadow box or using it as a panel in a quilt. You could also create a series of smaller embroidered pieces that can be arranged together to form a larger composition. Think about the overall theme and style of your home decor when designing your wall hanging. Do you want a bold and modern piece, or a more traditional and understated design? The possibilities are endless.
Beyond wall hangings and clothing, consider embellishing home decor items with embroidered musical instrument motifs. Embroidered cushion covers, table runners, or even lampshades can add a touch of musical flair to your living space. You could even create personalized gifts for the music lovers in your life. Embroidered instrument cases, personalized sheet music folders, or even embroidered guitar straps make unique and thoughtful presents. Ultimately, the key is to think outside the box and let your creativity guide you.
Adding Personal Touches: Monograms and Details
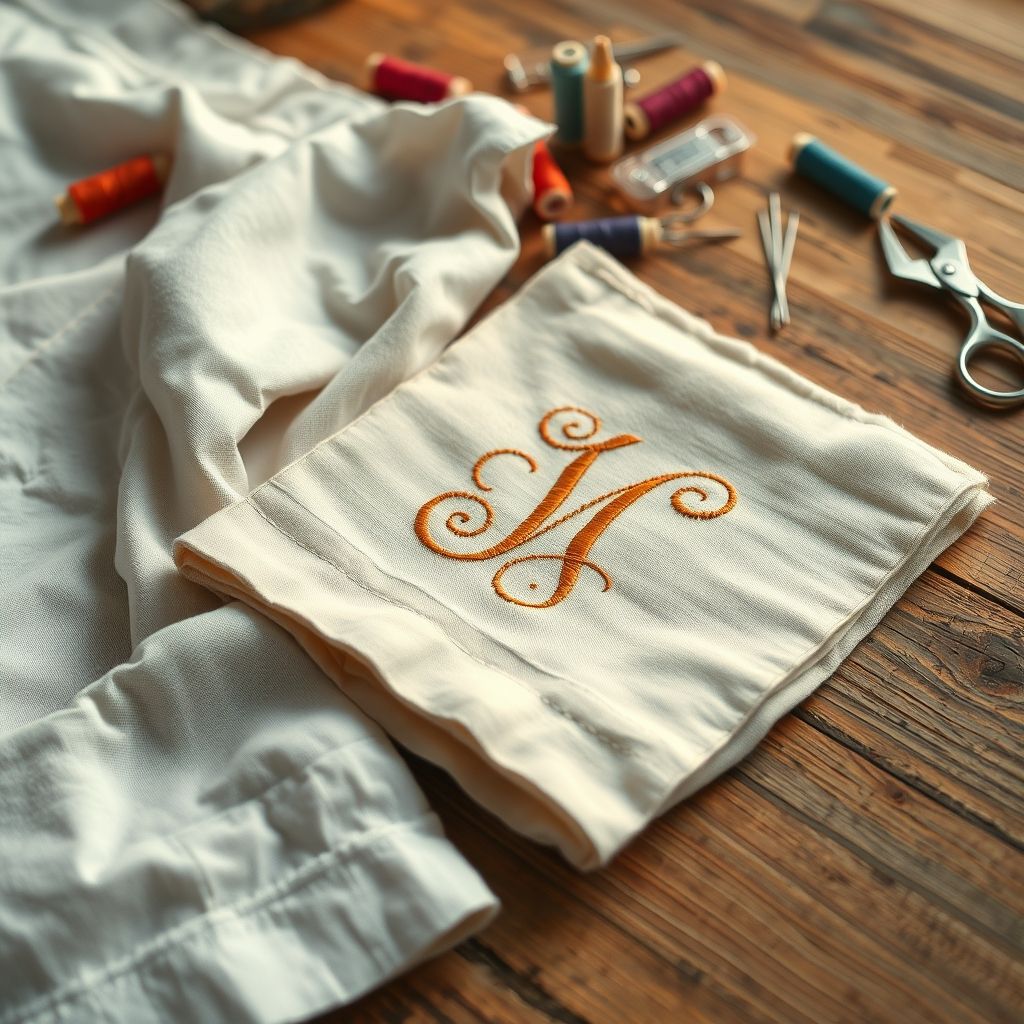
One of the best ways to make your musical embroidery truly unique is to add personal touches, such as monograms or meaningful details. Consider adding your initials, the name of your favorite song, or a significant date to your embroidered piece. This will not only personalize your creation but also add a deeper layer of meaning and connection. Experiment with different fonts and styles to find the perfect complement to your overall design. A delicate script font can add a touch of elegance, while a bold sans-serif font can create a more modern and contemporary look.
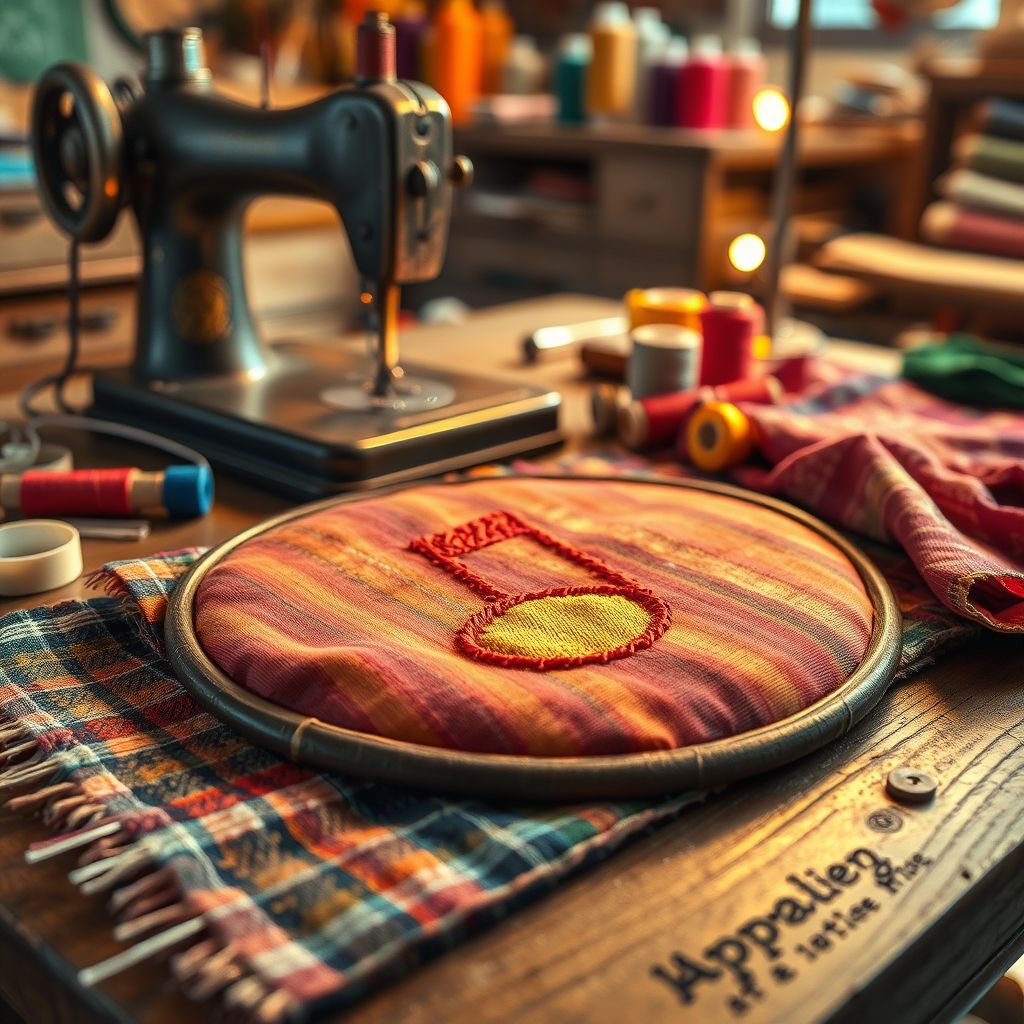
In addition to monograms, consider adding other personalized details that reflect your love for music. Embroidered musical notes, clefs, or time signatures can add a subtle yet meaningful touch to your design. You could also embroider the lyrics of your favorite song or a quote from a famous musician. Consider incorporating beads, sequins, or other embellishments to add sparkle and dimension to your embroidery. These small details can make a big difference in the overall look and feel of your finished piece. Think about what elements of music resonate most with you, and find ways to incorporate those elements into your embroidery design. As embroidery artist Anna Hrachovec says, “Embroidery is a language. Use it to tell your story.”
When adding personal touches, be mindful of the overall balance and composition of your design. Don’t overcrowd your embroidery with too many details, as this can make it look cluttered and overwhelming. Instead, focus on adding a few carefully chosen elements that enhance the overall aesthetic and convey your personal message. Remember, less is often more.
Care and Maintenance: Preserving Your Embroidered Art
Once you’ve poured your heart and soul into creating a beautiful embroidered piece, it’s important to take proper care of it to ensure that it lasts for years to come. Proper care and maintenance will help preserve the vibrancy of the colors, prevent the fabric from fading, and protect the stitches from damage. The first step is to gently hand wash your embroidered piece using a mild detergent. Avoid using harsh chemicals or bleach, as these can damage the fabric and threads. Rinse thoroughly with cool water and gently squeeze out any excess moisture. Do not wring or twist the fabric, as this can distort the embroidery.
To dry your embroidered piece, lay it flat on a clean towel away from direct sunlight. Avoid using a clothes dryer, as the heat can damage the fabric and threads. Once your embroidery is completely dry, iron it on the reverse side using a low heat setting. Place a clean cloth between the embroidery and the iron to protect the stitches from direct heat. For delicate fabrics, consider using a pressing cloth made of muslin or silk. To display your embroidered piece, avoid hanging it in direct sunlight, as this can cause the colors to fade over time. Consider framing your embroidery behind glass to protect it from dust and dirt. Store your embroidered pieces in a cool, dry place away from moisture and pests.
For items that are frequently used, such as embroidered clothing or cushion covers, consider reinforcing the stitches to prevent them from unraveling. Use a matching thread to secure any loose ends or frayed edges. With proper care and maintenance, your embroidered musical instrument creations will continue to bring joy and inspiration for many years to come. Remember, investing a little time in caring for your embroidery will help ensure that it remains a treasured heirloom for generations to come.
Final Thoughts: Harmonizing Needle and Note
Embroidering musical instruments is more than just a craft; it’s a way to express your love for music through a visual medium. By carefully selecting fabrics, mastering essential stitches, and finding inspiring patterns, you can create unique and personalized pieces of art that celebrate the harmonious blend of needle and note. The key takeaways are to experiment, personalize, and embrace the creative process. Don’t be afraid to try new techniques, adapt existing patterns, and add your own personal touches to your embroidery.
From embellishing clothing to creating stunning wall hangings, the possibilities are endless. Whether you’re a seasoned embroiderer or a complete beginner, this craft offers a rewarding and fulfilling way to connect with your passion for music. So, pick up your needle and thread, choose your favorite instrument, and let the music guide your hand. Embrace the therapeutic and meditative qualities of embroidery, and allow yourself to get lost in the rhythm of the stitches.
Ultimately, the beauty of embroidering musical instruments lies in its ability to transform a simple piece of fabric into a heartfelt expression of your love for music. It’s a way to create tangible reminders of the songs that move you, the instruments that inspire you, and the melodies that make your heart sing. So, go ahead, give it a try, and discover the magic of harmonizing needle and note. You might just surprise yourself with the beautiful music you can create with a needle and thread.
Richword White Embroidery Thread 4000M(4374Y) 40WT Polyester Thread 100 Colors Selected for Commercial Multi Needles and Single Needle Embroidery Machine 0401
$7.19 (as of June 11, 2025 05:31 GMT -04:00 - More infoProduct prices and availability are accurate as of the date/time indicated and are subject to change. Any price and availability information displayed on [relevant Amazon Site(s), as applicable] at the time of purchase will apply to the purchase of this product.)
Simthread Purple Embroidery Thread 8 Brother Colors 550Yards, 40wt 100% Polyester for Brother, Babylock, Janome, Singer, Pfaff, Husqvarna, Bernina Machine
$9.99 (as of June 11, 2025 05:31 GMT -04:00 - More infoProduct prices and availability are accurate as of the date/time indicated and are subject to change. Any price and availability information displayed on [relevant Amazon Site(s), as applicable] at the time of purchase will apply to the purchase of this product.)
New brothread - Single Huge Spool 5000M Each Polyester Embroidery Machine Thread 40WT for Commercial and Domestic Machines - White
$7.99 (as of June 11, 2025 07:58 GMT -04:00 - More infoProduct prices and availability are accurate as of the date/time indicated and are subject to change. Any price and availability information displayed on [relevant Amazon Site(s), as applicable] at the time of purchase will apply to the purchase of this product.)
Friendship Bracelet String 50 Skeins Fashionable Rainbow Color Embroidery Floss Cross Stitch Embroidery Thread Cotton Floss Bracelet Yarn, Craft Floss
$5.99 (as of June 11, 2025 07:58 GMT -04:00 - More infoProduct prices and availability are accurate as of the date/time indicated and are subject to change. Any price and availability information displayed on [relevant Amazon Site(s), as applicable] at the time of purchase will apply to the purchase of this product.)
Friendship Bracelet String 12 Skeins, Embroidery Floss Cross Stitch Embroidery Thread Floss Bracelet Making Yarn, Craft Floss (Green Series)
$3.99 (as of June 11, 2025 07:58 GMT -04:00 - More infoProduct prices and availability are accurate as of the date/time indicated and are subject to change. Any price and availability information displayed on [relevant Amazon Site(s), as applicable] at the time of purchase will apply to the purchase of this product.)
Brother SE2000 5" x 7" Combo Embroidery & Sewing Machine with Deluxe 130 Thread Spools & Accessories
$1,399.99 (as of June 11, 2025 10:04 GMT -04:00 - More infoProduct prices and availability are accurate as of the date/time indicated and are subject to change. Any price and availability information displayed on [relevant Amazon Site(s), as applicable] at the time of purchase will apply to the purchase of this product.)
Juki Industrial 4-Thread Overlock Sewing Machine, K.D Table & Servo Motor with REX LED Sewing Light DIY
$1,799.00 (as of June 11, 2025 10:04 GMT -04:00 - More infoProduct prices and availability are accurate as of the date/time indicated and are subject to change. Any price and availability information displayed on [relevant Amazon Site(s), as applicable] at the time of purchase will apply to the purchase of this product.)
GoTo Foam 1" Height x 24" Width x 72" Length 44ILD (Firm) Upholstery Cushion Made in USA
$19.99 (as of June 11, 2025 08:43 GMT -04:00 - More infoProduct prices and availability are accurate as of the date/time indicated and are subject to change. Any price and availability information displayed on [relevant Amazon Site(s), as applicable] at the time of purchase will apply to the purchase of this product.)
Coquimbo Sewing Kit Gifts for Mom Grandma Women Men Adults Kids Teen Beginner Traveler, Portable Sewing Supplies Accessories Contains Thread, Needles, Scissors, College Dorm Room Essentials (Black, M)
$5.98 (as of June 11, 2025 08:43 GMT -04:00 - More infoProduct prices and availability are accurate as of the date/time indicated and are subject to change. Any price and availability information displayed on [relevant Amazon Site(s), as applicable] at the time of purchase will apply to the purchase of this product.)