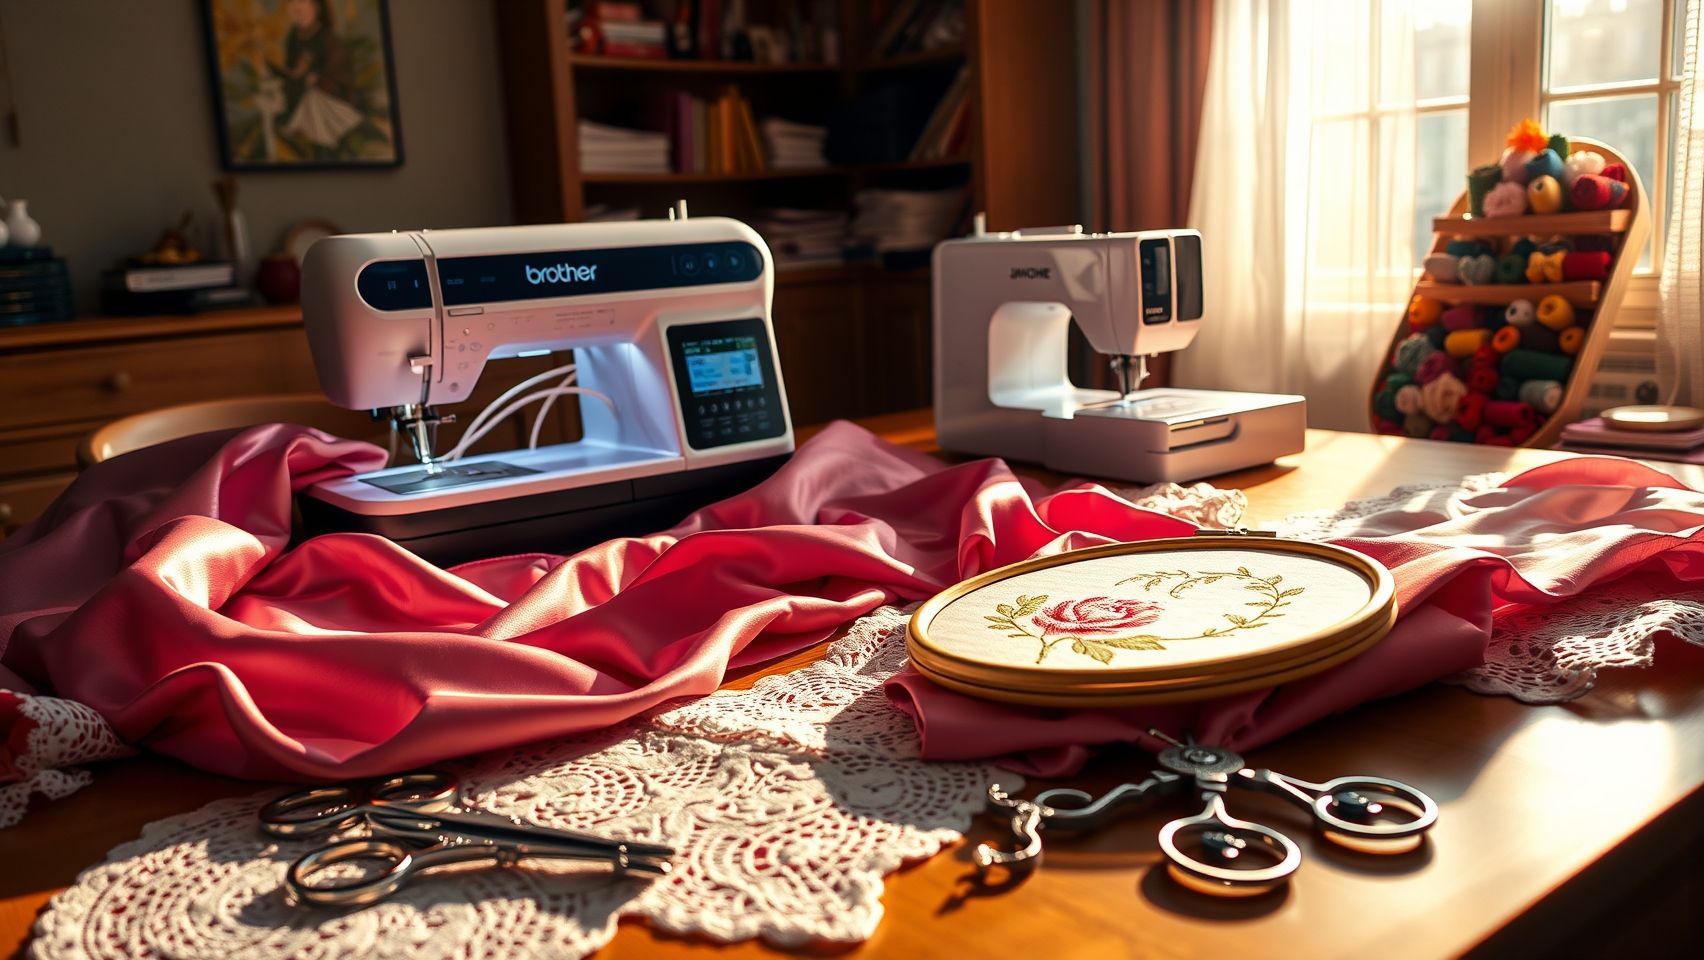
Brother SE1900 vs Janome MB4S: Which Embroidery Machine Performs Better?
Are you struggling to choose between the Brother SE1900 and Janome MB4S for your embroidery projects? With the embroidery market projected to reach over USD 7.88 billion by 2034, selecting the right machine has never been more crucial for both hobbyists and professionals. The right machine can significantly boost your efficiency, expand your design options, and deliver excellent value for your investment. But how do you know which model truly stands out?
This article aims to provide a practical and comprehensive comparison of these two popular embroidery machines, focusing on critical aspects such as embroidery area, speed, software compatibility, and overall cost-effectiveness. Whether you’re looking to enhance your creative capacity or streamline your production process, understanding the strengths and limitations of each will help you make an informed decision. Stay tuned as we delve into detailed features, user reviews, and industry insights, so you can confidently choose the machine that best fits your needs.
Key Findings from Machine Performance Tests
Choosing the right embroidery machine involves evaluating several performance factors that directly impact project efficiency and outcome. Here, we compare theBrother SE1900 and Janome MB4S based on their embroidery area, speed, features, and value, providing practical insights for potential buyers.
Embroidery Area and Capacity
The embroidery workspace is crucial for handling large or multiple designs efficiently. The Brother SE1900 offers a workspace of 10.25′ x 6′, which is ample for many quilting, monogramming, and decorative projects. In comparison, the Janome MB4S features a slightly larger embroidery area of 10.9′ x 7′, making it more suitable for large-scale projects that require extensive detail or multiple designs in one hooping. Both machines support multi-hooping, but Janome’s larger area simplifies the process for bigger projects, saving time and reducing effort.
Stitch Speed and Productivity
Speed is a decisive factor for users aiming to complete embroidery projects swiftly. The Brother SE1900 averages around 650 stitches per minute (spm), which enables decent productivity over extended sessions. Meanwhile, the Janome MB4S reaches up to 800 spm, allowing for faster completion of complex or multiple designs. Faster stitch speeds translate to increased efficiency, especially in professional or high-volume settings.
Built-in Designs and Connectivity
This comparison also highlights the number of built-in designs and connectivity options. The Brother SE1900 comes with 138 pre-installed designs, suitable for beginners and casual users. The Janome MB4S, however, offers 160 designs and supports seamless pattern importing via Wi-Fi, catering to more advanced and tech-savvy users. Wireless transfer capability significantly streamlines workflows, especially when working with custom digitizing software.
Pricing and Value
Price points reflect the target markets and feature sets. The Brother SE1900 is generally priced around $1,200, making it an excellent choice for hobbyists and semi-professionals seeking affordability and reliable performance. In contrast, the Janome MB4S, costing approximately $2,500, offers a broader design library, larger workspace, higher speed, and wireless features, providing greater value for professional or dedicated embroidery businesses.
Step-by-Step: Setting Up for Large Projects
Embroidery projects that exceed standard hoop sizes or involve intricate designs require careful preparation to ensure flawless results. Proper setup includes selecting the right hoop size, stabilizer, and design transfer method, along with precise hooping and testing techniques. Following a systematic approach can save time and prevent costly mistakes, especially when working on large or complex embroidery projects.
Selecting the Appropriate Hoop Size
For large designs, choose magnetic or multi-hoop systems compatible with your embroidery machine, such as the Janome MB4S, which supports quick setup with its advanced multi-hoop capabilities. Ensure the hoop comfortably encompasses the entire design area without fabric slack, maintaining tension across the fabric to prevent distortions during stitching.
Using these systems allows for seamless stitching across multiple sections and ensures design registration remains accurate. Always double-check that the hoop is securely attached and evenly aligned with your embroidery machine.
Stabilizer Selection for Large Projects
Stabilizers are crucial for maintaining fabric stability during embroidery. For large or dense designs, heavy-weight stabilizers or specialty options like cut-away or tear-away stabilizers are recommended. Tear-away stabilizers are easier for intricate designs, providing firm support and clean removal after stitching. Match stabilizer type to fabric—denser fabrics may require more sturdy stabilizers to manage tension and prevent puckering.
Design Transfer and Hooping Techniques
Modern machines like the Janome MB4S allow wireless design transfer via Wi-Fi, streamlining large project workflows. For Brother SE1900, connect your device via USB or SD card, following the specific instructions for smooth transfer. When hooping, center the stabilizer and fabric carefully, ensuring no slack or uneven tension. Use aligning marks if available and smooth out wrinkles for uniform stitching.
Running a small test embroidery before the final project helps verify registration, tension, and design accuracy. Adjust machine settings—stitch density and speed—based on thread and fabric type to reduce puckering and optimize quality.
Using Software and Design Tools Effectively
Leveraging the right design software and compatibility features is essential for an efficient embroidery workflow. Both the Janome MB4S and Brother SE1900 are equipped to enhance creativity and streamline pattern manipulation, but they do so with different platforms and features. Understanding how to utilize these tools effectively can drastically improve productivity and final stitch quality.
The Janome MB4S supports advanced software like Hatch Embroidery, which offers over 80 lessons and a range of features tailored for both beginners and experienced digitizers. Hatch provides extensive design editing capabilities, including layering, resizing, and combining motifs, all of which facilitate intricate pattern creation. Its built-in design libraries and auto-digitizing features help streamline the process, especially when digitizing heritage patterns or scanned motifs. Additionally, Hatch allows detailed color management, letting users adjust thread colors before exporting designs for automatic or manual color changes during stitching. The software also supports AI-powered pattern variation, enabling embroiderers to create multiple design versions efficiently.
Meanwhile, the Brother SE1900 integrates with viaAH software, offering a user-friendly interface suited for pattern customization. viaAH enables detailed editing, including text and design modifications, and supports importing designs via USB or Wi-Fi, ensuring seamless connectivity. Both machines accept a variety of design formats such as DST and PES, which helps prevent format mismatches. Testing new designs on scrap fabric is advised to troubleshoot potential issues with design alignment or thread tension, ensuring professional results.
Digitizing and Pattern Editing Techniques
Using software’s layering and editing tools, embroiderers can craft complex, multi-layered patterns with precision. For detailed patterns, cutting and grouping elements in software allows easier management during embroidery. Testing small sample runs of digitized designs prevents errors and ensures proper color blending and stitch density, saving time and thread. Digitizing heritage motifs scanned from historical sources can be amplified with AI tools that generate design variants, expanding creative possibilities. Adjusting thread colors in the software before exporting files ensures consistency and simplifies the stitching process, especially when multiple color changes are required.
Ensuring Compatibility and Troubleshooting
It’s vital to verify that design files are compatible with your embroidery machine’s format, whether DST, PES, or others. Testing designs on scrap fabric helps identify issues like mismatched alignment or color errors before executing the final embroidery. By mastering software layering, editing, and testing techniques, embroiderers can achieve professional-grade results more efficiently, making the most of their machine and design software capabilities.
Tools and Accessories to Maximize Your Embroidery Efficiency
Enhancing your embroidery machine’s performance involves more than just the machine itself; selecting the right tools and accessories can significantly streamline your workflow, reduce errors, and improve the quality of your projects. Whether you are a beginner or a seasoned professional, investing in essential accessories can save time and elevate your embroidery results.
One of the most innovative tools for handling large projects is the magnetic hoop, which is compatible with Janome MB4S. Magnetic hoops allow for quick, stress-free hooping and can dramatically reduce setup time. For threads, opt for high-quality polyester or rayon options, as these provide vibrant colors and smooth finishes while minimizing puckering and thread breakage. Upgrading to sharp, ballpoint, or metallic needles tailored to your fabric and thread type prevents snags and ensures clean stitches.
Stabilizers and Lighting
Choosing the right stabilizer is crucial; keep a variety on hand, such as tear-away, cut-away, and adhesive types, to suit different fabrics and design complexities. Adequate lighting is also essential—use LED embroidery lamps and magnifiers to improve visibility and precision, especially for intricate designs.
Design Storage and Workflow Optimization
Effective design management involves utilizing cloud-based pattern libraries or organizing designs on SD cards for quick access during creative sessions. These tools help maintain a smooth workflow, prevent design misplacement, and allow for seamless project transitions. Combining these accessories with your embroidery machine creates a comprehensive setup that maximizes efficiency and ensures professional-quality results.
Cost, Setup, and Project Planning Tips
Embroidery projects vary greatly in scope and complexity, making effective planning essential for both budget management and timely execution. Whether choosing the more affordable Brother SE1900 or the feature-rich Janome MB4S, understanding the costs involved and optimizing your workflow can significantly enhance your productivity and results.
Strategies like proper budgeting for accessories, establishing realistic timelines for large or multiple designs, and maintaining the machines regularly can help prevent delays and unexpected expenses. This section provides practical advice to help you allocate resources efficiently, set achievable project schedules, and keep your embroidery machines performing at their best.
Budget Planning
Start by assessing the total investment required for your embroidery setup. The Brother SE1900 typically costs around $1,200, while the Janome MB4S is approximately $2,500. Besides the initial purchase, consider expenses for essential accessories such as hoops, stabilizers, and threads. For instance, extra hoops can expand your capacity for multi-design projects, and stabilizers are vital to ensuring quality outcomes. Establish a clear budget that accounts for these ongoing costs to avoid surprises and ensure you have the necessary tools for your projects.
Design Project Timeline
Large embroidery designs can take 1-2 hours or more, especially if multiple hoopings are involved. Planning for setup, testing, and potential adjustments is crucial. Allocate time for each phase to prevent rushing and to catch errors early. For complex or multi-hooped projects, breaking the process into manageable segments can improve efficiency and reduce stress. Additionally, leveraging software features for batching multiple designs can significantly cut down overall production time.
Optimizing Machine Use and Maintenance
Regular cleaning and lubrication of your embroidery machine are essential to maintain performance and prevent costly repairs. Keep design files organized both digitally and physically to streamline the workflow. Use the machine’s multi-hooping capabilities and software batch processing to handle large or repetitive projects more efficiently. Consider investing in software upgrades and additional accessories like extra hoops or stabilizers to expand your project possibilities and improve turnaround times.
Making Your Final Choice: Practical Decision-Making Tips
Choosing between the Brother SE1900 and Janome MB4S depends on several practical factors aligned with your embroidery needs, budget, and workflow preferences. Both machines offer unique advantages, but matching their features to your project scope can help you make a confident decision.
Understanding key aspects like embroidery area, speed, design options, and transfer methods is essential. For instance, the Janome MB4S’s larger embroidery area and higher speed make it suitable for heavy workloads, while the Brother SE1900 provides great value for hobbyists or beginners with moderate project sizes.
Embroidery Area and Project Complexity
Large embroidery projects or those with intricate designs benefit from a bigger embroidery area, which is where the Janome MB4S excels. Its expansive workspace allows for more ambitious projects without frequent re-hooping. Conversely, smaller projects or casual use can comfortably fit within the Brother SE1900’s standard embroidery zone.
Speed and Efficiency
For projects with tight deadlines, machine speed is critical. The Janome MB4S operates at up to 800 stitches per minute (spm), making it a faster choice for extensive workloads. The Brother SE1900, while slower, is sufficient for moderate tasks and offers ease of use.
Budget and Workflow Preferences
Consider your initial investment alongside long-term efficiency. The Brother SE1900 tends to be more affordable, making it a solid choice for hobbyists. The Janome MB4S, while potentially costlier, offers faster embroidery speeds and larger workspace, saving time on larger projects.
Workflow connectivity also influences the decision. The Janome MB4S’s wireless transfer capability is advantageous for seamless design sharing, whereas the Brother SE1900 relies on USB or SD cards, which may be more convenient for users preferring direct file management.
Future Expansion and Software Compatibility
If you plan to grow your embroidery skills, check compatibility for accessories and software upgrades. The Janome MB4S often supports a wider range of optional accessories and software integrations, facilitating advanced techniques as skills develop. The Brother SE1900 provides a straightforward user experience suited for beginners and casual enthusiasts.
In summary, for heavy workloads, larger embroidery areas, and faster speeds, the Janome MB4S is the optimal choice. For budget-conscious users or hobbyists focusing on smaller projects, the Brother SE1900 offers excellent value. Matching machine features to your project scope and budget is key to making an informed, confident decision.
Conclusion
Choosing between the Brother SE1900 and Janome MB4S depends on your specific embroidery projects, workflow preferences, and budget constraints. Both machines excel in different areas—while the Brother SE1900 offers ease of use and versatile features suitable for small to medium projects, the Janome MB4S stands out for its commercial-grade four-needle setup, perfect for larger or multi-color designs.
Ultimately, successful embroidery hinges on practical setup, correct stabilization, and effective pattern management—skills that apply regardless of your choice. By evaluating your project size, speed requirements, and software workflow, you can make an informed decision that best supports your creative goals.
Start with small test projects to refine your setup, experiment with different fabrics and patterns, and discover the machine’s full potential. Remember, the right machine combined with proper technique can significantly enhance your productivity and satisfaction.
Now is the perfect time to invest in your craft—evaluate your needs, choose wisely, and bring your embroidery visions to life with confidence! Let your creativity run free and enjoy the journey of mastering your new machine.
QCZKB 188 Embroidery Floss Set Including Cross Stitch Threads Friendship Bracelet String with 2-Tier Transparent Box, Floss Bobbins and Cross Stitch Kits
$12.99 (as of July 6, 2025 13:06 GMT -04:00 - More infoProduct prices and availability are accurate as of the date/time indicated and are subject to change. Any price and availability information displayed on [relevant Amazon Site(s), as applicable] at the time of purchase will apply to the purchase of this product.)
New brothread 40 Brother Colors Polyester Embroidery Machine Thread Kit 500M (550Y) each Spool for Brother Babylock Janome Singer Pfaff Husqvarna Bernina Embroidery and Sewing Machines
$26.99 (as of July 6, 2025 07:59 GMT -04:00 - More infoProduct prices and availability are accurate as of the date/time indicated and are subject to change. Any price and availability information displayed on [relevant Amazon Site(s), as applicable] at the time of purchase will apply to the purchase of this product.)
UV Resistant - Heavy Duty Outdoor Thread for Hand or Machine Sewing - Simthread 100% Polyester Bonded Thread Tex 69 (12wt) - 250 Yards x 2 Spools NP-Black
$7.99 (as of July 6, 2025 07:59 GMT -04:00 - More infoProduct prices and availability are accurate as of the date/time indicated and are subject to change. Any price and availability information displayed on [relevant Amazon Site(s), as applicable] at the time of purchase will apply to the purchase of this product.)
122 skeins Embroidery Floss - Embroidery Thread - Friendship Bracelet String for Cross Stitch, Hand Embroidery, String Art
$9.99 (as of July 6, 2025 13:06 GMT -04:00 - More infoProduct prices and availability are accurate as of the date/time indicated and are subject to change. Any price and availability information displayed on [relevant Amazon Site(s), as applicable] at the time of purchase will apply to the purchase of this product.)
Topus Extra Strong Upholstery Repair Sewing Thread Kit and Heavy Duty Household Hand Needles, Including 7 Styles of Leather Canvas Sewing Needles and 3 Rolls Nylon Thread (70 Yard Per Roll), 3 Colors
$9.99 (as of July 6, 2025 07:59 GMT -04:00 - More infoProduct prices and availability are accurate as of the date/time indicated and are subject to change. Any price and availability information displayed on [relevant Amazon Site(s), as applicable] at the time of purchase will apply to the purchase of this product.)
Juki Heavy Material Industrial Straight Stitch Sewing Machine, Table & Servo Motor Assembly Required.
$879.00 (as of July 6, 2025 13:06 GMT -04:00 - More infoProduct prices and availability are accurate as of the date/time indicated and are subject to change. Any price and availability information displayed on [relevant Amazon Site(s), as applicable] at the time of purchase will apply to the purchase of this product.)
Melsan 2x4 Inch Adhesive Square Hook and Loop Tape - 12 Sets - Sticky Back Fastener for Indoor or Outdoor Use - Instead of Holes and Screws, Black
$8.99 (as of July 5, 2025 11:04 GMT -04:00 - More infoProduct prices and availability are accurate as of the date/time indicated and are subject to change. Any price and availability information displayed on [relevant Amazon Site(s), as applicable] at the time of purchase will apply to the purchase of this product.)
HTVRONT Heat Transfer Vinyl White HTV Rolls - 12" x 20ft White Iron on Vinyl for All Cutting Machines, HTV Vinyl for Shirts - Easy to Cut & Weed for Heat Transfer Design
$17.99 (as of July 5, 2025 11:04 GMT -04:00 - More infoProduct prices and availability are accurate as of the date/time indicated and are subject to change. Any price and availability information displayed on [relevant Amazon Site(s), as applicable] at the time of purchase will apply to the purchase of this product.)
Brother SE700 Sewing and Embroidery Machine, Wireless LAN Connected, 135 Built-in Designs, 103 Built-in Stitches, Computerized, 4" x 4" Hoop Area, 3.7" Touchscreen Display, 8 Included Feet, White
$480.26 (as of July 6, 2025 13:06 GMT -04:00 - More infoProduct prices and availability are accurate as of the date/time indicated and are subject to change. Any price and availability information displayed on [relevant Amazon Site(s), as applicable] at the time of purchase will apply to the purchase of this product.)