Embroidery Stitch Guide: Master Techniques for Beautiful Designs
Imagine creating intricate embroidery designs that elevate your craft and impress friends and clients alike. Whether you’re a beginner or an experienced crafter, mastering essential stitches can transform your projects. From embellishing clothing to crafting stunning hoop art and accessories, embroidery is an art that combines creativity with skill.
Did you know that the global embroidery market is projected to reach over $11 billion by 2033? This booming industry highlights the growing demand for quality and innovative designs. In this guide, you’ll learn step-by-step techniques for fundamental stitches, tips for choosing the right tools, and how to quickly improve your finish quality. Learning these stitches can significantly reduce project time and help you achieve professional-looking results with confidence.
Get ready to unlock new creative possibilities and bring your embroidery ideas to life—let’s dive into the world of stitches that will make your projects truly stand out:
What the Research Reveals About Embroidery Stitch Techniques
Recent research and industry surveys provide valuable insights into the most effective embroidery stitches, common challenges faced by enthusiasts, and innovative methods to enhance stitch quality. Understanding these findings can help both beginners and experienced embroiderers improve their craft and achieve professional finishes.
Top Stitches for Beginners and Their Impact
Studies show that beginners often favor stitches like satin, backstitch, running stitch, and chain stitch for their simplicity and versatility. Satin stitch creates smooth, solid areas ideal for lettering and embellishments, while backstitch is excellent for outlining and detailed work. Running stitch offers quick, even lines, making it perfect for borders. These stitches are not only practical but also durable, positively influencing the longevity and appearance of finished projects. Selection of the right stitch impacts both the structural integrity and aesthetic appeal of embroidery, with stitches like satin providing a sleek look and enhanced durability when sewn correctly.
Common Challenges and How to Overcome Them
Research indicates that tension inconsistency and thread management are among the most frequent beginner pitfalls. Improper tension leads to puckering or uneven stitches, which can be mitigated by controlling tension through embroidery hoops and adjusting machine settings. Thread choice also plays a vital role; high-quality threads reduce fraying and breakage, ensuring a clean, professional finish. Additionally, tension control using high-quality hoops has been reported by 75% of beginners to significantly improve results. Practicing tension consistency and managing threads properly are crucial for enhancing stitch neatness and durability.
Tools and Technology for Better Stitching
Optimal tools such as embroidery hoops, sharp needles, and quality threads are fundamental in achieving precise stitches. Modern embroidery software greatly assists in planning designs, troubleshooting issues, and increasing efficiency. Data shows that users leveraging digital tools experience a 30% increase in stitch speed without sacrificing quality, thanks to pre-designed templates and real-time editing features. Furthermore, advances in embroidery machine technology, including features like automatic tension adjustment and multi-stitch functions, make complex designs more accessible for beginners and professionals alike.
Efficiency Tips and Design Planning
Embroiderers looking to boost productivity can focus on speed techniques such as batch stitching, maintaining consistent stitch length, and optimizing machine settings. Recent industry trends favor software solutions that streamline design layout and simulate stitches beforehand, reducing trial-and-error. Efficient use of tools and tech not only increases work pace but also enhances stitch precision, fostering consistently high-quality results across projects.
Step-by-Step: How to Master the Basic Embroidery Stitches

Mastering foundational embroidery stitches is essential for creating beautiful and durable designs. Whether you’re a beginner or looking to refine your skills, understanding how to establish clean, even stitches will significantly improve your projects. This guide provides detailed, easy-to-follow instructions on setting up your workspace and executing key stitches such as the running stitch, satin stitch, and backstitch, along with tips for troubleshooting common issues.
Getting started with the right tools and techniques ensures a smooth embroidery experience. With consistent practice, you’ll develop a steady hand and an eye for detail, enabling you to produce intricate patterns or simple accents with confidence. Let’s dive into the essentials with step-by-step instructions and expert tips to help you achieve professional-looking results.
Setting Up Your Workspace
Before beginning any embroidery project, preparing your workspace is crucial. Use a dedicated, well-lit area with natural or bright artificial lighting to see fine details clearly. Good lighting reduces eye strain and helps you maintain even tension throughout your stitches.
Gather your tools: an embroidery hoop, sharp needles sized #7-9, high-quality embroidery floss or thread, and a piece of fabric suitable for stitching. Embroidery kits from brands like DMC often include pre-wound bobbins and color guides, which simplify color selections and minimize threading time. Ensure your fabric is taut within the hoop—about 50-60% tightness on the tension setting promotes even stitching and prevents puckering.
Running Stitch: Establishing a Foundation
The running stitch is one of the simplest and most versatile embroidery stitches, ideal for outlining shapes and creating dashed lines. Follow these steps for a smooth, consistent stitch:
- Thread your needle: Cut a length of floss about 18 inches long to prevent tangling. Thread it through the needle eye, tying a knot at the end.
- Start your stitch: Insert the needle from the back of the fabric to the front at your starting point. Pull the thread until the knot rests at the back.
- Maintain even spacing: Push the needle down through the fabric at your desired interval (about ¼ inch apart), pulling the thread taut but not tightly stretched.
- Control tension: Keep stitches loose enough to follow the fabric’s natural movement but tight enough to avoid gaps or loose loops. Consistent tension results in even, professional-looking lines.
- Finish the stitch: To end, secure the thread with a small knot at the back, hiding it between stitches, or weave the end through the fabric to lock it in place.
Tip: Practice on scrap fabric to perfect your spacing and tension. Tight tension results in firm lines, while loose tension can cause puckering or uneven lines.
Common troubleshooting includes fabric puckering or uneven spacing. Adjust your tension and practice threading and spacing until your stitches look consistent.
Satin Stitch: Achieving Smooth, Filled Areas
The satin stitch is perfect for filling in shapes with a smooth, shiny surface. Achieving even coverage requires patience and attention to detail. Here’s how:
- Outline your shape: Lightly draw the design on your fabric or use an embroidery transfer for guidance.
- Thread your needle: Use a fresh, clean thread, and tie a small knot at the end.
- Start stitching: Bring the needle
Essential Tools and Equipment for Perfect Embroidery
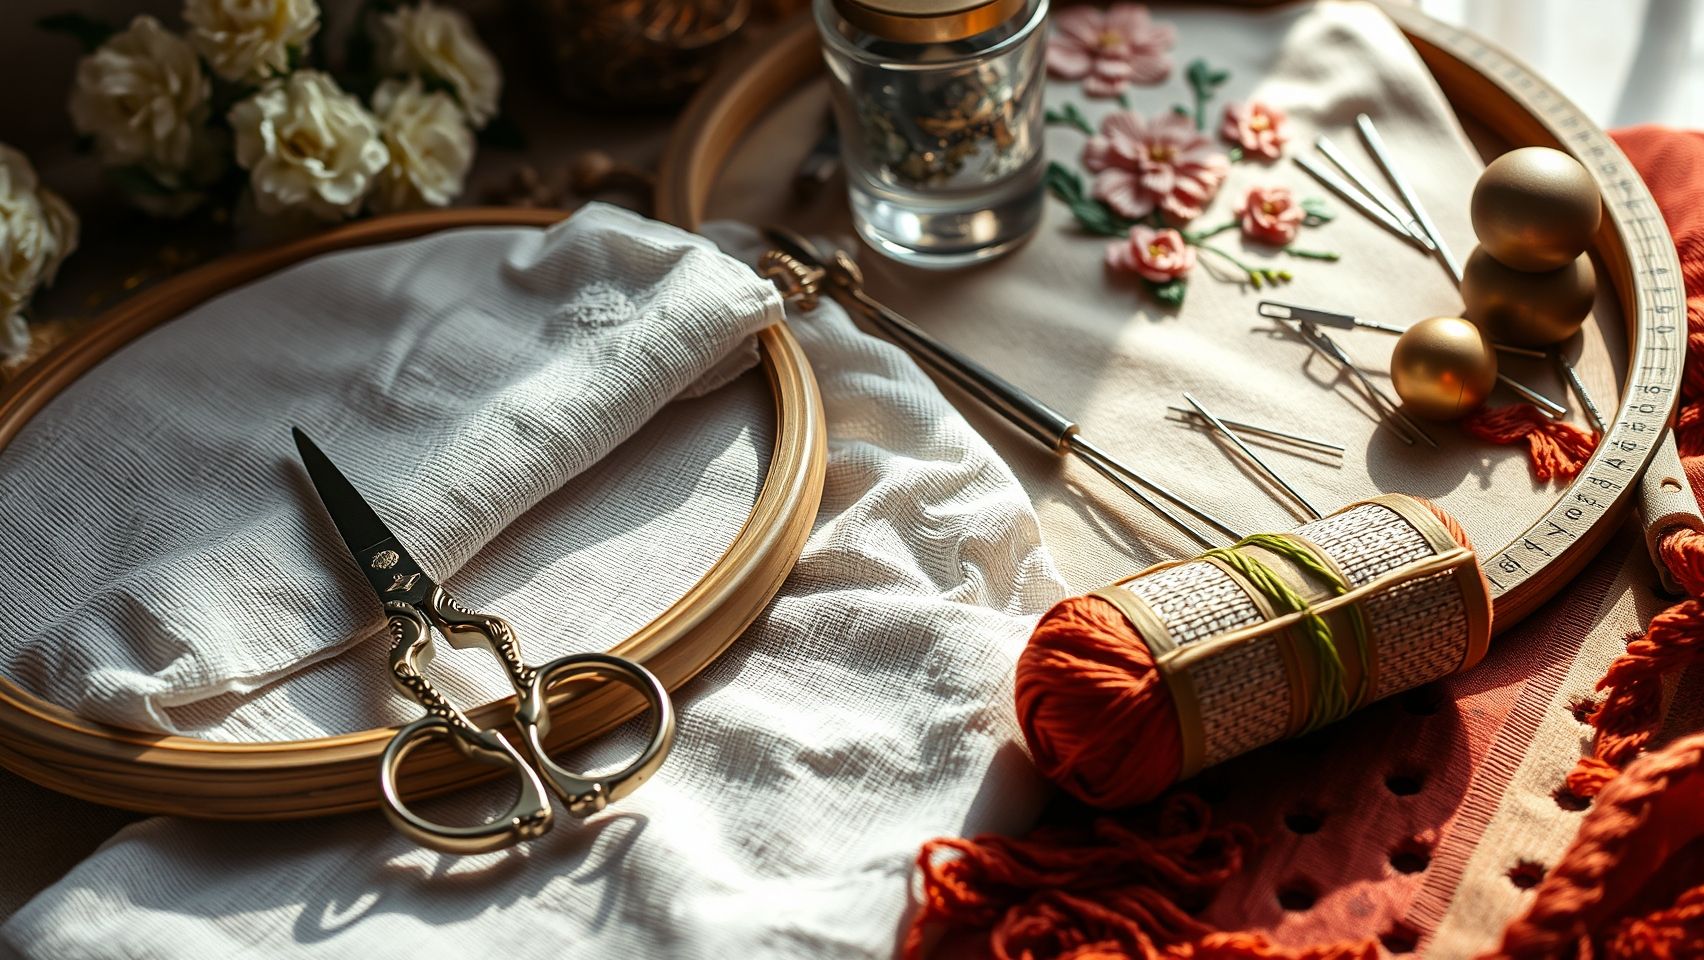
Creating stunning embroidered designs requires not only skill but also the right tools and equipment. Investing in quality machines, accessories, and supplies ensures professional results and enhances efficiency in your workflow. In this guide, we explore popular embroidery machines, compare essential accessories, discuss software options, and provide practical setup and troubleshooting tips to help you elevate your embroidery projects.
Popular Embroidery Machines: Features and Recommendations
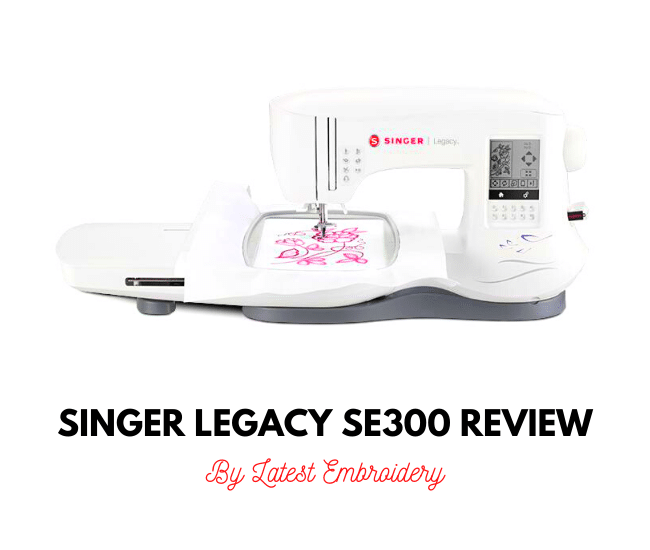
Choosing the right embroidery machine is foundational to achieving high-quality results. The Brother SE600, Janome Memory Craft 400E, and Bernina 770QE stand out due to their advanced features and user-friendly interfaces. The Brother SE600, retailing around $750, comes with over 80 built-in designs, an automatic needle threader, and a large color touchscreen, making it ideal for beginners and hobbyists. The Janome Memory Craft 400E offers a dedicated embroidery area with a maximum embroidery field of 7.9 inches, automatic thread tension, and a variety of built-in designs for professional-quality work. The Bernina 770QE, a more high-end option costing approximately $4,500, features exceptional stitch quality, automatic presser foot lift, and extensive design customization, catering to experienced users and serious professionals.
Recent updates in embroidery machines increasingly focus on automation, enhanced connectivity, and larger design libraries. For instance, some models now support Wi-Fi connectivity for direct design transfer, and firmware updates have improved stitch precision and reliability. These advancements help streamline setup, reduce manual adjustments, and enable more complex designs with ease.
Accessories and Supplies: Comparing Essentials
Quality accessories significantly impact the precision and durability of embroidery. Here’s a comparison of key items:
Embroidery hoops are available in plastic and wooden variants; wooden hoops often provide more stability, but plastic options are lightweight and budget-friendly. Needles #7 to #11 fit most machines and fabric types, with sharp or ballpoint options depending on the material. Stabilizers like Sulky Tear-Easy, costing approximately $15 for a pack of 10 sheets, are versatile for a broad range of projects, providing the necessary support without puckering. High-quality threads such as polyester and rayon are essential for vibrant and durable designs, with polyester offering superior strength and rayon prized for its sheen.
Embroidery Software: Choosing and Setting Up
Modern embroidery software significantly enhances your creative options. Hatch Embroidery and Wilcom Embroidery Studio are two leading platforms. Hatch offers three versions: Hatch Start at $59, Hatch Digitizer at $149, and Hatch Advanced at $199. Hatch Start provides basic design editing and lettering, suitable for hobbyists. Hatch Advanced unlocks more complex digitizing tools, ideal for professional work. Wilcom Embroidery Studio, starting at $22/month, offers comprehensive design creation, editing, and customization features, supporting both beginners and experts.
Setup-wise, install your software on a compatible
Step-by-Step: Transferring Patterns and Planning Your Embroidery
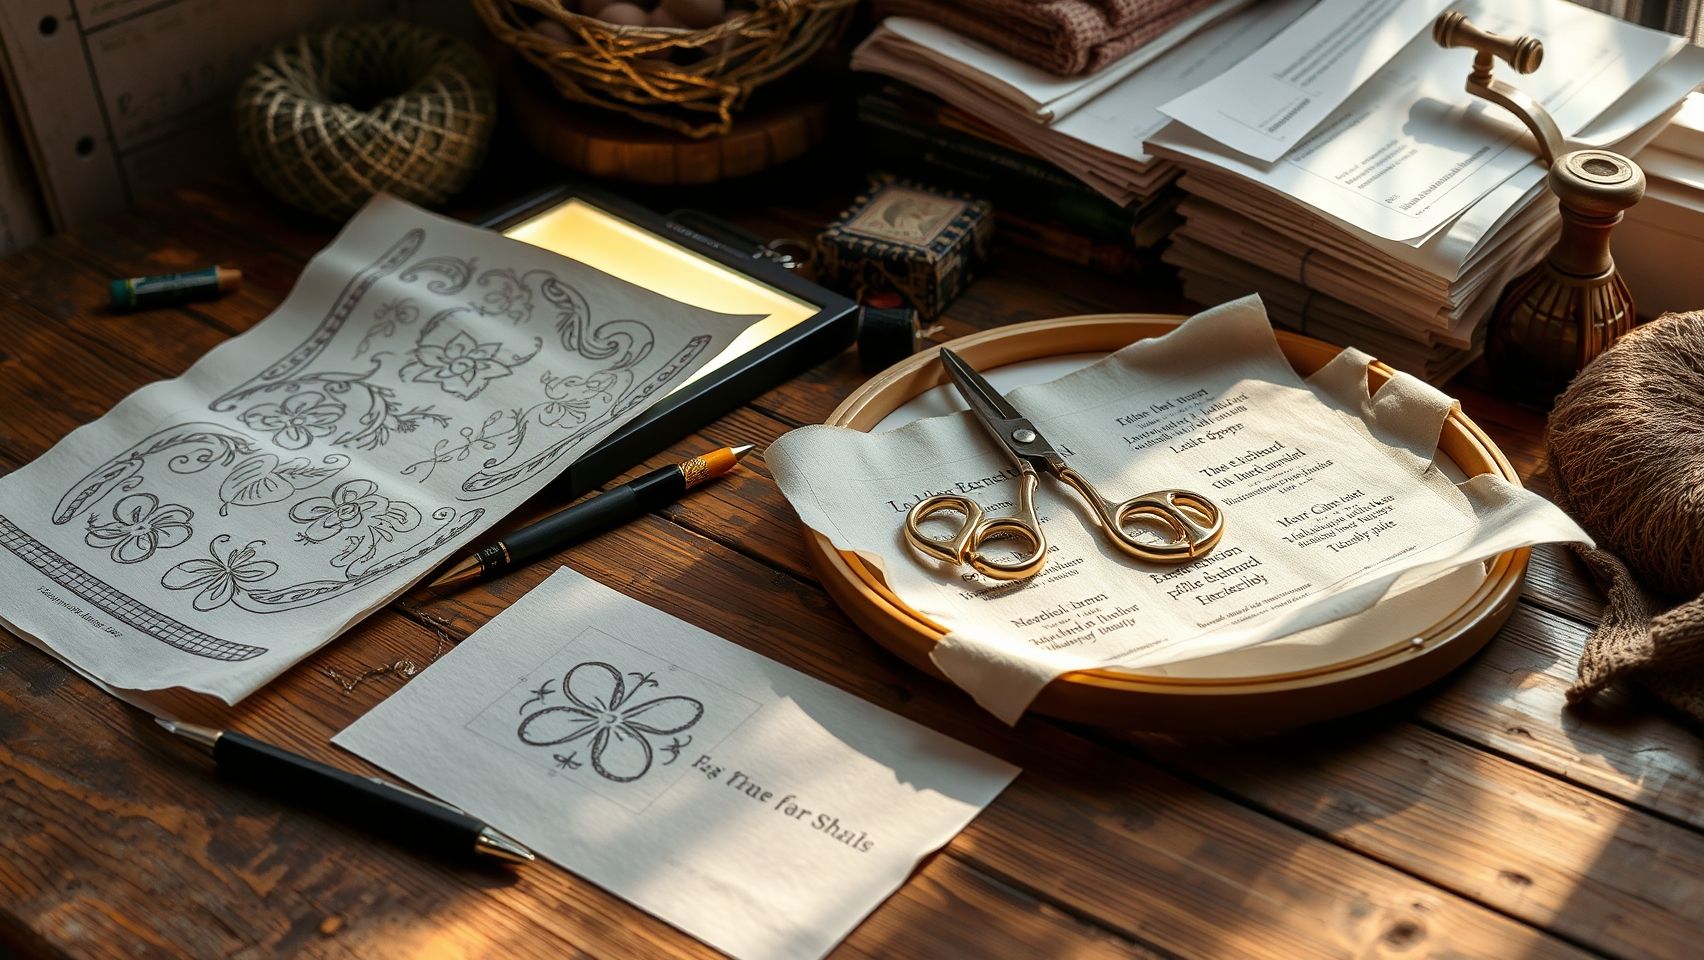
Transferring complex embroidery designs onto fabric can be a detailed process that requires precision and proper planning. A well-executed transfer not only preserves the integrity of your pattern but also simplifies the stitching process, leading to more professional results. Whether you’re working with intricate floral motifs or detailed geometric patterns, using the right transfer methods and preparation techniques is essential for success.
Careful planning ensures your project remains organized, with accurate scaling, symmetry, and color placement. These foundational steps set the stage for flawless embroidery, reducing errors and fabric puckering during stitching. In this guide, we’ll explore various transfer methods, software-assisted techniques, and best practices to help you execute complex designs with confidence.
Choosing the Right Transfer Method
Several transfer methods exist, each with advantages depending on your project’s complexity, fabric type, and personal preference. Common options include water-soluble pens, iron-on transfer sheets, and lightbox techniques.
- Water-soluble pens: Tools like the Clover White Marking Pen, costing approximately $6, are easy to use and reusable. They are ideal for temporary transfer on light-colored fabrics, allowing for easy removal after stitching.
- Iron-on transfer sheets: These require printing or drawing your design onto specialized sheets that can be ironed onto fabric. They are quick and suitable for larger motifs but may not be ideal for delicate or dark fabrics.
- Lightbox techniques: Using a lightbox or a window, you can trace patterns directly onto fabric. This method offers high precision and is excellent for complex or layered designs.
Recent advancements in embroidery tools have improved transfer techniques, allowing for sharper images and easier correction. For instance, some modern transfer pens now offer longer-lasting ink and better visibility, enhancing accuracy in design placement.
Creating Templates in Embroidery Software
Designing templates digitally offers remarkable accuracy, especially when working with intricate patterns. Software like Hatch, BirdFont, or similar programs allows you to scale patterns with a precision of 0.1 inches. This precision ensures your designs are neither too large nor too small, fitting perfectly onto your fabric.
To create a template, import your design into the embroidery software, adjust the size or scale to match your project specifications, and then print it onto transfer paper or trace it onto fabric. Many software options include alignment tools—such as grids or snap-to features—that help you position patterns symmetrically and evenly on your fabric.
For multi-color or multi-thread projects, planning colors beforehand is crucial. Marking color placements and thread choices on your template helps maintain consistency across your work, especially when working with complex shading or layered designs.
Preparing Your Fabric and Project
Proper preparation starts with stabilizing your fabric, which prevents puckering and ensures an even stitched design. Use appropriate stabilizers based on your fabric type and project complexity. Marking the fabric’s center points using chalk or water-soluble markers helps align your pattern accurately.
Planning additional aspects such as thread color placement and the order of stitches boosts efficiency. For example, grouping similar colors and planning stitch sequences streamline the process, saving time and minimizing errors.
Always test transfer methods and stitching techniques on scrap fabric first. This helps troubleshoot potential issues like uneven ink or fabric distortion before working on your final piece.
Best Practices for Consistency and Troubleshooting
Maintaining pattern accuracy and fabric tension are integral to successful embroidery. Consistent tension prevents fabric puckering and misalignment. Regularly check your fabric’s positioning and your transfer markings during stitching to ensure all elements stay aligned.
When encountering design misalignment or puckering, consider the following troubleshooting tips:
- Reinforce transfer markings if they start to fade or smudge during stitching.
- Adjust tension settings on your embroidery machine to account for different fabric textures.
- Use stabilizers or interfacing to support delicate fabrics prone to puckering.
By following these transfer and planning techniques, you can achieve precisely aligned, professional-looking embroidery even with complex designs. Careful preparation not only enhances the quality of your project but also increases your confidence as an embroiderer, making each new design a rewarding experience.
Using SVG Diagrams and Stitch Families for Better Design Planning
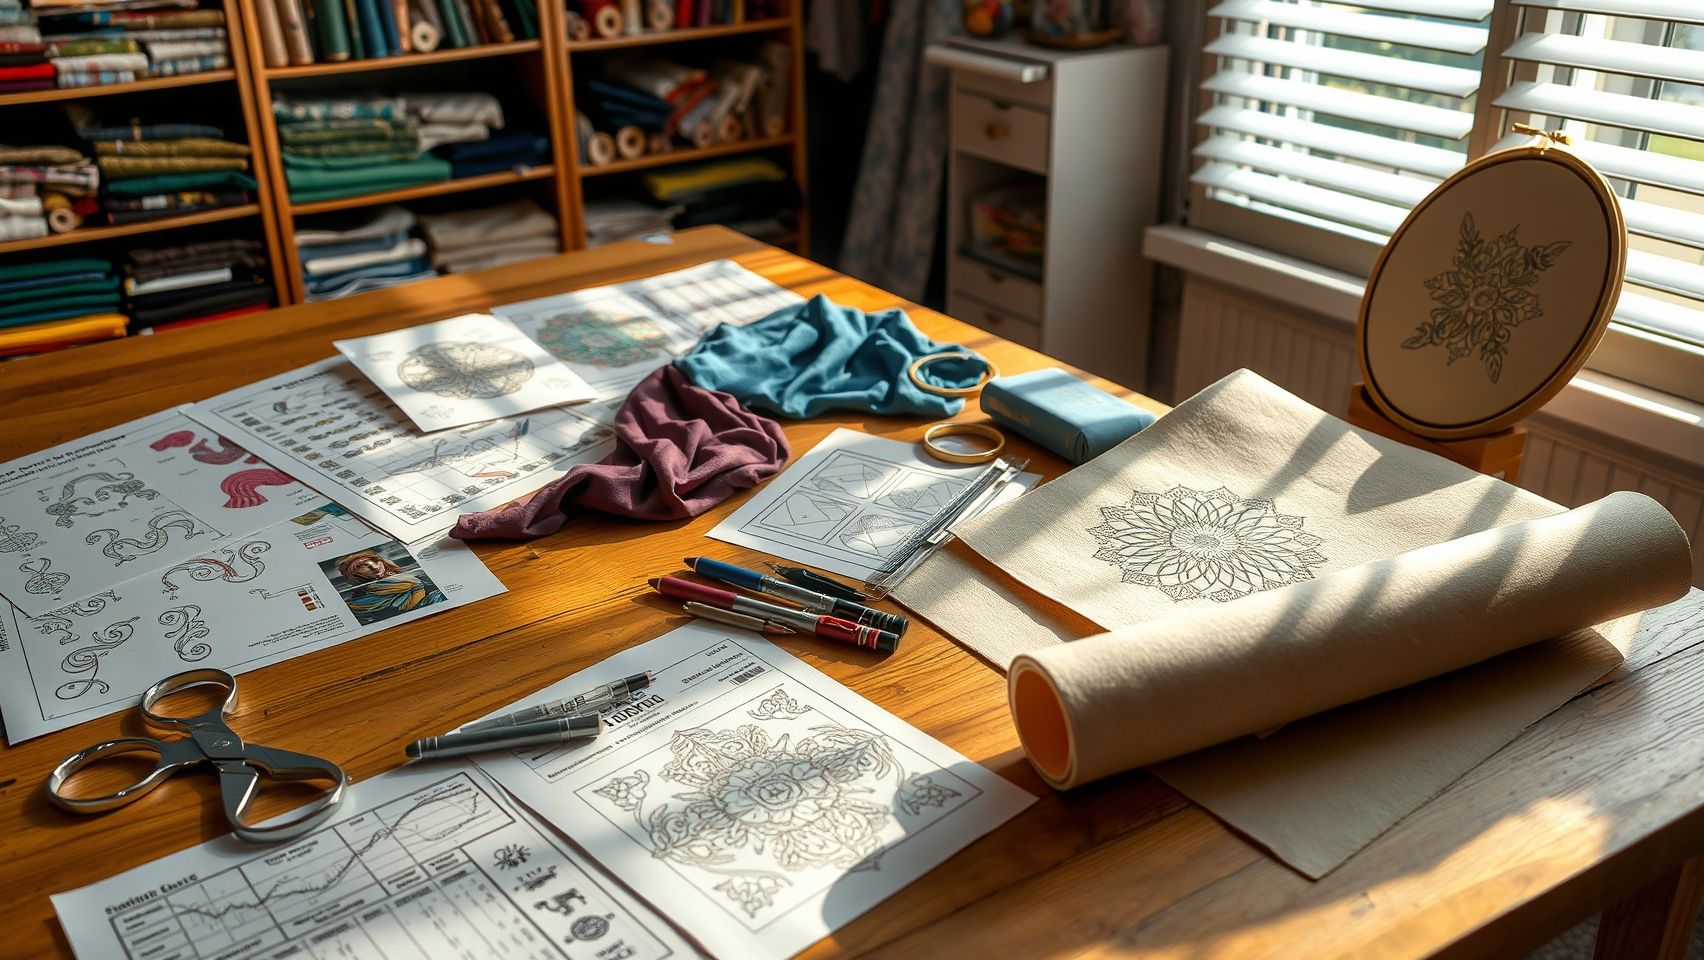
In the world of embroidery, understanding the various stitch types and how they interact with different fabrics is crucial for achieving professional results. Interactive SVG diagrams of stitch families have revolutionized how embroiderers plan their projects, offering a visual and hands-on approach to selecting and customizing stitches. These diagrams visually categorize stitches into families such as satin, fill, and outline, making it easier to grasp their unique properties and appropriate applications.
By integrating SVG stitch family diagrams into embroidery software, users can preview different stitch types and experiment with combinations before starting the actual sewing process. This approach significantly improves design accuracy, reduces trial-and-error, and ensures the final outcome aligns with the desired aesthetic and functional qualities. Moreover, customizing stitch properties within these platforms based on SVG insights allows for precise control over density, angle, and length, optimizing the embroidery for specific fabrics and projects.
Introduction to SVG Stitch Family Diagrams
SVG diagrams provide a scalable and interactive way to categorize embroidery stitches visually. They help embroiderers understand the structural differences between stitch families. For example, satin stitches are characterized by their long, smooth columns, typically with a stitch length of 2-3 mm to minimize puckering, while fill stitches vary in density from 0.8 to 1.2 stitches per mm depending on coverage needs. Outline stitches are generally fine, providing crisp edges for detailed work.
These visual representations enable users to quickly compare variations within a family, such as how changing the density of fill stitches affects fabric coverage and texture. Engagement with these diagrams fosters a deeper understanding, facilitating better decision-making during the design phase.
Integrating SVG Diagrams into Embroidery Software
Most modern embroidery software platforms, like Pulse Ambassador or Hatch, support the import and use of SVG diagrams for stitch previewing. The typical workflow involves importing the SVG diagram into the software and overlaying it onto the fabric layout. This allows users to see how each stitch type or combination will appear in actual embroidery, adjusting the properties directly within the software.
For example, selecting a satin stitch SVG preview can help assess whether a 2 mm length provides a smooth finish on delicate fabrics or if shorter lengths are necessary for dense textures. These real-time previews streamline the planning process and help in choosing the optimal stitch type for specific design elements and fabric types.
Choosing the Right Stitch Family for Projects
Selecting the appropriate stitch family depends heavily on the fabric and intended outcome of the project. Dense fill stitches are ideal for sturdy materials like denim or leather, providing durability and coverage. Conversely, lighter stitches, such as outline or thin satin stitches, are better suited for delicate fabrics like silk or voile to prevent puckering and maintain flexibility.
Practical examples include using fill stitches with a density of around 0.8 stitches per mm for quilting projects, while outline stitches with minimal density offer crisp edges for intricate lettering. Understanding these principles through SVG diagrams enhances the selection process, optimizing both aesthetic and functional performance.
Customizing Stitch Properties Based on SVG Insights
Embedding SVG diagrams into embroidery software enables precise customization of stitch properties. For instance, adjusting density allows for control over thread coverage, while modifying angle and length can influence the texture and appearance of the stitch. When working with satin stitches, a length of 2-3 mm typically yields the best smooth surface, whereas fill stitches may require variable densities to balance coverage and fabric distortion.
This customization helps prevent common issues such as fabric puckering or thread tension mismatch. For example, a dense fill stitch with excessive density may cause puckering on lightweight fabrics, but reducing the density based on SVG visual cues can mitigate this problem effectively.
Addressing Common Stitching Issues
Understanding the characteristics of different stitch families via SVG diagrams is instrumental in troubleshooting problems during embroidery. For instance, fabric puckering often results from overly dense fill stitches or inappropriate stitch angles. Adjusting these parameters within the software, guided by the visual cues from SVG diagrams, can significantly improve stitch quality.
Similarly, thread tension mismatches can be easier to diagnose by comparing expected stitch structures with actual machine performance. Embroiderers equipped with knowledge of stitch family traits are better prepared to make corrective adjustments, ensuring a professional and durable finish.
Glossary of Embroidery Terms and Tools
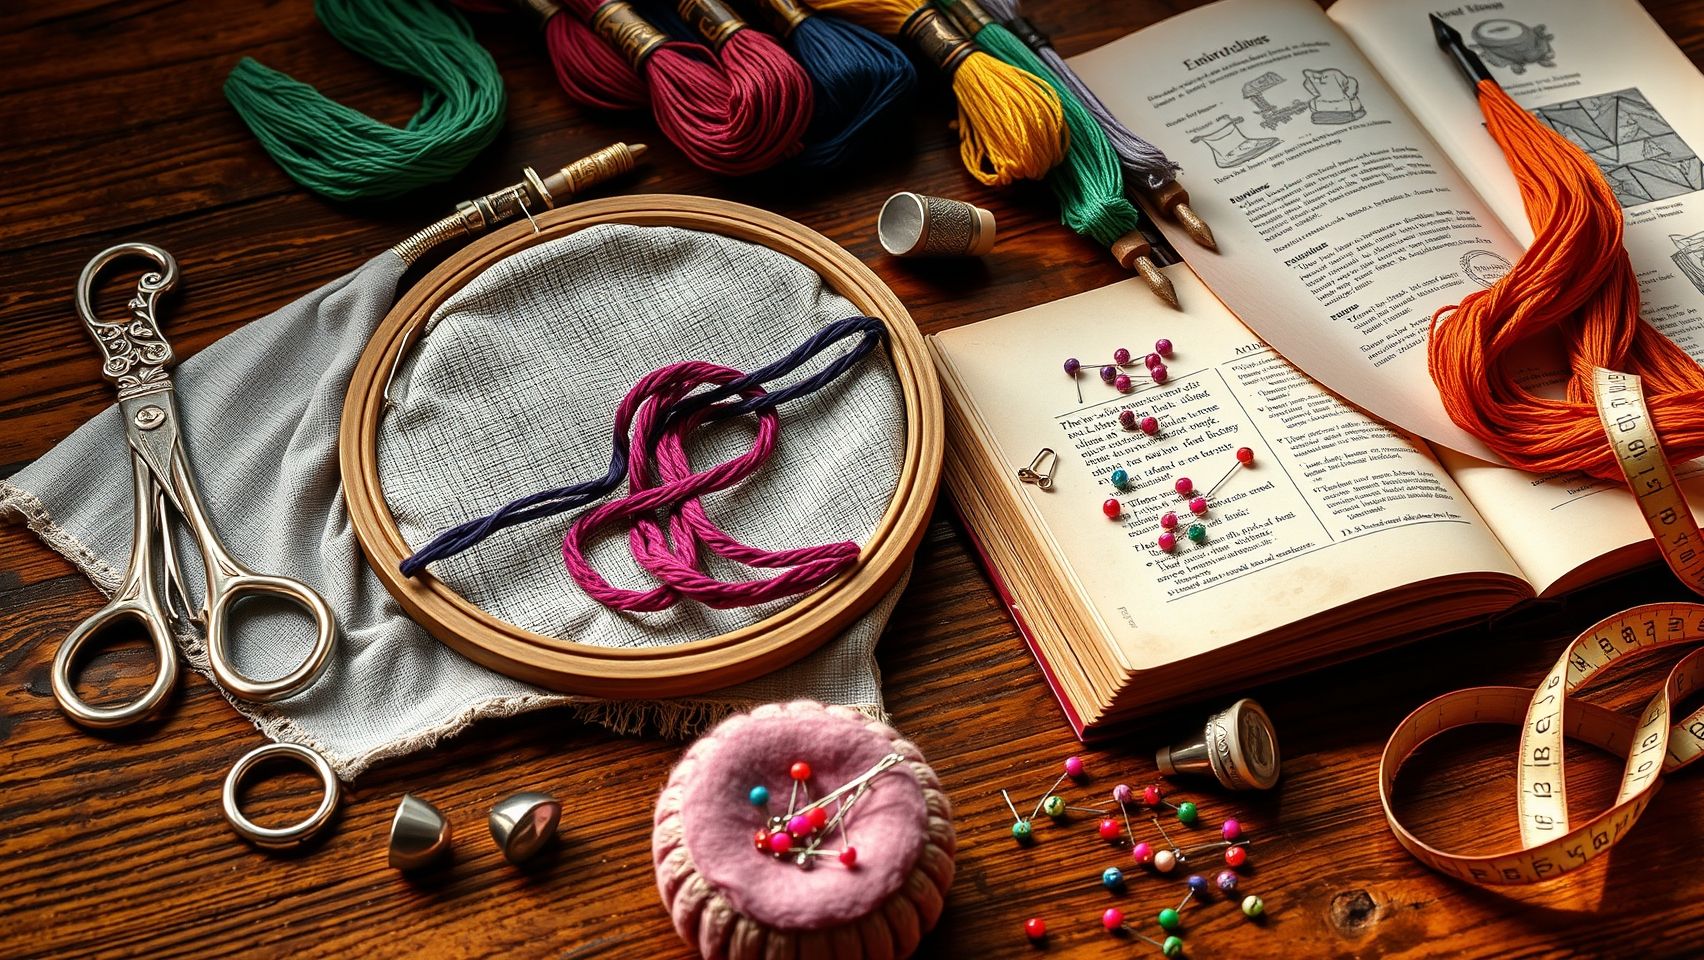
Understanding the fundamental terminology and tools used in embroidery can significantly enhance your crafting experience. Whether you are a beginner or an experienced designer, familiarizing yourself with key terms and equipment ensures that you can select the right techniques, troubleshoot issues, and produce professional-quality results. This glossary provides clear definitions and descriptions of essential stitch types, tools, and techniques commonly encountered in embroidery projects.
Definitions of Key Stitch Types and Techniques
Satin Stitch – a smooth, closely packed stitch used for lettering, borders, and detailed areas, resulting in a shiny, polished finish. It involves laying stitches side by side in a parallel fashion to fill shapes evenly. For a comprehensive guide, see our Satin Stitch Tutorial.
Fill Stitch – also known as tatami stitch, it creates a textured, filled area within a design. It is commonly used for shading and larger areas, achieved by laying rows of stitches in parallel or crosshatch patterns. Learn more about implementing fill stitches in our Fill Stitch Techniques.
Running Stitch – a basic, dashed line stitch used for outlining, transfer lines, or decorative effects. It involves passing the needle in and out of the fabric at regular intervals. For application tips, visit our Running Stitch Guide.
Transfer Technique – a method used to apply patterns onto fabric using
Conclusion
As we’ve explored throughout this embroidery stitch guide, mastering essential stitches, understanding the right tools, and learning effective pattern transfer techniques are key to creating stunning designs with confidence. These skills not only elevate your craftsmanship but also open the door to endless creative possibilities, from simple embellishments to complex, professional-looking projects.
Now is the perfect moment to start experimenting with these techniques. Transfer a basic design onto fabric, practice different stitches to see how they add texture and detail, and gradually challenge yourself with more intricate projects. Our detailed tutorials linked throughout this article will guide you step-by-step, helping you deepen your skills and develop your unique style.
Remember, every stitch you master brings you closer to breathtaking embroidery art. Don’t let hesitation hold you back—embrace the process, enjoy the journey, and watch your embroidery skills flourish. Get stitching today and transform your ideas into beautiful, personalized creations. Your embroidery adventure awaits—happy stitching!
Superpunch Embroidery Thread, 40wt Polyester Yarn, 5000m Large Spool, 175 Color Options, Commercial & Domestic Machine, Burgundy 1243
$8.99 (as of June 30, 2025 05:32 GMT -04:00 - More infoProduct prices and availability are accurate as of the date/time indicated and are subject to change. Any price and availability information displayed on [relevant Amazon Site(s), as applicable] at the time of purchase will apply to the purchase of this product.)New brothread 25pcs White 60S/2 (90WT) Prewound Bobbin Thread Plastic Size A SA156 for Embroidery and Sewing Machines DIY Embroidery Thread Sewing Thread Cottonized Soft Feel Polyester Thread
$8.99 (as of June 30, 2025 13:06 GMT -04:00 - More infoProduct prices and availability are accurate as of the date/time indicated and are subject to change. Any price and availability information displayed on [relevant Amazon Site(s), as applicable] at the time of purchase will apply to the purchase of this product.)QCZKB 188 Embroidery Floss Set Including Cross Stitch Threads Friendship Bracelet String with 2-Tier Transparent Box, Floss Bobbins and Cross Stitch Kits
$12.99 (as of June 30, 2025 13:06 GMT -04:00 - More infoProduct prices and availability are accurate as of the date/time indicated and are subject to change. Any price and availability information displayed on [relevant Amazon Site(s), as applicable] at the time of purchase will apply to the purchase of this product.)UV Resistant - Heavy Duty Outdoor Thread for Hand or Machine Sewing - Simthread 100% Polyester Bonded Thread Tex 69 (12wt) - 1500 Yards NP-Black
$9.99 (as of June 30, 2025 07:58 GMT -04:00 - More infoProduct prices and availability are accurate as of the date/time indicated and are subject to change. Any price and availability information displayed on [relevant Amazon Site(s), as applicable] at the time of purchase will apply to the purchase of this product.)Friendship Bracelet String 50 Skeins Rainbow Color Embroidery Floss Cross Stitch Embroidery Thread Cotton Floss Bracelet Yarn, Craft Floss
$5.99 (as of June 30, 2025 07:58 GMT -04:00 - More infoProduct prices and availability are accurate as of the date/time indicated and are subject to change. Any price and availability information displayed on [relevant Amazon Site(s), as applicable] at the time of purchase will apply to the purchase of this product.)Juki Heavy Material Industrial Straight Stitch Sewing Machine, Table & Servo Motor Assembly Required.
$879.00 (as of June 30, 2025 13:06 GMT -04:00 - More infoProduct prices and availability are accurate as of the date/time indicated and are subject to change. Any price and availability information displayed on [relevant Amazon Site(s), as applicable] at the time of purchase will apply to the purchase of this product.)QXCIVR Vertical Injection Molding Machine 20g 110V/220V Desktop Polymer Plastic Injection Molding Machine(110V)
$1,189.96 (as of June 30, 2025 13:06 GMT -04:00 - More infoProduct prices and availability are accurate as of the date/time indicated and are subject to change. Any price and availability information displayed on [relevant Amazon Site(s), as applicable] at the time of purchase will apply to the purchase of this product.)Brother PE535 Embroidery Machine, 80 Built-in Designs, 4" x 4" Hoop Area, Large 3.2" LCD Touchscreen, USB Port, 9 Font Styles
$519.99 (as of June 30, 2025 13:06 GMT -04:00 - More infoProduct prices and availability are accurate as of the date/time indicated and are subject to change. Any price and availability information displayed on [relevant Amazon Site(s), as applicable] at the time of purchase will apply to the purchase of this product.)JUKI DNU-1541S Industrial Walking Foot Sewing Machine with Safety Clutch
$2,199.00 (as of June 30, 2025 13:06 GMT -04:00 - More infoProduct prices and availability are accurate as of the date/time indicated and are subject to change. Any price and availability information displayed on [relevant Amazon Site(s), as applicable] at the time of purchase will apply to the purchase of this product.)Juki DNU-1541S Industrial Sewing w/Safety Mechanism DNU 1541 Walking Foot Needle Feed,servo Motor,Table,lamp. DIY.
$2,199.00 (as of June 30, 2025 13:06 GMT -04:00 - More infoProduct prices and availability are accurate as of the date/time indicated and are subject to change. Any price and availability information displayed on [relevant Amazon Site(s), as applicable] at the time of purchase will apply to the purchase of this product.)
