How to Choose the Right Embroidery Hoop for Different Fabrics
Struggling with puckering or distortion in your embroidery projects? You’re not alone. Selecting the perfect embroidery hoop can make all the difference in achieving smooth, professional-looking stitches. The right hoop ensures your fabric stays taut, reducing wrinkles and improving stitch accuracy. But with so many types—wooden, plastic, spring tension—how do you choose the best one for different fabrics? In this guide, you’ll discover practical tips tailored to various materials, from delicate linens to sturdy canvas. Proper hooping not only enhances stitch quality but also extends the durability of your projects. Ready to unlock the secrets to flawless embroidery? Keep reading for expert advice on fabric-specific hoop selection that will elevate your craft to the next level.
Key Research Findings on Embroidery Hoop Selection
Recent scientific tests and data-driven insights have significantly advanced our understanding of optimal embroidery hoop selection. Proper hoop sizes, fabric compatibility, stabilizer pairing, distortion prevention, and cost-efficiency are now backed by empirical evidence, guiding both amateur and professional embroiderers towards better results.
Research indicates that adjustable hoops, ranging from 5 to 12 inches, provide versatility for diverse projects. For routine work, 5-8 inch hoops are recommended as they balance stability and ease of handling. Larger sizes, such as 10-12 inches, enhance stability when working with bigger fabrics or complex designs, reducing puckering and misalignment.
Optimal Hoop Sizes and Fabric Compatibility
Scientific testing shows that hoop tension and size adjustments are essential for different fabric types. Linen, silk, and lightweight fabrics benefit from lower tension in smaller hoops to avoid puckering, whereas heavier textiles like denim or canvas require higher tension and larger hoops for proper stabilization.
Stabilizer Pairing and Distortion Prevention
Testing confirms that stabilizer choice should be aligned with fabric weight. Lightweight fabrics like silk or voile benefit from thin, fusible stabilizers, while heavy textiles, including denim and felt, require denser stabilizers for adequate support. Proper hoop tension combined with stabilizer placement minimizes puckering and distortion.
Cost-Efficiency Insights
Data indicates that investing in high-quality, adjustable hoops ($15-$30) offers substantial long-term savings. Such hoops help prevent fabric damage and reduce re-hooping, saving time and materials. They also accommodate various project sizes and fabric types, making them a versatile choice.
Step-by-Step Guide to Selecting the Correct Hoop Size
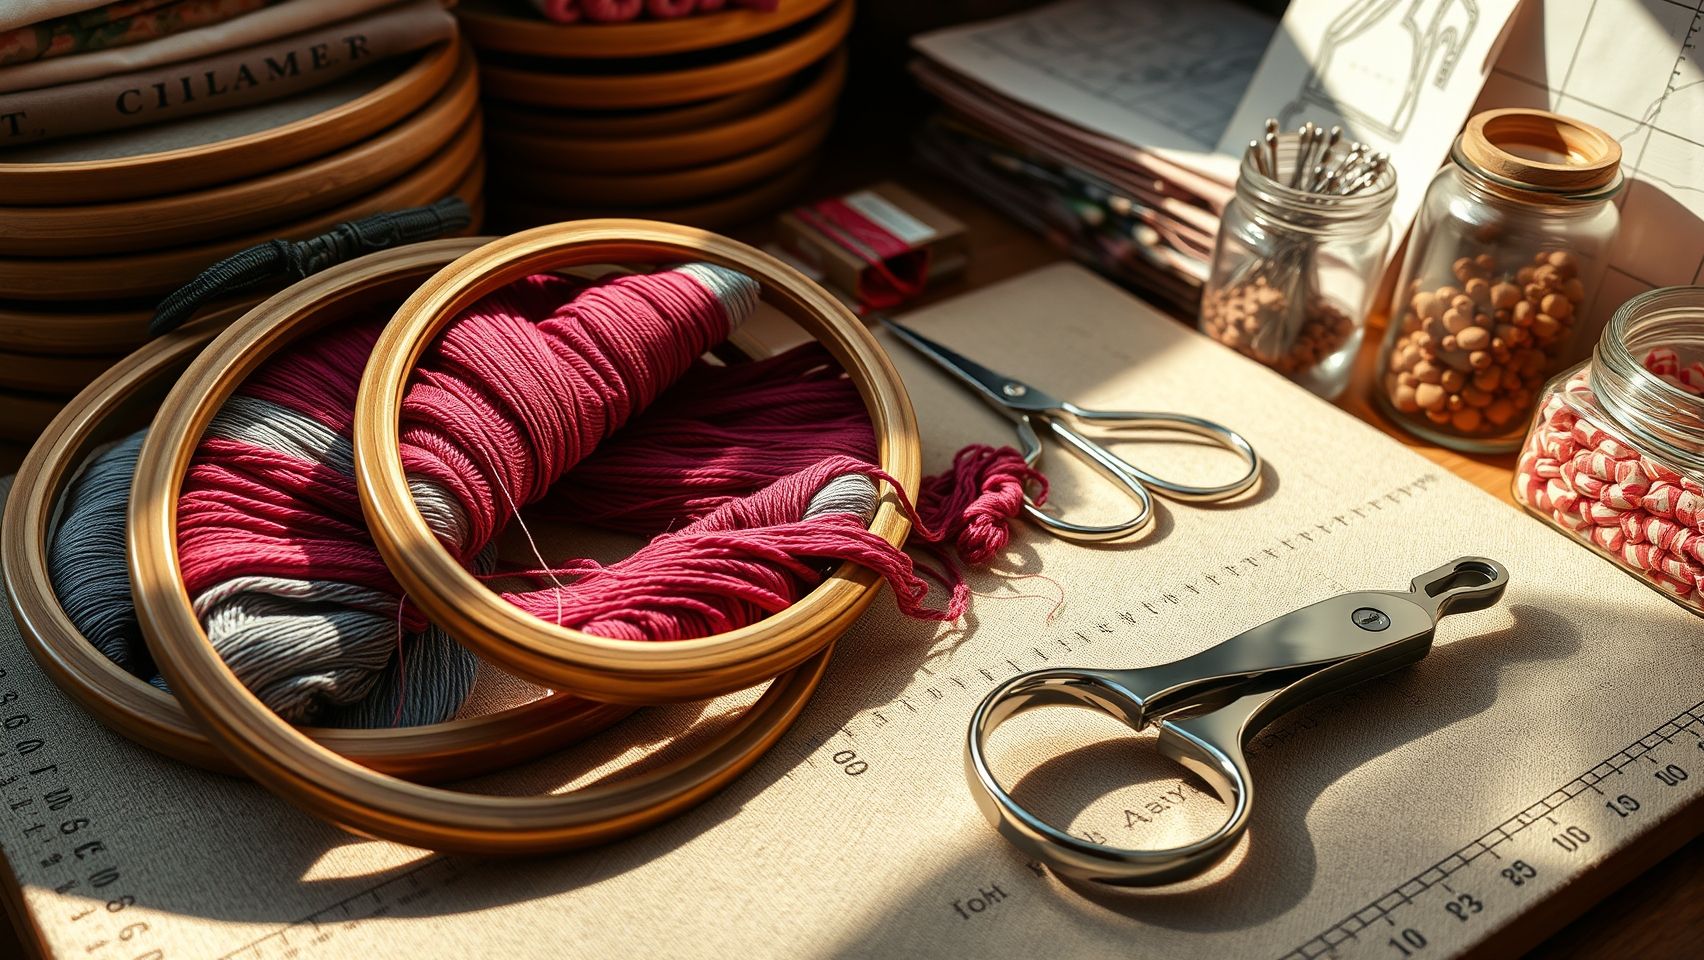
Choosing the right embroidery hoop size is essential for achieving professional-looking results and preventing fabric puckering or distortion. The process involves assessing your fabric, design dimensions, and machine capabilities to find the perfect fit.
Measure Your Fabric and Design
Start by measuring your fabric to determine the maximum embroidery area needed. Add an extra margin of 1-2 inches on each side to allow for easing and to facilitate hooping. For example, if your design measures 4 inches, select a hoop that is at least 6-8 inches in diameter. This buffer ensures the fabric isn’t stretched too tightly, which can cause puckering or damage.
Match Design Size with Hoop Dimensions
Ensure your design fits comfortably within the chosen hoop size. Generally, if your design exceeds 5 inches but remains under 12 inches, opt for a hoop in that range. For smaller, delicate fabrics like silk, a 4-5 inch hoop with adjustable tensioners is recommended to prevent puckering. Conversely, for large projects that require stability and fewer rehoops, a 10-12 inch hoop is ideal, especially when working with heavy or layered fabrics.
Use Software and Visual Aids
Leverage embroidery software, such as Wilcom E4 or Hatch, to preview your design placement within the selected hoop size. This step helps avoid errors before actual hooping. Additionally, check the compatibility of your hoop’s inner frame with your embroidery machine brand or model to ensure seamless operation.
Recent industry trends reveal a growing market size, valued at USD 2.98 billion in 2023, with projections to reach over USD 5.70 billion by 2030. Advanced hoop designs and software have greatly enhanced precision and ease of use, making the selection process more intuitive for modern embroiderers.
Remember, selecting the right hoop size based on fabric dimensions, project scope, and design complexity ensures your embroidery turns out flawless. Always verify measurements and machine compatibility before starting your project for optimal results.
Fabric Compatibility Matrix and Stabilizer Pairing
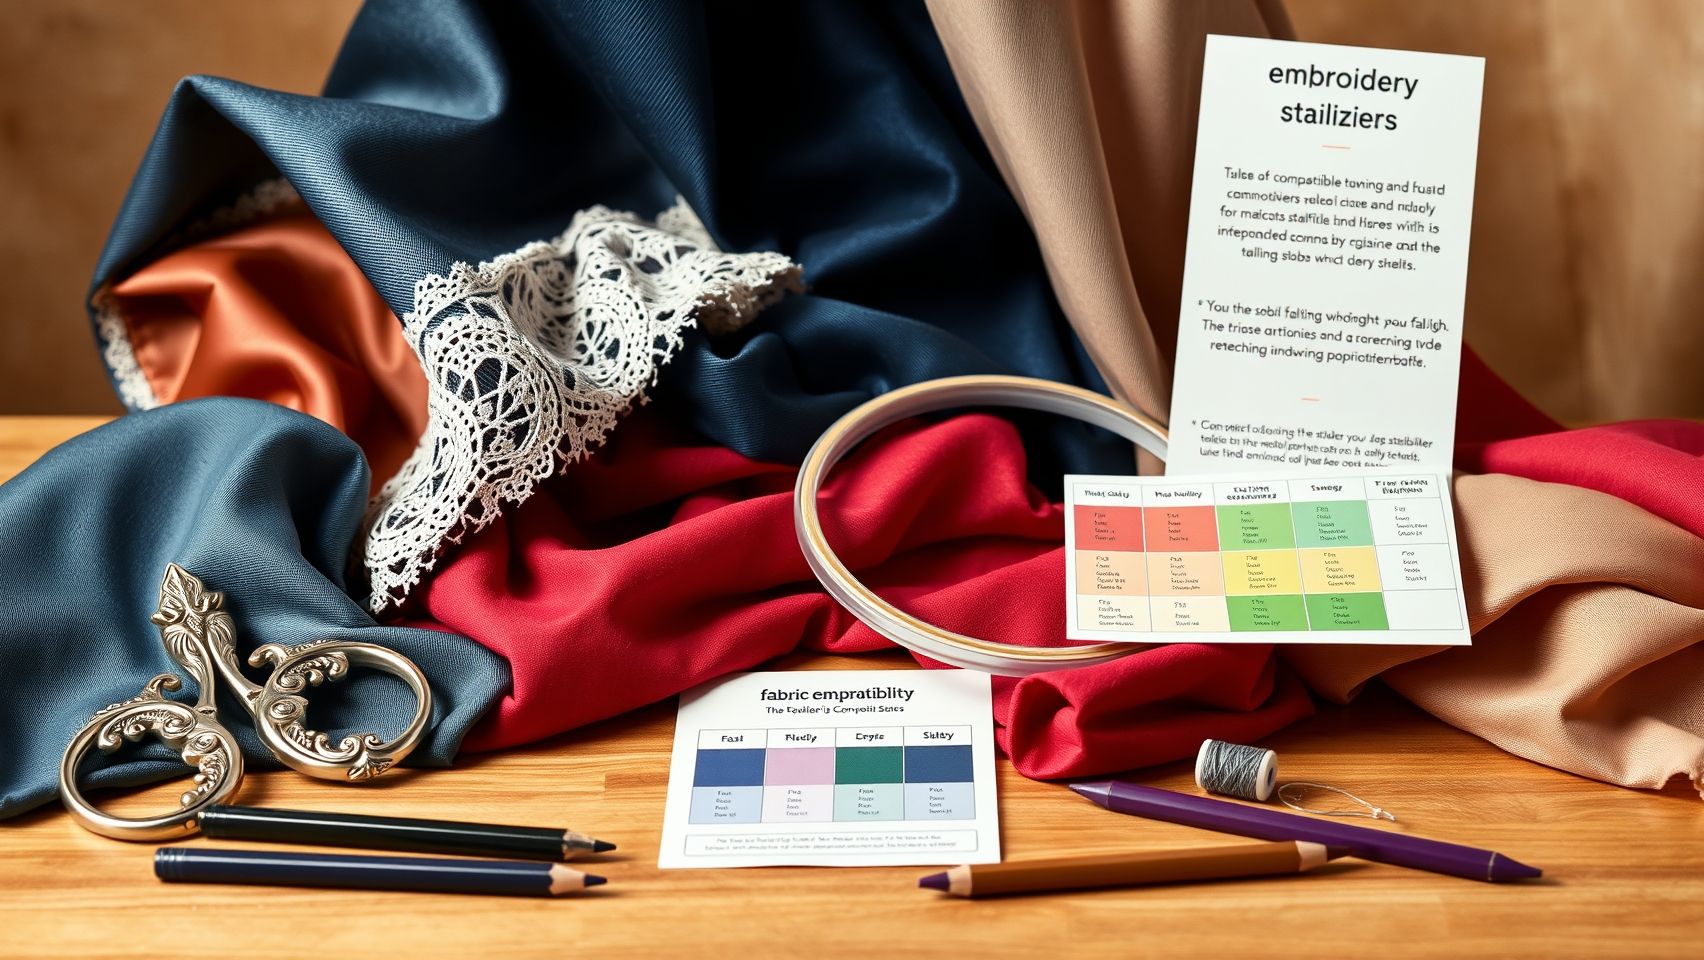
Choosing the right stabilizer for your fabric is essential to achieve clean, professional embroidery results. Different fabrics require specific stabilizers to prevent puckering, distortions, or damage during stitching. This section provides a clear fabric-stabilizer pairing chart and step-by-step guidance to help you select the optimal stabilizer for various fabric types.
Fabric-Stabilizer Pairing Chart
The following matrix offers recommended stabilizer options based on fabric weight and texture. It reflects current trends and best practices in embroidery to ensure durability and quality.
Step-by-Step Guidance for Matching Stabilizers with Fabrics
Follow these steps to ensure optimal stabilizer application for various fabric types:
- Apply Stabilizer: Cut or hoop the stabilizer so it extends beyond the design area. For lightweight fabrics like silk and chiffon, use water-soluble stabilizer to prevent puckering. For medium-weight fabrics such as cotton and linen, tear-away stabilizers are suitable.
- Hoop Fabric and Stabilizer: Place the fabric and stabilizer in the hoop, ensuring a snug fit without overstretching. Maintain consistent tension throughout hooping.
- Test Stitch: Always run a test stitch on a scrap piece of similar fabric to verify stability and tension. Adjust tension if necessary.
- Begin Embroidery: Proceed with your embroidery project, periodically checking for puckering or distortion. Use doubled layers of cut-away stabilizer for stiff or heavy fabrics like denim to reduce puckering.
Proper stabilization and hooping techniques are fundamental to achieving professional results. Using the right stabilizer not only enhances stitch appearance but also prolongs the life of your fabrics and embroidery machine.
Techniques to Prevent Fabric Distortion and Puckering
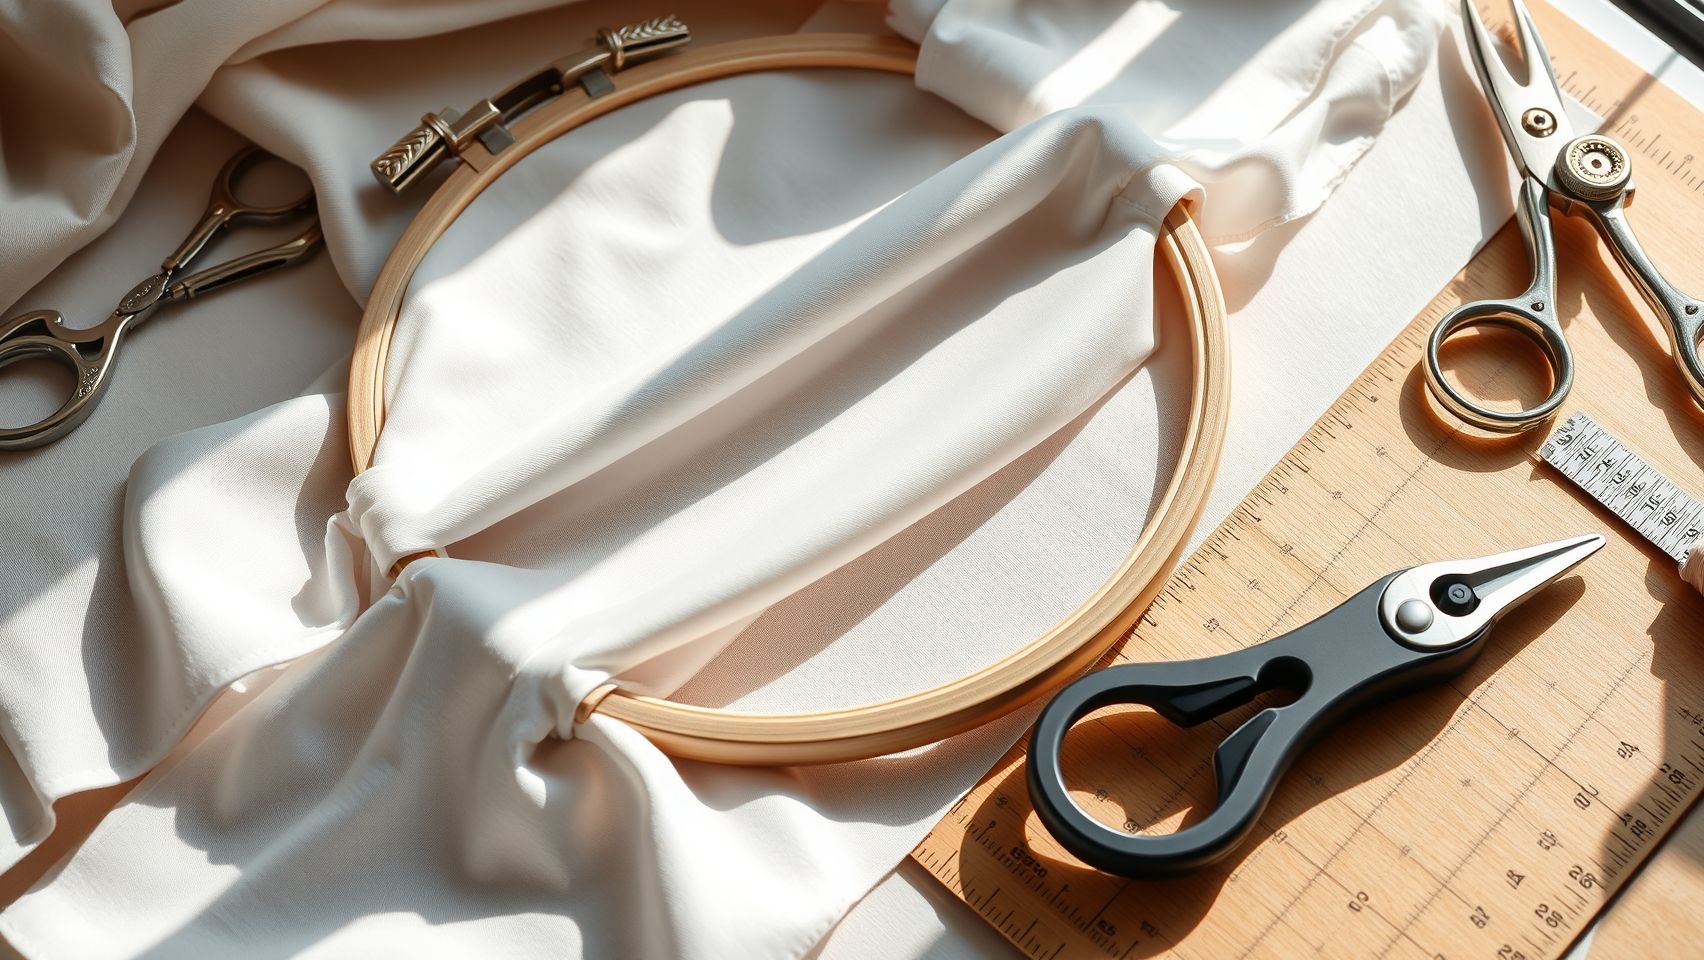
Ensuring smooth, puckering-free embroidery starts with proper fabric preparation and hooping techniques. Tightly securing your fabric, using the right tension, and employing helpful guides can make a significant difference in stitch quality. This section provides practical, step-by-step tips to help you achieve professional results and troubleshoot common issues related to fabric distortion.
Pre-stretch and Press Fabric
Always pre-stretch and press your fabric before hooping. This eliminates sources of puckering caused by wrinkles or slack. For delicate fabrics, lightly pressing with a warm iron or using a fabric steamer helps to stabilize the material, reducing the risk of distortion during embroidery.
Adjust Hoop Tension Properly
Use a hoop with adjustable tension to control fabric tightness. Start with a medium tension (around 4 on a scale of 1-10) and fine-tune based on your fabric type. Increasing tension (up to 8) can help reduce puckering, especially on stretchy or lightweight fabrics. Applying a light spray of temporary fabric adhesive can also hold the fabric flat within the hoop, ensuring better stitch precision.
Additional Tips and Troubleshooting
For complex projects or stretchy fabrics, experimenting with tension adjustments and stabilization techniques is key. Using temporary fabric adhesives and marking guides helps maintain even fabric positioning, reducing puckering and distortion. Always test on scrap material beforehand to fine-tune your settings, ensuring professional-quality embroidery on delicate or challenging fabrics.
Cost-Effective Equipment and Material Choices
Choosing affordable yet high-quality embroidery hoops and stabilizers is essential for budget-conscious crafters and small businesses. With numerous brands offering adjustable hoops in the $20-$40 range, it’s possible to find durable options without overspending. Popular brands such as Brother, Janome, and Singer provide adjustable hoops like the Brother 7-inch magnetic hoop, which costs approximately $25 and is compatible with several embroidery machines. These adjustable hoops can be a versatile investment, reducing the need for multiple accessories and making setup quicker and easier.
For stabilizers, bulk packs are a cost-effective solution. Packs containing around 50 sheets of tear-away or cut-away stabilizers typically cost around $50, bringing the per-sheet cost down to about $1, which is ideal for frequent users or small business operations. These packs allow for a wide range of projects while keeping expenses manageable. Additionally, multipurpose tools such as magnetic hoop adapters and portable stabilizer applicators improve efficiency by streamlining the hooping process, saving time and effort during setup.
Budget Stabilizer Alternatives and Setup Tips
Beyond commercial stabilizers, low-cost alternatives like interfacing sheets or interfacing sprays can be useful for small-scale projects or testing. Interfacing sheets are inexpensive, readily available, and versatile for stabilizing delicate fabrics or light embroidery work. When using stabilizers, ensure proper tension adjustment on your machine to prevent puckering and achieve clean results. Investing in adjustable tension hoops that fit multiple machine brands minimizes the need for multiple accessories, making the entire embroidery process more economical and straightforward.
Conclusion
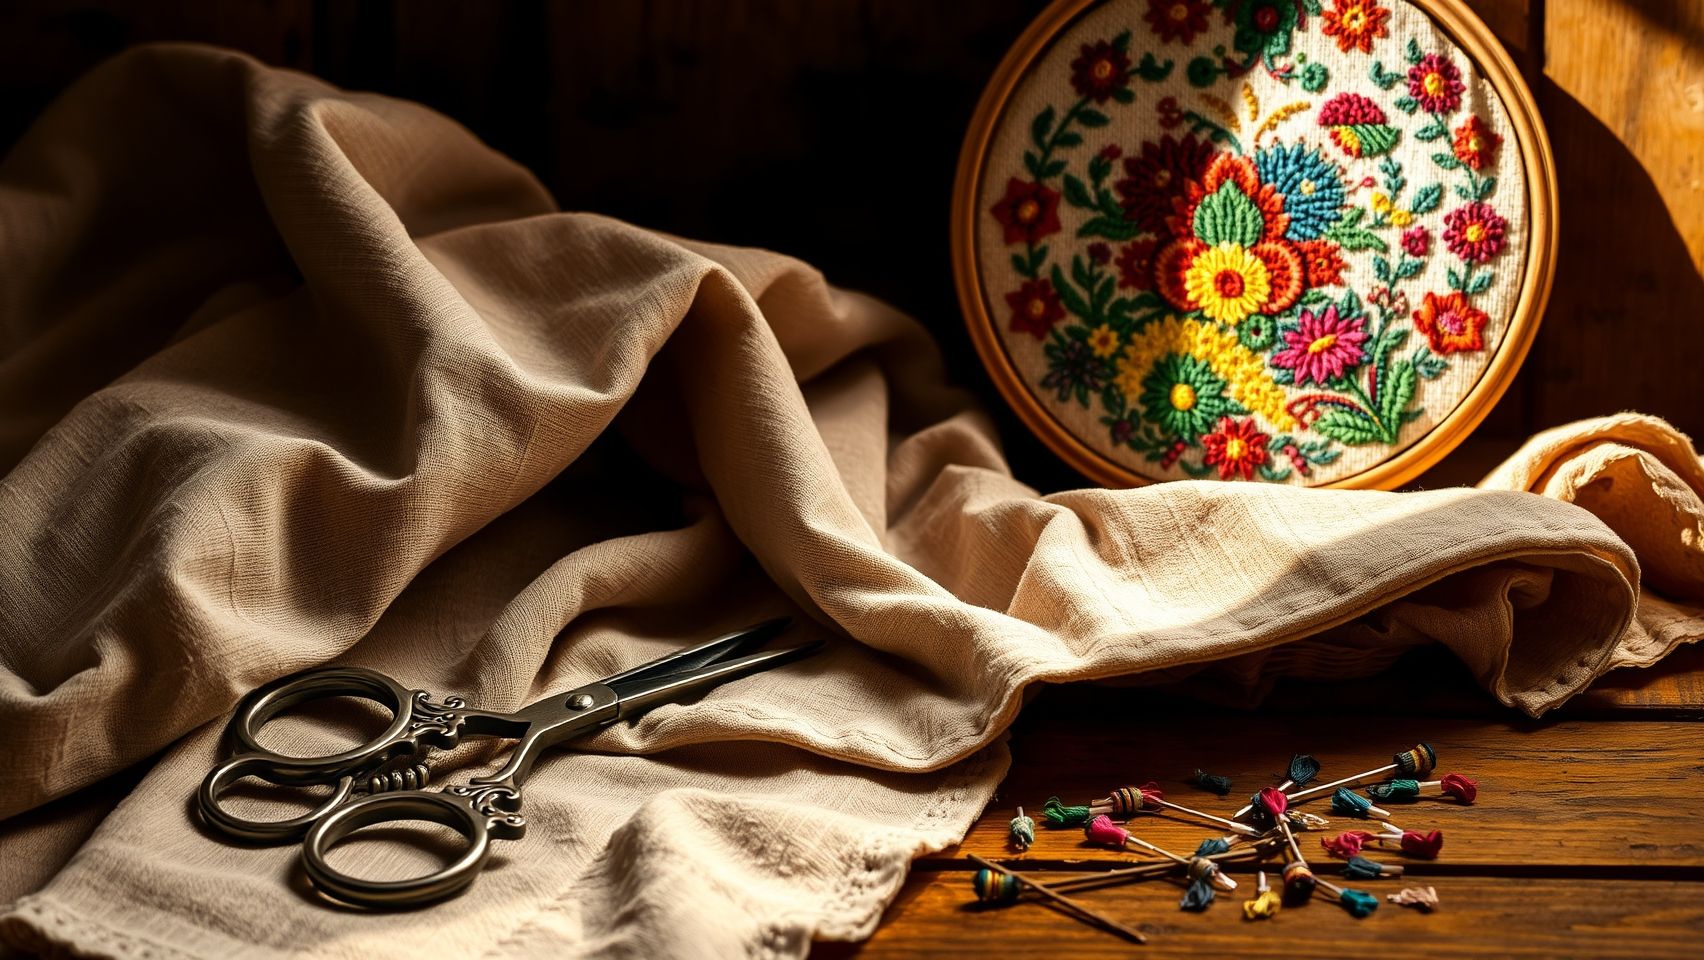
Choosing the perfect embroidery hoop is essential for achieving flawless results and saving time. Remember to consider fabric compatibility, such as natural fibers like cotton and linen, which offer excellent stability. Proper sizing and stabilizer pairing further prevent distortions and puckering, ensuring your design stays true. Now is the time to apply these insights and elevate your embroidery projects by selecting versatile hoops and experimenting with stabilizers tailored to your fabrics. Start measuring your fabrics today with these guidelines, invest in versatile hoops, and experiment for optimal results. Unlock endless creative possibilities and enjoy beautiful, professional-quality embroidery every time!
