How to Choose Embroidery Stitches to Minimize Yarn Waste Effectively
Are you tired of wasting yarn and struggling to pick the right stitch for your project? If you’ve ever been frustrated by uneven tension, excess yarn, or lack of efficiency, you’re not alone. Many embroidery enthusiasts face similar challenges, especially when trying to balance quality with cost savings. Choosing the right stitches can significantly reduce yarn waste, leading to more polished results and lower material costs.
In this article, we’ll share actionable tips backed by industry data and expert insights. From understanding which stitches use less yarn to leveraging modern embroidery software, you’ll learn how to make smarter choices that save both time and money. Whether you’re a beginner or a seasoned crafter, these practical techniques will help you improve your craft and boost your efficiency.
With the global embroidery market projected to grow to over USD 5 billion by 2030 (source), it’s clear that smart stitch selection is more relevant than ever. Ready to transform your embroidery process? Keep reading to discover how to select stitches that minimize waste without sacrificing style or quality:
What Research Reveals About Stitch Types and Yarn Consumption
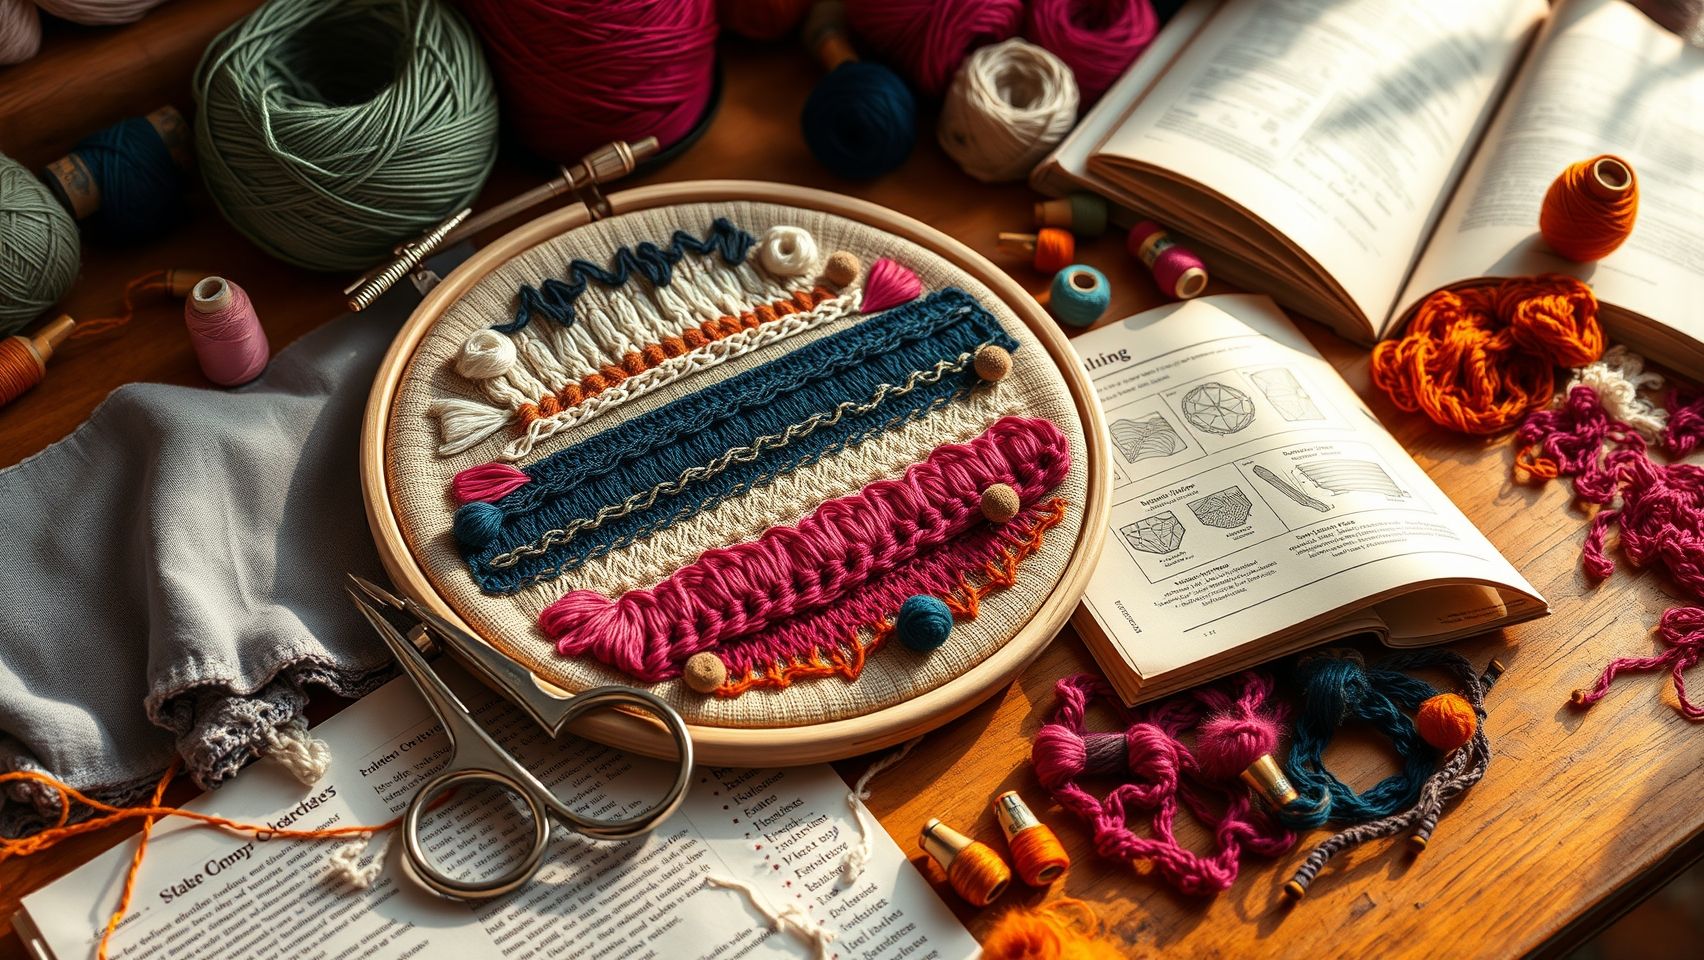
Minimizing yarn waste is essential for both cost-effective and eco-friendly embroidery projects. Recent research provides valuable insights into how different stitch types and spacing techniques can significantly reduce yarn consumption. Understanding these factors allows embroiderers to select optimal methods for cleaner and more efficient finishes.
Open stitches like running and outline stitches have been shown to consume approximately 20-30% less yarn than solid fill stitches. This difference stems from the fact that open stitches use less thread by creating less dense coverage. Additionally, applying spacing formulas—specifically maintaining stitch distances equal to twice the thread diameter—can reduce waste further by up to 15%. Proper spacing ensures the stitches are evenly distributed without excess overlap, leading to optimal yarn use and minimized waste.
Impact of Pattern and Motif Selection on Yarn Waste
Choosing efficient patterns plays a crucial role in waste reduction. Repeating motifs with fills that require fewer stitches or simpler designs can cut overall yarn consumption by 10-15%. For larger backgrounds, especially, open stitches such as running or outline stitches offer a practical solution: by limiting the density of coverage, they allow for significant yarn savings while maintaining visual appeal. Data indicates that projects employing spaced stitches and simple motifs can save approximately 10-20% in yarn costs overall, supporting both economic and sustainable embroidery practices.
Step-by-Step: Implementing Spacing Techniques to Save Yarn
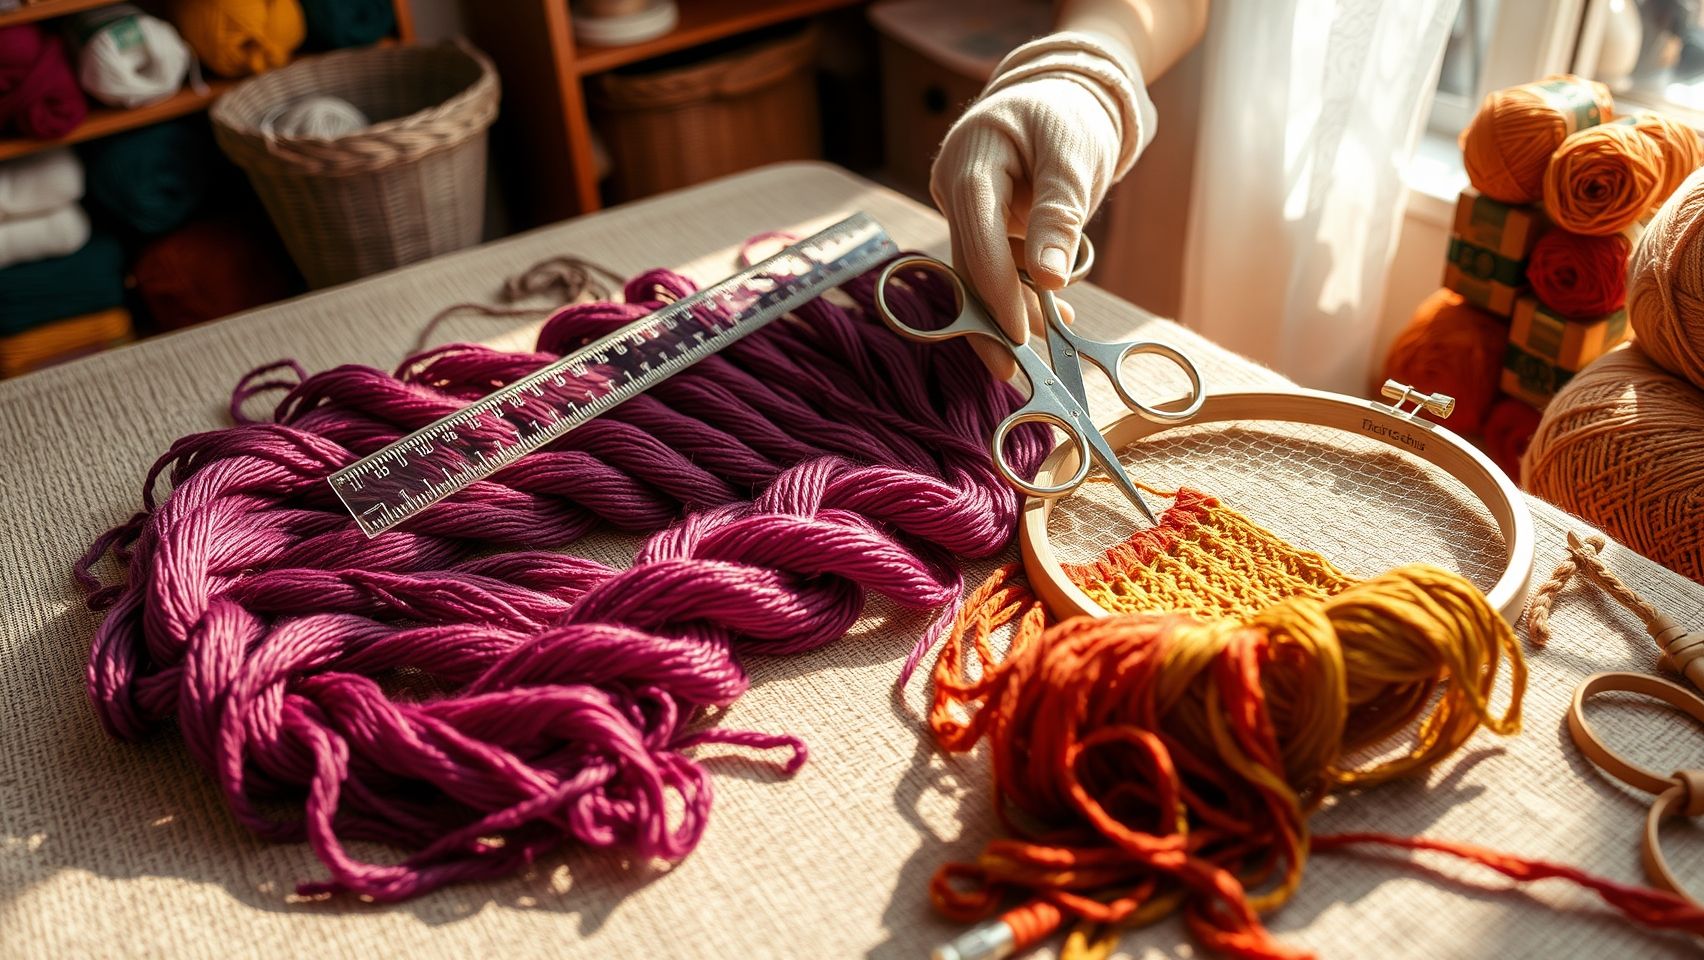
Minimizing yarn waste in embroidery projects starts with the right spacing between stitches. Proper calculation and application of spacing formulas ensure that your stitches are both efficient and visually appealing. This guide provides a clear, actionable process to optimize your embroidery techniques for minimal yarn consumption.
Assess Thread Thickness and Calculate Optimal Spacing
Begin by measuring your thread diameter, which is typically specified by your thread brand or type. For instance, if your thread diameter is 0.2 mm, use the formula: Stitch Spacing = Thread Diameter x 2. In this case, set your stitch spacing to 0.4 mm on your machine or software. Accurate measurement allows you to fine-tune your spacing for each project, preventing overly dense stitching that wastes yarn.
Set Your Machine or Software to the Calculated Spacing
Configure your embroidery machine or design software—such as Wilcom Embroidery Studio or Hatch—to match the calculated spacing. Many software programs allow manual adjustments, so input the spacing value directly into your design parameters. Conduct sample runs to verify the setting’s effectiveness and adjust as needed. Regular testing can reduce yarn use by 10-15%, contributing significantly to material savings over time.
Choose Open Stitches for Large Areas
For background areas or large motifs, select open stitches like running or satin outline stitches. These stitches cover minimal area and use less yarn while maintaining aesthetic quality. Utilizing pre-measured pattern templates helps ensure consistency across projects and prevents unnecessary stitching variations that could lead to waste.
Test and Refine Your Approach
Always test your adjusted pattern on scrap fabric first. Measure the yarn volume used and compare it to previous projects. If more yarn savings are desired, slightly increase the spacing. Fine-tuning your stitch spacing based on real-world testing ensures the most efficient use of your thread and contributes to a sustainable embroidery process.
Choosing the Right Equipment and Software for Minimal Waste

Efficient stitch planning is crucial for minimizing yarn waste in embroidery projects. The selection of appropriate machines, tools, and design software directly impacts thread consumption and overall cost-effectiveness. Modern technology offers advanced features that enable precise control over stitch execution, helping embroiderers optimize their workflow and reduce material waste.
Industrial Embroidery Machines and Their Adjustable Features
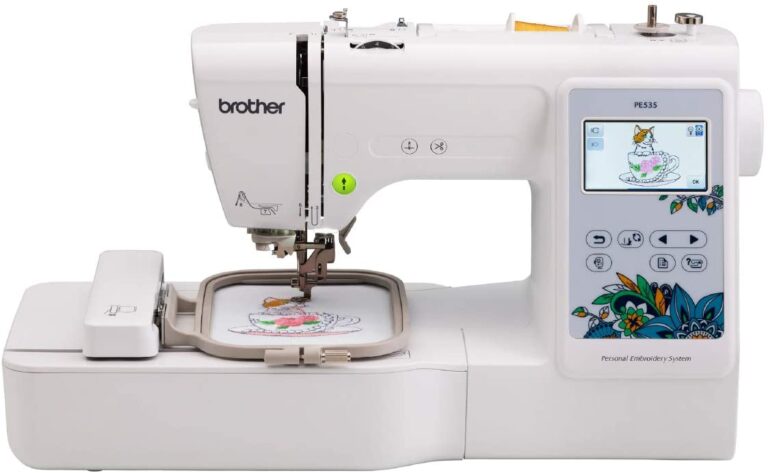
Industrial embroidery machines such as the Brother PR670E and Janome MB-7 are designed with adjustable stitch density and spacing algorithms, allowing for customized stitching plans tailored to each design. The Brother PR670E is priced around $3,500 and offers high-speed operation with adjustable stitch length and density, which helps in reducing excess yarn usage. Similarly, the Janome MB-7 ($4,200) provides flexible stitch control and multi-format design compatibility, making it ideal for projects where material efficiency is essential.
Design Software for Precision Stitch Planning
Utilizing advanced embroidery design software such as Wilcom Embroidery Studio e3, Hatch, or Embird allows for detailed control over stitch types, spacing, and motifs. Features like auto-density adjustment, automatic spacing optimization, and stitch pathing can typically reduce yarn wastage by 15-25%. Software like Wilcom, priced at approximately $1,200, enables users to fine-tune stitch density, which minimizes thread usage while maintaining design quality.
Optimizing Hoop Selection and Tension Settings
Choosing appropriately sized hoops and stabilizers, such as tear-away types, helps prevent excess fabric and thread consumption. Precise tension calibration reduces thread breakage and unnecessary re-stitching, which saves yarn and increases stitch efficiency. Regular maintenance and tension checks ensure consistent stitch quality, ultimately reducing material waste by up to 20% and improving overall production efficiency.
Cost Analysis: How Small Changes Lead to Big Savings
Optimizing embroidery stitches doesn’t just improve the quality of your work; it can also significantly reduce your overall project costs. By applying strategic spacing and selecting appropriate stitches, you can decrease yarn consumption, leading to substantial savings over time. Even minor adjustments in technique can have a compounding effect on your budget, especially on larger projects.
For example, a typical embroidery project requiring 10 skeins of yarn (approximately $5 each) can save around $10-$15 by implementing these efficient stitch techniques. This straightforward approach not only minimizes waste but also accelerates return on investment (ROI), especially when combined with smart equipment and software choices.
Maximizing Savings with Equipment and Software
Investing in adjustable embroidery machines and cutting-edge software can amplify these savings. For instance, modern embroidery machines with adjustable density settings often result in 15-20% cost reductions compared to fixed-setting models. Similarly, software that enables precise stitch planning helps users identify optimal spacing, further reducing yarn use.
A cost-benefit analysis shows that software and equipment investments around $1,200 can yield annual savings of approximately $500 by curbing material waste. Tracking yarn usage across multiple projects helps identify waste patterns, allowing for continuous improvement and more sustainable crafting practices.
Practical Tips for Cost-Effective Embroidery
To maximize savings, keep detailed records of yarn consumption for each project, noting stitch types and spacing used. This data highlights waste patterns, empowering you to refine techniques and choose the most economical options. Additionally, selecting equipment with versatile features—like adjustable density—further enhances cost-efficiency and project flexibility.
Ultimately, small strategic adjustments in stitch selection and spacing have the potential to yield significant financial benefits, making embroidery not only more sustainable but also more profitable in the long run.
Troubleshooting Common Waste and Stitching Errors
Optimizing embroidery to minimize yarn waste requires attention to detail and understanding common pitfalls. Addressing issues like over-tight tension, inconsistent stitch density, improper hooping, and inefficient thread trimming can significantly reduce excess yarn and improve overall work quality. Implementing practical solutions for these challenges leads to cost savings and a more sustainable crafting process.
Avoid Over-Tight Tension
One of the primary causes of unnecessary yarn consumption is over-tight tension. Excessive tension can lead to thread breakage and additional thread usage as embroiderers re-thread or correct errors. Proper tension calibration can reduce thread waste by 10-15%. Adjust tension settings based on the fabric and thread type, ensuring stitches are even and secure without pulling tightly. High-end embroidery machines like the Brother PR670E feature automatic tension adjustment tools that help maintain optimal tension throughout the project, further reducing waste.
Maintain Consistent Stitch Density
Inconsistent stitch density results in uneven stitches and increased thread consumption, especially in dense fill areas. Utilizing software features such as auto-density adjustment can help maintain uniform stitch work. Proper planning and calibration ensure balanced coverage, preventing unnecessary overflow of thread in dense areas which otherwise would require rework or additional thread.
Optimizing Thread Trims and Stitch Length
Automatic trims can greatly reduce thread wastage, especially on high-end machines with advanced features like the Brother PR670E. These trims cut thread at pattern ends efficiently, saving up to 5% of thread per project. Additionally, adjusting stitch length and density for different design complexities prevents over-using yarn in dense fill areas, maintaining the balance between quality and resource use. Properly set stitch parameters not only improve the final appearance but also contribute to material conservation and cost savings over time.
Conclusion
Implementing effective embroidery techniques such as open stitch methods, precise spacing formulas, and utilizing the right tools can significantly reduce yarn waste—up to 20%—saving you money and time. By making these adjustments and troubleshooting issues, you can immediately optimize your embroidery efficiency and contribute to more sustainable practices.
Try these techniques on your next project—measure your yarn savings and share your results! Investing in quality tools and software can make adopting these changes effortless, allowing you to achieve consistent, eco-friendly results with less effort.
Start today—embrace these practical tips, see the difference, and take pride in your sustainable embroidery journey. Your wallet and the environment will thank you!
