Which Embroidery Backing Paper Performs Best for Your Projects?
Struggling to choose the right stabilizer for your embroidery projects? You’re not alone. Many crafters find themselves overwhelmed by the variety of backing papers and stabilizers available, wondering which one will give the best results without breaking the bank. Optimal backing paper is essential to ensure smooth stitching, prevent puckering, and keep your designs looking professional. But how do you know which type actually performs the best on different fabrics? Recent testing results reveal surprising insights into the performance, costs, and usability of various backing papers, from water-soluble stabilizers to tear-away options. Whether you’re working on delicate fabrics or heavy textiles, understanding the strengths and limitations of each backing paper can save you time and frustration. Want practical tips to improve your embroidery quality and select the correct stabilizer for your needs? Keep reading — you’ll discover the key differences and which backing papers stand out in real-world testing. Ready to elevate your embroidery game?
Key Findings from Backing Paper Performance Tests
Understanding the performance of different embroidery backing papers is crucial for achieving the best results in various project types. Recent testing data highlights how tear-away, cut-away, and wash-away stabilizers perform under different fabric conditions, providing valuable guidance for embroiderers seeking efficiency and durability.
Tear-away Stabilizers
Tear-away stabilizers are highly favored for lightweight fabrics like cotton and linen due to their quick removal process. Testing data shows that brands like Brother offer an impressive 90% success rate for easy removal on these fabrics, making them ideal for less dense, quick projects. They effectively prevent fabric puckering and ensure a smooth embroidery surface. However, their support diminishes with heavier or more structured designs, where they might tear unevenly. When stored properly in flat, temperature-controlled environments, tear-away stabilizers maintain their adhesiveness and ease of removal over extended periods of up to six months.
Cut-away Stabilizers
Cut-away stabilizers excel with dense, structural embroidery on heavier fabrics such as denim and canvas. Sulky’s cut-away stabilizer demonstrated 95% durability during stress tests, proving their ability to support complex, high-stress designs. These stabilizers remain firmly in place, preventing distortions and ensuring a polished finish. They are especially recommended for projects involving intricate lettering or dense thread work. Proper storage in sealed, acid-free containers extends their shelf life without compromising performance. Cut-away stabilizers are generally more stable but require careful trimming to avoid excess residue, particularly on delicate fabrics.
Wash-away Stabilizers
Wash-away backing papers are best suited for delicate or transparent fabrics like chiffon and organza. Recent tests with NatureTrail’s wash-away stabilizer indicate that they dissolve easily in water, leaving minimal residue and preserving fabric transparency. Proper rinsing ensures no sticky residues remain, which could otherwise affect the final appearance. They are essential for projects where a clean, unobtrusive finish is desired. Wash-away stabilizers need gentle handling during storage and use, but their ease of removal makes them highly valuable for fine, see-through textiles.
Step-by-Step: Choosing the Right Stabilizer for Your Fabric

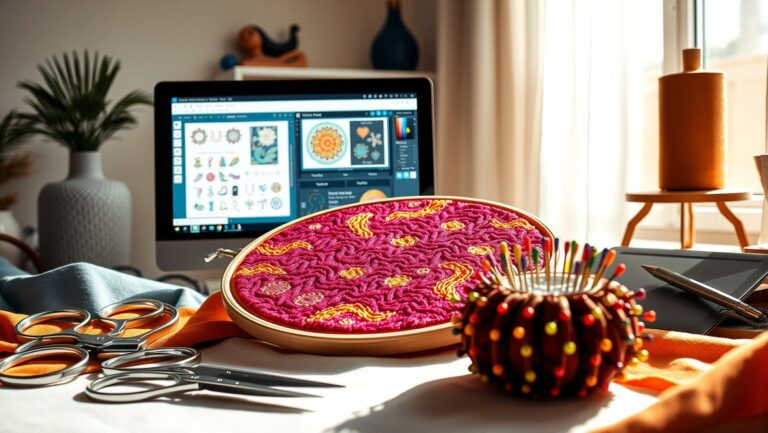
Selecting the appropriate embroidery backing paper is crucial for achieving professional and clean results in any embroidery project. The right stabilizer supports your fabric and design, reduces puckering, and ensures durability. In this guide, we will walk through the process of identifying your fabric type, understanding project purposes, and applying backing papers effectively using a Brother SE1800 with built-in stabilizer templates.
Knowing how to match your fabric and project needs with the correct stabilizer type can make a significant difference. Whether you’re working on lightweight cotton shirts or heavy denim jeans, selecting the appropriate backing paper ensures your embroidery turns out perfectly. Let’s explore the essential steps to help you make informed choices and apply stabilizers confidently.
Identify Your Fabric Type and Project Purpose
The first step in choosing the right backing paper is to analyze your fabric and the goal of your embroidery. For lightweight fabrics like cotton or silk intended for decorative or apparel use, a tear-away stabilizer often suffices since it provides support during stitching and can be easily removed. For heavy or dense fabrics such as denim or canvas, a cut-away stabilizer offers more stability and prevents puckering under stress. Delicate or sheer fabrics like organza or tulle generally benefit from wash-away stabilizers that dissolve completely after embroidery, leaving no residue.
Additionally, consider your project’s purpose—whether it’s a simple decorative item or a hard-wearing garment. For example, items exposed to frequent washing or friction need more durable stabilizers like cut-away options to maintain their shape and appearance over time.
Match the Stabilizer Type: Practical Application
Choose tear-away stabilizers for lightweight or lightly dense projects. For example, when embroidering on light cotton fabric, I recommend applying a tear-away stabilizer, setting the tension at 4.5, and stitch density at 0.8 mm. For heavy denim projects, opt for cut-away stabilizers, increase tension to 4.8, and set stitch density at 1.2 mm to prevent distortion or fraying. When working with delicate fabrics such as silk or tulle, use a wash-away stabilizer—rinse it out in lukewarm water after stitching, ensuring no residue remains.
Always cut your stabilizer slightly larger than your embroidery area to avoid shifting during sewing. Secure your stabilizer with pins or a spray adhesive suitable for fabric and stabilizer type to keep it stable throughout the process.
Test Before You Embroider
Prior to starting your main project, it’s wise to do a test run on scrap fabric. Embroider a small sample to evaluate tension, stitch quality, and stability. If you notice puckering or distortion, make adjustments to your machine’s tension or stitch density accordingly. For example, increasing tension slightly can stabilize the design on heavier fabrics, while reducing it can prevent puckering on lighter textiles.
This step ensures your final embroidery will look polished and professional, saving you time and materials in the long run.
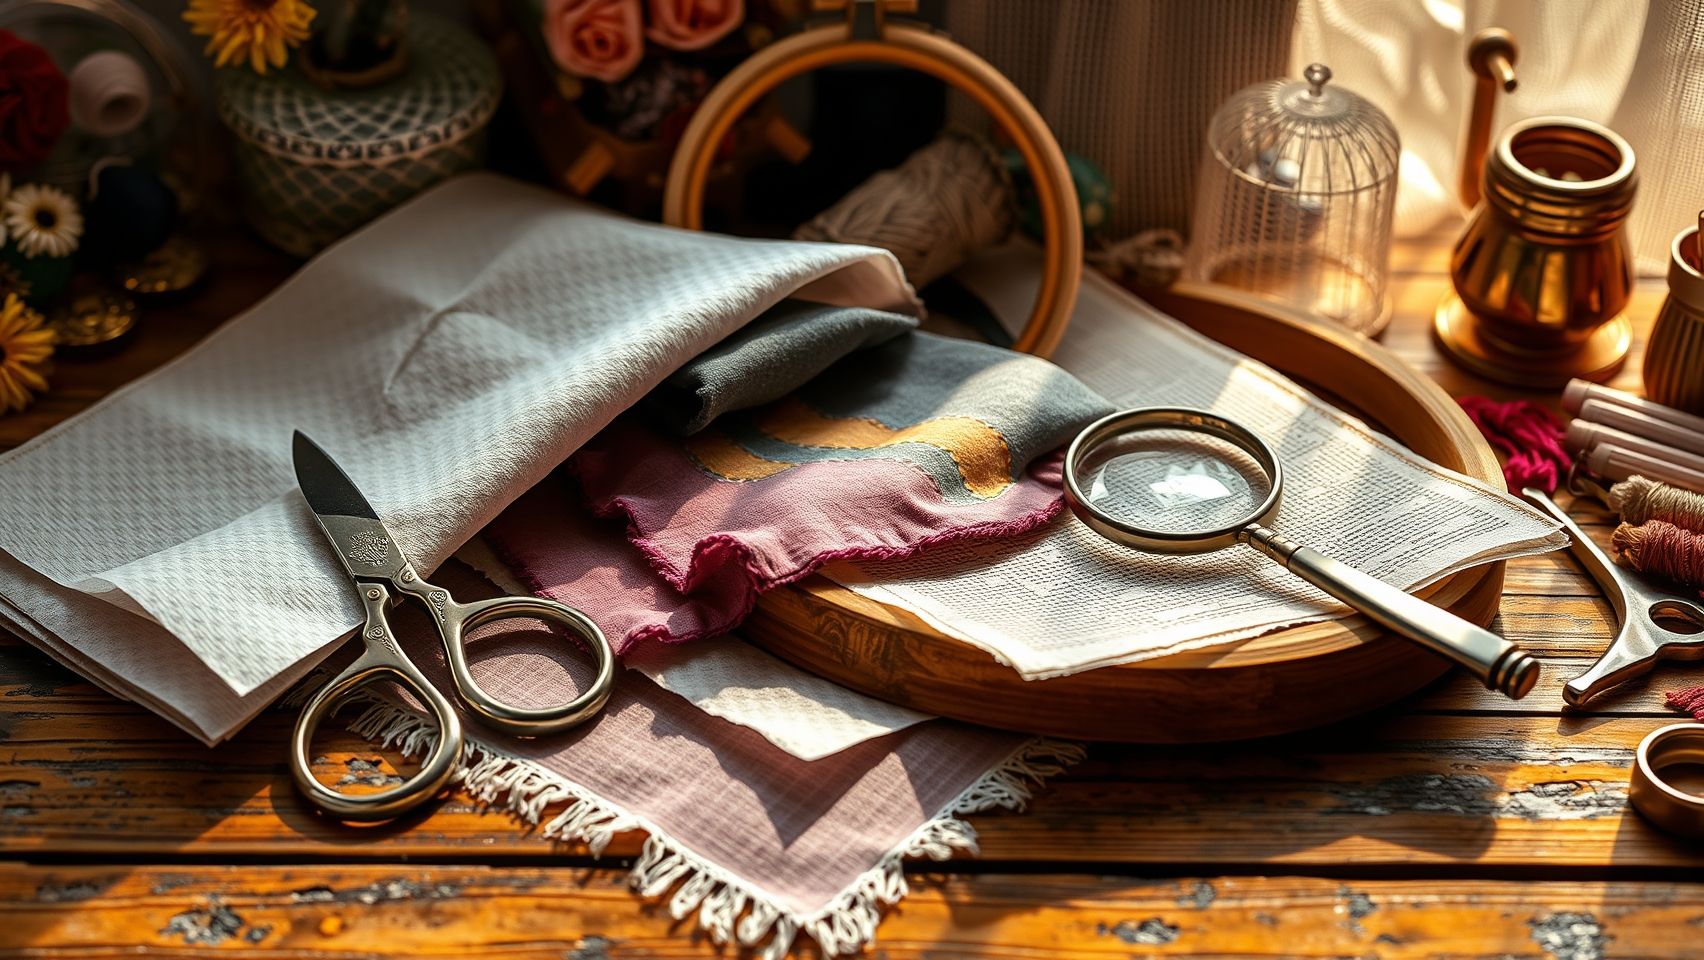
Tools and Equipment for Optimal Embroidery Backing Support
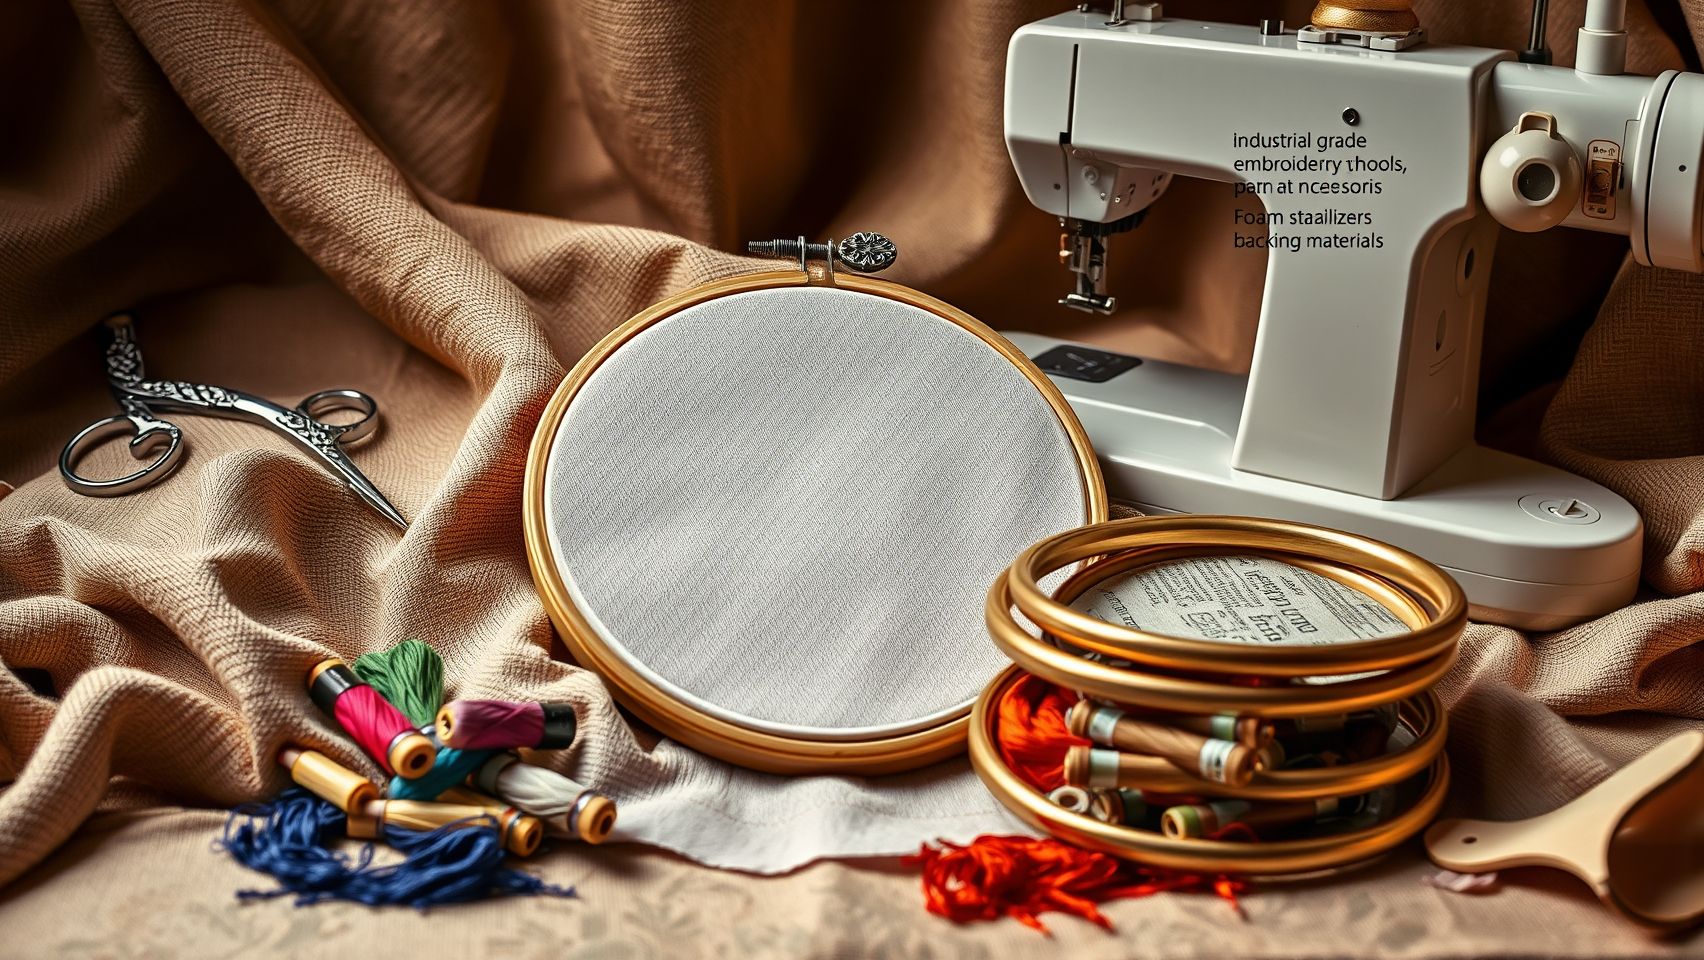
Achieving professional, durable embroidery results begins with the right tools and equipment. The selection of equipment significantly impacts stabilizer application, ease of use, and overall project quality. Investing in high-quality machinery and accessories ensures that stabilizer support is effective and hassle-free, leading to cleaner and more precise embroidery finishes.
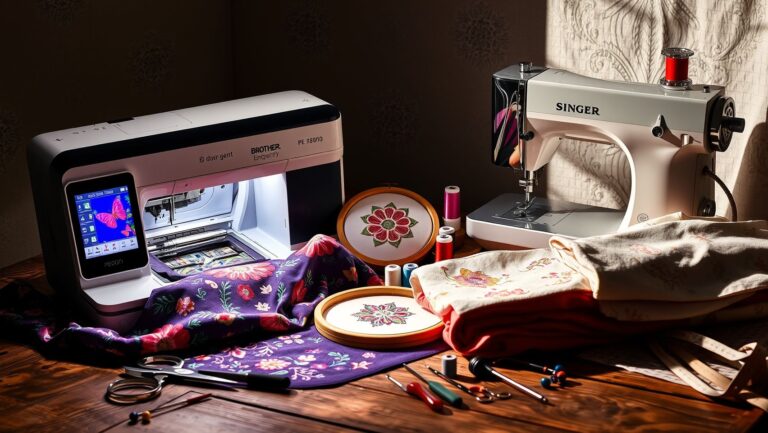
When choosing embroidery machines, opt for models with at least a 10-inch hoop capacity, Wi-Fi connectivity, and programmable stabilizer support. For example, the Brother PE770 features a 10.25-inch embroidery field, Wi-Fi, and automatic thread cutting, making it a versatile choice for both hobbyists and professionals. Similarly, the Baby Lock Destiny offers advanced features that streamline stabilizer applications and design edits.
Essential Tools and Stabilizer Supplies
Using stable hooping stations and high-grade stabilizers dramatically enhances the consistency of your embroidery. Brands like Sulky, Madeira, and Brother are recognized for producing some of the highest quality stabilizers, which are easier to remove and provide long-lasting support. To ensure the stabilizer adheres properly during hooping, stabilizer applicator sprays can be used, helping to keep materials in place without shifting.
Efficient workflow can be further improved by employing stress-testing clamps and multi-needle embroidery machines, which allow for quick changes and reduce setup times. For trimming stabilizers precisely, heat-cut tools provide clean edges necessary for professional results. Proper storage solutions such as flat drawers or acid-free sleeves help keep stabilizers organized and moisture-free, preserving their quality for future projects.
Software and Accessories for Superior Support
Embroidery software like Hatch 3 includes stabilizer recommendation features, offering customized settings based on fabric types and project needs. These capabilities optimize support and minimize puckering or shifting. Additionally, heat-cut tools are essential accessories that enable precise trimming of stabilizers with clean edges, ensuring an even surface for embroidery work.
Incorporating these tools and equipment into your embroidery setup maximizes efficiency and quality. Good planning, the right stabilizers, and advanced machinery help achieve professional-grade results consistently, making your embroidery projects smoother and more successful.
Cost Analysis: Choosing Stabilizers That Save You Money Over Time

Selecting the right embroidery backing paper is crucial not only for achieving quality results but also for managing your project costs effectively. Different stabilizers vary widely in initial investment, durability, and suitability for specific projects, which impacts long-term savings. Understanding these factors can help you optimize your supplies and reduce overall expenses.
While tear-away stabilizers like Brother’s offer an affordable option at around $15 for a 50-yard roll—enough for approximately 12 standard projects—others like Sulky’s cut-away stabilizer cost roughly $20 for 40 yards. Despite higher upfront costs, durable stabilizers can last longer in intensive use, lowering the per-project cost. Wash-away stabilizers, such as NatureTrail, average $18 for 30 yards and are ideal for delicate fabrics but may need more frequent replacement, increasing long-term expenses if not managed properly.
Evaluating Project Volume and Cost-Effectiveness
Frequent embroiderers benefit significantly from bulk purchases, which can reduce costs per project by up to 30%. For instance, a roll of Brother stabilizer supplies about 12 standard projects at roughly $1.25 each, making it highly economical for high-volume work. Similarly, Sulky’s stabilizer, though more expensive initially, lasts twice as long in dense projects, decreasing per-project costs by 25%. Proper storage—such as temperature-controlled, moisture-free zip bags—can extend stabilizer shelf life by up to 12 months, further maximizing your investment and reducing waste.
Practical Storage & Maintenance Tips for Backing Papers
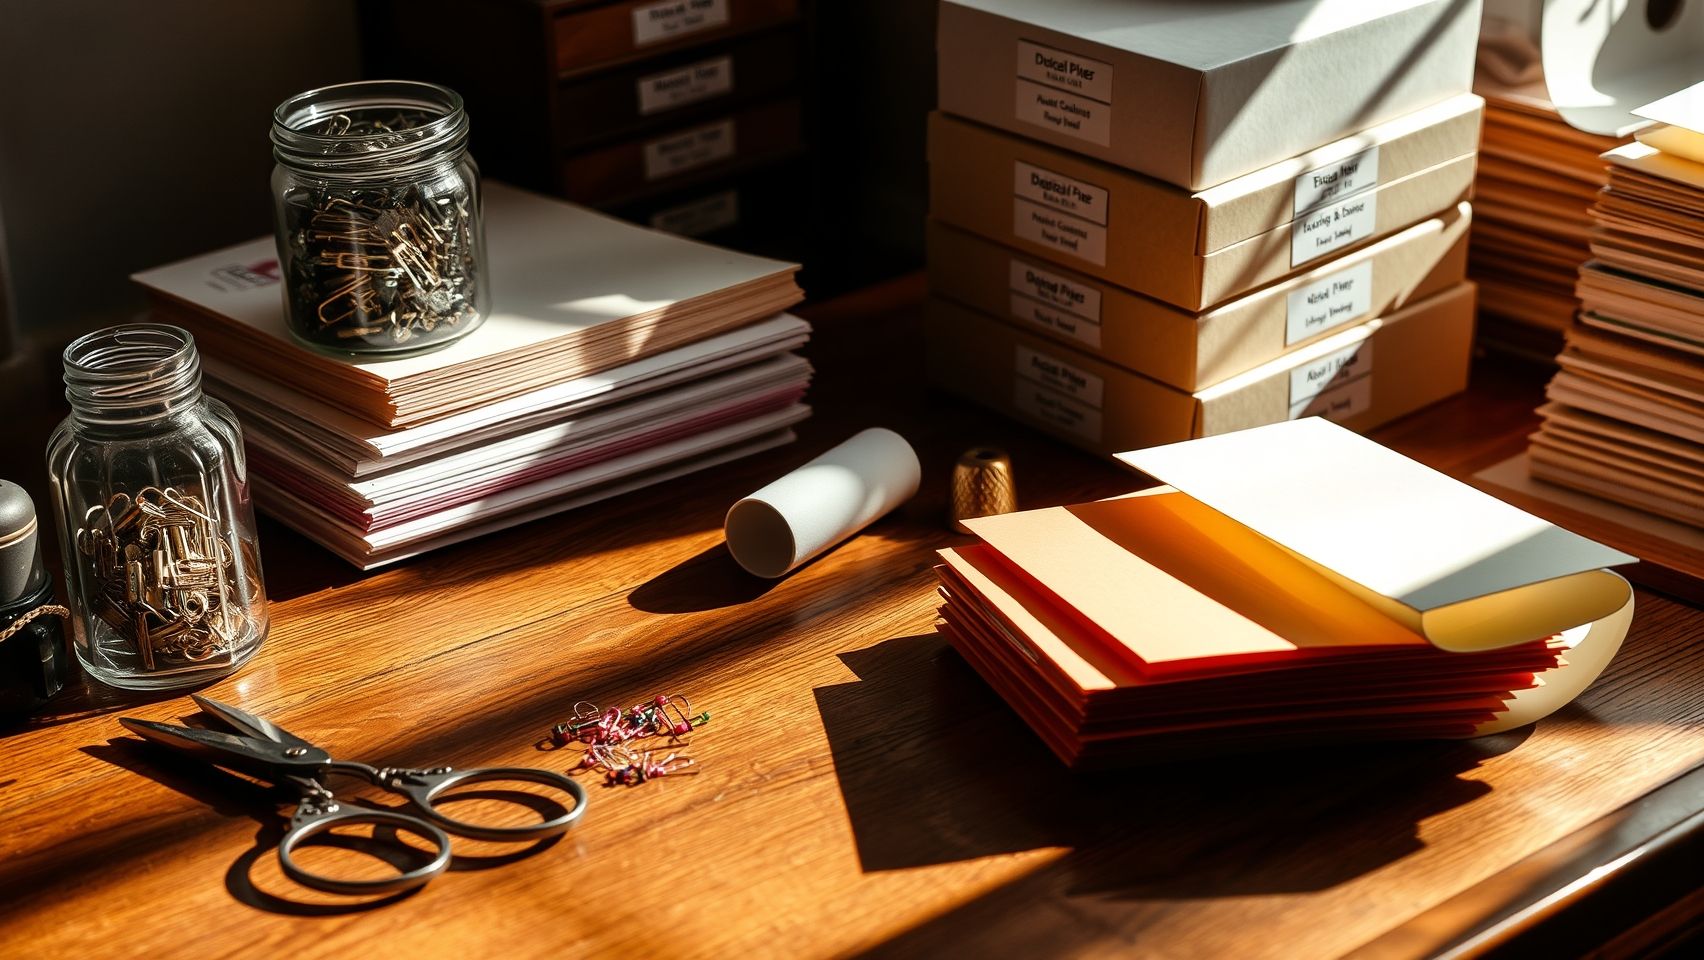
Proper storage and maintenance of embroidery backing paper are essential to ensure their longevity, prevent damage, and facilitate quick access during projects. Implementing simple yet effective strategies can significantly prolong the usability of stabilizers and save time when preparing for embroidery tasks.
By organizing stabilizers in suitable storage environments, embroiderers can avoid issues like warping, tearing, or moisture damage. Additionally, maintaining a consistent temperature and humidity level helps preserve delicate stabilizers, especially those sensitive to moisture, such as wash-away types.
Storage Methods for Stability and Accessibility
Store stabilizers flat in acid-free boxes or file drawers to prevent warping and tearing. Roll stabilizers carefully and label each roll by stabilizer type and fabric compatibility to streamline project setup. Using moisture absorbers like silica gel packets inside storage containers helps prevent humidity-related deterioration.
Ensure the storage environment remains consistent—around 65°F with relative humidity below 50%—to maintain stabilizer integrity. Avoid stacking heavy objects on stored rolls to prevent deformation and potential damage. Regularly inspect supplies for signs of pest infestation or deterioration, replacing materials as needed.
Research indicates that stabilizers stored in sealed, acid-free containers at approximately 65°F showed no warping after six months, underscoring the importance of proper environment control. For moisture-sensitive stabilizers like wash-away, it is best to use them within six months of purchase for optimal results. Proper labeling has been shown to reduce project setup time by approximately 20%, enhancing efficiency for embroiderers.
Conclusion
In the world of embroidery, selecting the right backing paper is essential for achieving professional, clean, and durable results. As we’ve explored, understanding the differences among tear-away, cut-away, and wash-away stabilizers allows you to tailor your approach to your specific fabrics and project requirements. Properly chosen stabilizers not only enhance design clarity but also extend your equipment’s lifespan and improve overall efficiency.
Now is the time to put theory into practice. Start testing different stabilizers on your typical fabrics using this guide. Keep detailed notes on performance, ease of use, and costs to refine your backing choice process continually. Sharing your experiences with your community or online forums can also contribute valuable insights, helping fellow embroiderers improve their craft.
Remember, the key to mastery lies in consistent testing and learning. By applying these practical strategies, you’ll be empowered to make smarter, more confident choices that elevate your embroidery projects to new levels of quality and professionalism. Keep sewing, keep experimenting, and watch your skills flourish!
Your next masterpiece is just a stabilizer away — happy embroidering!
Mandala Crafts Bonded Nylon Thread Black Heavy Duty Sewing Threads - 1500 YDs Size 69 210D T70 Tex 70 Thread for Leather Jeans Weaving Outdoor Marine Upholstery Threads
$9.99 (as of July 6, 2025 07:59 GMT -04:00 - More infoProduct prices and availability are accurate as of the date/time indicated and are subject to change. Any price and availability information displayed on [relevant Amazon Site(s), as applicable] at the time of purchase will apply to the purchase of this product.)
Simthread 6 Gold Metallic Embroidery Machine Thread 500M(550Y) for Embroidery and Decorative Sewing
$15.99 (as of July 7, 2025 05:32 GMT -04:00 - More infoProduct prices and availability are accurate as of the date/time indicated and are subject to change. Any price and availability information displayed on [relevant Amazon Site(s), as applicable] at the time of purchase will apply to the purchase of this product.)
DMC 117F25HDC Embroidery Floss Pack 8.7yd, Home Decor 36/Pkg
$22.99 (as of July 6, 2025 13:06 GMT -04:00 - More infoProduct prices and availability are accurate as of the date/time indicated and are subject to change. Any price and availability information displayed on [relevant Amazon Site(s), as applicable] at the time of purchase will apply to the purchase of this product.)
262 Pack Embroidery Thread Floss Kit Including 200 Colors 8 M/Pcs Cross Stitch Sewing Thread with Floss Bins and 62 Pcs Cross Stitch Tool,4-Tier Transparent Storage Box
$27.99 (as of July 6, 2025 07:59 GMT -04:00 - More infoProduct prices and availability are accurate as of the date/time indicated and are subject to change. Any price and availability information displayed on [relevant Amazon Site(s), as applicable] at the time of purchase will apply to the purchase of this product.)
Eoehro 72pcs Sewing Thread kit, 36 Colors Sewing Machine Threads, Prewound Bobbins Sewing Threads Kit, Sewing Machine Thread Assortment, 400 Yards per Spools Polyester Thread
$17.89 (as of July 6, 2025 07:59 GMT -04:00 - More infoProduct prices and availability are accurate as of the date/time indicated and are subject to change. Any price and availability information displayed on [relevant Amazon Site(s), as applicable] at the time of purchase will apply to the purchase of this product.)
Cricut® Value Iron-On, White (12 in x 5 ft)- HTV Heat Transfer Vinyl
$6.99 (as of July 5, 2025 11:04 GMT -04:00 - More infoProduct prices and availability are accurate as of the date/time indicated and are subject to change. Any price and availability information displayed on [relevant Amazon Site(s), as applicable] at the time of purchase will apply to the purchase of this product.)
Juki Industrial 4-Thread Overlock Sewing Machine, K.D Table & Servo Motor with REX LED Sewing Light DIY
$1,799.00 (as of July 6, 2025 13:06 GMT -04:00 - More infoProduct prices and availability are accurate as of the date/time indicated and are subject to change. Any price and availability information displayed on [relevant Amazon Site(s), as applicable] at the time of purchase will apply to the purchase of this product.)
Leather Skiving Machine, 1200 Rpm SM-801 Industrial Sewing Machine for Felt Plastic Rubber, 600W Brushless Servo Motor Set, Electric Leather Skiving Thinning Machine
$279.99 (as of July 6, 2025 13:06 GMT -04:00 - More infoProduct prices and availability are accurate as of the date/time indicated and are subject to change. Any price and availability information displayed on [relevant Amazon Site(s), as applicable] at the time of purchase will apply to the purchase of this product.)
YUCHENGTECH Edge Bander Banding Machine Hot Air Edgebander Portable Edge Bander Banding Machine include Heat Gun and Track Guidance 110V
$98.00 (as of July 6, 2025 13:06 GMT -04:00 - More infoProduct prices and availability are accurate as of the date/time indicated and are subject to change. Any price and availability information displayed on [relevant Amazon Site(s), as applicable] at the time of purchase will apply to the purchase of this product.)