Oh No! My Scissors Just Aren’t Cutting It
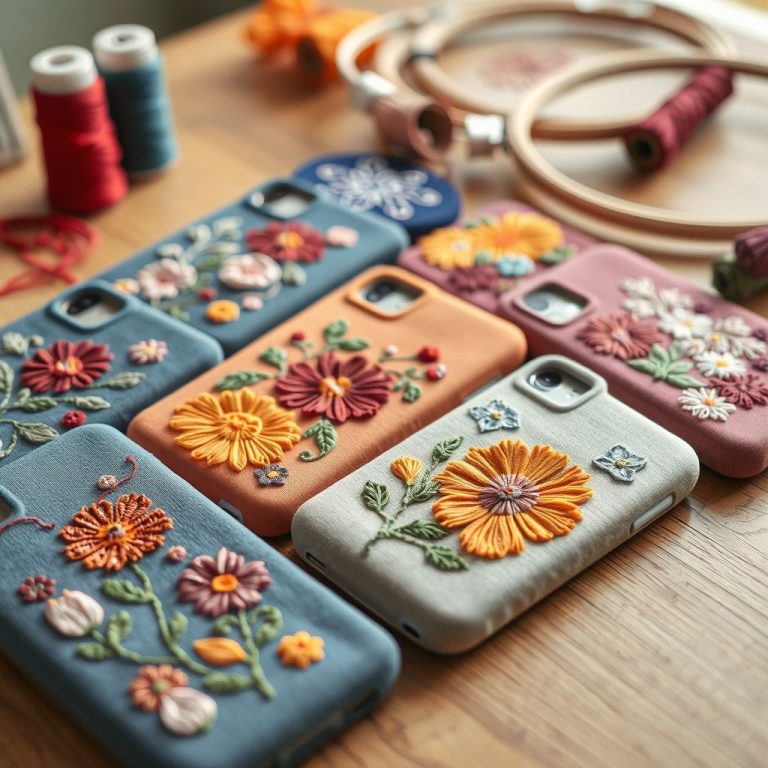
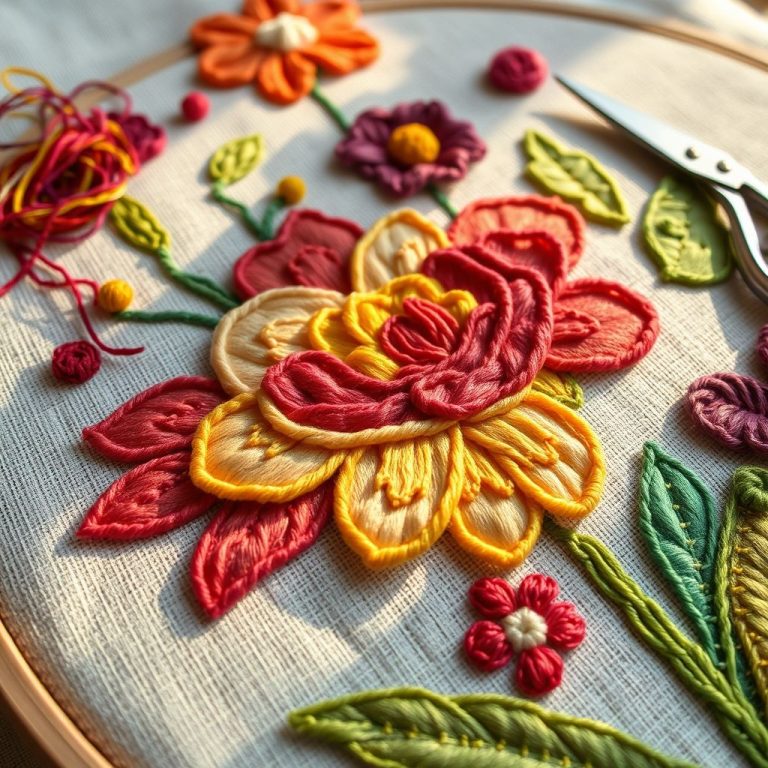
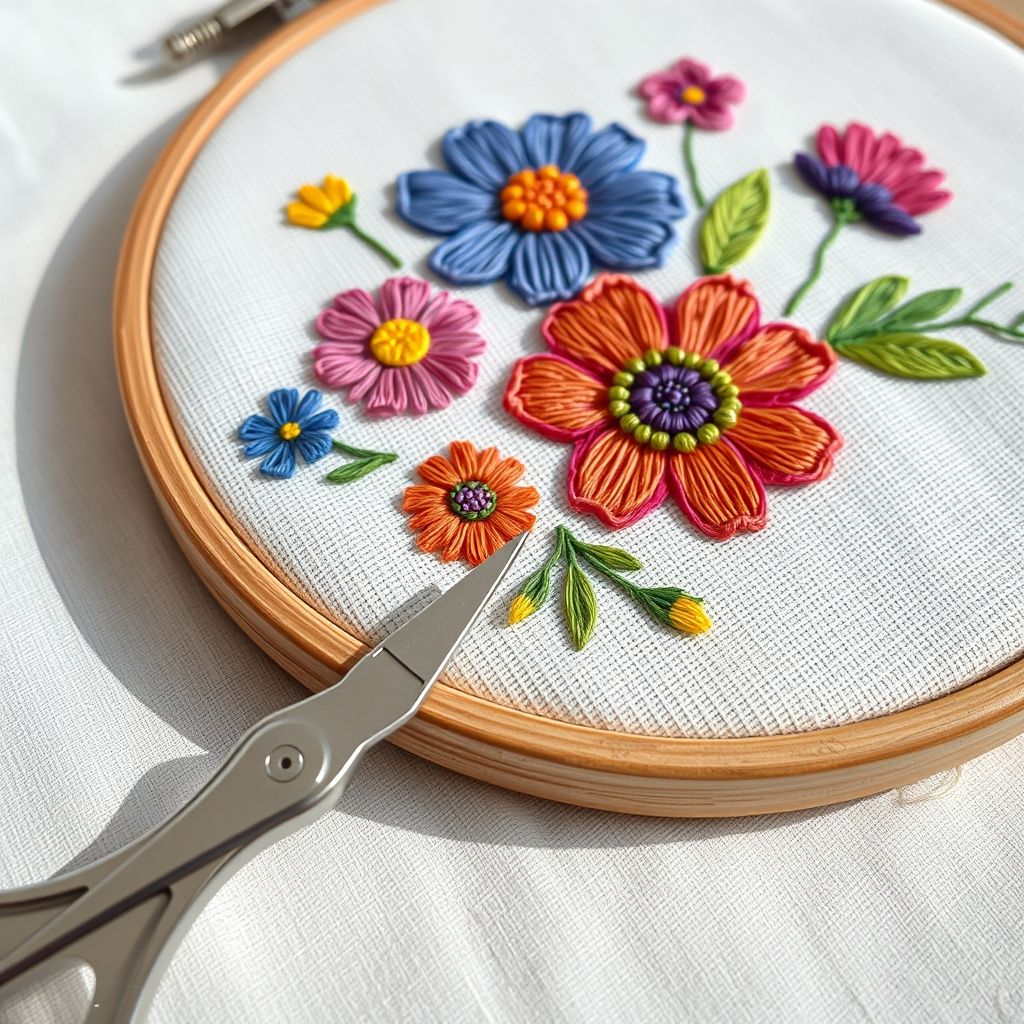
Embroidery, the art of adorning fabric with thread and needle, has captivated crafters for centuries. From delicate floral motifs to bold, modern designs, the possibilities are endless. But before you can unleash your creativity and bring your embroidery visions to life, you need the right tools. Embarking on an embroidery journey without the proper equipment is like trying to paint without brushes – frustrating and ultimately unproductive. Think of your embroidery tools as the building blocks of your art; they empower you to execute intricate stitches, manage your fabric with precision, and achieve professional-looking results.
This isn’t just about accumulating a bunch of shiny new gadgets; it’s about investing in tools that will support your learning, improve your technique, and make the entire embroidery process more enjoyable. You’ll spend less time wrestling with your materials and more time focusing on the creative flow. In this guide, we’ll explore the essential embroidery tools that every crafter needs, regardless of their skill level. We’ll delve into the nuances of selecting the perfect embroidery hoop, the importance of sharp and reliable scissors, the magic of water-soluble pens, and the necessity of a well-stocked needle collection. We’ll also touch on thread organizers, seam rippers (because mistakes happen!), and other handy tools that will elevate your embroidery game. So, gather your supplies, and let’s embark on this journey together!
Choosing the Right Embroidery Hoop
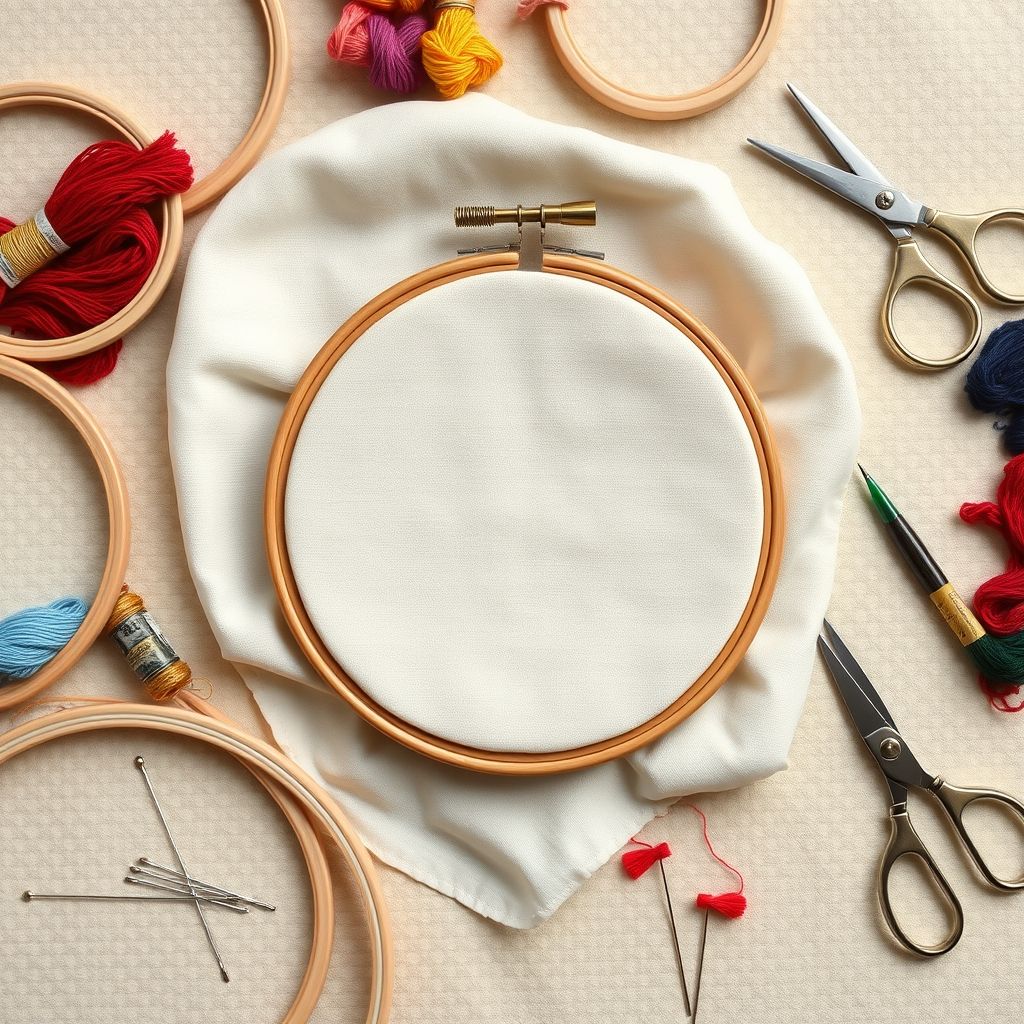
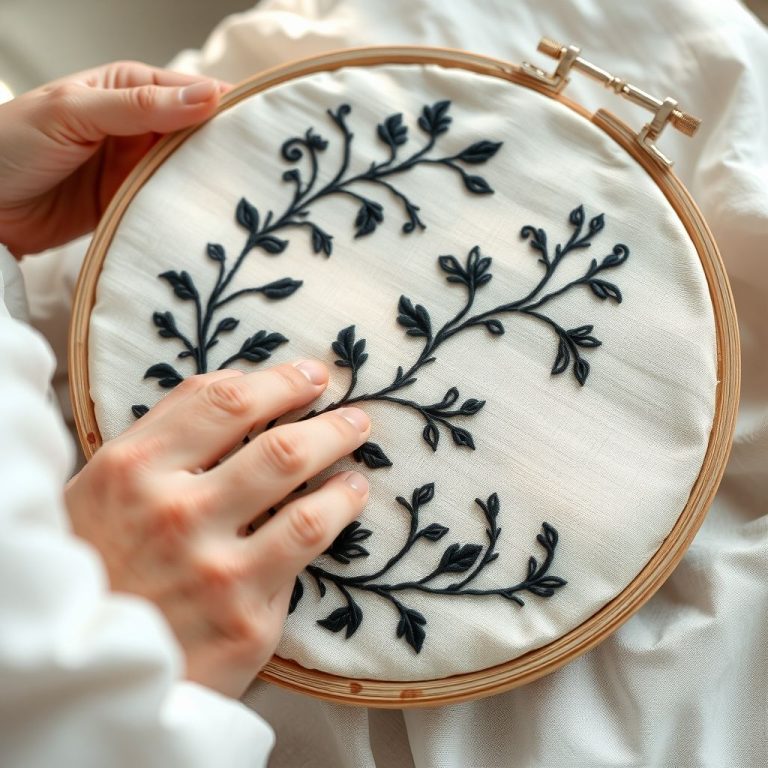
The humble embroidery hoop is arguably the most fundamental tool in any embroiderer’s arsenal. It serves as a steadfast frame, maintaining fabric tautness and preventing unwanted puckering or distortion during the stitching process. While the market offers a plethora of hoop options, understanding their nuances is key to selecting the perfect one for your project. Hoops come in various materials, including wood, plastic, and metal, each with its own set of advantages and disadvantages. Wooden hoops, often favored for their classic aesthetic and comfortable grip, can sometimes be prone to warping or splintering. Plastic hoops, on the other hand, offer durability and affordability, but may lack the natural feel of their wooden counterparts. Metal hoops, known for their strength and longevity, are a popular choice for larger or more intricate projects.
Beyond the material, consider the size and shape of the hoop. Smaller hoops are ideal for delicate details and intricate patterns, while larger hoops provide ample space for more expansive designs. Round hoops are the most common and versatile option, but oval and square hoops can be particularly useful for specific project shapes. Spring tension hoops are also gaining popularity for their ease of use and ability to maintain consistent fabric tension. Experiment with different hoop types to discover what feels most comfortable and effective for your individual embroidery style. Remember, a well-chosen hoop is your steadfast companion, supporting your creative endeavors every step of the way. When selecting your first hoop, consider something like the options explored in this helpful article: embroidery hoop face-off wood plastic and flexi.
The tension of your hoop is also a critical factor. Too loose, and your fabric will sag, making it difficult to create clean, precise stitches. Too tight, and you risk distorting the fabric or even breaking your needle. The ideal tension is one where the fabric is taut but still has a slight give. Regularly check and adjust the tension as you work to ensure consistent results. Clean your hoop regularly to prevent dirt and oils from transferring to your fabric. A simple wipe down with a damp cloth will suffice. With proper care and attention, your embroidery hoop will become a trusted and indispensable tool in your creative arsenal.
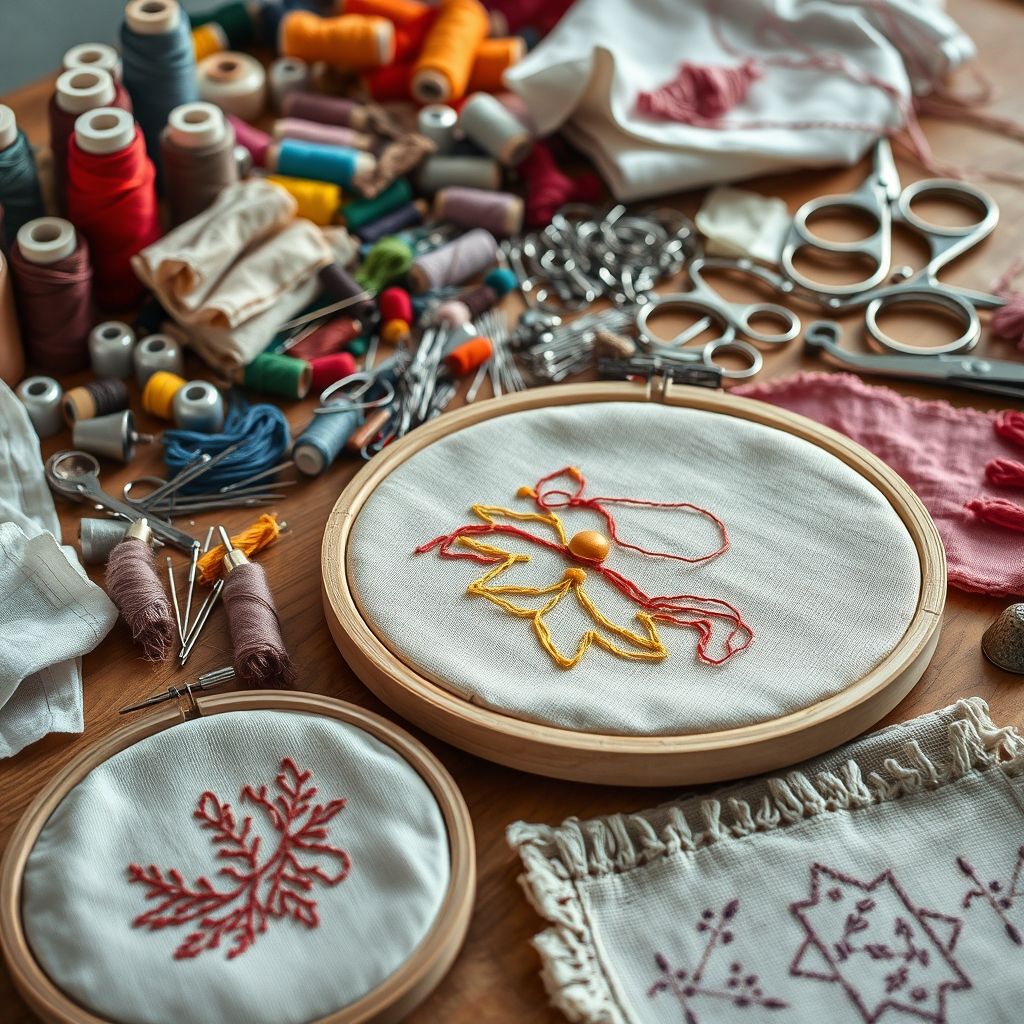
The Importance of Sharp Embroidery Scissors
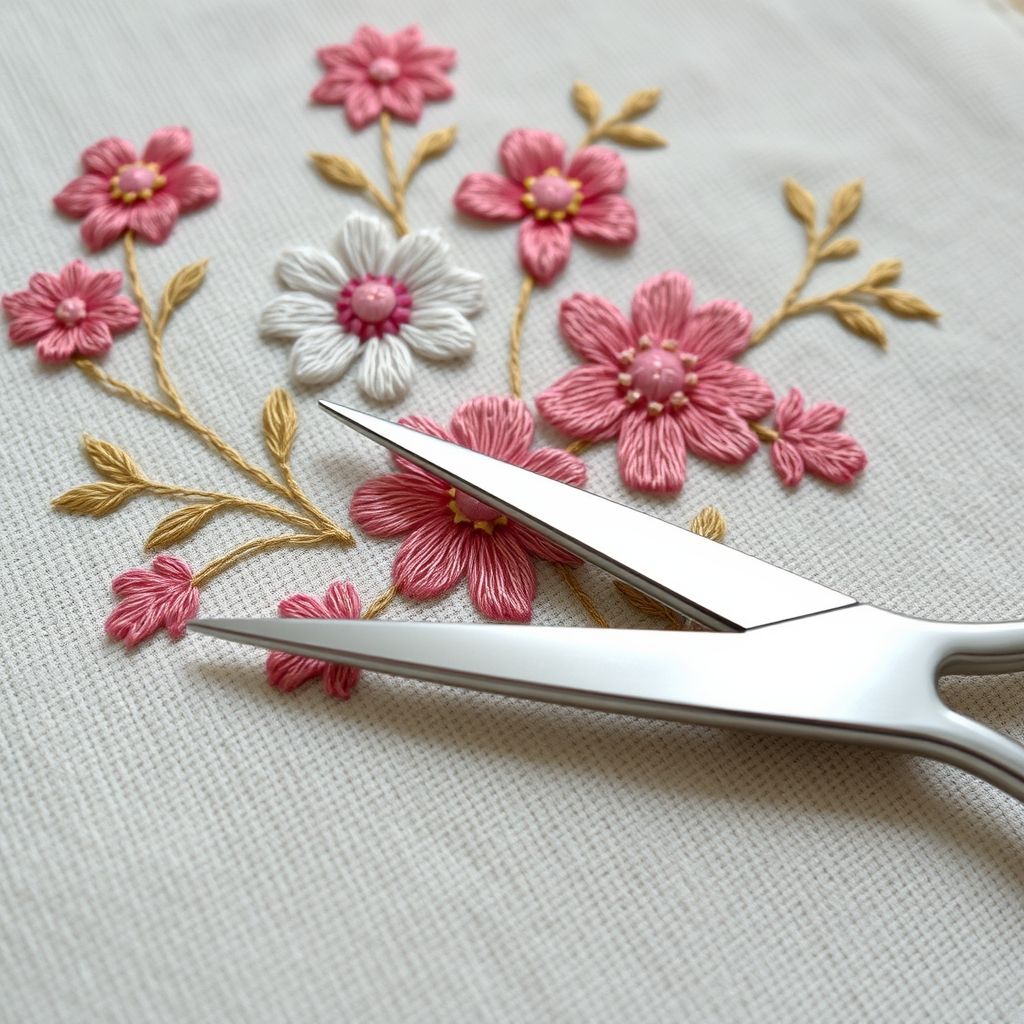
While seemingly simple, a pair of sharp, dedicated embroidery scissors is an absolute must-have for any serious crafter. These aren’t your everyday household scissors; they’re precision instruments designed for snipping threads cleanly and closely, without damaging the surrounding fabric. Dull scissors can snag threads, create unsightly fuzz, and generally wreak havoc on your delicate embroidery work. Invest in a good quality pair of embroidery scissors with fine, pointed blades. The sharpness and precision will allow you to clip threads with ease, leaving a clean and professional finish.
There are several types of embroidery scissors available, each with its own unique features and benefits. Curved blade scissors are particularly useful for trimming threads close to the fabric surface, while stork embroidery scissors, with their distinctive bird-like shape, are a popular choice for their aesthetic appeal and comfortable grip. Spring-loaded scissors, on the other hand, offer effortless cutting action, reducing hand fatigue during long stitching sessions. Consider your individual needs and preferences when selecting your embroidery scissors. Look for scissors that feel comfortable in your hand, have sharp, durable blades, and are specifically designed for thread snipping. Never use your embroidery scissors for cutting paper or other materials, as this will dull the blades and render them less effective for thread work.
Keep your embroidery scissors clean and protected when not in use. A small sheath or case will prevent the blades from getting damaged and protect you from accidental cuts. Sharpen your scissors regularly to maintain their cutting edge. There are various sharpening tools available, or you can take your scissors to a professional sharpener. With proper care and maintenance, your embroidery scissors will become a reliable and indispensable tool, ensuring clean and precise thread snipping for years to come. Think of them as an extension of your hand, allowing you to achieve flawless results with every stitch. Keeping your scissors sharp will greatly increase your project’s longevity. Consider looking into fabric options if you aren’t sure where to start:

White Tulle Fabric Roll Spool Bolt (54 Inch by 40 Yards) Large Tulle Wedding Party Decoration, Tutu Skirt, Table Runner, Gift Wrapping, Bridal Shower, Soft & Drape (White)
$18.99 (as of June 1, 2025 20:27 GMT -04:00 - More infoProduct prices and availability are accurate as of the date/time indicated and are subject to change. Any price and availability information displayed on [relevant Amazon Site(s), as applicable] at the time of purchase will apply to the purchase of this product.)
Homiest White Satin Fabric by The Yard, 1 Yard x 58 Inch Charmeuse Satin Fabric Silky & Shiny Cloth Fabric, Smooth Bridal Satin Fabric for Wedding Dress, Clothing Making, DIY Crafts, Sewing
$5.99 (as of June 1, 2025 20:27 GMT -04:00 - More infoProduct prices and availability are accurate as of the date/time indicated and are subject to change. Any price and availability information displayed on [relevant Amazon Site(s), as applicable] at the time of purchase will apply to the purchase of this product.)
9KM DWLIFE Fabric, Black Waterproof Ripstop Nylon Fabric 40D, 60x39 Inches, Lightweight, PU Coating, Airtight Fabric for Kite, Tent, Flag, Bag, Tarp Cover, DIY Project
$7.70 (as of June 1, 2025 20:27 GMT -04:00 - More infoProduct prices and availability are accurate as of the date/time indicated and are subject to change. Any price and availability information displayed on [relevant Amazon Site(s), as applicable] at the time of purchase will apply to the purchase of this product.)
7Pcs 20" x 20" Cotton Fabric DIY Making Supplies Quilting Patchwork Gingham Fabric Fat Quarter Bundles DIY for Quilting Cotton Patchwork Cushions (Blue, 20" x 20")
$9.49 (as of June 1, 2025 20:27 GMT -04:00 - More infoProduct prices and availability are accurate as of the date/time indicated and are subject to change. Any price and availability information displayed on [relevant Amazon Site(s), as applicable] at the time of purchase will apply to the purchase of this product.)
HaoFeijh Black Felt Fabric 72 * 36 Inch Wide 1.6mm,Fabric Sheets Soft Woven Acrylic Craft Fabric for DIY Craftwork Sewing Patchwork,Craft Felt
$11.99 (as of June 1, 2025 20:27 GMT -04:00 - More infoProduct prices and availability are accurate as of the date/time indicated and are subject to change. Any price and availability information displayed on [relevant Amazon Site(s), as applicable] at the time of purchase will apply to the purchase of this product.)Needles: A Variety is Key
Embroidery needles are not created equal. Different fabrics and threads require different needle sizes and types to ensure smooth and even stitching. A blunt needle can damage delicate fabrics, while a needle that’s too small can make it difficult to thread and pull through the fabric. Building a collection of embroidery needles in various sizes and styles is essential for tackling a wide range of projects.
Embroidery needles are typically categorized by size, with smaller numbers indicating larger needles. For example, a size 1 needle is much larger than a size 10 needle. The appropriate needle size will depend on the weight and thickness of your thread and the type of fabric you’re using. Finer fabrics, such as silk or linen, require smaller needles to prevent unsightly holes. Thicker fabrics, such as denim or canvas, require larger needles to accommodate the thread. Crewel needles, also known as embroidery needles, are the most common type of needle used for embroidery. They have a long eye that’s easy to thread and a sharp point that glides smoothly through the fabric. Tapestry needles, with their blunt point, are ideal for counted cross-stitch and needlepoint, where it’s important to avoid splitting the fabric threads. Bead embroidery needles are long and thin, with a large eye that can accommodate beads of various sizes. Always use the appropriate needle for the task at hand to prevent damage to your fabric and thread. To understand more about which needle to use, consult: embroidery needle know-how choosing the right one.
Store your needles in a safe and organized manner to prevent them from getting lost or damaged. A needle case or pincushion is a great way to keep your needles readily accessible and protected. Discard any bent or damaged needles immediately to avoid injury. With a well-stocked needle collection and proper care, you’ll be prepared to tackle any embroidery project with confidence and ease. Remember, the right needle is your key to unlocking flawless stitching and achieving professional-looking results.
The Magic of Water-Soluble Pens
Transferring your embroidery design onto fabric accurately is crucial for achieving the desired outcome. While traditional methods like tracing with carbon paper can be effective, they can also be messy and leave permanent marks on your fabric. This is where water-soluble pens come to the rescue. These magical markers allow you to draw your design directly onto the fabric with ease, and the ink disappears completely when exposed to water. Water-soluble pens are a game-changer for embroiderers of all skill levels, offering a clean, precise, and hassle-free way to transfer designs.
When selecting a water-soluble pen, look for one that is specifically designed for fabric. These pens typically contain a non-toxic, acid-free ink that won’t damage or stain your fabric. Test the pen on a scrap of fabric before using it on your project to ensure that the ink washes away completely. Always follow the manufacturer’s instructions for removing the ink. Typically, a damp cloth or a quick rinse under cool water will suffice. Avoid using harsh detergents or bleach, as these can damage the fabric. There are different types of water-soluble pens available, including fine-tipped pens for intricate details and broader markers for bolder lines. Experiment with different pen types to find the one that suits your individual needs and preferences. Some pens also come with an eraser, which allows you to correct mistakes before washing the ink away.
With water-soluble pens, you can confidently transfer your designs onto fabric without the fear of permanent marks or messy residue. These pens are a valuable addition to any embroiderer’s toolkit, offering a clean, precise, and convenient way to bring your creative visions to life. Imagine the freedom of drawing directly onto your fabric, knowing that any mistakes can be easily erased with a simple damp cloth. Embrace the magic of water-soluble pens and elevate your embroidery experience to a whole new level.
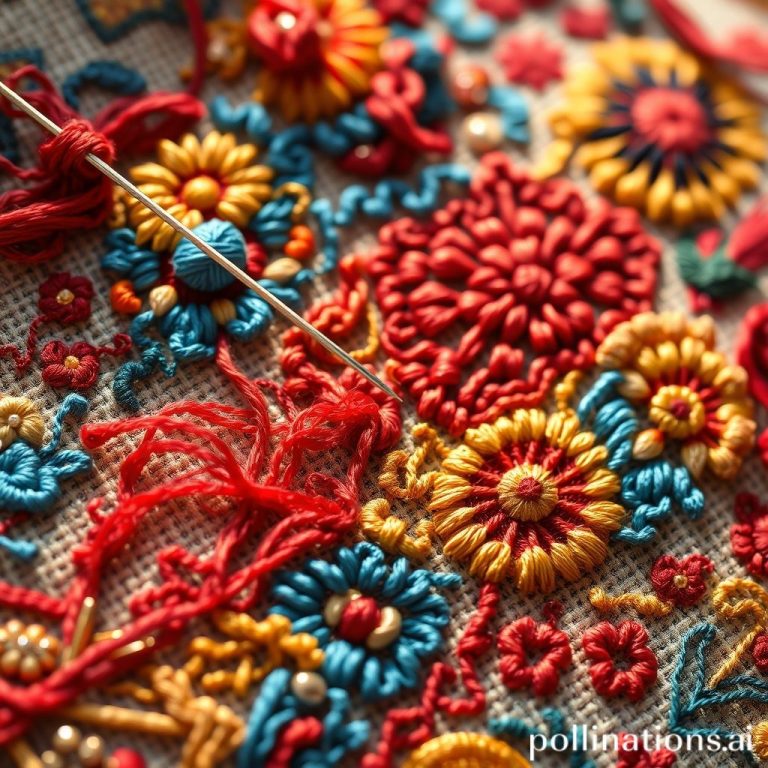
Thread Organizers: Taming the Chaos
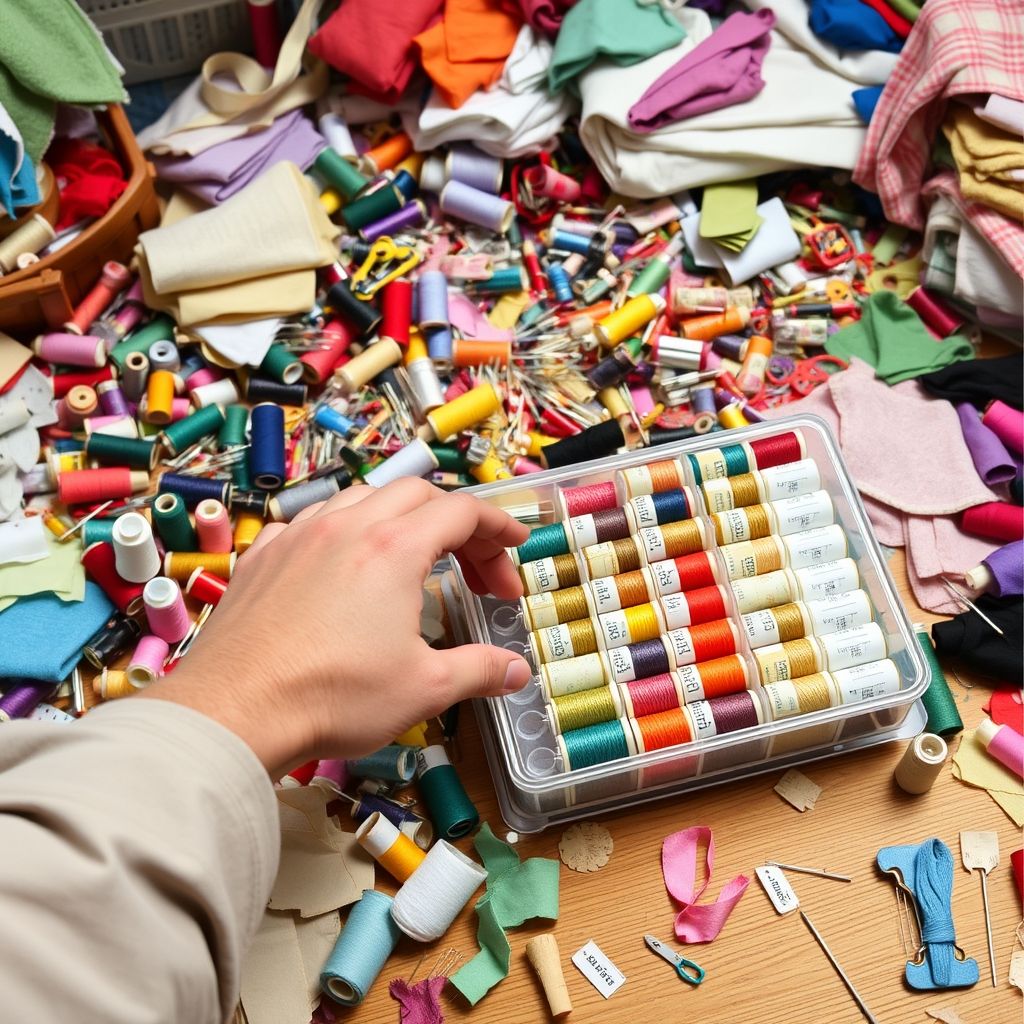
Anyone who’s spent more than a few hours embroidering knows the frustration of tangled threads. A chaotic collection of loose skeins can quickly derail your creative flow and turn your crafting space into a disaster zone. Investing in a thread organizer is a simple yet effective way to tame the chaos and keep your embroidery threads neat, organized, and readily accessible.
There are various types of thread organizers available, each with its own set of advantages and disadvantages. Thread boxes, with their individual compartments or spools, are a popular choice for storing a large collection of threads. Thread racks, which display threads vertically, are ideal for showcasing your color palette and making it easy to select the perfect shade. Thread bobbins, small plastic or cardboard spools, are a great way to wind leftover thread and prevent tangling. Choose a thread organizer that suits your individual needs and storage space. Consider the number of threads you need to store, the size of your workspace, and your personal organizational preferences. Label your thread organizers clearly to easily identify the colors and types of threads you have on hand. A well-organized thread collection not only saves you time and frustration but also inspires creativity by allowing you to see all your color options at a glance.
Beyond physical organizers, consider digital tools too. Many crafters use spreadsheets or dedicated apps to track their thread inventory, noting color numbers, brands, and quantities. This can be especially useful for larger collections or when ordering new threads online. Embrace the power of organization and transform your thread collection from a tangled mess into a source of inspiration. With a well-organized and readily accessible thread collection, you’ll be able to focus on your creative endeavors without the distraction of tangled threads and lost colors. Don’t let the chaos of unorganized supplies diminish your work: choosing the right stabilizer for your embroidery project can be a similar organizational headache if left unaddressed.
The Unsung Hero: A Reliable Seam Ripper
Let’s face it: mistakes happen. Even the most experienced embroiderers occasionally make a wrong stitch or misplace a color. That’s where the humble seam ripper comes to the rescue. This unassuming tool is an essential part of any embroiderer’s kit, allowing you to undo stitches quickly and cleanly, without damaging the surrounding fabric. A reliable seam ripper can save you countless hours of frustration and prevent minor errors from turning into major disasters.
When selecting a seam ripper, look for one that is sharp, comfortable to hold, and has a pointed tip that can easily slip under the stitches. There are two main types of seam rippers: the traditional seam ripper, which has a curved blade and a small ball on the end, and the quick unpick, which has a straight blade and a handle. The traditional seam ripper is more versatile and can be used for a wider range of tasks, while the quick unpick is faster and more efficient for removing long lines of stitches. Practice using your seam ripper on a scrap of fabric before using it on your project to get a feel for how it works and avoid accidentally cutting the fabric. Gently slide the pointed tip of the seam ripper under the stitch you want to remove, then carefully lift and cut the thread. Avoid pulling or tugging on the fabric, as this can distort the weave or create unsightly holes. With a little practice, you’ll be able to undo stitches quickly and cleanly, without leaving any trace of your mistake.
A seam ripper is more than just a tool for fixing mistakes; it’s a symbol of resilience and a reminder that it’s okay to make errors. Embrace the learning process, and don’t be afraid to experiment and take risks. With a reliable seam ripper by your side, you can confidently tackle any embroidery challenge, knowing that you have the tools to correct any errors that may arise. Treat mistakes as opportunities for growth and learning, and let the seam ripper be your trusted companion on your embroidery journey. Stabilizers can also help prevent mistakes, learn more here: embroidery stabilizers mastering when and why to use them.
Lighting is Key
Good lighting is often overlooked but absolutely essential for successful embroidery. Trying to stitch intricate details in poor lighting can lead to eye strain, headaches, and ultimately, mistakes. Investing in a good quality task light will not only improve your visibility but also enhance your overall embroidery experience.
When choosing a task light, look for one that provides bright, even illumination without creating glare or shadows. LED lights are a popular choice for embroidery, as they are energy-efficient, long-lasting, and provide a clear, natural light. Adjustable task lights allow you to direct the light exactly where you need it, while magnifying lamps can be helpful for working on very fine details. Consider the color temperature of the light. Cool white light is generally preferred for detail work, as it provides better contrast and clarity. Position your task light so that it illuminates your work area without casting shadows on your hands or fabric. Experiment with different lighting angles to find the one that works best for you. In addition to task lighting, make sure your overall workspace is well-lit. Natural light is ideal, but if that’s not possible, supplement with overhead lighting or lamps. With good lighting, you’ll be able to see your stitches clearly, reduce eye strain, and create more accurate and precise embroidery work.
Don’t underestimate the impact of good lighting on your embroidery projects. A well-lit workspace is not only more comfortable but also more conducive to creativity and productivity. Invest in a good quality task light and create a bright, inviting space where you can immerse yourself in the art of embroidery. With clear visibility and reduced eye strain, you’ll be able to focus on the details, improve your technique, and create stunning embroidery pieces that you can be proud of.
Conclusion
Embroidery is a journey of creativity, skill, and patience, and having the right tools can make all the difference. From the essential embroidery hoop to the humble seam ripper, each tool plays a vital role in the success of your projects. By investing in good quality tools and learning how to use them effectively, you’ll not only improve your technique but also enhance your overall embroidery experience.
Remember, embroidery is more than just a craft; it’s an art form that allows you to express your creativity and bring your visions to life. With the right tools and a passion for stitching, you can create stunning embroidery pieces that will be cherished for years to come. Don’t be afraid to experiment, try new techniques, and let your creativity soar. Embrace the learning process, and don’t be discouraged by mistakes. Every stitch, whether perfect or imperfect, is a step forward on your embroidery journey. As you continue to hone your skills and expand your knowledge, you’ll discover new ways to use your tools and create even more intricate and beautiful designs.
So, gather your essential tools, find a quiet corner, and let your imagination run wild. The world of embroidery is waiting to be explored, and with the right tools and a little bit of passion, you can create masterpieces that will last a lifetime. Embrace the joy of stitching, and let your creativity shine through every thread. Happy embroidering!

AURIFIL USA Aurifil 50wt Cotton 1,422yd-White, 1422 yd, White
$13.08 (as of June 2, 2025 05:31 GMT -04:00 - More infoProduct prices and availability are accurate as of the date/time indicated and are subject to change. Any price and availability information displayed on [relevant Amazon Site(s), as applicable] at the time of purchase will apply to the purchase of this product.)
Simthread Brother 40 Colors 40 Weight Polyester Embroidery Machine Thread Kit 550Y(500M) for Brother Babylock Janome Singer Husqvarna Bernina Embroidery and Sewing Machines
$25.19 (as of June 2, 2025 05:31 GMT -04:00 - More infoProduct prices and availability are accurate as of the date/time indicated and are subject to change. Any price and availability information displayed on [relevant Amazon Site(s), as applicable] at the time of purchase will apply to the purchase of this product.)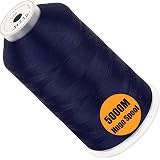
New brothread - Single Huge Spool 5000M Each Polyester Embroidery Machine Thread 40WT for Commercial and Domestic Machines - Navy Blue (Janome Color)
$7.99 (as of June 2, 2025 08:15 GMT -04:00 - More infoProduct prices and availability are accurate as of the date/time indicated and are subject to change. Any price and availability information displayed on [relevant Amazon Site(s), as applicable] at the time of purchase will apply to the purchase of this product.)
Friendship Bracelet Kit Embroidery Floss
$17.89 (as of June 2, 2025 08:15 GMT -04:00 - More infoProduct prices and availability are accurate as of the date/time indicated and are subject to change. Any price and availability information displayed on [relevant Amazon Site(s), as applicable] at the time of purchase will apply to the purchase of this product.)
New brothread Set of 2 White Bobbin Thread/Bottom Thread 60WT Huge Spool 5000M (5500Y) for Embroidery and Sewing Machines
$14.99 (as of June 2, 2025 05:31 GMT -04:00 - More infoProduct prices and availability are accurate as of the date/time indicated and are subject to change. Any price and availability information displayed on [relevant Amazon Site(s), as applicable] at the time of purchase will apply to the purchase of this product.)
NISDOCF Light Pink Ribbon 7/8 Inch 30 Yards Satin Craft Ribbon-Single Face Polyester Ribbon for Handmade Roses,Gift Wrapping,Timeless Flower,Bouquets,Wedding and Party Decoration
$5.99 (as of June 2, 2025 07:59 GMT -04:00 - More infoProduct prices and availability are accurate as of the date/time indicated and are subject to change. Any price and availability information displayed on [relevant Amazon Site(s), as applicable] at the time of purchase will apply to the purchase of this product.)
Smartstitch S-1201 Compact Embroidery Machine with 12 Needles, 1200SPM Max Speed, 7“ Touch Screen, 9.5"x12.6" Embroidery Area, Your First Commercial Embroidery Machine for Flat, Hat, T-shirt and more
$4,999.00 (as of June 2, 2025 07:57 GMT -04:00 - More infoProduct prices and availability are accurate as of the date/time indicated and are subject to change. Any price and availability information displayed on [relevant Amazon Site(s), as applicable] at the time of purchase will apply to the purchase of this product.)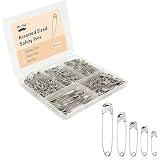
Mr. Pen Assorted Safety Pins - 300 Pack, Silver, Small & Large Sizes, Bulk for Clothes
$5.99 (as of June 2, 2025 07:59 GMT -04:00 - More infoProduct prices and availability are accurate as of the date/time indicated and are subject to change. Any price and availability information displayed on [relevant Amazon Site(s), as applicable] at the time of purchase will apply to the purchase of this product.)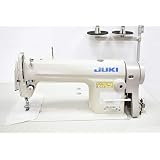
Juki DDL-8100e ECONOMIC Lockstitch Industrial Sewing Machine, White, Single Needle, Up to 4500 Stitches per Minute, Assembly Required
$859.00 (as of June 2, 2025 08:15 GMT -04:00 - More infoProduct prices and availability are accurate as of the date/time indicated and are subject to change. Any price and availability information displayed on [relevant Amazon Site(s), as applicable] at the time of purchase will apply to the purchase of this product.)