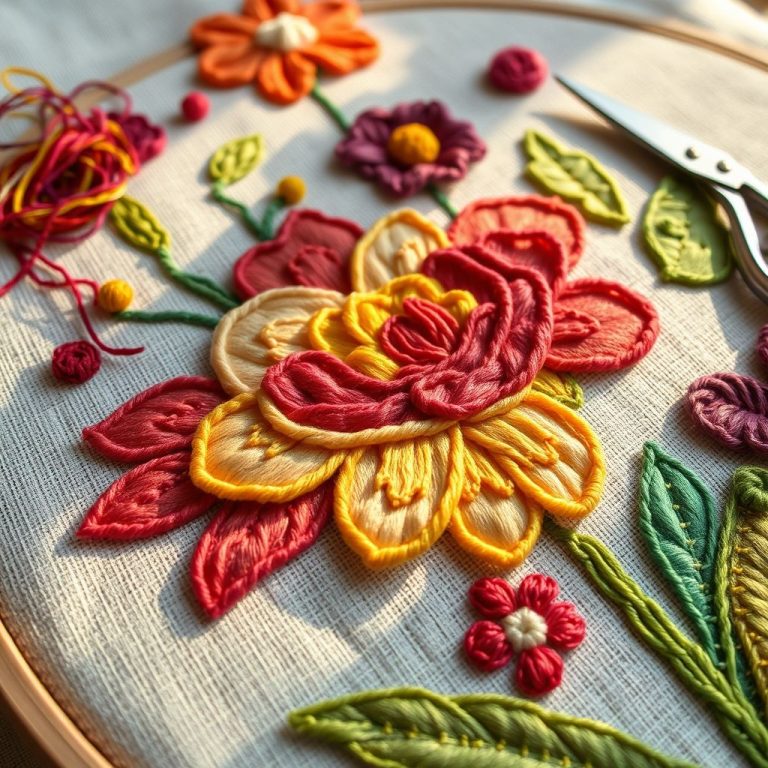
My Metallic Thread Keeps Shredding! Help!
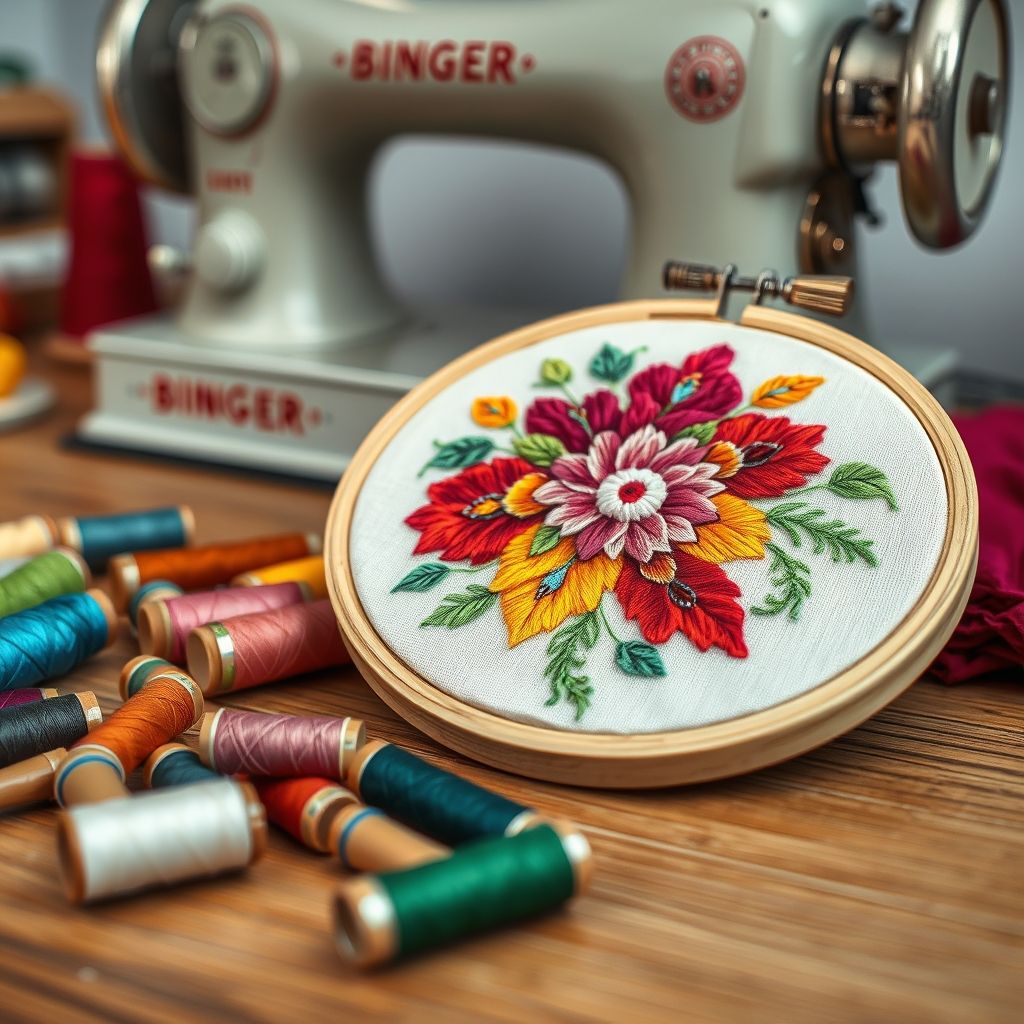
Metallic thread. Just the name conjures images of shimmering, dazzling embroidery and embellishments. But for many of us, the reality is more like a tangled, shredded mess that leaves us frustrated and ready to give up on our sparkly dreams. We’ve all been there: meticulously winding a bobbin, threading the needle with anticipation, only to have the thread break after just a few stitches. It’s enough to make any sewist or embroiderer want to stick to plain old cotton! But don’t despair. Metallic thread, while temperamental, can be tamed. The key is understanding its unique properties and adapting your techniques accordingly.
The allure of metallic thread is undeniable. It adds a touch of luxury and visual interest that other threads simply can’t match. From elegant monograms to dazzling appliques, metallic thread can elevate your projects to a whole new level. In this post, we’ll delve into the common culprits behind metallic thread woes and explore practical solutions to achieve smooth, snag-free stitching. We’ll cover everything from choosing the right needle and tension adjustments to thread lubrication and stabilizer selection. Think of this as your comprehensive guide to conquering the metallic thread beast and finally achieving those shimmering results you’ve always envisioned.
Here’s what we’ll cover:
- The importance of using the right needle.
- Adjusting your machine’s tension for metallic thread.
- The benefits of thread conditioner.
- Choosing the correct stabilizer.
- Slowing down your stitching speed.
- Bobbin thread considerations.
Choosing the Right Needle is Crucial
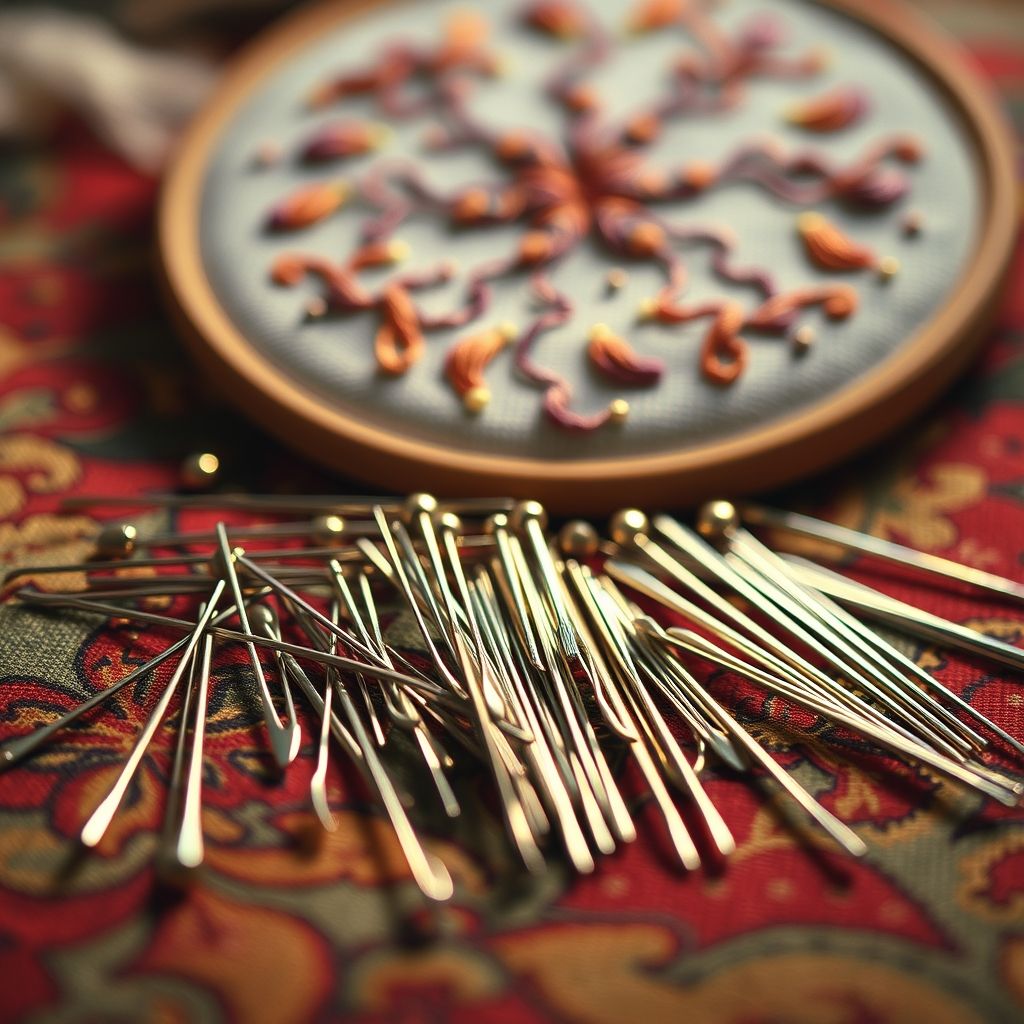
One of the most common mistakes people make when working with metallic thread is using the wrong needle. Metallic threads are more delicate than cotton or polyester threads and require a needle designed to minimize friction and stress. A standard universal needle simply won’t cut it. The sharp point and small eye can shred and break the thread before you even get a decent stitch in.
Look for needles specifically designed for metallic threads. These needles typically have a larger eye and a slightly rounded point. The larger eye allows the delicate metallic thread to pass through more easily, reducing friction and preventing shredding. The rounded point helps the needle glide through the fabric without snagging or damaging the thread. Needles labelled “Metallic,” “Embroidery,” or “Topstitch” are generally good choices. Size 80/12 or 90/14 are good starting points, but you may need to experiment to find the best size for your specific thread and fabric. Always replace your needle regularly, especially when working with metallic thread, as even a slightly damaged needle can cause problems.
As author and embroidery expert, Deborah Jones, notes in her book “Machine Embroidery and Embellishment,” “A specialized needle is perhaps the most important investment you can make when working with metallic threads. It can make the difference between a frustrating experience and a beautiful result.” Investing in a quality needle is investing in the success of your project. Don’t skimp on this crucial step! Consider experimenting with different needle brands and types to find what works best with your machine and your preferred metallic threads. You might be surprised at the difference it makes.
And remember, the correct needle can also have an impact on the texture of your final project. If you’re looking to unlock embroidery texture with different thread types, starting with the correct needle is essential.
Now that you have the right needle, let’s look at tension settings:
Mastering Tension Adjustments for Metallic Thread

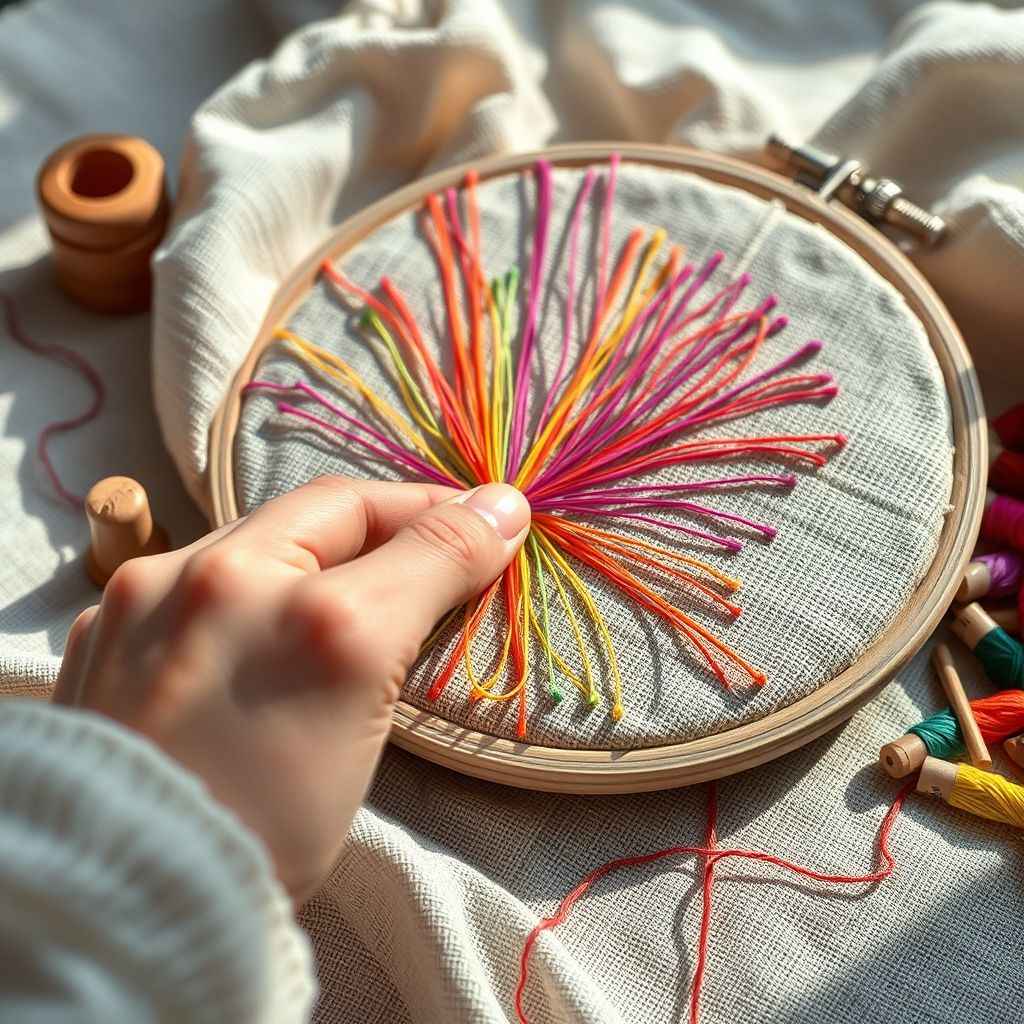
Tension is another critical factor in achieving smooth stitching with metallic thread. Incorrect tension can lead to a host of problems, including thread breaks, skipped stitches, and puckered fabric. Metallic threads often require a looser tension than standard threads, as they are less elastic and more prone to breakage under excessive stress.
Start by loosening both your top and bobbin tension slightly. The goal is to find the sweet spot where the thread flows smoothly without being too loose, which can cause loops on the back of your fabric. Test your tension on a scrap piece of fabric before starting your main project. Look closely at the stitches on both the top and bottom of the fabric. If you see loops on the back, your top tension is too loose. If you see the bobbin thread pulling through to the top, your top tension is too tight. Make small adjustments to your top tension, testing after each adjustment, until you achieve a balanced stitch.
Some sewing machines have automatic tension settings, but these may not always be optimal for metallic thread. Don’t be afraid to override the automatic settings and experiment with manual adjustments. Consult your sewing machine manual for specific instructions on adjusting the tension. “Understanding your machine’s tension settings is crucial for any type of sewing, but it’s especially important when working with delicate threads like metallics,” advises sewing instructor, Susan Clarke. “Take the time to experiment and find the perfect balance for your thread and fabric.” Remember, patience and experimentation are key to mastering tension adjustments.
Sometimes, even with tension adjustments, the thread still breaks. That’s where a thread conditioner comes in handy. Let’s discuss that next:
The Magic of Thread Conditioner
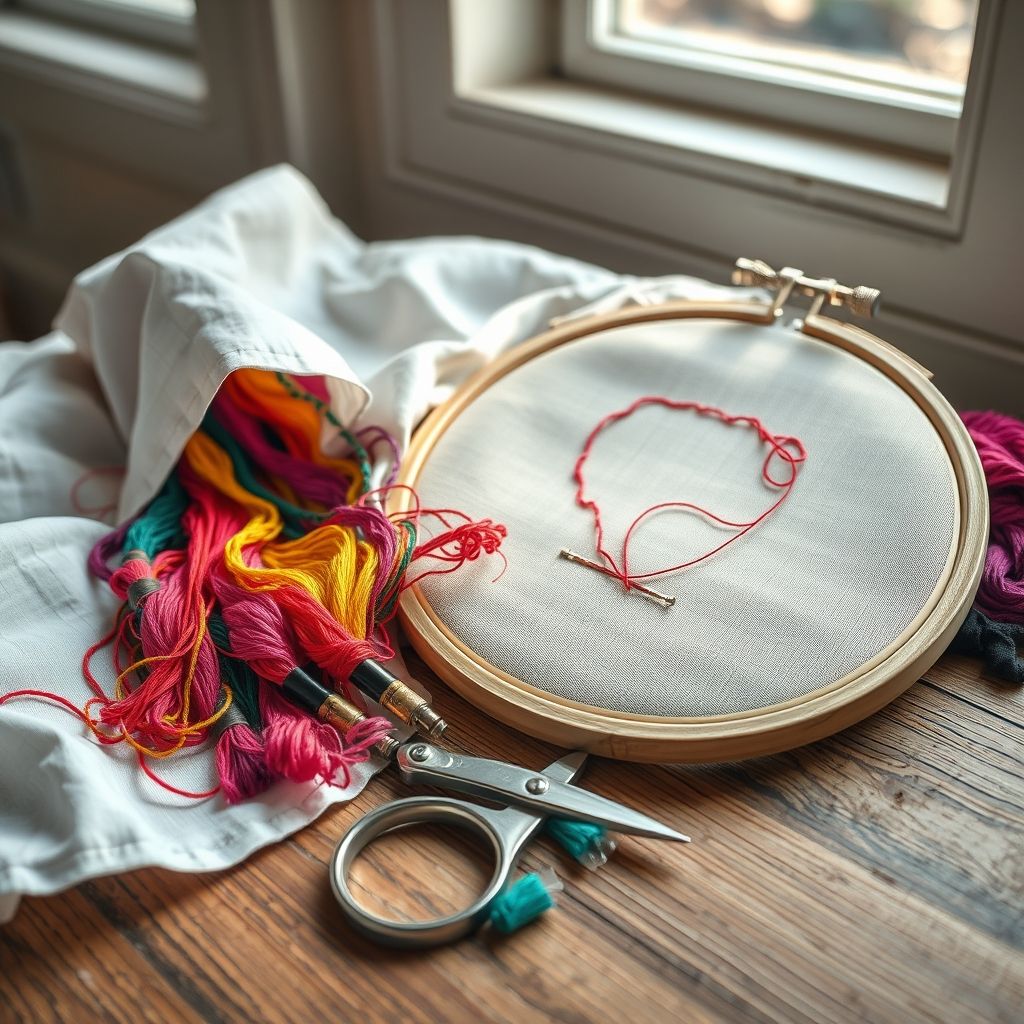
Thread conditioner is a game-changer when working with metallic thread. These products are designed to lubricate and protect the thread, reducing friction and preventing shredding and breakage. They work by coating the thread with a thin layer of wax or silicone, which allows it to glide more smoothly through the needle and fabric.
There are several types of thread conditioners available, including beeswax, silicone-based sprays, and liquid conditioners. Beeswax is a natural option that provides excellent lubrication, but it can sometimes leave a residue on the fabric. Silicone-based sprays are easy to apply and don’t leave a residue, but they may not provide as much lubrication as beeswax. Liquid conditioners are applied with a small brush or applicator and offer a good balance of lubrication and ease of use. To use thread conditioner, simply apply a small amount to the thread before threading your needle. You can also apply it periodically as you sew or embroider to maintain lubrication. Some sewists prefer to apply it to the spool of thread, while others prefer to apply it directly to the needle.
Experiment to find what works best for you. “Thread conditioner is like a secret weapon for working with metallic threads,” says embroidery designer, Emily Carter. “It can make a huge difference in the smoothness and quality of your stitches.” A properly conditioned thread is less likely to fray, break, or snag, resulting in a more enjoyable and successful stitching experience. In fact, if you’re interested to know more about if a thread conditioner really stops thread breaks, it may just be the thing you need!
Up next: choosing the right stabilizer:
Selecting the Right Stabilizer for Success
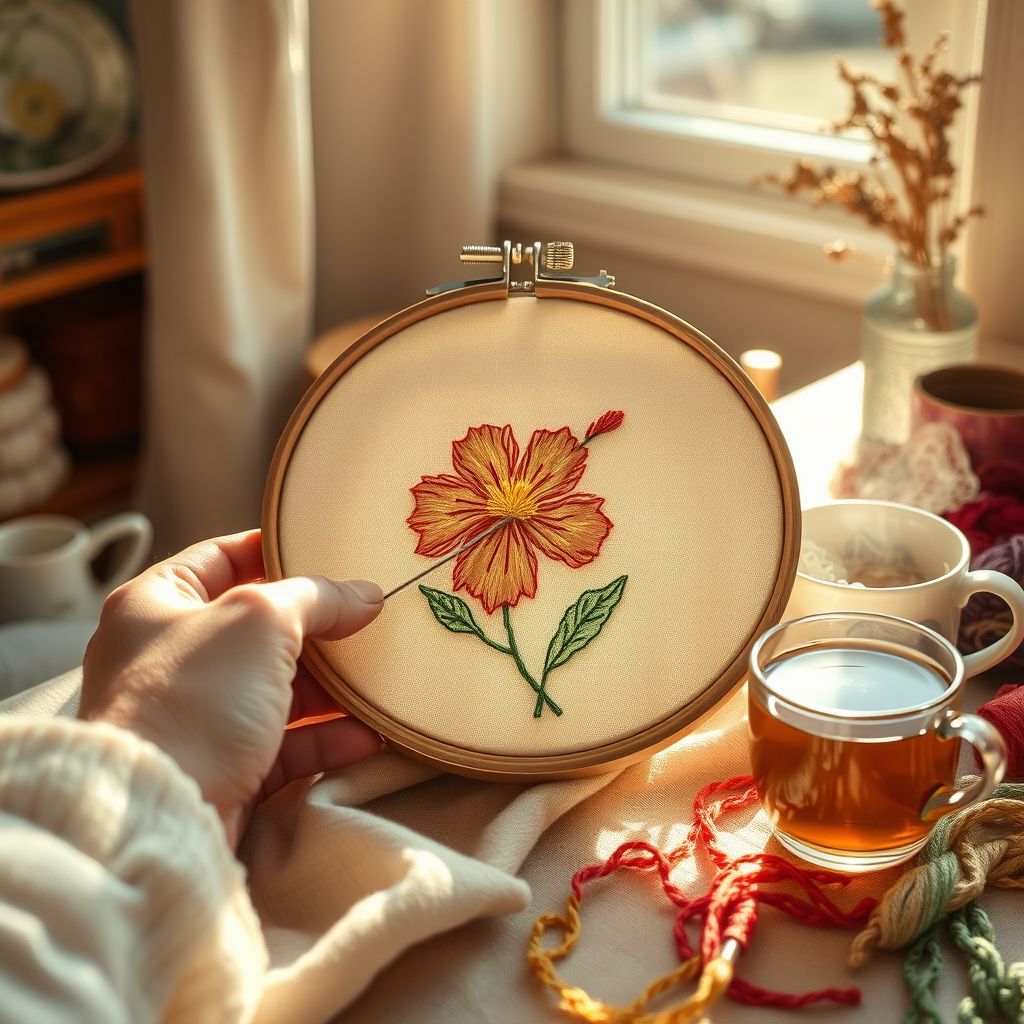
Stabilizer is an essential component of any embroidery project, but it’s especially important when working with metallic thread. Stabilizer provides support to the fabric, preventing it from shifting or puckering during the stitching process. It also helps to distribute the tension of the stitches, reducing stress on the thread and preventing breakage. Metallic threads can be particularly demanding on fabric, so choosing the right stabilizer is crucial for achieving a professional-looking result.
There are several types of stabilizers available, including cut-away, tear-away, and wash-away. Cut-away stabilizers provide the most support and are ideal for dense embroidery designs or fabrics that are prone to stretching. Tear-away stabilizers are easier to remove but may not provide as much support as cut-away stabilizers. Wash-away stabilizers dissolve in water and are ideal for delicate fabrics or projects where you don’t want any stabilizer to be visible. When choosing a stabilizer for metallic thread, consider the weight and density of your fabric, the complexity of your design, and the desired level of support.
A general rule of thumb is to use a heavier stabilizer for heavier fabrics and denser designs. You may also want to consider using multiple layers of stabilizer for extra support. “Choosing the right stabilizer is just as important as choosing the right thread,” emphasizes machine embroidery expert, Linda Davis. “It’s the foundation of your project, and it can make or break the final result.” Experiment with different types of stabilizers to find what works best for your specific project and fabric. Don’t be afraid to test on a scrap piece of fabric before starting your main project to ensure that the stabilizer provides adequate support and doesn’t leave any unwanted residue.
Now, let’s talk about slowing things down:
The Virtue of Slowing Down Your Stitching Speed
One of the simplest yet most effective tips for working with metallic thread is to slow down your stitching speed. Metallic threads are more delicate than standard threads and are more prone to breakage at high speeds. By slowing down your machine, you reduce the stress on the thread and give it more time to pass smoothly through the needle and fabric.
Most sewing and embroidery machines have adjustable speed settings. Start by reducing your speed to about half of your normal stitching speed. You may need to experiment to find the optimal speed for your specific thread and fabric. Pay attention to the sound of your machine as you stitch. If you hear a lot of clicking or grinding, it may be an indication that you’re still going too fast. A slower speed not only reduces the risk of thread breakage but also allows you to have more control over your stitches, resulting in a more precise and professional-looking result. It may take a little longer to complete your project, but the improved quality and reduced frustration are well worth the extra time.
“Patience is key when working with metallic thread,” advises sewing blogger, Sarah Miller. “Slowing down your speed is one of the best ways to prevent problems and achieve beautiful results.” Think of it as a form of mindful sewing. Instead of rushing through your project, take your time and enjoy the process. You’ll be amazed at the difference it makes in the quality of your work.
Another thing to keep in mind is that the type of thread you use can also affect speed and tension, which is why a deep dive into the world of Floriani embroidery threads and how they compare to other brands can be worth it before you even start the project.
Let’s not forget the bobbin thread:
Bobbin Thread Matters Too!
While much of the focus when working with metallic thread is on the top thread, don’t overlook the importance of your bobbin thread. The bobbin thread plays a crucial role in creating balanced and even stitches. Using the wrong bobbin thread can lead to tension problems, skipped stitches, and even thread breakage, especially when paired with a temperamental metallic top thread.
A lightweight polyester or cotton bobbin thread is generally recommended for use with metallic top threads. Avoid using metallic thread in the bobbin, as it can be difficult to wind evenly and can cause tension issues. Pre-wound bobbins are a convenient option, but make sure to choose a high-quality brand that uses a smooth and consistent thread. When winding your own bobbins, wind them slowly and evenly to ensure that the thread is distributed uniformly. Avoid overfilling the bobbin, as this can also cause tension problems. If you’re experiencing issues with your bobbin thread, try re-threading your bobbin case and cleaning out any lint or debris that may be interfering with the thread flow.
“The bobbin thread is the unsung hero of machine embroidery,” says sewing machine technician, David Brown. “It may not be as glamorous as the top thread, but it’s just as important for creating quality stitches.” Treat your bobbin thread with the same care and attention as you would your metallic top thread. By using a high-quality bobbin thread and winding it properly, you can help ensure a smooth and successful stitching experience.
Speaking of threads, choosing the right one is an art form in itself, so here’s a catalog of great options to choose from:
VONEEDL Upholstery Repair Kit: Waxed Sewing Thread (3 Colors) & Heavy Duty Needles (11 PCS) for Leather, Canvas & Quilting Thread
$7.88 (as of June 4, 2025 07:58 GMT -04:00 - More infoProduct prices and availability are accurate as of the date/time indicated and are subject to change. Any price and availability information displayed on [relevant Amazon Site(s), as applicable] at the time of purchase will apply to the purchase of this product.)
DMC 117F25-PC36 Embroidery Popular Colors Floss Pack, Colors may vary, 8.7-Yard, 36/Pack
$19.49 (as of June 4, 2025 08:24 GMT -04:00 - More infoProduct prices and availability are accurate as of the date/time indicated and are subject to change. Any price and availability information displayed on [relevant Amazon Site(s), as applicable] at the time of purchase will apply to the purchase of this product.)
New brothread - 20 Options - 8 Snap Spools of 1000m Each Polyester Embroidery Machine Thread with Clear Plastic Storage Box for Embroidery & Quilting - Neon Color
$14.99 (as of June 4, 2025 05:31 GMT -04:00 - More infoProduct prices and availability are accurate as of the date/time indicated and are subject to change. Any price and availability information displayed on [relevant Amazon Site(s), as applicable] at the time of purchase will apply to the purchase of this product.)
COATS Dual Duty All-Purpose Thread, 400 Yards/1 Spool of Yarn, Black
$3.49 (as of June 4, 2025 07:58 GMT -04:00 - More infoProduct prices and availability are accurate as of the date/time indicated and are subject to change. Any price and availability information displayed on [relevant Amazon Site(s), as applicable] at the time of purchase will apply to the purchase of this product.)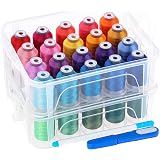
New brothread 40 Brother Colors 500m Each Embroidery Machine Thread with Clear Plastic Storage Box for Embroidery Sewing Machine
$25.49 (as of June 4, 2025 05:31 GMT -04:00 - More infoProduct prices and availability are accurate as of the date/time indicated and are subject to change. Any price and availability information displayed on [relevant Amazon Site(s), as applicable] at the time of purchase will apply to the purchase of this product.)So, to summarize, what have we learned?
Final Thoughts on Taming Metallic Thread
Working with metallic thread can be challenging, but with the right techniques and a little patience, you can achieve stunning results. Remember to start with a specialized needle designed for metallic threads. Adjust your machine’s tension to be slightly looser than usual. Use a thread conditioner to lubricate and protect the thread. Choose a stabilizer that provides adequate support for your fabric and design. Slow down your stitching speed to reduce stress on the thread. And don’t forget about your bobbin thread – use a lightweight polyester or cotton thread and wind it evenly.
The most important thing is to experiment and find what works best for your specific machine, thread, and fabric. Don’t be afraid to try different needles, tension settings, stabilizers, and thread conditioners until you find the perfect combination. And most importantly, don’t give up! With a little practice and perseverance, you’ll be able to master the art of stitching with metallic thread and create beautiful, shimmering projects that you’ll be proud of. Remember, the sparkle and elegance that metallic thread brings to a project is well worth the effort. So, embrace the challenge, gather your supplies, and get ready to add some shimmer to your sewing and embroidery adventures!
By following these tips, you’ll be well on your way to conquering metallic thread and creating beautiful, shimmering projects that showcase its unique beauty. Happy stitching!

AURIFIL USA Aurifil 50wt Cotton 1,422yd-White, 1422 yd, White
$13.40 (as of June 4, 2025 05:31 GMT -04:00 - More infoProduct prices and availability are accurate as of the date/time indicated and are subject to change. Any price and availability information displayed on [relevant Amazon Site(s), as applicable] at the time of purchase will apply to the purchase of this product.)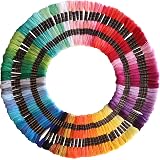
122 skeins Embroidery Floss - Embroidery Thread - Friendship Bracelet String for Cross Stitch, Hand Embroidery, String Art
$9.99 (as of June 4, 2025 08:24 GMT -04:00 - More infoProduct prices and availability are accurate as of the date/time indicated and are subject to change. Any price and availability information displayed on [relevant Amazon Site(s), as applicable] at the time of purchase will apply to the purchase of this product.)
New brothread - 20 Options - 8 Snap Spools of 1000m Each Polyester Embroidery Machine Thread with Clear Plastic Storage Box for Embroidery & Quilting - Neon Color
$14.99 (as of June 4, 2025 05:31 GMT -04:00 - More infoProduct prices and availability are accurate as of the date/time indicated and are subject to change. Any price and availability information displayed on [relevant Amazon Site(s), as applicable] at the time of purchase will apply to the purchase of this product.)
Friendship Bracelet Kit Embroidery Floss
$17.89 (as of June 4, 2025 08:24 GMT -04:00 - More infoProduct prices and availability are accurate as of the date/time indicated and are subject to change. Any price and availability information displayed on [relevant Amazon Site(s), as applicable] at the time of purchase will apply to the purchase of this product.)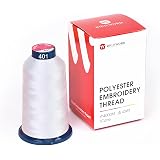
Richword White Embroidery Thread 4000M(4374Y) 40WT Polyester Thread 100 Colors Selected for Commercial Multi Needles and Single Needle Embroidery Machine 0401
$7.99 (as of June 4, 2025 05:31 GMT -04:00 - More infoProduct prices and availability are accurate as of the date/time indicated and are subject to change. Any price and availability information displayed on [relevant Amazon Site(s), as applicable] at the time of purchase will apply to the purchase of this product.)
1000 Embroidery Machine Patterns Designs Brother PES on USB,Floral Designs, 8 Video Tutorials for beginner
$16.99 (as of June 4, 2025 07:59 GMT -04:00 - More infoProduct prices and availability are accurate as of the date/time indicated and are subject to change. Any price and availability information displayed on [relevant Amazon Site(s), as applicable] at the time of purchase will apply to the purchase of this product.)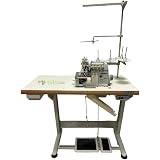
Juki Industrial 4-Thread Overlock Sewing Machine, K.D Table & Servo Motor with REX LED Sewing Light DIY
$1,799.00 (as of June 4, 2025 08:24 GMT -04:00 - More infoProduct prices and availability are accurate as of the date/time indicated and are subject to change. Any price and availability information displayed on [relevant Amazon Site(s), as applicable] at the time of purchase will apply to the purchase of this product.)
Consew CFC 8" Dual Blades Complete Foam & Rubber Cutter
$689.00 (as of June 4, 2025 08:24 GMT -04:00 - More infoProduct prices and availability are accurate as of the date/time indicated and are subject to change. Any price and availability information displayed on [relevant Amazon Site(s), as applicable] at the time of purchase will apply to the purchase of this product.)
INTSUPERMAI Seam Lock Forming Machine Sheet Metal Lock Seam Roll Forming Machine Square Rectangular Ventilation Exhaust Pipes Sheet Metal Lock Seam Forming Machine 220V
$2,159.99 (as of June 4, 2025 08:24 GMT -04:00 - More infoProduct prices and availability are accurate as of the date/time indicated and are subject to change. Any price and availability information displayed on [relevant Amazon Site(s), as applicable] at the time of purchase will apply to the purchase of this product.)