How to Master Applique Embroidery with Step-by-Step Techniques
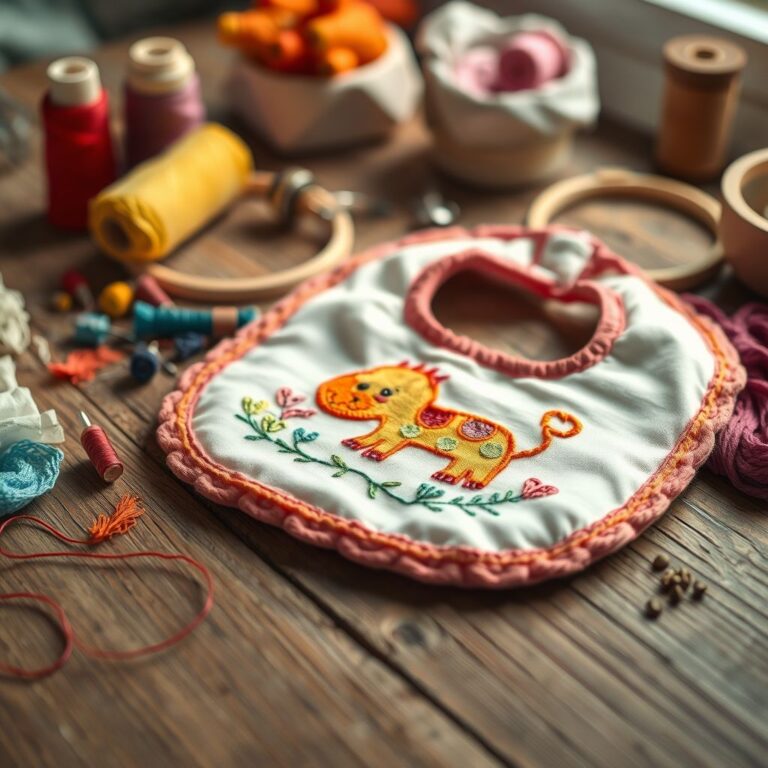
Have you ever struggled with making your applique embroidery designs look clean, precise, and durable? You’re not alone. Many crafters find it tricky to distinguish between applique, patches, and in-the-hoop embroidery—each technique has its own nuances that can make or break your project’s outcome. But what if you could master these distinctions easily and elevate your embroidery with professional precision and lasting quality?
Applique involves layering fabric pieces stitched onto a base fabric, often using fusible web and carefully adjusted stitch density to ensure durability. It differs from a patch, which is typically pre-made and simply attached, and from in-the-hoop embroidery, where the entire design is completed within the embroidery hoop in a single process. Understanding these basics is key to confident crafting.
In this guide, we’ll walk you through every step of applique embroidery with clear, friendly instructions designed to improve your accuracy and strength in stitching. Plus, you’ll get a free applique embroidery file download to practice your new skills right away. Whether you’re a beginner or looking to refine your technique, the right tools and techniques—like using fusible web and optimizing stitch density—can transform your embroidery projects from good to stunning.
Ready to tackle applique embroidery with confidence? You’ll also discover useful software options such as Simply Applique by Brother and the Patch & Applique Maker Software to help design and digitize your projects with ease. And if you’re curious about the booming embroidery market, industry insights suggest ongoing growth and exciting innovations driving craft and fashion forward—making now the perfect time to sharpen your skills.
Stick with us for a practical, approachable tutorial that answers your applique questions, highlights essential tools, and sets you up for creative success today.
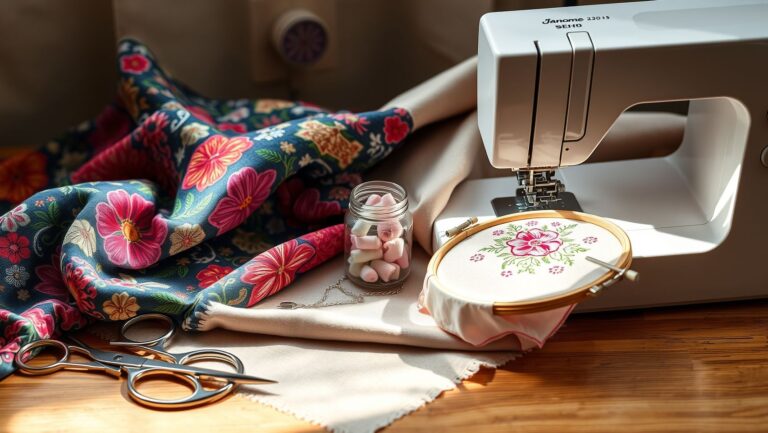
Get started with the threads and tools that bring your applique to life:

Richword Prewound Bobbins 144pcs (Class 15) Size A Plastic Sided, 75D/2(60WT) Polyester Bobbin Thread for Single Needle Embroidery and Sewing Machine, White 130 Yards
$28.99 (as of June 30, 2025 05:32 GMT -04:00 - More infoProduct prices and availability are accurate as of the date/time indicated and are subject to change. Any price and availability information displayed on [relevant Amazon Site(s), as applicable] at the time of purchase will apply to the purchase of this product.)
New brothread 63 Brother Colors Polyester Embroidery Machine Thread Kit 500M (550Y) Each Spool for Brother Babylock Janome Singer Pfaff Husqvarna Bernina Embroidery and Sewing Machines
$37.39 (as of June 30, 2025 05:32 GMT -04:00 - More infoProduct prices and availability are accurate as of the date/time indicated and are subject to change. Any price and availability information displayed on [relevant Amazon Site(s), as applicable] at the time of purchase will apply to the purchase of this product.)
New brothread Set of 2 White Bobbin Thread/Bottom Thread 60WT Huge Spool 5000M (5500Y) for Embroidery and Sewing Machines
$14.99 (as of June 30, 2025 05:32 GMT -04:00 - More infoProduct prices and availability are accurate as of the date/time indicated and are subject to change. Any price and availability information displayed on [relevant Amazon Site(s), as applicable] at the time of purchase will apply to the purchase of this product.)
Simthread - 33 Selections - Various Assorted Color Packs of Polyester Gray Embroidery Machine Thread Huge Spool 5500Y for All Purpose Sewing Embroidery Machines - Essential Color 3
$14.99 (as of June 30, 2025 05:32 GMT -04:00 - More infoProduct prices and availability are accurate as of the date/time indicated and are subject to change. Any price and availability information displayed on [relevant Amazon Site(s), as applicable] at the time of purchase will apply to the purchase of this product.)
New Brothread 144pcs White 60S/2(90WT) Prewound Bobbin Thread Plastic Size A SA156 for Embroidery and Sewing Machine Cottonized Soft Feel Polyester Thread
$23.99 (as of June 30, 2025 13:06 GMT -04:00 - More infoProduct prices and availability are accurate as of the date/time indicated and are subject to change. Any price and availability information displayed on [relevant Amazon Site(s), as applicable] at the time of purchase will apply to the purchase of this product.)How to Create Satin-Edge Applique for Long-Lasting Results
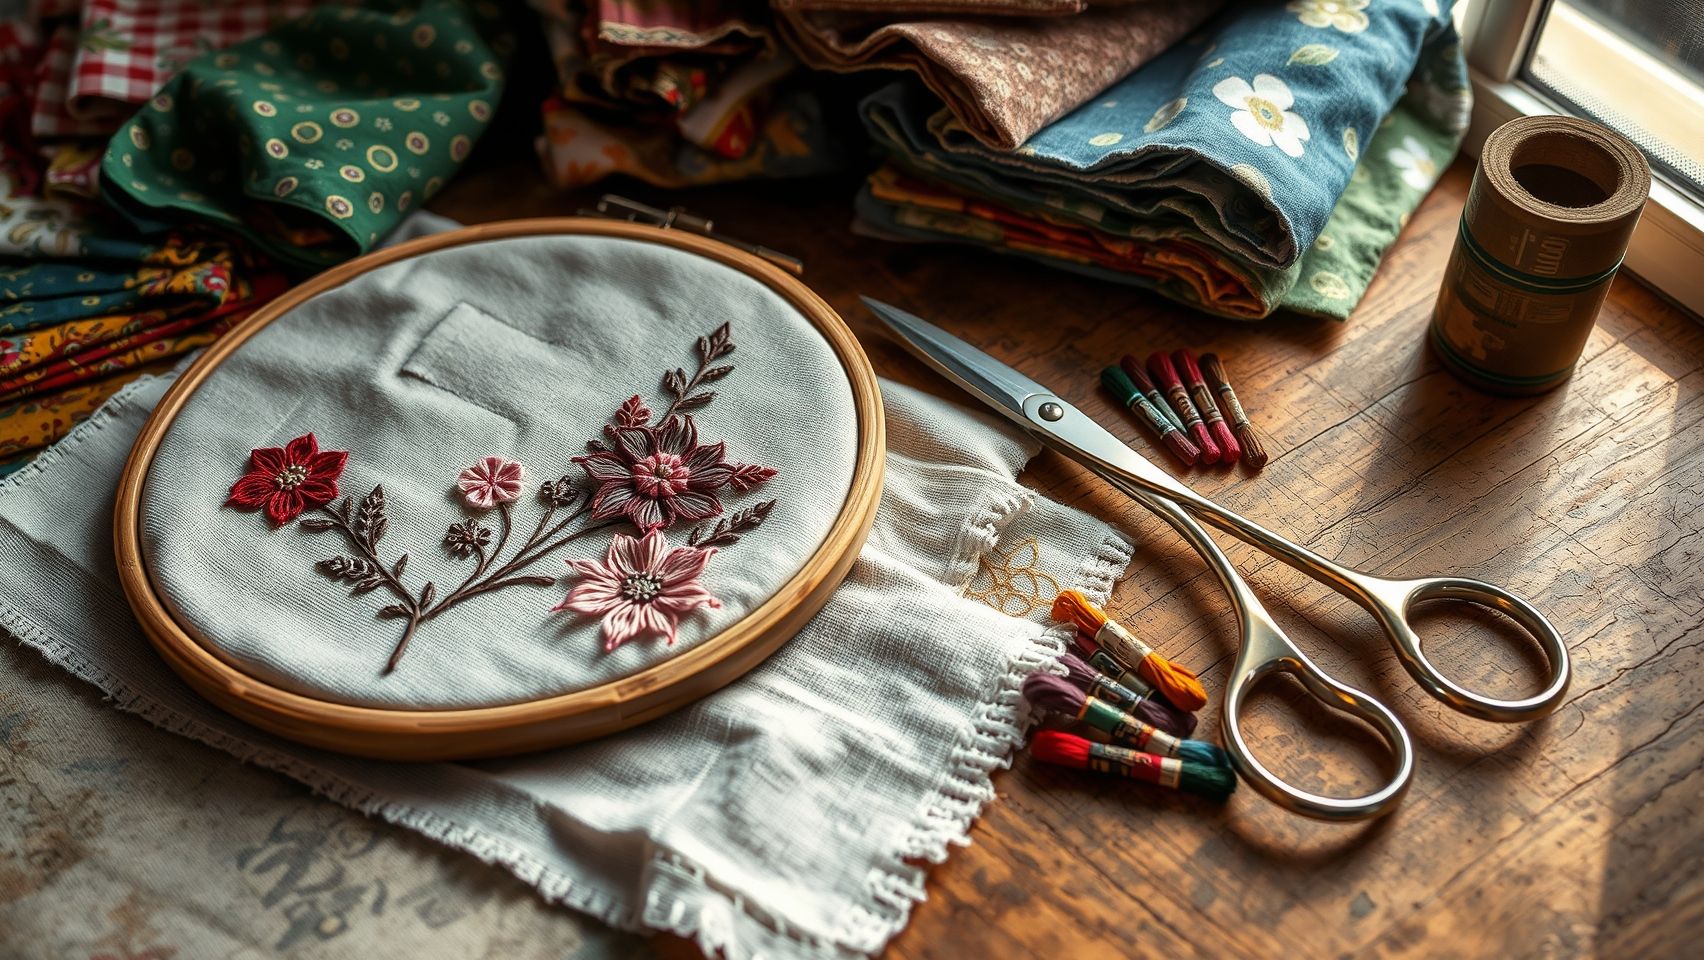
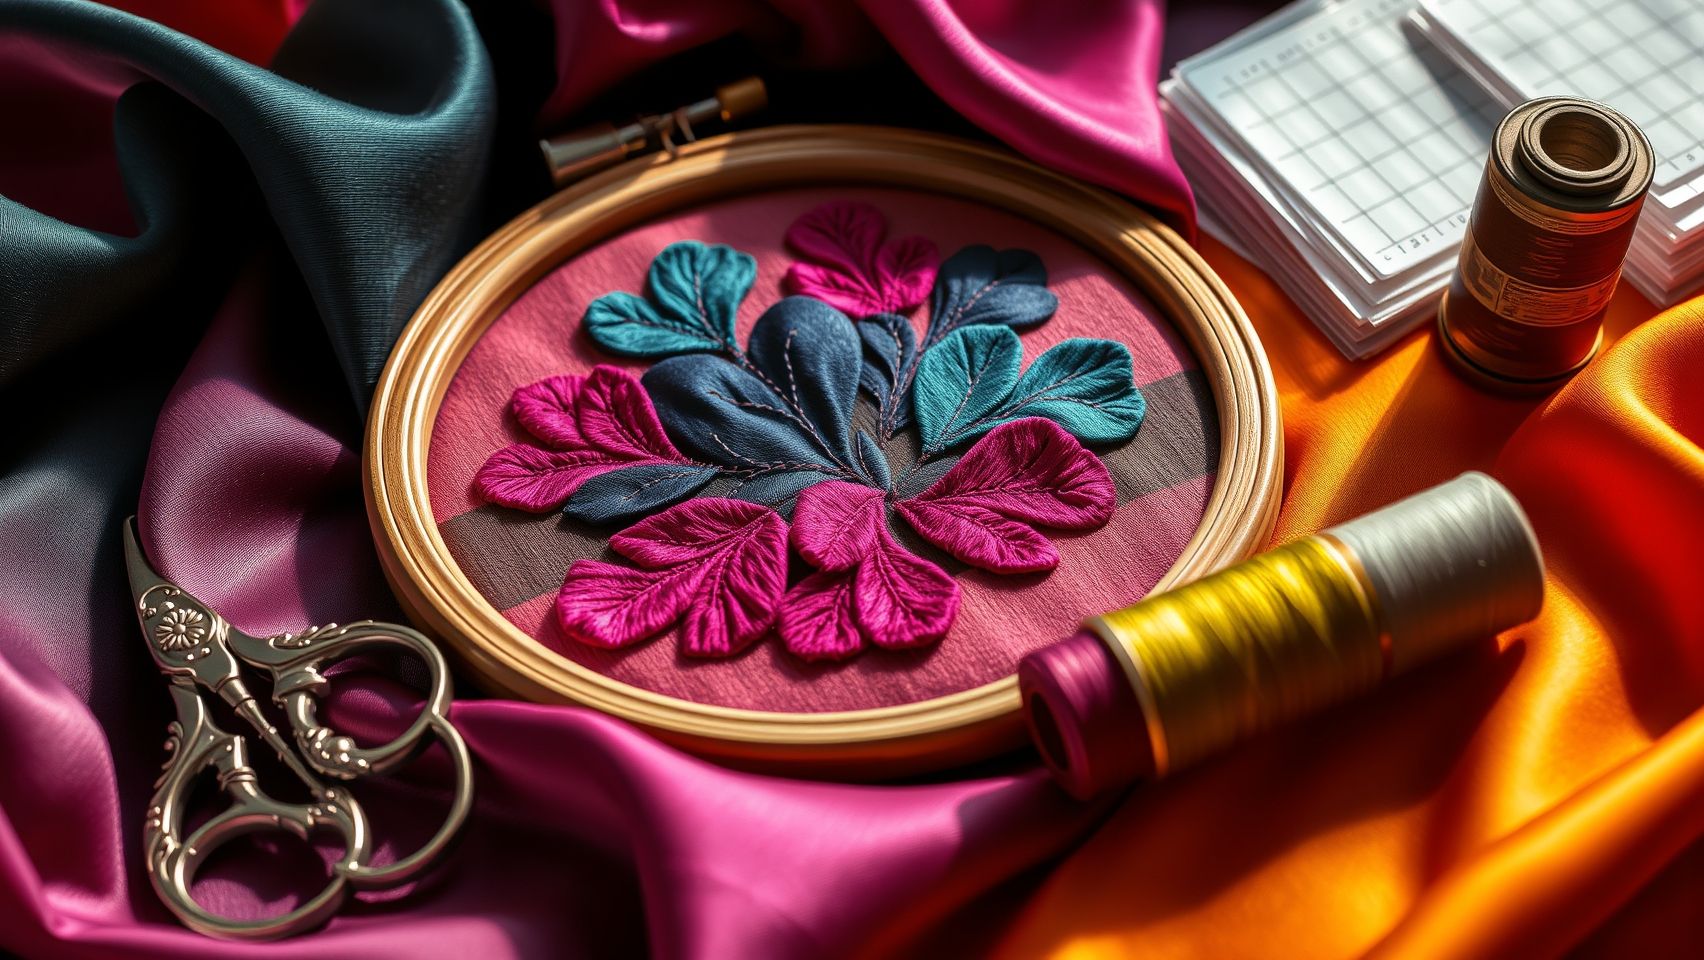
Mastering satin-edge applique requires a detailed and methodical approach focused on fabric stabilization, precise digitizing, machine settings, and expert finishing techniques. This tutorial walks you through each step with an emphasis on quality and durability, ensuring your applique projects maintain sharp, smooth edges and stand the test of time.
From preparing the applique fabric and backing with the ideal stabilizers to optimizing your embroidery machine settings, this guide integrates essential practical tips and current industry insights for achieving professional results using satin-edge applique methods.
Preparing Applique Fabric and Stabilizer Selection
Choosing the right stabilizer is crucial for fabric support during the applique process, especially with stretch and knit fabrics. For satin-edge applique, a cut-away stabilizer is highly recommended to maintain stability and prevent distortion.
Among the top stabilizers for stretch fabrics is Sulky Soft & Sheer Cutaway, praised for its softness and durability, providing excellent support without adding bulk. This stabilizer choice aligns well with apparel and any knit fabrics where flexibility and longevity are key.
Ensure your fabric is hooped securely with the stabilizer underneath, which eliminates puckering and maintains tension during stitching. For non-stretch fabrics, heavier cut-away or tear-away stabilizers may also be used, but cut-away remains the best option for high stitch density applique designs.
Digitizing Your Applique Design for Satin Stitch Edges
Digitizing plays an essential role when creating satin-edge applique designs. Using professional software like EmbroideryStudio V5 from Wilcom provides advanced features to create precise satin stitch outlines around applique edges.
Current updates to EmbroideryStudio enhance integration with CorelDRAW Graphics Suite 2024, allowing seamless conversion of vector artwork into embroidery-ready applique settings. The software enables you to apply satin stitch edging with customized stitch density, underlay, and edge sequences to prevent stitch gaps or fabric distortion.
For satin-edge applique, digitize your design with a satin stitch width set at 6 mm and a stitch density around 0.35 mm to achieve a smooth, even finish. Incorporate a zigzag underlay for satin stitches to stabilize the edges without adding excess bulk.
Hooping, Machine Settings, and Fabric Tension Checks
Accurate hoop positioning and fabric tension are critical for maintaining the shape and sharpness of satin edges. Position your applique fabric with backing securely inside the hoop to minimize shifting. Double-check fabric tension by gently pulling the fabric from the hoop—there should be no puckering or looseness.
Configure your embroidery machine with the following satin stitch parameters:
- Satin stitch width: 6 mm
- Density: 0.3 to 0.4 mm (optimal 0.35 mm)
- Underlay: zigzag stitch underlay for edge stabilization
- Thread: High-quality polyester thread like Madeira Classic 40 to ensure colorfastness and durability
These settings facilitate a clean, dense satin edge, ideal for preventing fraying and maintaining a polished look over time. An average medium applique design typically consists of about 15,000 stitches and takes around 45 to 60 minutes to complete from start to finish.
Cleaning and Finishing Your Applique Project
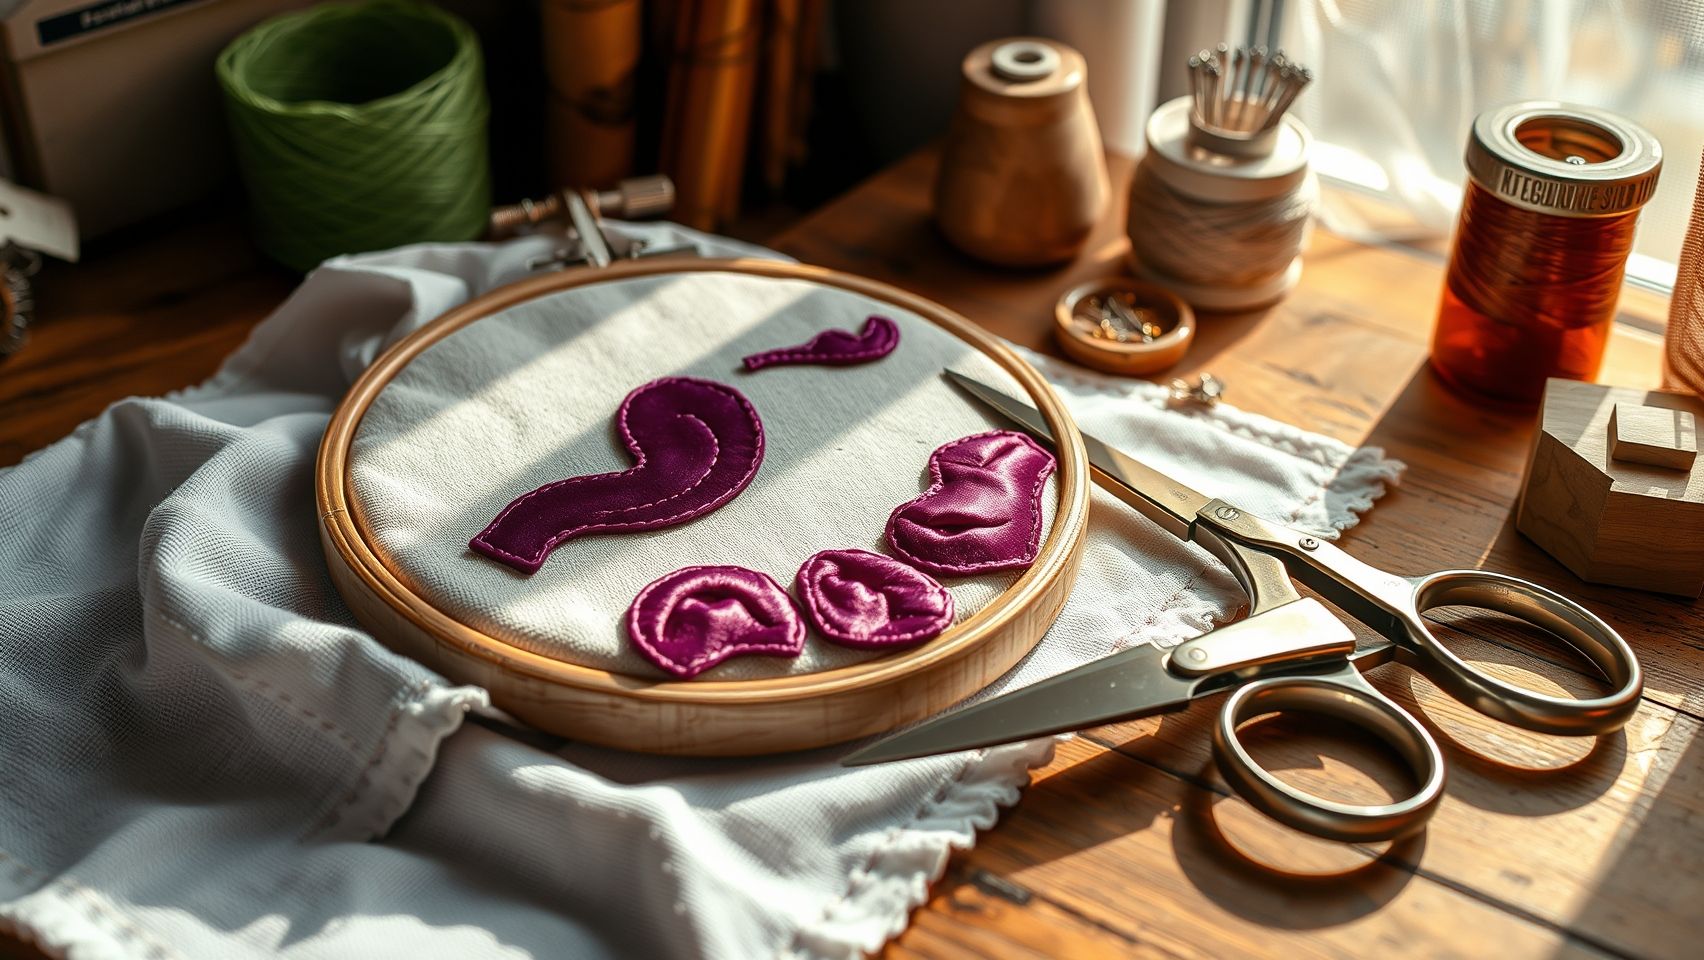
After the embroidery is complete, carefully trim the excess applique fabric close to the satin stitch using sharp applique scissors or a small rotary cutter. This precision trimming is critical to preserve the crispness of the satin edge.
Remove any visible stabilizer parts that extend beyond the embroidery, especially if using cut-away stabilizer. If needed, apply a gentle heat press or steam with an iron through a pressing cloth to smooth out any wrinkles without flattening the satin edge’s texture.
Machine embroidery experts recommend reinforcing edges with a small amount of fray prevention glue or seam sealant on the back side for projects subjected to heavy wear, such as activewear or frequently washed items.
Free Machine Embroidery Applique File Download with Setup Instructions
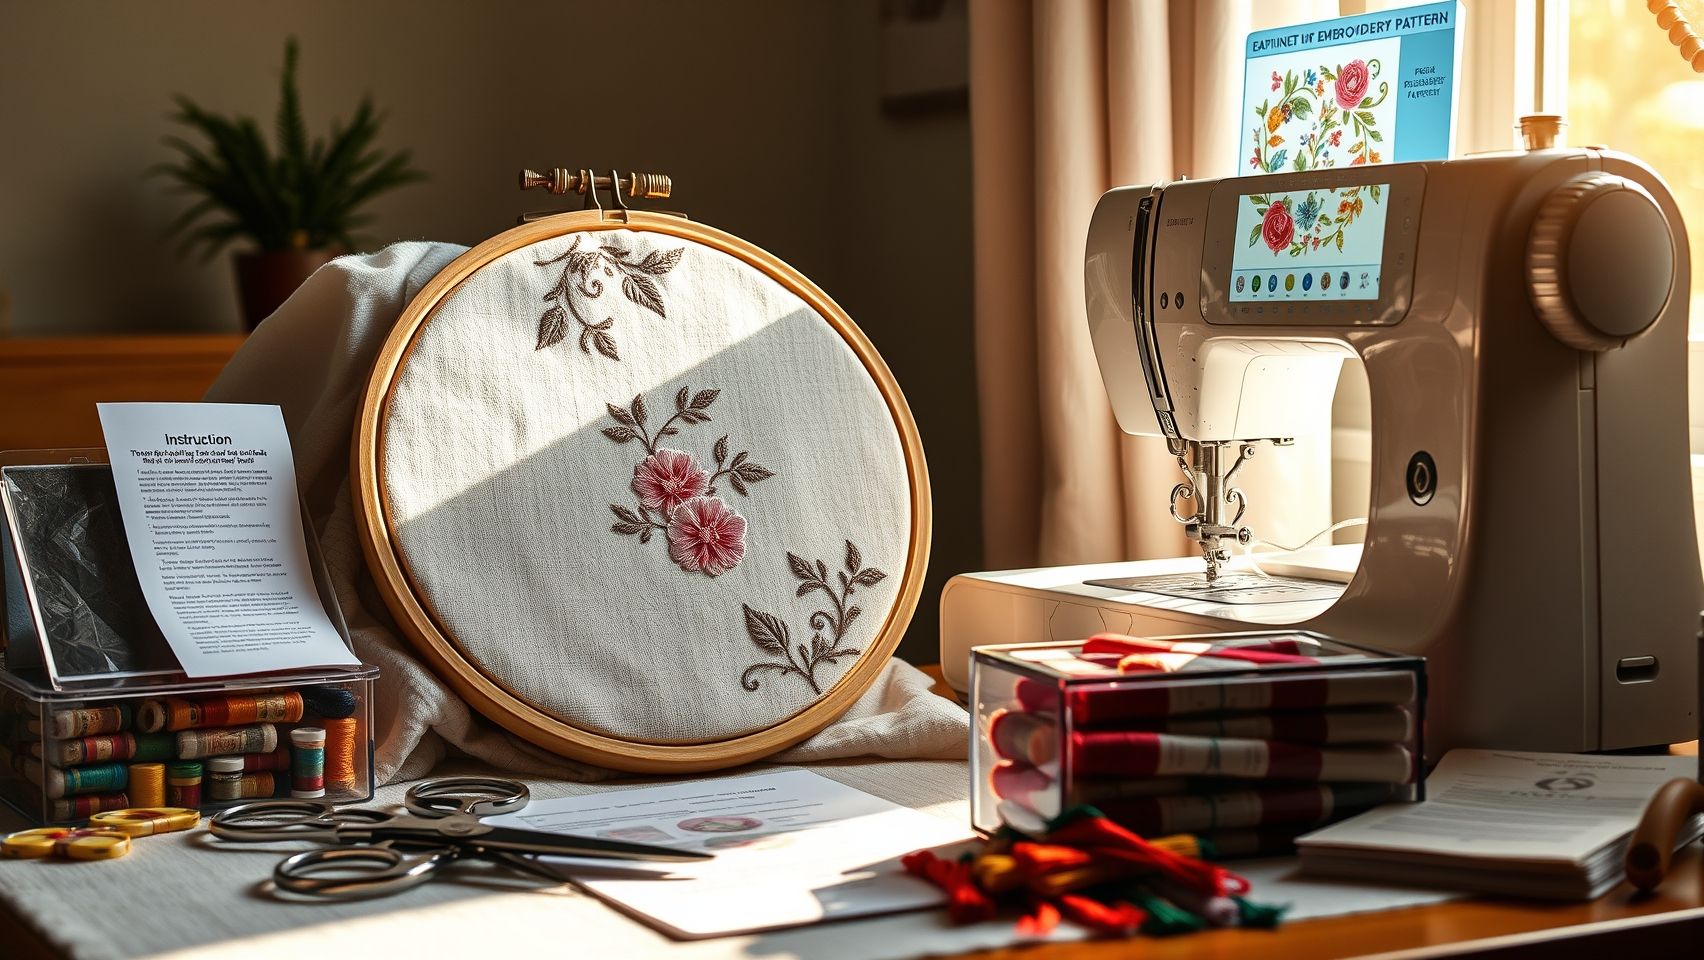
Getting started with applique embroidery has never been easier thanks to our free downloadable design, specifically crafted for practicing and perfecting your skills. Whether you’re a beginner or looking to expand your repertoire, this design offers a practical opportunity to learn key techniques while ensuring your machine setup is optimized for best results.
Below, you will find the download links for the applique design in formats compatible with popular embroidery machines, along with comprehensive setup instructions. These guidelines will help you seamlessly transfer the design to your machine, select the appropriate fabrics and stabilizers, and achieve professional-looking applique finishes. Mastering this process will boost your confidence in executing various applique projects with precision and ease.
Download Link and File Format Details
The provided applique embroidery design is available in two file formats: PES and DST. The PES format is suitable for Brother and Baby Lock machines, while the DST format works perfectly with Janome and Melco machines. The design size measures approximately 3.5 inches by 3.5 inches, a versatile size ideal for small projects, patches, or embellishments.
These files have been digitized with your quilting practice in mind, featuring a zigzag stitch for raw-edge applique and a stitch density set at 0.5 mm for a balanced look. The typical stitching time is around 12 minutes, making it an excellent choice for quick practice sessions or small completed projects.
Setup Instructions for Your Embroidery Machine
- Transfer the Design: Save the PES or DST file to a compatible USB drive or directly upload via your embroidery machine’s interface, following your machine’s transfer protocol.
- Prepare Your Hoop: Use a 4×4 inch hoop for the 3.5-inch design. Ensure the hoop is clean and positioned securely to prevent shifting during stitching.
- Align the Design: Center the design in your embroidery software or on your machine’s screen. Use gridlines or alignment tools if available to position the design precisely.
- Select Fabric and Stabilizer: Use lightweight cotton fabric for the applique, secured with medium cut-away Sulky Tear-Easy stabilizer. Fuse a piece of HeatnBond Lite fusible web to the fabric before cutting out the applique pieces, ensuring a clean, raw-edge finish.
- Thread and Tension Settings: Use a high-quality polyester thread for durability. Recommended thread color is red for the applique and white for the base fabric. Set your stitch density to 0.5 mm and check tension for smooth stitching, adjusting as needed.
Fabric and Stabilizer Tips
Choose lightweight cotton for the applique as it provides good stability and easy handling. Use medium cut-away stabilizer like Sulky Tear-Easy to prevent puckering and enhance stitch quality. Applying fusible web like HeatnBond Lite simplifies fabric adhesion and results in a crisp edge.
Ensure the fabric is free of wrinkles or folds before hooping, and always test on scrap fabric if you’re trying new thread colors or tension settings.
Thread Colors and Stitch Order Recommendations
For a striking contrast, use red thread for the applique layer, with white thread for the background fabric. The digitized stitch sequence begins with the zigzag appliqué stitch around the edges, followed by decorative or finishing stitches as preferred. Use a satin stitch or similar for edges if desired, adjusting stitch density for optimal coverage without puckering.
Running the stitches at around 12 minutes total time, you’ll achieve a durable, professional finish suitable for various projects or gifts.
Common Setup Troubleshooting Tips
- Hoop Misalignment: Always verify the hoop is tightly secured and the design is centered before starting. Use built-in gridlines or software helpers to ensure proper placement.
- Stitch Density Issues: If the stitches appear too crowded or too sparse, adjust the stitch density to 0.5 mm as digitized, or customize via your software if available.
- Puckering or Thread Breakage: Check tension settings; too tight tension can cause puckering. Ensure the needle is sharp and suitable for applique work, and use high-quality threads.
- Fabric Shifting: Use a stabilizer that matches fabric weight and fusing correctly before stitching. Baste the fabric temporarily if necessary to prevent movement.
Following these guidelines will enhance your embroidery experience and help you achieve stunning applique pieces with minimal hassle. Practice regularly, experiment with different fabrics and thread colors, and soon you’ll master this versatile technique for all your creative projects.
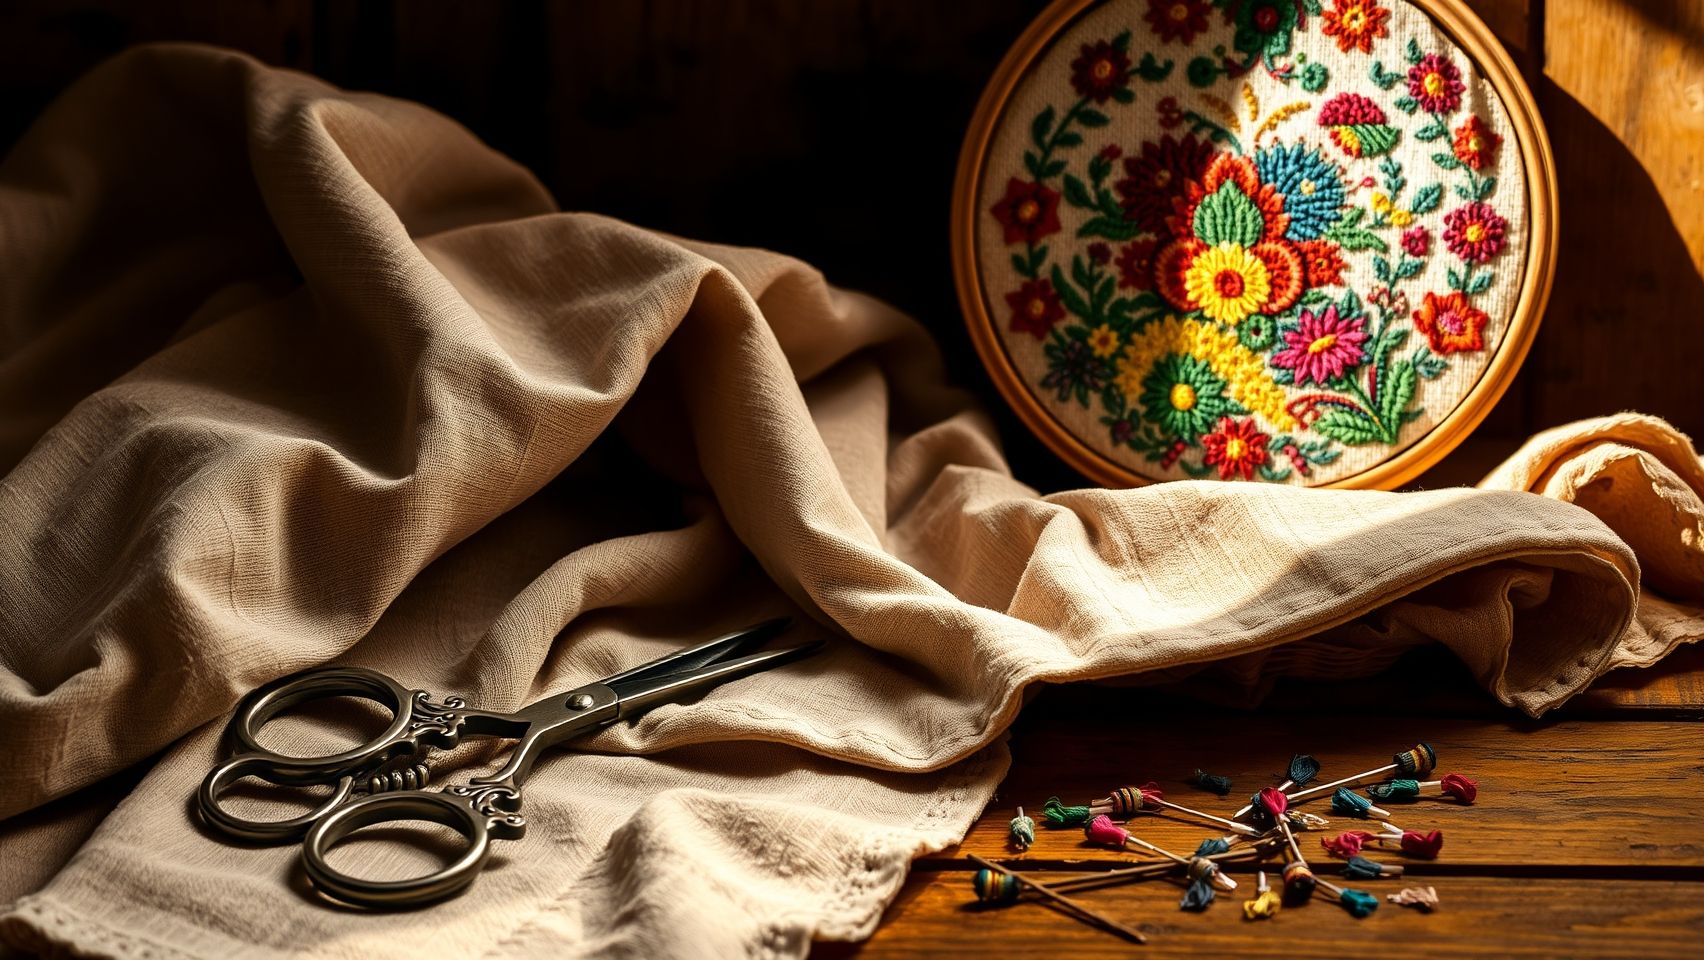
Common Questions About Applique Embroidery: Durability, Washing, and Stabilizers
Applique embroidery is a popular technique that adds vibrant, textured designs to fabric projects, but it often raises practical questions regarding its durability, care, and technical setup. Understanding how to best manage stabilizers, stitch density, fusible webs, and machine capabilities can dramatically improve your applique results and longevity. This section addresses common concerns applique enthusiasts face, providing clear, research-backed guidance to help optimize your creative efforts.
Whether you’re wondering about how your applique holds up after multiple washes or which machine features can help reduce stitching errors, this guide breaks down essential information to make your applique projects durable, beautiful, and easier to maintain.
How Durable Is Applique Embroidery After Washing and What Care Instructions Help Preserve It?
When executed with satin-edge applique, a quality cut-away stabilizer, and polyester thread, applique embroidery can retain its appearance and structural integrity even after 30 or more home washes on a gentle cycle. Polyester thread is preferred for its strength and resistance to fading or shrinking. For washing, cold water and gentle cycles are recommended while avoiding harsh detergents or bleach to prevent color fading and fabric weakening.
Machine washable applique designs, especially those using proper stabilizers and thread, should ideally be air-dried or tumble dried on low to prolong the life of the stitches and fabric. Hand washing remains an option for very delicate or antique fabrics but is not mandatory for most quality applique work designed for everyday use.
Which Stabilizers Work Best for Different Fabrics Used in Applique Projects and Why?
Choosing the right stabilizer is crucial for preventing fabric puckering, stitch distortion, or shifting of applique pieces during stitching:
- Tear-away stabilizers: Ideal for stable, woven fabrics. They provide firm support while stitching but are easy to remove afterward.
- Cut-away stabilizers: Best suited for knits, stretchy, or less stable garments. They offer a permanent foundation that keeps stitches secure and preserves the applique’s shape over time.
- Water-soluble stabilizers: Essential for delicate or sheer bases, these dissolve in water after embroidery, leaving no residue and preventing stiffening of the fabric.
Cut-away stabilizers generally yield better stitch quality with higher stitch densities, reducing distortions and ensuring crisp edges.
What Differences in Stitch Density Affect Edge Durability and Fabric Puckering?
Stitch density, the number of stitches per millimeter, critically influences applique edge strength and fabric appearance. For satin edges, a stitch density of around 0.4 to 0.5 mm is widely preferred. This range provides robust edge durability without causing puckering or distortion of the base fabric. Densities higher than this increase thread usage and stiffness, potentially warping the fabric, while lower densities may not securely hold down applique edges, leading to fraying.
How Does Fusible Web Choice Impact Adhesion and Final Project Flexibility?
The fusible web acts as the adhesive layer bonding applique pieces to the base fabric before stitching. Its choice should match fabric weight and desired flexibility:
- HeatnBond Lite or similar lightweight fusible webs are ideal for thin fabrics and lightweight appliques, maintaining softness and flexibility in the finished product.
- Heavier fusible webs provide stronger adhesion for thicker or structured fabrics but can make the applique stiff or less flexible.
Using the correct fusible web prevents fabric shifting and ensures clean, secure edges during embroidery.
Can Applique Designs Be Safely Machine Washed or Should They Be Hand Washed Only?
Most well-executed applique designs with appropriate stabilizing and polyester thread can handle machine washing. The key is to use cold water and gentle cycles while avoiding bleach or fabric softeners that can degrade threads and adhesives. Hand washing is recommended only for delicate or heirloom pieces. Properly stabilized applique maintains appearance and structure even after repeated gentle machine washings.
Which Embroidery Machine Features Help Reduce Thread Shredding and Skipped Stitches in Applique?
Modern embroidery machines equipped with automatic thread tension sensors, like the Bernina 700 series, significantly reduce common applique stitching errors such as thread shredding and skipped stitches. These sensors adjust tension dynamically to accommodate dense appliques and varied fabric thicknesses. Additionally, machines with advanced needle penetration and multi-directional stitching capabilities improve stitch accuracy and edge smoothness in applique projects, enhancing overall durability and quality.
Conclusion
Mastering applique embroidery is within your reach with the right knowledge and tools. By choosing the appropriate applique technique and mastering both raw-edge and satin-edge methods with precise settings, you can create stunning, professional-quality projects. Remember that your results greatly improve when you use the correct machine and stabilizer tailored to your applique style.
- Select the applique technique that best fits your project vision and fabric type.
- Perfect raw-edge and satin-edge applique by carefully adjusting your machine settings and using the recommended tools.
- Optimize your embroidery outcomes with the ideal embroidery machine and stabilizer to ensure durability and a clean finish.
Now is the perfect time to put these lessons into action. Download our free applique file, follow the step-by-step tutorials, and watch your applique skills flourish. To further empower your embroidery journey, explore our linked guide on the best embroidery machine for applique to discover machines designed for flawless applique work and lasting project success.
Embrace these techniques and tools today, and transform your creative ideas into beautiful embroidered masterpieces that impress and inspire.
12 Skeins Embroidery Floss White Color, Friendship Bracelet String Cross Stitch Embroidery Thread Floss Bracelet Making Yarn, Craft Floss(White)
$3.99 (as of June 30, 2025 07:58 GMT -04:00 - More infoProduct prices and availability are accurate as of the date/time indicated and are subject to change. Any price and availability information displayed on [relevant Amazon Site(s), as applicable] at the time of purchase will apply to the purchase of this product.)
UV Resistant - Heavy Duty Outdoor Thread for Hand or Machine Sewing - Simthread 100% Polyester Bonded Thread Tex 69 (12wt) - 1500 Yards NP-Black
$9.99 (as of June 30, 2025 07:58 GMT -04:00 - More infoProduct prices and availability are accurate as of the date/time indicated and are subject to change. Any price and availability information displayed on [relevant Amazon Site(s), as applicable] at the time of purchase will apply to the purchase of this product.)
New brothread - Single Huge Spool 4000M Each Polyester Embroidery Machine Thread 40WT for Commercial and Domestic Machines - Navy Blue (Janome Color)
$6.99 (as of June 30, 2025 05:32 GMT -04:00 - More infoProduct prices and availability are accurate as of the date/time indicated and are subject to change. Any price and availability information displayed on [relevant Amazon Site(s), as applicable] at the time of purchase will apply to the purchase of this product.)
Superpunch Embroidery Thread, 40wt Polyester Yarn, 5000m Large Spool, 175 Color Options, Commercial & Domestic Machine, Burgundy 1243
$8.99 (as of June 30, 2025 05:32 GMT -04:00 - More infoProduct prices and availability are accurate as of the date/time indicated and are subject to change. Any price and availability information displayed on [relevant Amazon Site(s), as applicable] at the time of purchase will apply to the purchase of this product.)
UMC STAG Pack of 12 Premium Embroidery Thread | 100% Egyptian Cotton Premium Skeins | Cross Stitch Embroidery Floss | Oeko TEX Certified Stranded Cotton | Ideal for Arts & Crafts (White-12)
$4.49 (as of June 30, 2025 13:06 GMT -04:00 - More infoProduct prices and availability are accurate as of the date/time indicated and are subject to change. Any price and availability information displayed on [relevant Amazon Site(s), as applicable] at the time of purchase will apply to the purchase of this product.)
Bluebird Fabric Paint, Vermilion Red, 3.4 Fl Oz, Permanent Fabric Paints for Clothes, Furniture Upholstery
(as of June 30, 2025 11:04 GMT -04:00 - More infoProduct prices and availability are accurate as of the date/time indicated and are subject to change. Any price and availability information displayed on [relevant Amazon Site(s), as applicable] at the time of purchase will apply to the purchase of this product.)
Elastic Bands for Sewing White 1 Inch 12 Yard High Elasticity Knit Spool Sewing Band for Waistbands Pants Clothes and Crafts DIY, Airisoer
$5.99 (as of June 30, 2025 11:04 GMT -04:00 - More infoProduct prices and availability are accurate as of the date/time indicated and are subject to change. Any price and availability information displayed on [relevant Amazon Site(s), as applicable] at the time of purchase will apply to the purchase of this product.)
JUKI MO-6714S Industrial 4-Thread Overlock Sewing Machine
$1,849.00 (as of June 30, 2025 13:06 GMT -04:00 - More infoProduct prices and availability are accurate as of the date/time indicated and are subject to change. Any price and availability information displayed on [relevant Amazon Site(s), as applicable] at the time of purchase will apply to the purchase of this product.)
Brother SE630 Sewing and Embroidery Machine with Sew Smart LCD, Recertified
$309.00 (as of June 30, 2025 13:06 GMT -04:00 - More infoProduct prices and availability are accurate as of the date/time indicated and are subject to change. Any price and availability information displayed on [relevant Amazon Site(s), as applicable] at the time of purchase will apply to the purchase of this product.)