How to Fix Brother Embroidery Machine Error Codes Quickly
Are you frustrated by unexpected error codes disrupting your embroidery projects? You’re not alone. Many embroiderers face common issues like thread breaks, needle misalignments, or tension errors that halt their creative flow. The good news is that most of these problems can be solved quickly with the right troubleshooting steps. Quick fixes not only save time and money but also get you back to sewing faster. Whether you’re a hobbyist or a professional, understanding what each error code means is crucial for confident repairs. In this guide, you’ll find easy-to-follow solutions and cost-effective tips to tackle Brother embroidery machine error codes head-on. No need to call in a technician every time something goes wrong—empowering yourself with knowledge is the best way to keep your projects on track. Ready to become an embroidery troubleshooting pro? Let’s dive into the most common error codes and learn how to fix them efficiently:
Understanding Brother Embroidery Error Codes and Their Causes
If you’re encountering error codes on your Brother embroidery machine such as PE770, NV800E, or SE1900, it can be frustrating. These codes are designed to alert users to specific issues that need resolving to ensure smooth operation. Recognizing what triggers common error codes and knowing how to interpret the messages displayed can save you time and prevent unnecessary professional repairs.
Most error codes on Brother embroidery machines originate from issues like thread jams, needle problems, or sensor malfunctions. Common examples include ‘Error E0,’ which usually indicates a thread break, or ‘Error E1,’ often caused by fabric jams. Understanding these cues allows for quick troubleshooting and minimizes machine downtime. Regular maintenance practices, such as cleaning the bobbin case and checking threading paths, are essential for preventing many of these errors from occurring.
Common Error Codes and Their Causes
Here are some of the most frequently encountered error codes on Brother embroidery models and their typical triggers:
- Error E0: Usually points to a thread break or tension issue. Ensuring the thread is correctly threaded and free of tangles can resolve this.
- Error E1: Indicates a fabric jam or obstruction in the sewing area. Clearing embedded fabric or lint buildup is necessary.
- Error E2: Often related to sensor errors or electrical issues in the machine. Checking for loose connections and cleaning sensor areas can help.
Reading and Interpreting Error Messages
Most Brother embroidery machines display error messages directly on the LCD screen. These messages typically include the error code and sometimes a brief description. To interpret them:
- Note the exact error code displayed.
- Consult your machine’s user manual for specific troubleshooting steps related to that code.
- Check for related issues like thread tension, needle positioning, or sensor blockages based on the message.
Be vigilant about reading on-screen prompts, as they often include recommended steps such as resetting the machine or cleaning certain parts. For complex errors, referring to official troubleshooting flowcharts can simplify diagnosis and expedite resolution.
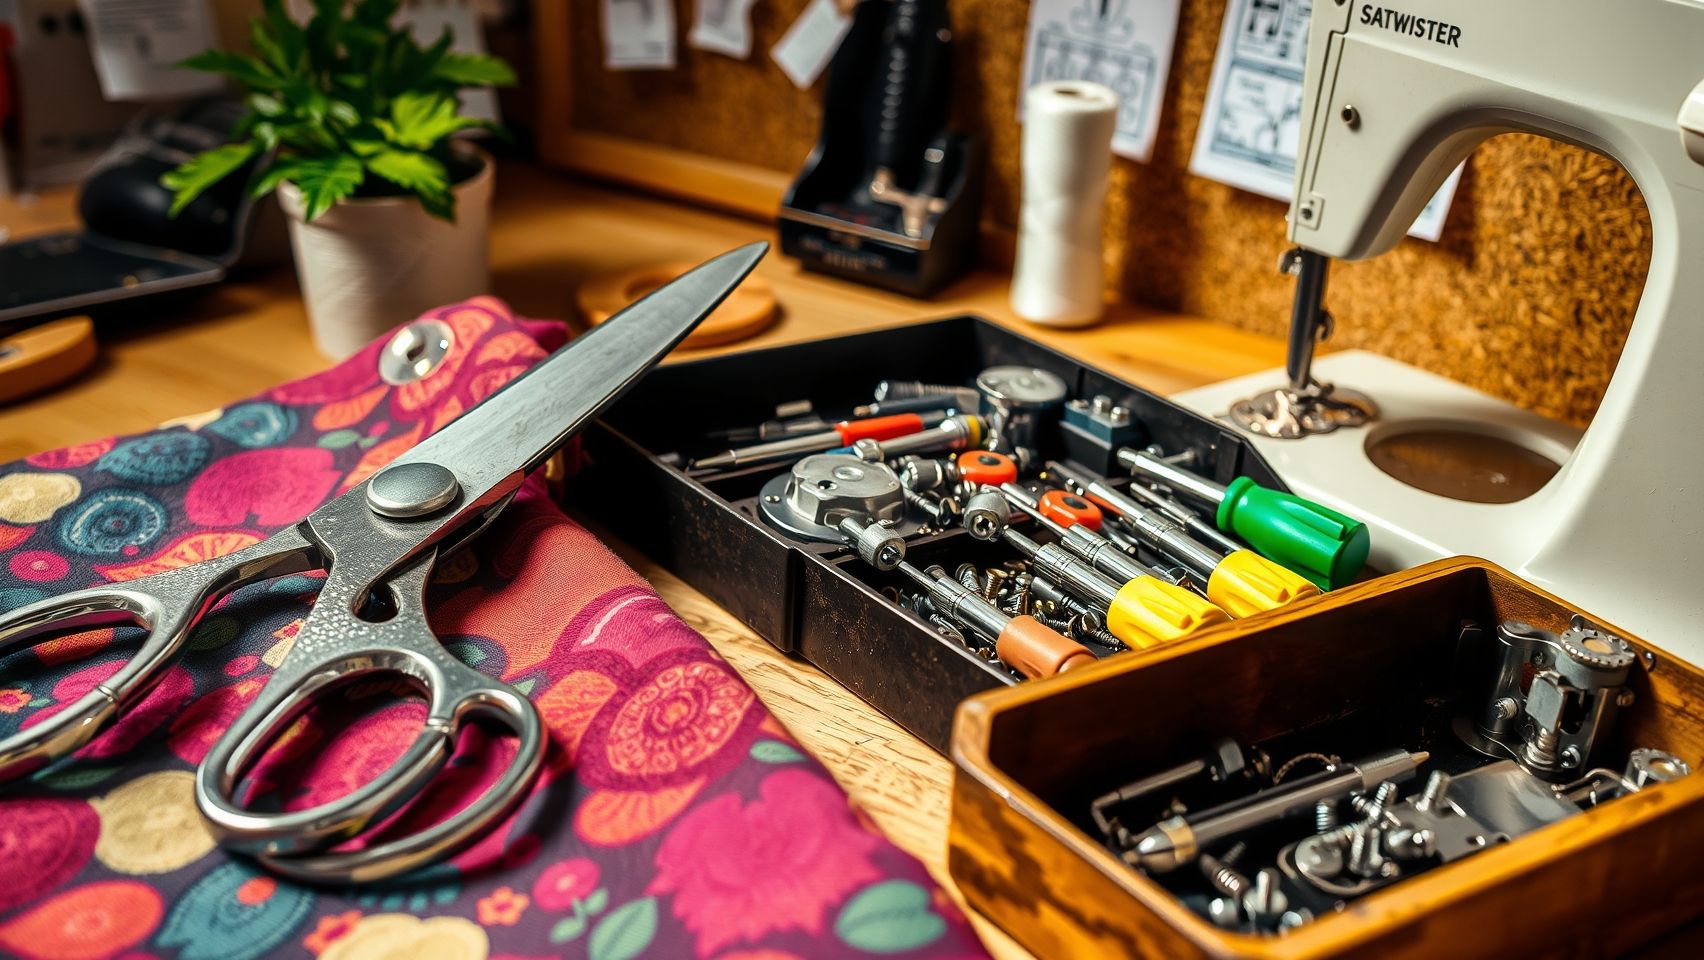
Tools Needed for Troubleshooting
Gathering the right tools can streamline the troubleshooting process:
- Small screwdrivers: For removing covers or access panels.
- Tweezers: To remove lint, thread remnants, or fabric snippets.
- Lint brushes: For cleaning sensors, bobbin cases, and lint buildup areas.
- Replacement parts: Such as needles, sensors, or thread guides.
Preventive Measures and Quick Reset Tips
Regular maintenance is key to reducing error occurrences. Cleaning the bobbin case, checking threading paths for correctness, and updating firmware regularly can significantly decrease error rates. When an error appears, try these quick reset steps:
- Turn off the machine and unplug it from the power source.
- Remove and reinsert the bobbin or embroidery module to reset the system.
- Power the machine back on and test if the error clears.
If errors persist, consulting detailed troubleshooting flowcharts tailored for your Brother model can be highly effective. These guides assist in systematically diagnosing issues, helping users resolve faults efficiently without professional intervention.
Step-by-Step: Resetting Brother Embroidery Machine Error Codes
If your Brother embroidery machine displays an error code, it can often be resolved with a simple reset process. Properly resetting the machine not only clears the error but also ensures safe operation and prevents further issues. This guide provides detailed, visually descriptive steps to help you troubleshoot common error codes at home, especially for models like the Brother PE770, which frequently involve cleaning and rethreading.
Step 1: Turn off and unplug the machine to ensure safety
Begin by switching off your embroidery machine using the power button. Once turned off, unplug the power cord from the electrical outlet. This step is crucial to prevent accidental activation during maintenance and to avoid electrical hazards. Always prioritize safety before attempting any troubleshooting procedure.
Step 2: Remove fabric and hoop carefully, inspect for jams or thread tangles
Gently remove the fabric and embroidery hoop from the machine. Carefully inspect the needle area, bobbin case, and surrounding mechanisms for any thread tangles, jammed fabric, or debris. Look for signs of needle breakage or stuck threads that can trigger error codes. Clearing these obstructions restores smooth movement and prevents error repeats.
Step 3: Clear any debris or lint from sensors and bobbin area using a lint brush
Using a soft lint brush, carefully clean dust, lint, and fabric particles from the sensors, bobbin case, and surrounding components. Dust accumulation can interfere with sensor readings and cause error messages. A thorough cleaning ensures accurate detection of thread positioning and enhances machine performance.
Step 4: Reinsert the bobbin, re-thread the machine correctly following model-specific guides
Reinsert the clean, properly wound bobbin into its case, ensuring it clicks securely. Follow your model’s threading instructions precisely—most Brother models have specific pathways to follow. Correct re-threading prevents tension issues and false error presentations, especially for common codes related to threading errors.
Step 5: Perform a factory reset if advised—usually via menu options or by holding specific buttons
Some Brother embroidery machines, like the PE770, offer a factory reset option accessible through the control panel. Often, this involves navigating to a reset menu or holding down designated buttons simultaneously. Consult your user manual for exact reset procedures—this can resolve persistent error codes without further hardware intervention.
Step 6: Turn the machine on and check if the error clears, repeat if necessary
Reconnect the power supply, turn your machine back on, and observe if the error message disappears. If the error persists, repeat the cleaning, re-threading, and reset steps. Persistent codes may require software updates or professional servicing, but most common errors clear with these reset techniques.
Regular maintenance, such as cleaning sensors and updating software via Brother’s official website, can prevent recurrence of error codes and prolong your machine’s lifespan. Adopting these straightforward steps enables embroidery enthusiasts to troubleshoot effectively at home, ensuring smooth, safe operation of their Brother embroidery machines.
Tools, Accessories, and Software to Fix and Prevent Errors
Maintaining and troubleshooting your Brother embroidery machine effectively requires having the right tools, accessories, and software updates at hand. These resources not only help resolve existing error codes but also prevent future issues, ensuring smooth operation and lasting performance. Investing in quality yet cost-effective options can make a significant difference in your embroidery projects and overall machine longevity.
Essential Tools for Troubleshooting
Having a set of reliable tools is crucial for diagnosing and fixing common embroidery machine errors. Basic items include lint brushes to remove dust and debris from sensors and moving parts, small screwdrivers for accessing internal components, and tweezers for delicate handling of small parts. Replacement needle kits are also vital, as worn or bent needles can trigger errors or damage fabrics. Sensor cleaners help maintain the accuracy of optical sensors, reducing jam errors and improving stitch quality.
Key Accessories to Prevent Errors
High-quality accessories can significantly reduce error codes. Investing in durable embroidery hoops ensures consistent tension and fabric positioning. Replacement bobbin cases from trusted suppliers like Janome or Singer offer compatibility and reliability without hefty costs. Thread guides help maintain consistent thread flow, preventing tension issues, while adjustable tensioners allow fine-tuning for different fabrics and threads, minimizing error triggers. Choosing reputable brands ensures durability and reduces the need for frequent replacements, saving money over time.
Software Solutions for Pattern Management and Firmware Updates
Brother’s iBroidery.com and PE-Design software are essential tools to streamline your embroidery workflow. These platforms enable pattern editing, color management, and troubleshooting firmware issues that may cause error codes. Regular software updates from Brother’s support site fix bugs and enhance machine features, maintaining optimal performance. Ensuring your software remains current can prevent many errors related to outdated firmware or incompatible files.
Cost-Effective Choices for Replacement Parts and Updates
Choosing affordable yet reliable replacement parts involves sourcing from trusted suppliers with proven compatibility, such as Janome or Singer. These brands often offer compatible bobbin cases that meet quality standards at lower prices. To keep your machine functioning smoothly, consider purchasing generic accessories approved by Brother, which are typically less expensive but certified for safety and performance. Routine firmware updates from Brother can be downloaded and installed for free, helping you avoid costly repairs caused by software bugs or outdated firmware. Additionally, using quality anti-jam tools and regular sensor cleaning minimizes errors, prolonging your machine’s lifespan while keeping maintenance costs low.
According to recent industry data, models like the NV1800Q benefit greatly from firmware updates and sensor maintenance, which help reduce error frequency and improve overall reliability. Keeping your equipment up-to-date and well-maintained ensures consistent quality and extends your investment’s value.
DIY Maintenance and Troubleshooting to Avoid Future Errors
Maintaining your Brother embroidery machine regularly is essential to ensure smooth operation and minimize error codes. Implementing daily and weekly routines can drastically reduce unexpected disruptions during your projects. Proper setup and troubleshooting skills empower you to handle common issues proactively, saving time and preventing costly repairs.
By incorporating simple yet effective maintenance practices into your embroidery routine, you’ll extend your machine’s lifespan and improve your overall craft quality. Let’s explore hands-on tips and best practices to keep your Brother embroidery machine in top condition and significantly reduce the occurrence of error codes.
Regular Cleaning and Oiling
Consistently cleaning your embroidery machine shields it from dust, lint, and fabric debris that can cause sensor errors or mechanical jams. Use recommended cleaning kits specifically designed for embroidery machines, including soft brushes and compressed air, to remove dust from the bobbin and needle areas. Regular lubrication of moving parts with machine-specific oil ensures smooth operation, reduces wear, and prevents errors caused by friction or misalignment.
Needle Maintenance
Replacing the needle after every 8 hours of operation or whenever you notice skipped stitches is vital. Dull or bent needles can cause thread breaks, fabric slippage, and sensor errors, especially when working with metallic or iridescent threads that increase tension stress. Using the correct needle size—such as 75/11 or 90/14—is especially important when switching thread types, as it minimizes tension issues and maintains stitch quality.
Maintaining Thread Tensions and Proper Hooping
Proper thread tension is key to avoiding errors. Metallic and specialty threads are more prone to causing tension-related issues, so adjusting the tension settings accordingly and frequently checking tension levels can prevent common errors like thread breakage and sensor alerts. Additionally, practicing correct hooping techniques — ensuring fabric is taut and well-aligned — helps prevent fabric slippage or misalignment, which frequently triggers error codes.
Utilizing Diagnostic and Troubleshooting Tools
Your Brother embroidery machine typically features a diagnostic menu that flags early warnings of potential issues — for example, misaligned sensors or tension irregularities — allowing you to address problems before they escalate. Maintaining a troubleshooting checklist tailored to your machine model can help you quickly identify causes and solutions during embroidery sessions. Staying proactive with diagnostics and routine checks ensures fewer errors and more efficient workflow.
Recent advancements in embroidery technology and trends show that in 2025, increased embroidery with metallic threads heightens the risk of error codes. Using the correct needle (such as a 75/11 or 90/14), maintaining proper tension, and regular firmware updates are crucial for preventing thread breaks and sensor errors in such projects. Regular cleaning, machine updates, and gentle handling further reduce unexpected error codes, ensuring your embroidery projects proceed smoothly and beautifully.
When to DIY Repair or Call a Professional
Decoding and resolving error codes on your Brother embroidery machine can often seem daunting, but many common issues are manageable with some basic troubleshooting. Knowing when to attempt a DIY fix versus seeking professional help is crucial for maintaining the longevity of your machine and ensuring safe operation. This guide provides practical criteria to help you make that decision confidently.
Assessing Repair Complexity and Safety
For everyday issues such as rethreading, cleaning sensors, replacing needles, or updating firmware, DIY repairs are typically straightforward and cost-effective. Most of these tasks require minimal tools and pose little safety risk, especially if proper precautions like unplugging the machine and wearing gloves are observed. These simple steps can often resolve frequent error codes that occur due to thread jams or dust accumulation.
However, more complex repairs involving sensor replacements, motor repairs, or circuit board issues should be approached with caution. These problems usually require specialized knowledge and equipment, and attempting to repair them without proper training could lead to further damage or safety hazards. Always prioritize safety by unplugging the machine during maintenance and handling components carefully.
Indicators for Professional Repair
Persistent error codes that continue after resetting the device signal deeper issues, such as motherboard failures or circuit malfunctions. Additionally, unusual noises during operation or electrical problems—like sparks or frequent tripping of circuit breakers—are clear signs that professional diagnosis is needed.
In cases where error codes remain unresolved despite troubleshooting, or the machine exhibits abnormal behavior, contacting a qualified service technician is advisable. These experts can accurately diagnose complex problems, often saving time and preventing costly collateral damage.
How to Find Certified and Trusted Repair Services
For professional repairs, start by locating authorized Brother service centers or trusted local repair shops with good customer reviews. You can visit the official Brother website to find certified service providers near you. Additionally, embroidery community forums and social media groups are helpful resources for recommendations based on real user experiences. Always verify the shop’s credentials and ask about warranties on repairs to ensure you receive quality service.
Essential DIY Safety Tips
Safety is paramount when attempting any repairs. Always unplug the machine before opening or cleaning internal components. Use protective gloves if handling sharp or electronic parts, and work in a well-lit, ventilated area. Follow manufacturer instructions closely, and avoid forcing parts or performing unauthorized modifications, which could endanger your safety or compromise your machine’s integrity.
Conclusion

Maintaining your Brother embroidery machine is essential to ensure it operates smoothly and efficiently. Regular service checks, proper troubleshooting, and understanding common error codes can significantly reduce downtime and extend the lifespan of your equipment.
By familiarizing yourself with the key error codes and recommended solutions outlined in this guide, you can confidently address many typical issues on your own. However, it’s equally important to recognize when a problem exceeds basic troubleshooting, and professional repair services are necessary. Consulting with authorized repair centers can save you both time and money in the long run.
- Keep this guide handy for quick reference whenever issues arise.
- Regularly service your machine to prevent common errors.
- Contact authorized repair centers for complex problems to ensure proper resolution.
Consistent maintenance and informed troubleshooting will empower you to keep your Brother embroidery machine performing at its best, allowing you to focus on creating beautiful designs without unnecessary interruptions. Stay proactive, and your machine will reward your efforts with reliable performance for years to come!

New brothread 12 Colors Variegated Polyester Embroidery Machine Thread Kit 500M (550Y) Each Spool for Brother Janome Babylock Singer Pfaff Bernina Husqvaran Embroidery and Sewing Machines-Assortment1
$14.99 (as of June 23, 2025 05:32 GMT -04:00 - More infoProduct prices and availability are accurate as of the date/time indicated and are subject to change. Any price and availability information displayed on [relevant Amazon Site(s), as applicable] at the time of purchase will apply to the purchase of this product.)
50 Skeins Embroidery Floss Rainbow Color Per Pack Cross Stitch Threads Friendship Bracelets Floss Crafts Floss (50)
$4.99 (as of June 22, 2025 13:06 GMT -04:00 - More infoProduct prices and availability are accurate as of the date/time indicated and are subject to change. Any price and availability information displayed on [relevant Amazon Site(s), as applicable] at the time of purchase will apply to the purchase of this product.)
LEONIS Japan 30-Color Handy Polyester Sewing Thread Set, 45m / 50 yds Each [93011]
$9.99 (as of June 23, 2025 07:58 GMT -04:00 - More infoProduct prices and availability are accurate as of the date/time indicated and are subject to change. Any price and availability information displayed on [relevant Amazon Site(s), as applicable] at the time of purchase will apply to the purchase of this product.)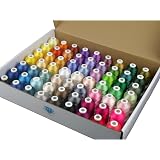
Simthread 63 Brother Colors Polyester Embroidery Machine Thread Kit 40 Weight for Brother Babylock Janome Singer Pfaff Husqvarna Bernina Embroidery and Sewing Machines 550Y
$46.99 (as of June 22, 2025 13:06 GMT -04:00 - More infoProduct prices and availability are accurate as of the date/time indicated and are subject to change. Any price and availability information displayed on [relevant Amazon Site(s), as applicable] at the time of purchase will apply to the purchase of this product.)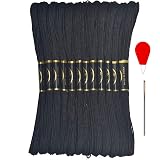
Embroidery Floss - Cross Stitch Threads - Friendship Bracelets Floss - Crafts Floss 12 Skeins Per Pack and Free Set of 2Embroidery Needles and 1Needle Threader(Black)
$3.99 (as of June 22, 2025 13:06 GMT -04:00 - More infoProduct prices and availability are accurate as of the date/time indicated and are subject to change. Any price and availability information displayed on [relevant Amazon Site(s), as applicable] at the time of purchase will apply to the purchase of this product.)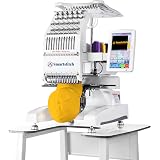
Smartstitch S-1201 Compact Embroidery Machine with 12 Needles, 1200SPM Max Speed, 7“ Touch Screen, 9.5"x12.6" Embroidery Area, Your First Commercial Embroidery Machine for Flat, Hat, T-shirt and more
$4,499.10 (as of June 23, 2025 13:06 GMT -04:00 - More infoProduct prices and availability are accurate as of the date/time indicated and are subject to change. Any price and availability information displayed on [relevant Amazon Site(s), as applicable] at the time of purchase will apply to the purchase of this product.)
BENECREAT Portable Amish Style Yarn Swift Winder, Desktop Standing Needlecraft Finishing Tool with Oval Base for Wool, Yarn and Embroidery Thread
$16.99 (as of June 23, 2025 13:06 GMT -04:00 - More infoProduct prices and availability are accurate as of the date/time indicated and are subject to change. Any price and availability information displayed on [relevant Amazon Site(s), as applicable] at the time of purchase will apply to the purchase of this product.)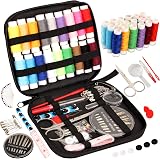
Sewing Kit Basic,Marcoon Needle and Thread Kit with Sewing Supplies and Accessories for Adults,Kids,Beginner,Home,Travel,Emergency Including Scissors,Measure Tape,Needle Threader and More
$5.99 (as of June 23, 2025 11:03 GMT -04:00 - More infoProduct prices and availability are accurate as of the date/time indicated and are subject to change. Any price and availability information displayed on [relevant Amazon Site(s), as applicable] at the time of purchase will apply to the purchase of this product.)
Brother PE545 Embroidery Machine, Wireless LAN Connected, 135 Built-in Designs, 4" x 4" Hoop Area, Large 3.7" LCD Touchscreen, USB Port, 10 Font Styles
$459.99 (as of June 23, 2025 13:06 GMT -04:00 - More infoProduct prices and availability are accurate as of the date/time indicated and are subject to change. Any price and availability information displayed on [relevant Amazon Site(s), as applicable] at the time of purchase will apply to the purchase of this product.)