How to Embroider a Wedding Gown: Step-by-Step Guide for Beautiful Custom Looks
Discover practical techniques to create stunning embroidery on your wedding gown that not only lasts but also looks flawless for a lifetime. Are you overwhelmed by endless design options or worried about choosing the right materials? You’re not alone. Embroidery adds a unique, personal touch to bridalwear, turning a simple gown into a cherished heirloom. In this guide, you’ll learn how to plan your design, select the best fabrics and threads, and execute precise stitches that elevate your craftsmanship. Plus, we’ll explore upcoming trends for 2025 motifs and the immense benefits of customization. Whether you’re aiming for a budget-friendly approach or aiming to perfectly timeline your project, this article helps set realistic expectations. Embroidery isn’t just about decoration — it’s about creating a one-of-a-kind piece that will be treasured forever. Ready to turn your vision into reality? Keep reading to unlock the secrets of embroidery artistry on your wedding gown.
Key Insights on Wedding Gown Embroidery Trends in 2025

Embroidery on wedding gowns continues to evolve, with 2025 presenting innovative motifs, materials, and techniques that elevate bridal fashion. Recent research indicates a marked increase in textured and 3D embroidery effects, alongside a growing adoption of sustainable materials. These trends are shaping the industry and offering fresh opportunities for custom gown design.
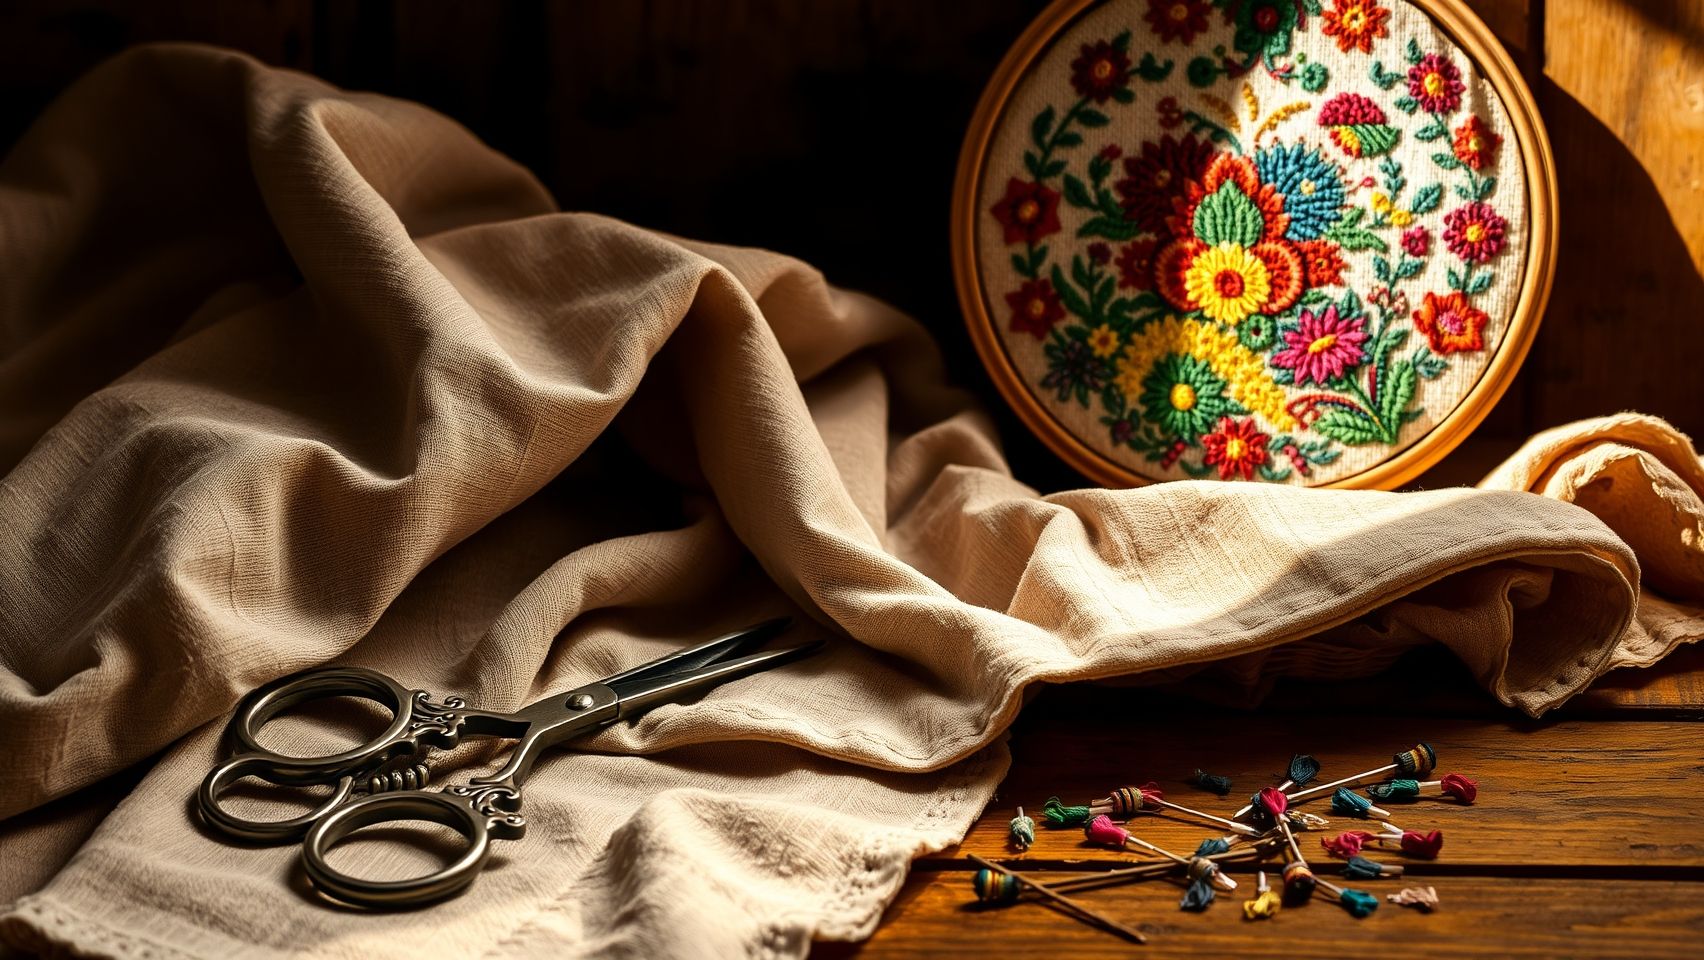
Trending Motifs, Materials, and Techniques in 2025
In 2025, motifs such as celestial designs, intricate floral patterns, and textured effects like 3D embroidery are dominating bridal fashion. Celestial themes incorporate stars, moons, and cosmic elements, bringing an ethereal touch to gowns. Floral patterns, especially with layered or embroidered appliqués, continue to symbolize romance and elegance. Textured effects involve techniques like padding and layered stitches that add depth and dimension to the fabric.
From a materials standpoint, the embroidery industry is leaning heavily into eco-conscious choices. About 65% of consumers now prefer sustainable options, leading designers to incorporate organic threads, recycled fabrics, and biodegradable embroidery hoops. Additionally, metallic and iridescent threads have seen a 30% increase in use, adding luxurious, shimmering details that enhance the gown’s visual appeal. These metallic accents are perfect for creating a regal look while maintaining eco-friendliness.
Technological advancements are also fueling trend adoption. Digital embroidery machines and software now facilitate complex, precise designs, making detailed motifs like celestial and floral patterns more accessible. Embroidery in wall art and in-the-hoop projects is expanding, with growth rates reaching 40%, offering new avenues for creative expression and customization.
Recommendations for Incorporating Trends into Wedding Gown Projects
- Utilize eco-friendly materials such as organic cotton threads combined with metallic and iridescent threads for luxurious yet sustainable details.
- Experiment with textured and 3D embroidery techniques to add depth and tactile interest to wedding gowns.
- Incorporate celestial motifs for a modern, ethereal aesthetic—think stars, moons, and cosmic patterns.
- Leverage digital embroidery tools to achieve precise, intricate designs that were previously challenging to execute manually.
- Share your projects on social media to engage with the community—trend adoption increases by over 70% through collaborative online platforms.
Step-by-Step Guide to Embroidering Your Wedding Gown
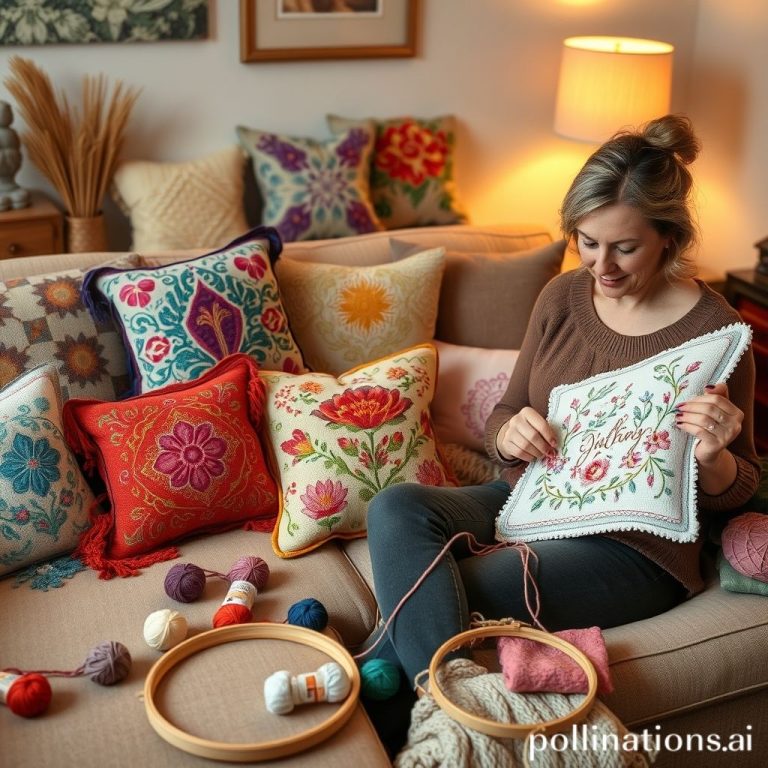
Embroidery on a wedding gown adds a uniquely personal and luxurious touch, transforming a classic dress into a one-of-a-kind masterpiece. Whether you’re enhancing existing details or creating intricate designs from scratch, a well-planned embroidery process ensures stunning results. From selecting the right materials to mastering stitch techniques, this guide walks you through each essential step to achieve beautiful, custom embroidery on your wedding gown.
Planning and Designing Your Embroidery
Begin by envisioning your design and planning its placement on the gown. Use digital software like Wilcom or Hatch Embroidery Software to design your motif precisely. These tools allow for detailed patternization, which can automate repetitive stitching and significantly reduce overall production time — up to 50%, according to recent industry reports. Once your design is finalized, consider aesthetic elements such as metallic threads for added shimmer or sustainable threads to align with eco-conscious values. Metallic threads can create eye-catching accents, while eco-friendly options support sustainability efforts in the craft industry.
Next, carefully plan the size and position of your embroidery. Use fabric markers or tailor’s chalk to mark key points, ensuring symmetry and balanced placement. Proper planning minimizes errors during machine setup and ensures a harmonious overall look.
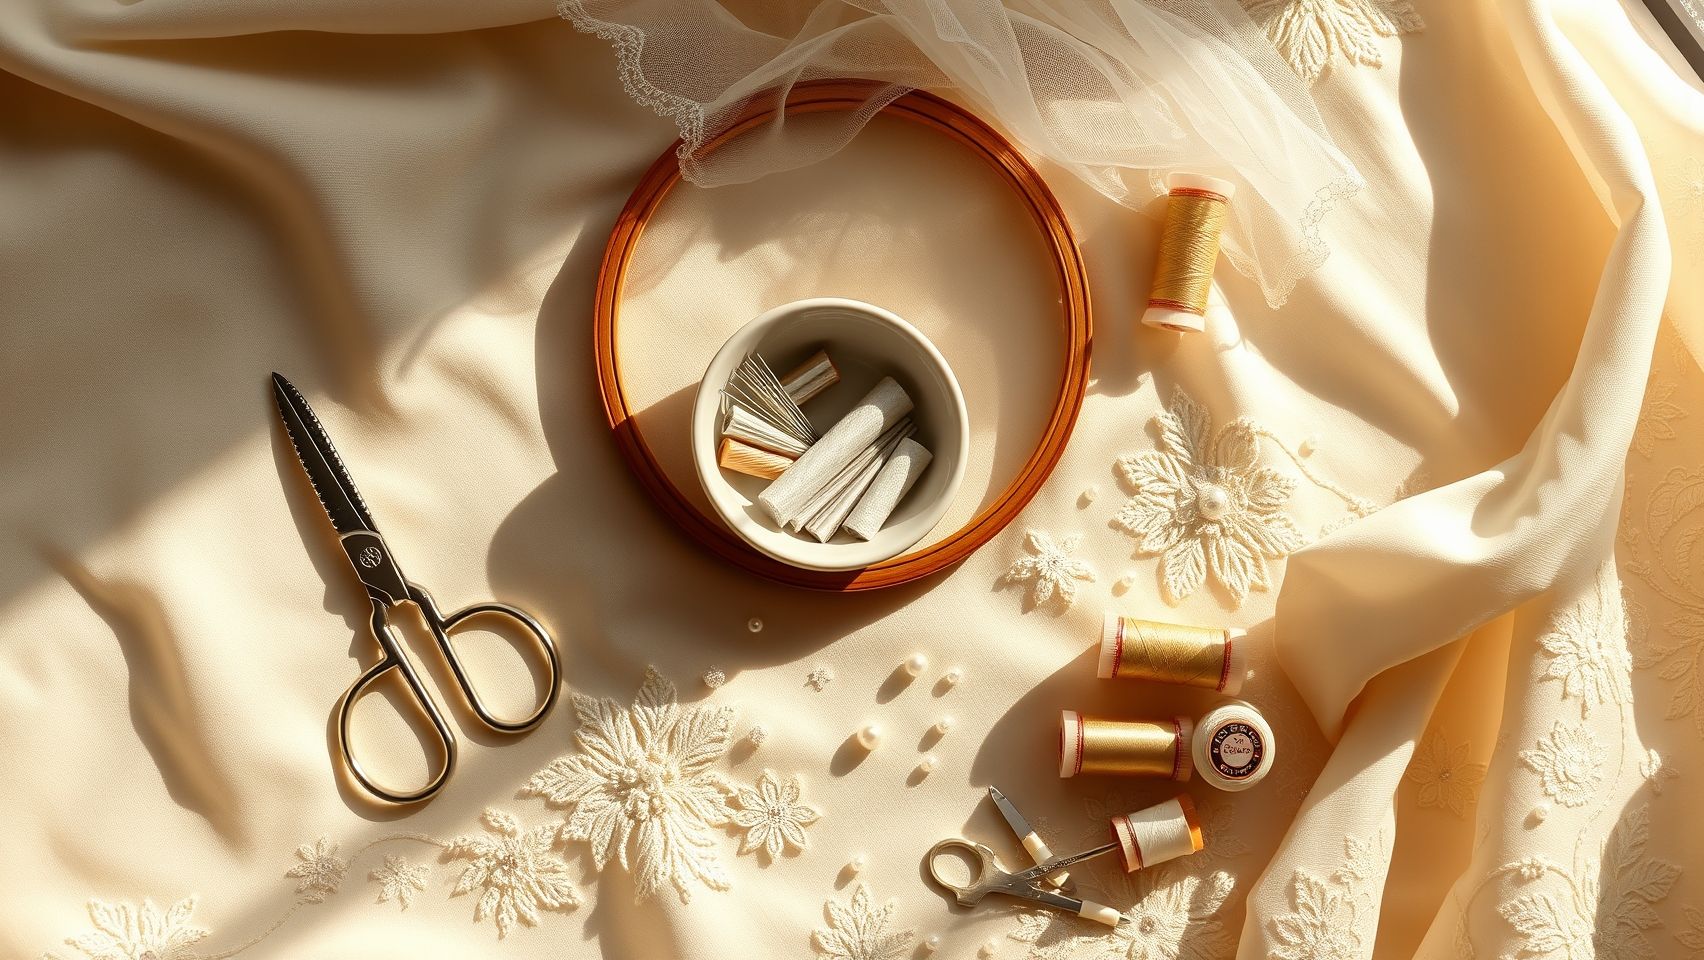
Preparing the Fabric and Thread
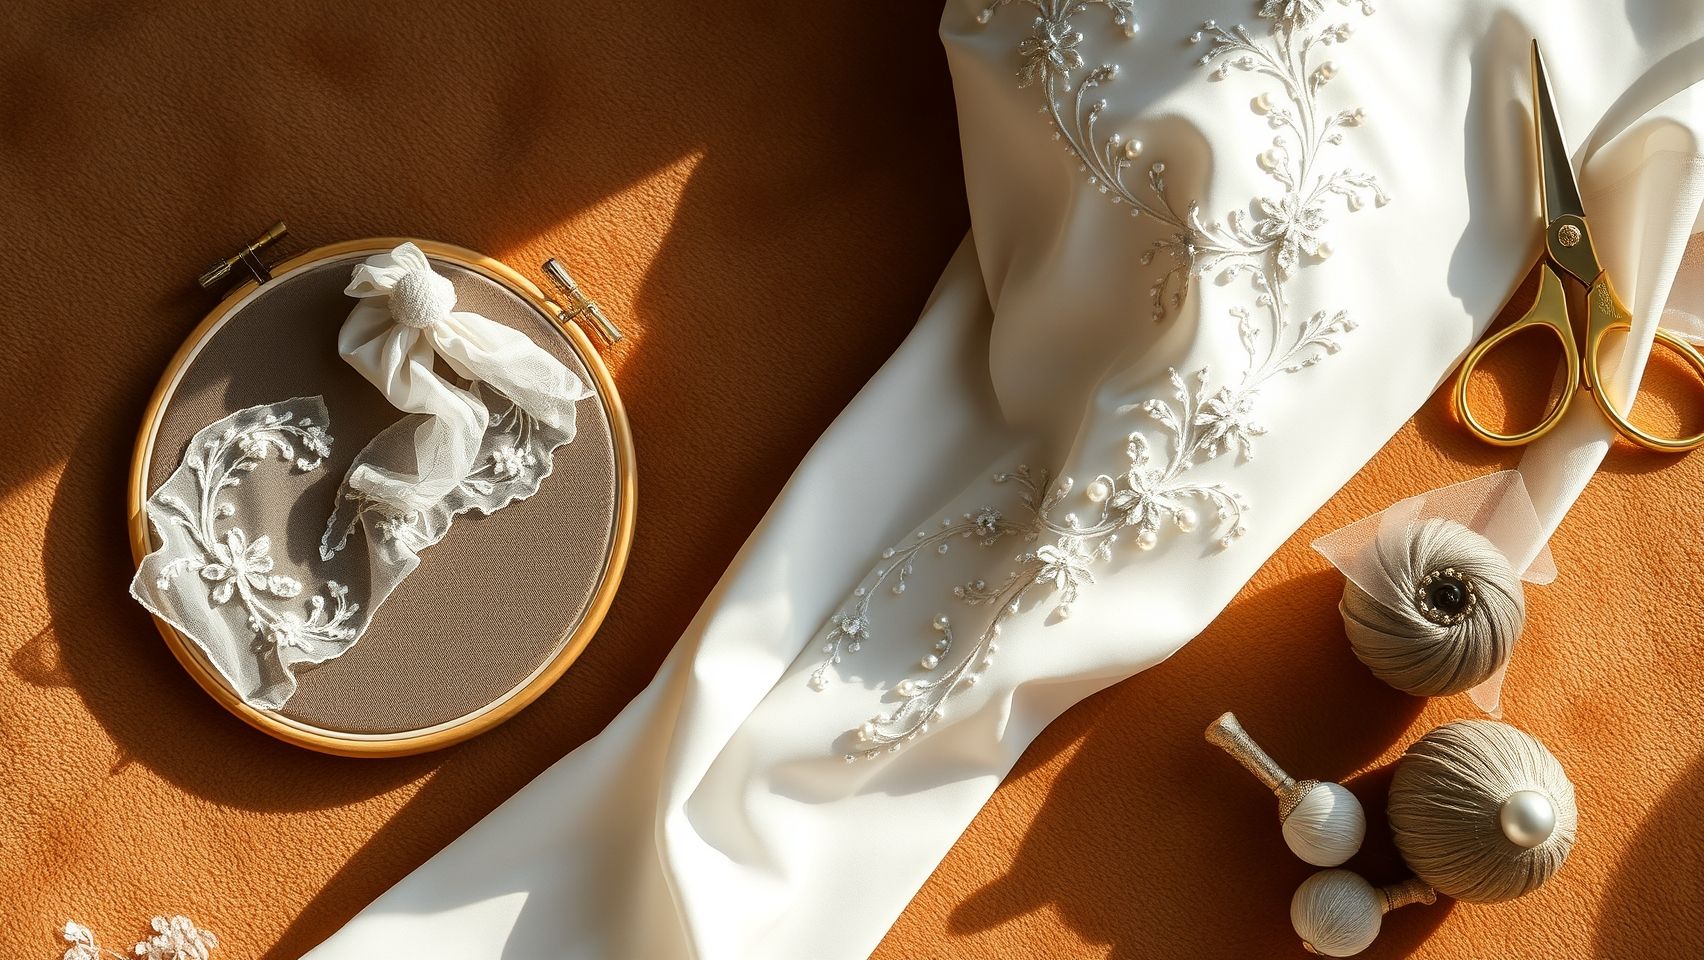
Select high-quality fabric suitable for embroidery, such as silk, satin, or tulle, considering the gown’s delicate nature. For sustainable options, look for organic or recycled textiles that maintain a luxurious feel. Prepare your embroidery threads by choosing a mix of sustainable silk threads and metallic threads for visual impact. Test the thread tension on scrap fabric—this step is crucial to prevent puckering and ensure smooth stitching, especially on fine fabrics.
Machine Setup and Stabilization
Choose an embroidery machine capable of intricate work, such as the Brother SE1900, Bernina 700, or Janome Memory Craft 500E. Adjust the tension and stitch settings guidelines provided in the machine manual for delicate fabrics. Use water-soluble stabilizers, like Aqua Mesh or Solvy, to support the fabric during stitching without leaving residue—these are ideal for sheer and delicate textiles.
Secure your fabric in a hoop that is snug but not overly tight to avoid puckering. Use gentle hooping techniques, ensuring the fabric is taut but not stretched. Proper hooping along with appropriate stabilizers creates a smooth surface, preventing ripples or distortions.
Stitch Techniques and Execution
Different stitch types lend various effects to your embroidery. Satin stitches work beautifully for outlining and lettering, seed stitches add texture, while textured fill stitches bring depth to large motifs. Always test these stitches on scrap fabric first to perfect tension and coverage.
For complex motifs or monograms, consider in-the-hoop techniques. This method allows you to execute intricate designs in a single, contained process, reducing workflow and minimizing handling of the gown fabric. Keep your machine’s speed moderate to maintain control over detailed areas and prevent mishaps.
Finishing Touches and Tips
After completing your embroidery, carefully remove the stabilizer and inspect the stitches. Trim excess threads and press the embroidered areas gently with a press cloth to avoid flattening or damaging the design. For a polished look, consider adding subtle embellishments like tiny pearls or sequins that complement your embroidered motifs.
Maintaining the integrity of your wedding gown requires gentle handling. Hand wash or spot clean the embroidered sections with mild detergent, and store the gown carefully ensuring the embroidery remains pristine. With patience and precision, your custom embroidered wedding gown will become a treasured keepsake of your special day.
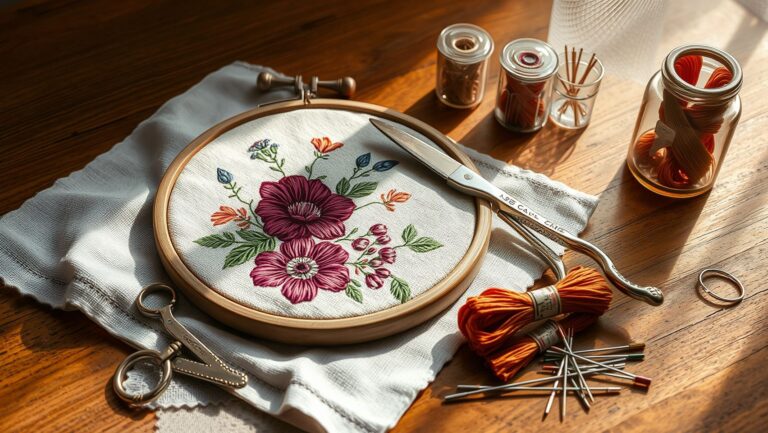
Essential Tools and Equipment for Bridal Embroidery
Embroidery on wedding gowns demands precision, quality, and reliability. To achieve professional results, understanding the essential tools, machines, and accessories is crucial. This section provides a comprehensive overview of the equipment needed to craft intricate, beautiful embroidery designs on bridal dresses, along with practical tips for setup and maintenance.
Embroidery Machines
High-quality embroidery machines form the core of professional bridal gown embroidery. Notable models include the Brother SE1900, priced at approximately $1,200, which offers 200 built-in designs and supports complex motifs. The Bernina 770 QE, around $3,500, supports advanced features like automatic thread cutting and multiple embroidery hoops. Janome 12000 is another excellent choice, known for its precision and stability. These machines support detailed custom designs with multiple thread colors, automatic functions, and sturdy frames, essential for delicate wedding dress fabrics. Proper setup involves ensuring the machine’s automatic features are enabled, and regular calibration guarantees consistency.
Hoops and Stabilizers
To accommodate various embroidery motifs, use hoops of different sizes, ensuring even tension across the fabric. Larger hoops are suitable for full-back designs, while smaller ones work for intricate details. Stabilizers are indispensable; choose from cut-away, tear-away, or water-soluble stabilizers based on fabric type and design complexity. For delicate fabrics like silk or charmeuse, water-soluble stabilizers prevent puckering. Regularly check hoop tension and tension adjustments to prevent puckering or thread breakage, which are common issues during intricate embroidery.
Threads and Accessories
High-quality embroidery threads elevate your design; metallic threads (~$15 per spool) add shimmer, while iridescent, organic cotton, and biodegradable options promote eco-friendliness. Use sharp embroidery needles (size 75/11 or 80/12) to ensure clean stitches on fine fabrics. Small scissors and magnifying tools aid in precision, especially when working on detailed motifs. Keep needles sharp and replace them frequently to avoid skipped stitches or damage to delicate fabrics. Regular maintenance includes cleaning lint from the machine and lubricating moving parts to sustain optimal performance.
Design Software
Digitizing software such as Wilcom, Hatch, or Embird allows customization and refinement of embroidery patterns. These programs are vital for creating personalized wedding gown embellishments, enabling adjustments in design size, color sequence, and stitch types. Invest in proper licensing, which ranges from $250 to $1,200, to access advanced features. Familiarity with software shortcuts and regular updates ensure smooth workflows and high-quality, professional results.
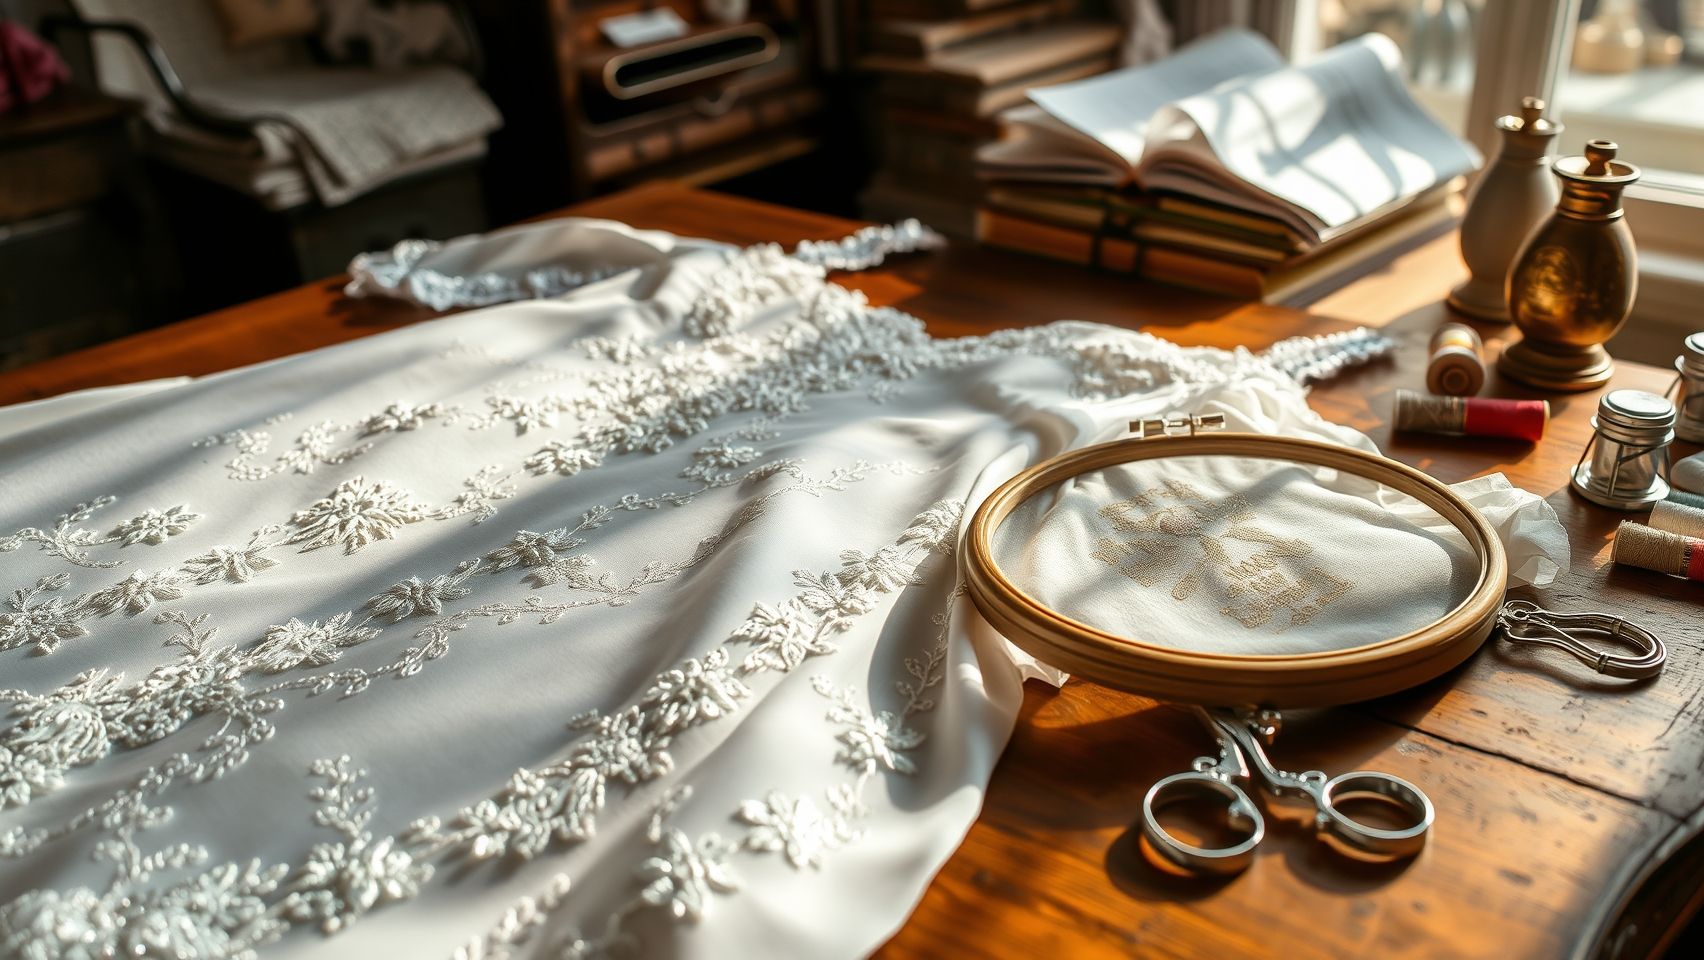
Designing and Digitizing Embroidery Patterns for Wedding Dresses
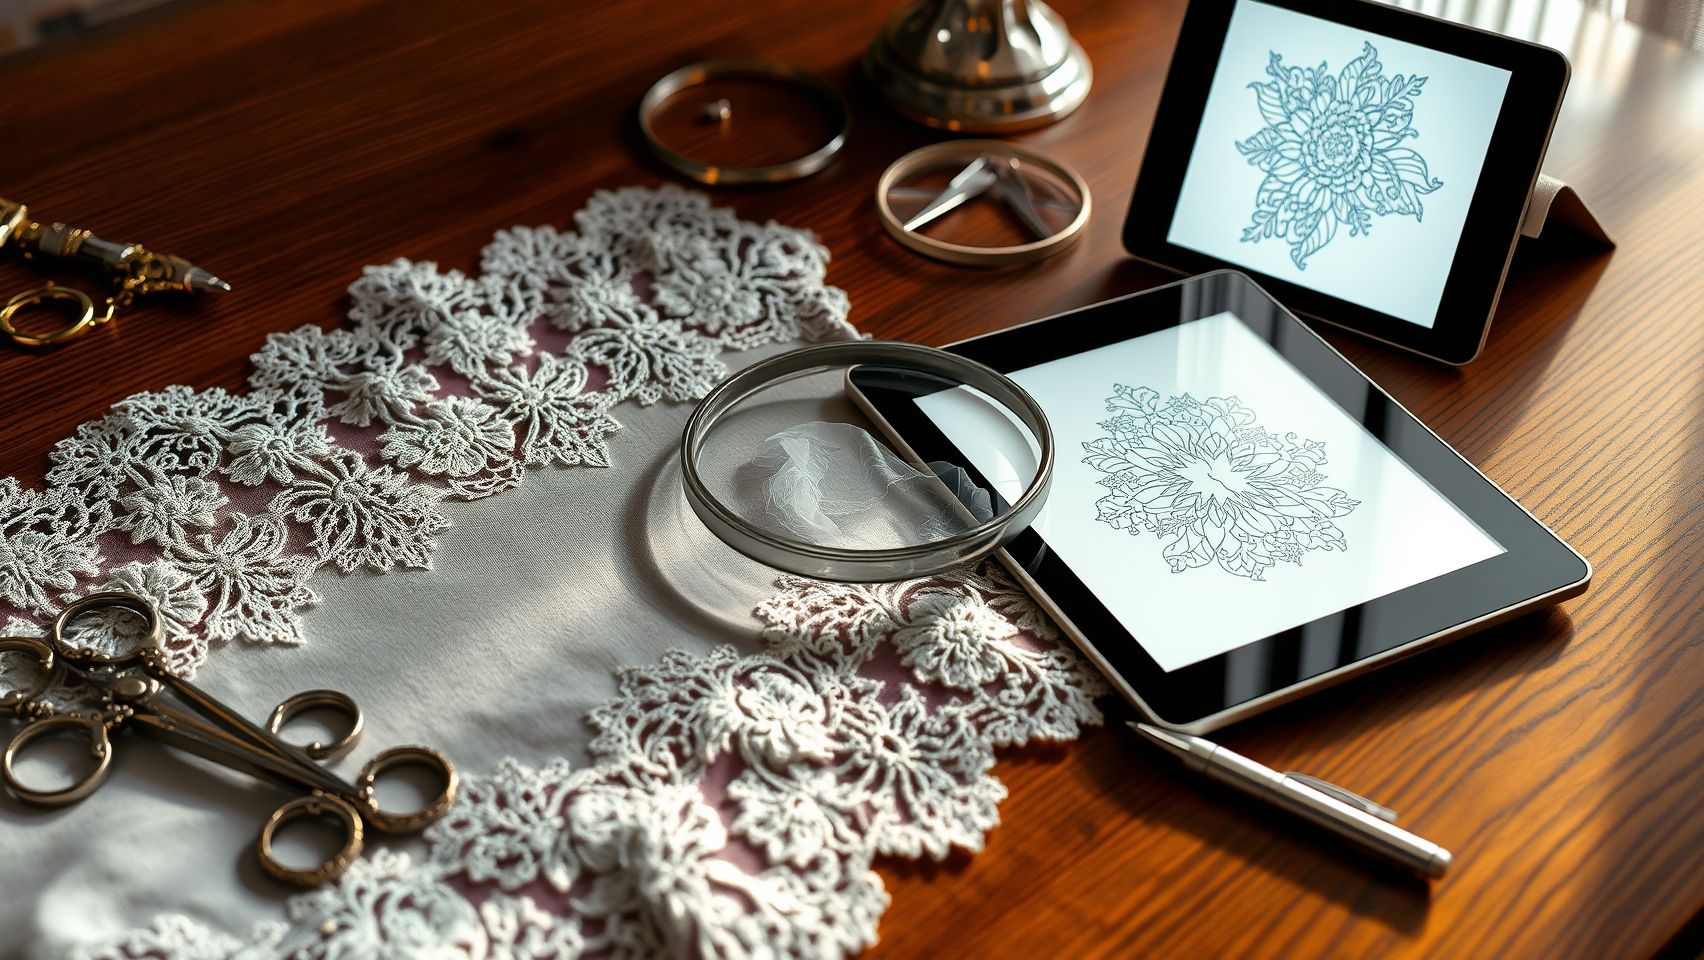
Creating custom embroidery designs for wedding gowns is a meticulous process that combines artistic vision with technical precision. Using advanced digital software such as Wilcom Embroidery Studio or Hatch allows designers to craft beautiful motifs, monograms, or celestial themes tailored specifically for bridal wear. These tools support complex motif creation, offering a seamless way to translate conceptual ideas into stitch-ready patterns.
Digitization involves assigning specific stitch types—such as satin, fill, or run stitches—to different parts of the design. Setting the right stitch density, typically ranging from 0.3 to 0.7 mm depending on the fabric, ensures the embroidery is both durable and aesthetically pleasing. Optimizing the pattern in the software for fabric type helps prevent issues like puckering or uneven tension, resulting in a flawless finish.
Step-by-Step Digitization Techniques
The first step is to carefully prepare your artwork—whether it’s a floral motif, monogram, or modern abstract element—by importing it into your chosen software. Both Wilcom version 10.5 and Hatch 3.0 support detailed customization, including adjusting stitch properties and manipulating color palettes for intricate effects. When digitizing, pay attention to stitch type selection; satin stitches work well for outlines and lettering, while fill stitches provide coverage for larger areas.
Stitch density is a crucial setting, often calibrated between 0.3 and 0.7 mm. Higher density results in a more solid appearance but can cause puckering, especially on delicate fabrics. Conduct digital previews within the software to simulate how your embroidery will look on fabric, allowing you to spot and correct potential issues early. Some programs even enable 3D visualizations, which help assess tension and detail fidelity before stitching begins.
Modern trends in wedding gown embroidery favor textural elements like textured fills or metallic accents, adding a luxurious touch that aligns with contemporary bridal aesthetics. Incorporating such design elements can elevate the gown’s overall look, making it unique and personalized. After finalizing the design, saving files in compatible formats such as PES or DST ensures smooth transfer to the embroidery machine for stitching.
Always test your pattern on scrap fabric first to verify tension, density, and overall appearance. Adjust your digital design accordingly to perfect the final look. This process minimizes material waste and reduces the need for re-stitching, saving time and cost while ensuring the embroidery perfectly complements the gown’s fabric and style.
Troubleshooting Common Embroidery Challenges on Wedding Gowns

Embroidery on wedding gowns can transform a simple dress into a stunning, personalized piece. However, technical issues like puckering, thread breakage, and skipped stitches often hinder achieving that perfect look. Understanding common problems and applying practical solutions can save time and ensure a flawless embroidered finish, making your gown look professionally crafted.
Preventing Puckering
Puckering is a frequent challenge when embroidering delicate fabrics like wedding gown material. To avoid this, use the appropriate stabilizer—preferably a cut-away stabilizer for dense or intricate designs. Proper hooping also plays a crucial role; ensure the fabric is taut but not stretched overly tight, as uneven tension can cause puckering. Regularly test on fabric scraps to finalize stabilizer and tension settings before working on the actual gown.
Addressing Thread Breakage
Thread breakage can disrupt your workflow and mar the embroidery quality. It often results from excessive tension or worn needles. Adjust machine tension to a lower setting suited for lightweight fabrics and high-quality threads like Sulky or Tear-away stabilizers. Replace dull or bent needles promptly—using the correct needle size and type for your fabric ensures smoother threading and reduces breakage. Opt for high-durability threads to withstand prolonged embroidery sessions without snapping.
Fixing Improper Tension
Proper tension calibration is vital for clean, even stitches. For wedding gown fabrics, adjust the tension settings on your embroidery machine to match the delicacy and weight of your material. Modern machines often feature tension calibration guides or automatic settings that can be fine-tuned. Conduct test runs on fabric scraps, carefully reviewing stitch quality to avoid loose or overly tight stitches that can distort the gown’s appearance.
Reducing Skipped Stitches
Skipped stitches are usually caused by dull or incorrectly suited needles. Ensure your needles are sharp, clean, and compatible with your fabric and thread type. Regularly inspect and replace needles to maintain piercing precision. Adjust sewing speed—slower speeds often result in fewer skips—and verify that the thread path is free of tangles or obstructions. Using quality threads and flexible stabilizers also enhances stitch consistency.
Regular Machine Maintenance
Consistent machine upkeep prevents technical issues that compromise embroidery quality. Clean lint build-up, especially around the bobbin area, lubricate moving parts according to manufacturer instructions, and regularly check the thread path for smooth operation. Routine maintenance extends your machine’s lifespan and ensures consistently flawless results, even with extensive embroidery projects on delicate wedding gown fabrics.
Conclusion
Embarking on the journey of wedding gown embroidery empowers you to create truly personalized and stunning bridal wear. Throughout this guide, you’ve learned how understanding current trends, selecting the right tools, and designing effectively are key to achieving beautiful results. Remember, troubleshooting common issues and practicing your techniques from preparation to post-purchase adjustments are essential steps to perfect your craft.
Now is the perfect time to transform your vision into reality, so don’t hesitate to explore new ideas and refine your skills. With confidence and ongoing learning, you can craft breathtaking wedding attire that reflects your unique style and love story.
Explore our custom bridal veil embroidery services to add that special touch to your wedding ensemble, or enroll in a workshop to elevate your embroidery skills today. Every stitch brings you closer to creating something truly unforgettable. Begin your creative journey now and turn your bridal dreams into reality!
New brothread 63 Brother Colors Polyester Embroidery Machine Thread Kit 500M (550Y) Each Spool for Brother Babylock Janome Singer Pfaff Husqvarna Bernina Embroidery and Sewing Machines
$37.39 (as of June 30, 2025 05:32 GMT -04:00 - More infoProduct prices and availability are accurate as of the date/time indicated and are subject to change. Any price and availability information displayed on [relevant Amazon Site(s), as applicable] at the time of purchase will apply to the purchase of this product.)
CABODYALS 12 Skeins 105 Yards Embroidery Floss Cross Stitch Threads 6 Ply Variegated Macaroon Friendship Bracelet String Floss Threads Bulk for Jewelry Making Bracelet Knitting Stitching Craft Supply
$6.29 (as of June 30, 2025 13:06 GMT -04:00 - More infoProduct prices and availability are accurate as of the date/time indicated and are subject to change. Any price and availability information displayed on [relevant Amazon Site(s), as applicable] at the time of purchase will apply to the purchase of this product.)
Simthread - 33 Selections - Various Assorted Color Packs of Polyester Gray Embroidery Machine Thread Huge Spool 5500Y for All Purpose Sewing Embroidery Machines - Essential Color 3
$14.99 (as of June 30, 2025 05:32 GMT -04:00 - More infoProduct prices and availability are accurate as of the date/time indicated and are subject to change. Any price and availability information displayed on [relevant Amazon Site(s), as applicable] at the time of purchase will apply to the purchase of this product.)
Simthread 6 Gold Metallic Embroidery Machine Thread 500M(550Y) for Embroidery and Decorative Sewing
$15.99 (as of June 30, 2025 05:32 GMT -04:00 - More infoProduct prices and availability are accurate as of the date/time indicated and are subject to change. Any price and availability information displayed on [relevant Amazon Site(s), as applicable] at the time of purchase will apply to the purchase of this product.)
Selric [1500Yards / 36 Colors Available] UV Resistant High Strength Polyester Thread #69 T70 Size 210D/3 for Upholstery, Outdoor Market, Drapery, Beading, Purses, Leather (Black)
$6.99 (as of June 30, 2025 07:58 GMT -04:00 - More infoProduct prices and availability are accurate as of the date/time indicated and are subject to change. Any price and availability information displayed on [relevant Amazon Site(s), as applicable] at the time of purchase will apply to the purchase of this product.)
TONIFUL 1 Inch x 100yds Black Satin Ribbon, Thin Solid Color Satin Ribbon for Gift Wrapping, Crafts, Hair Bows Making, Wedding Party Decoration, Sewing, Invitation Cards, Floral Bouquets, Christmas
$7.99 (as of June 30, 2025 11:04 GMT -04:00 - More infoProduct prices and availability are accurate as of the date/time indicated and are subject to change. Any price and availability information displayed on [relevant Amazon Site(s), as applicable] at the time of purchase will apply to the purchase of this product.)
32Ft *1 Inch Hook and Loop Tape with Adhesive Back, Heavy Duty Double Sided Adhesive Strips, Strong Sticky Strips Roll for Home/Office/School/Car, Black
$9.99 (as of June 30, 2025 11:04 GMT -04:00 - More infoProduct prices and availability are accurate as of the date/time indicated and are subject to change. Any price and availability information displayed on [relevant Amazon Site(s), as applicable] at the time of purchase will apply to the purchase of this product.)
Brother PE550D Embroidery Machine, 125 Built-in Designs Including 45 Disney Designs, 4" x 4" Hoop Area, Large 3.2" LCD Touchscreen, USB Port, 9 Font Styles
(as of June 30, 2025 13:06 GMT -04:00 - More infoProduct prices and availability are accurate as of the date/time indicated and are subject to change. Any price and availability information displayed on [relevant Amazon Site(s), as applicable] at the time of purchase will apply to the purchase of this product.)
Brother PE800 Embroidery Machine, 138 Built-in Designs, 5" x 7" Hoop Area, Large 3.2" LCD Touchscreen, USB Port, 11 Font Styles
$1,143.24 (as of June 30, 2025 13:06 GMT -04:00 - More infoProduct prices and availability are accurate as of the date/time indicated and are subject to change. Any price and availability information displayed on [relevant Amazon Site(s), as applicable] at the time of purchase will apply to the purchase of this product.)