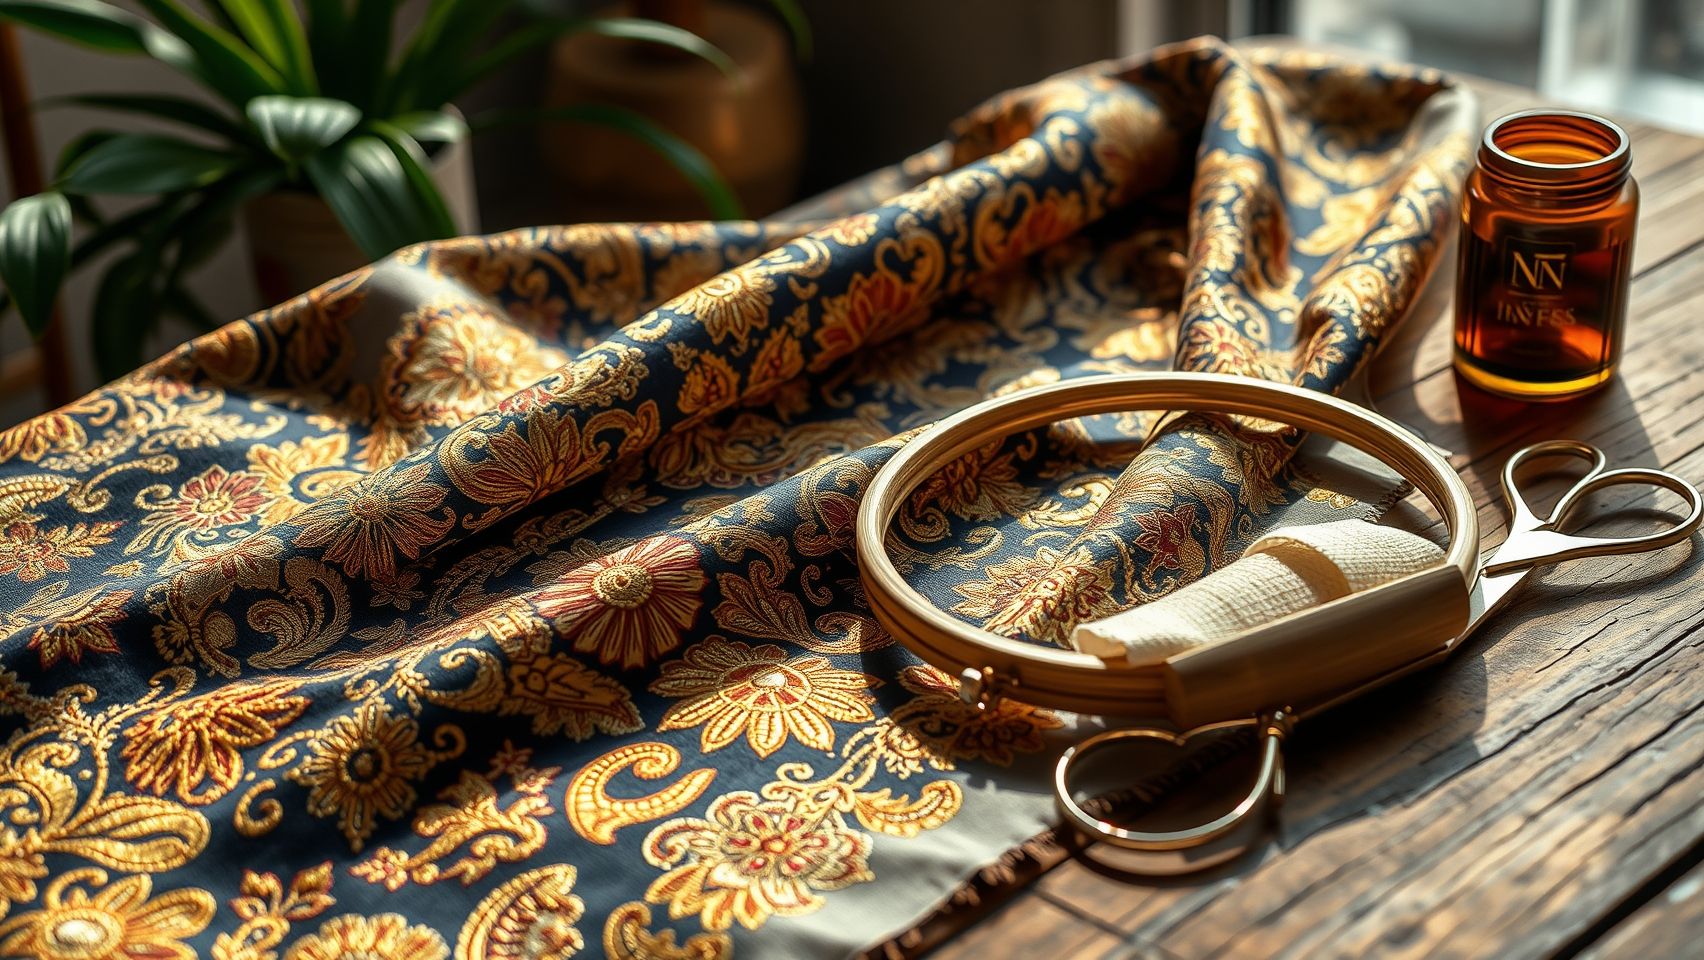
How to Convert and Optimize Embroidery Files: DST vs PES, Step-by-Step
Are you struggling to make your embroidery designs compatible across different machines or reduce file sizes without losing quality? File compatibility issues are a common headache for hobbyists and professionals alike, especially when juggling multiple formats like DST and PES. Mismatched versions, slow workflows, and file corruption can all hamper productivity. But there’s good news: practical solutions like conversion tools and optimization techniques can streamline your process. In this article, you’ll get clear, step-by-step guidance on how to convert, optimize, and manage your embroidery files effectively—and unlock the full potential of your machine. Whether you’re upgrading your setup or just seeking smoother design transfer, mastering these techniques will elevate your embroidery game. Keep reading to discover how to achieve flawless results every time, saving you time and frustration.
Understanding Embroidery File Formats: DST, PES, JEF & More
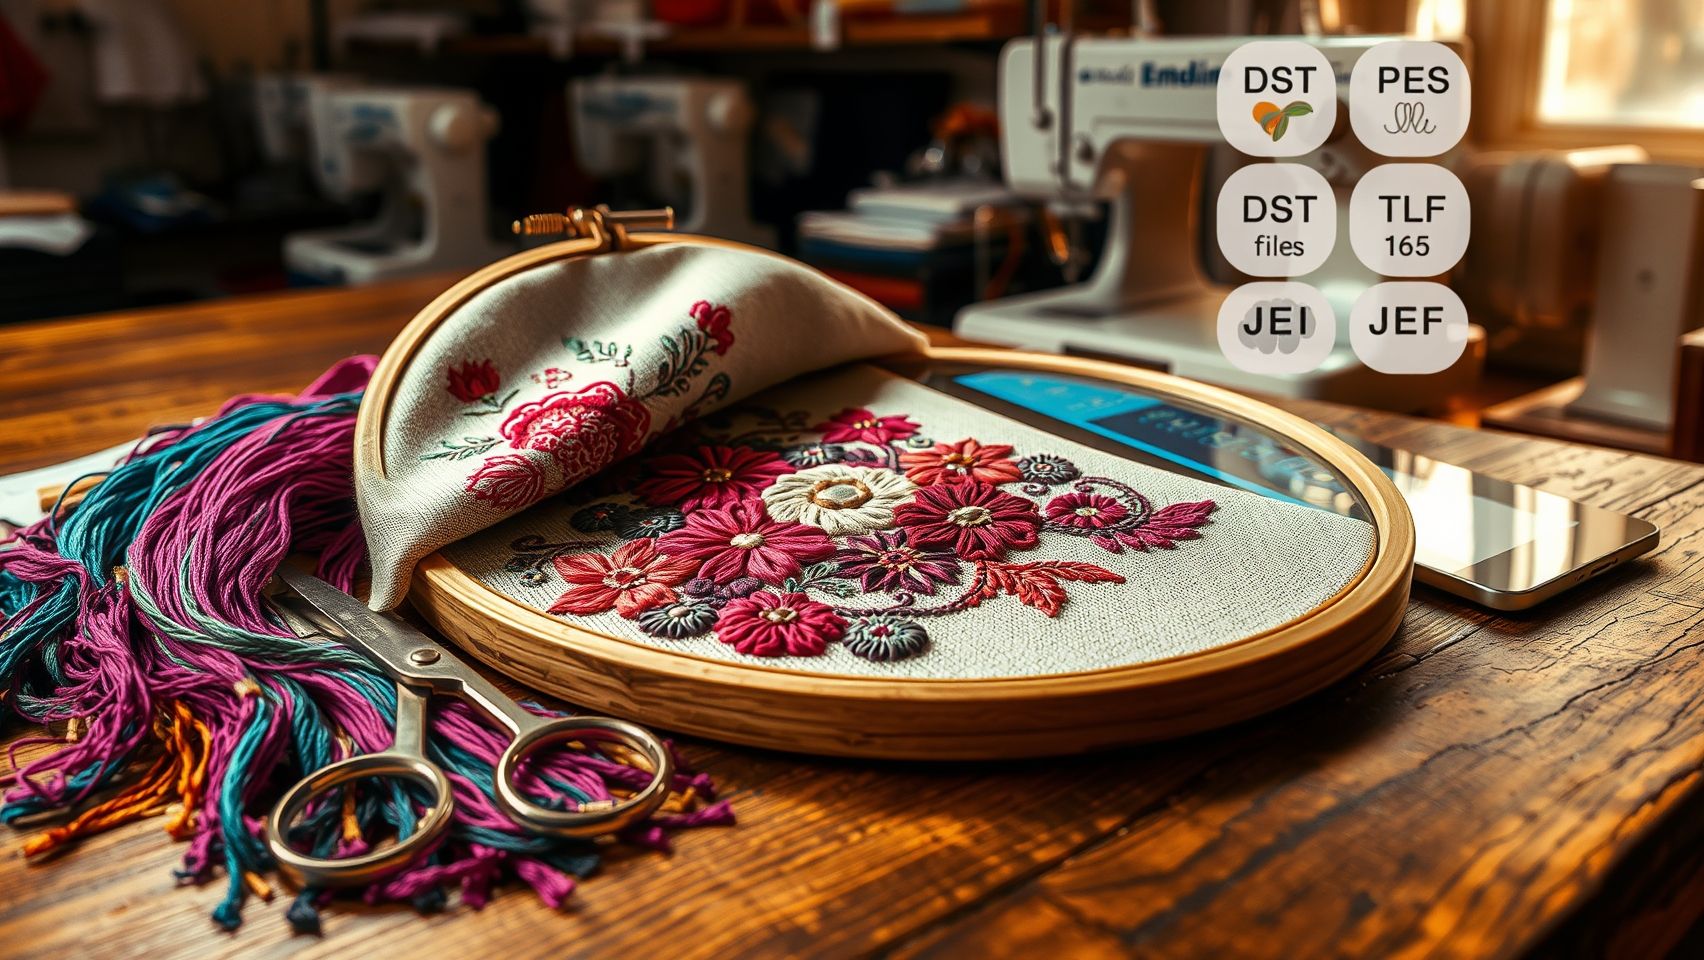
Embroidery file formats are essential for ensuring that your design displays correctly on different machines. With a variety of formats like DST, PES, JEF, EXP, and SHV, choosing the right one can impact compatibility, quality, and ease of use. Knowing which formats are best suited for your machine and project helps prevent frustration and ensures optimal results.
Popular formats serve specific user groups and machine brands. For instance, DST files are widely recognized for high compatibility with commercial embroidery machines such as Tajima, although they tend to produce larger files. PES files are favored by Brother users because they preserve color information effectively. JEF files, optimized for Janome machines, improve stitch density, enhancing detail for intricate designs. EXP and SHV formats cater to other specific brands and applications, offering diverse options based on hardware and software support.
Machine Compatibility & Usage
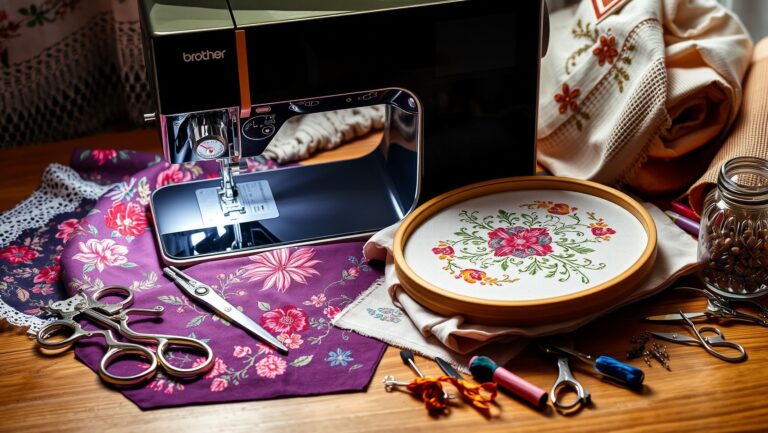
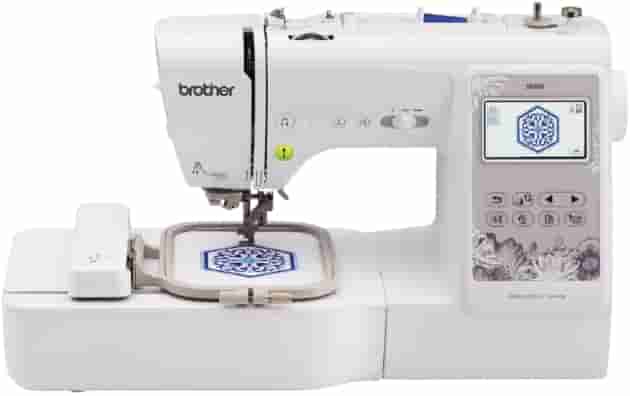
Understanding machine compatibility is crucial. Brother embroidery machines, including the PE770, typically support PES and DST formats, making design transfers seamless. In contrast, Janome machines prefer JEF files since they are designed to optimize stitch density and minimize design distortion. Commercial brands like Tajima predominantly utilize DST files, which are known for their robustness and extensive support in the industry. Compatibility tools and converters are highly recommended to facilitate design transfers across multiple brands, ensuring versatility and consistency in embroidery projects.
Quality & Practical Tips
Choosing the right format can significantly affect stitch detail, color limits, and overall design integrity. DST files tend to be larger but offer high compatibility, making them suitable for complex, detailed projects in commercial settings. PES files excel at preserving color information, useful for multi-color designs, and are simple to edit in Brother software. JEF formats enhance stitch density and are preferred for detailed, delicate patterns on Janome machines.
Always check your embroidery machine’s supported formats before transferring designs. Using format conversion tools can ensure your designs work across multiple machines, saving time and reducing errors. In 2024, advancements in software also allow for seamless conversion, making compatibility more accessible than ever.
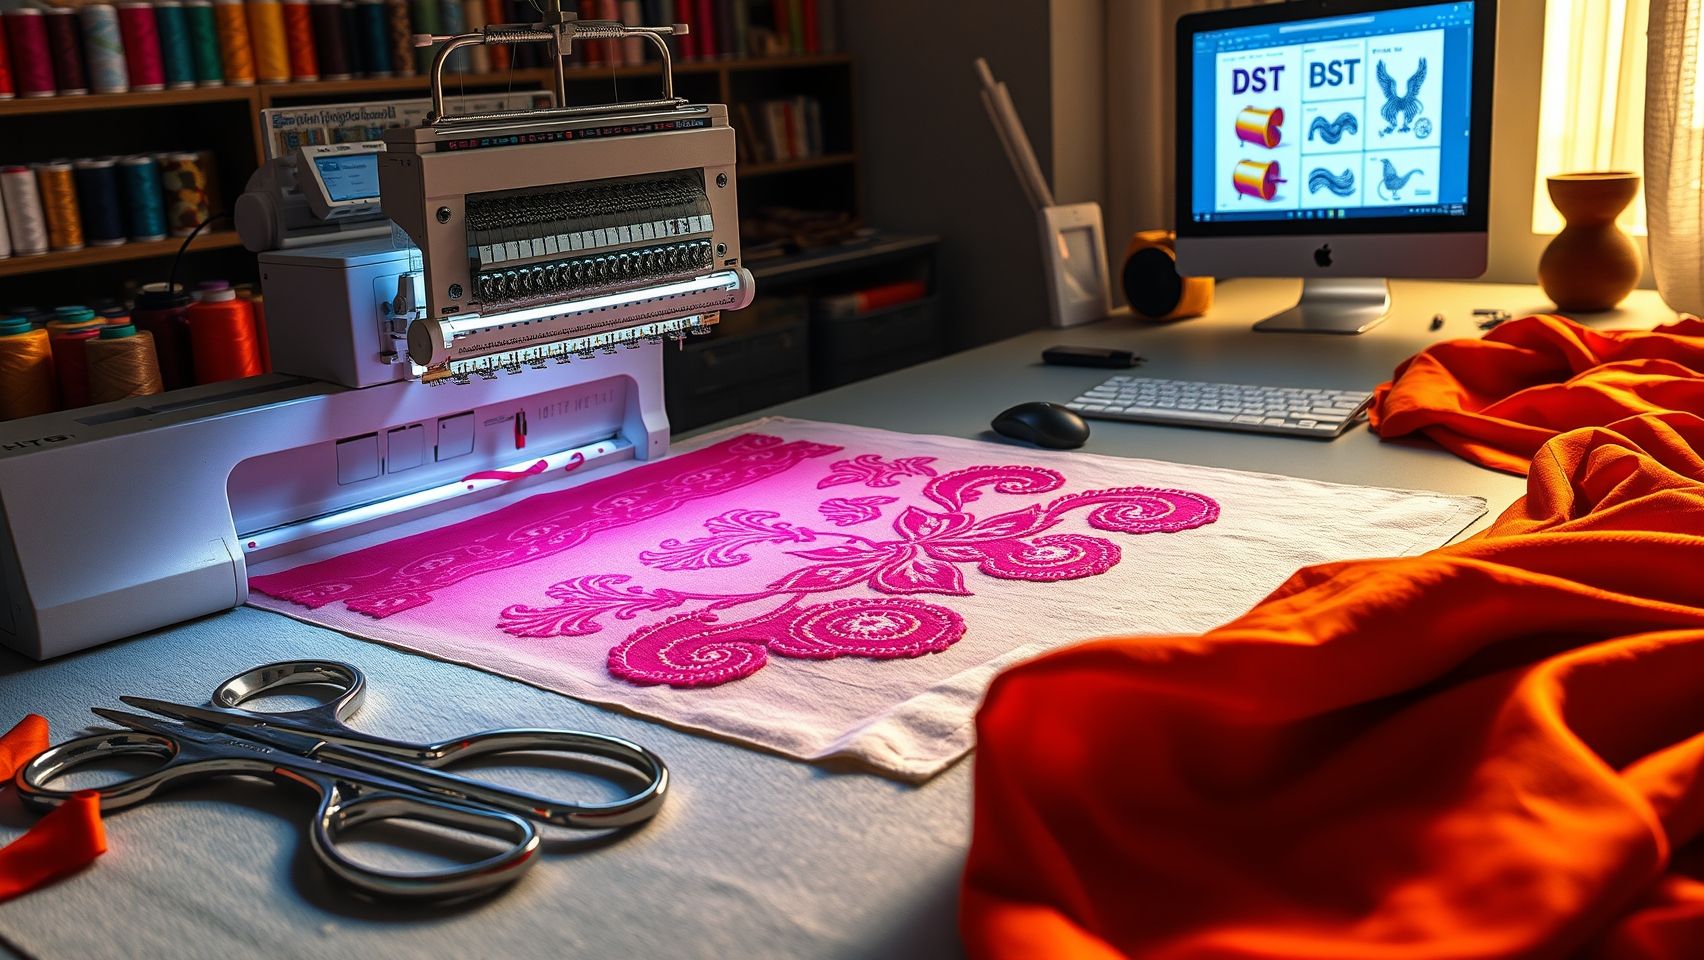
Step-by-Step Guide to Converting Embroidery Files (DST to PES and Vice Versa)
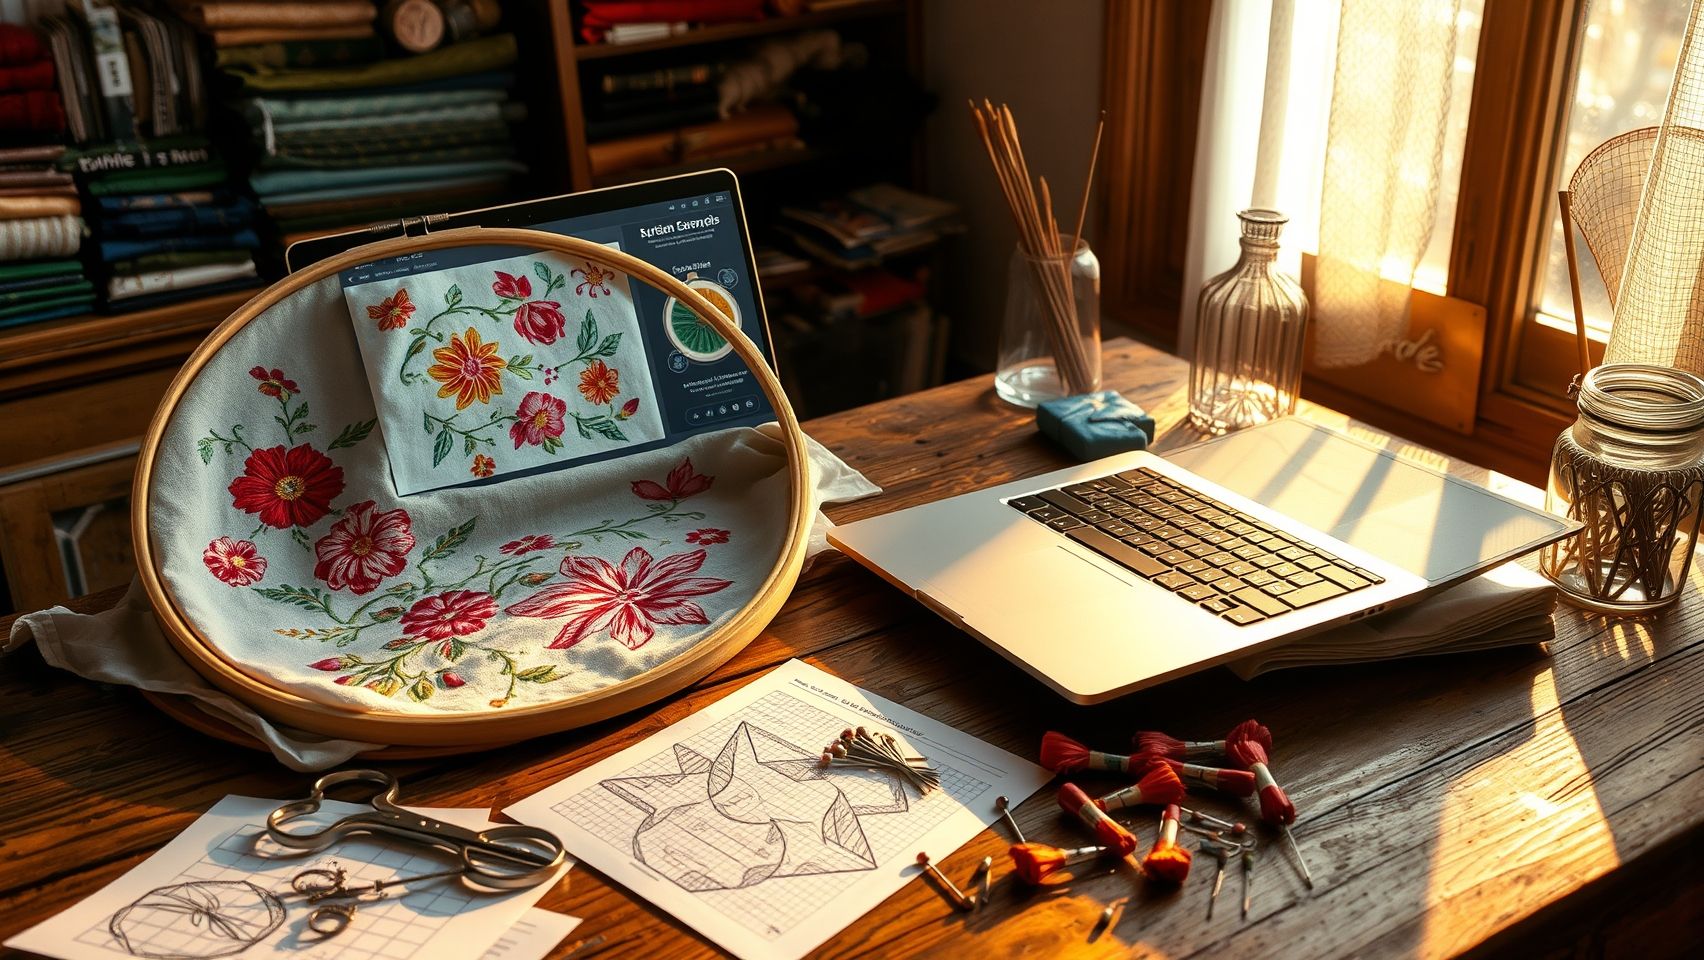
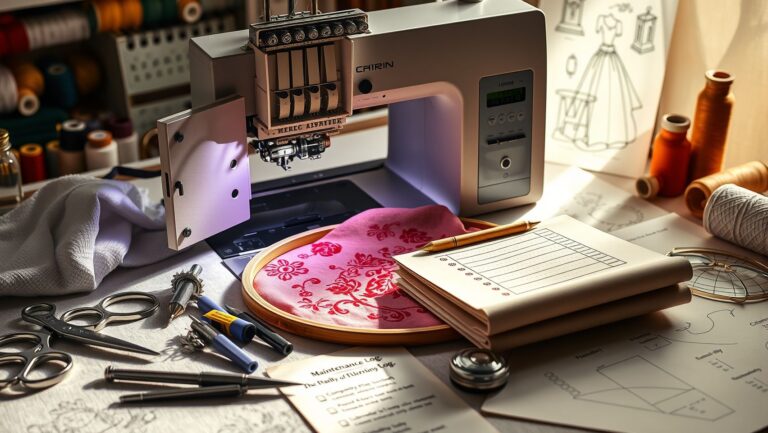
Converting embroidery files from one format to another, such as DST to PES or vice versa, is a common task for embroiderers seeking compatibility across different machines and software. Proper conversion ensures design integrity, stitch quality, and reduces troubleshooting issues. This guide provides detailed, practical steps to achieve smooth conversions using popular software options like Wilcom Embroidery Studio, Hatch, and free tools like Ink/Stitch.
Tools Required
Essential tools for this process include professional embroidery software such as Wilcom Embroidery Studio, Hatch Software, or free options like Ink/Stitch. These programs support robust conversion features, allowing you to maintain stitch quality and design accuracy. Additionally, file transfer methods such as USB, SD cards, or direct software connections are necessary to move your designs to your embroidery machine.
Step-by-Step Conversion Process
-
Open the Original File: Launch your chosen software. Load your original design by opening the DST or PES file. Verify the design’s appearance, stitch settings, and color palette to ensure everything is correct before proceeding. Modern software like Wilcom or Hatch offers preview features to confirm the design’s quality.
-
Save or Export in Target Format: Select ‘Save As’ or ‘Export’ from the software menu. Choose the desired format—if starting with a DST file, select PES, or vice versa. The software typically supports multiple formats in just a few clicks, with Wilcom being notably efficient for format conversions, often requiring only three clicks.
-
Adjust Settings for Optimization: Before finalizing, tweak settings such as stitch density, underlay, and trims to optimize the file. Removing unnecessary trims and simplifying dense stitches can reduce file size by an average of 15-20%, resulting in faster machine processing without compromising quality.
-
Validate the Design: Use conversion validation features to preview the design. This step helps catch potential issues, allowing you to make adjustments before transferring the design to your embroidery machine. Many software programs provide a real-time stitch simulation for quality assurance.
-
Transfer the Design to Your Machine: Save the final design to a USB stick, SD card, or connect directly via software. Follow your embroidery machine’s specific transfer instructions to load the design for stitching. Proper transfer prevents corruption and ensures a smooth sewing process.
By following this procedural approach, you can effortlessly convert embroidery files between DST and PES formats, preserving quality and reducing issues. Recent updates in software like Wilcom and Hatch emphasize user-friendly interfaces and faster conversion times, making this process straightforward even for beginners. Regularly re-saving designs in your preferred format also helps resolve common design issues reported by up to 45% of users.
Optimizing File Size & Quality for Better Embroidery Results
Efficiently managing embroidery file size while maintaining stitch quality is essential for faster processing, cost savings, and ease of sharing. By using software features strategically, embroiderers can significantly reduce file sizes without sacrificing the intricacy or durability of their designs. This section explores actionable techniques to streamline embroidery files for optimal results.
Utilizing Software Features to Reduce File Size
Many embroidery software programs offer tools that help clean up designs, such as removing redundant trims that can add unnecessary stitch data. Merging overlapping stitches creates a more compact design, eliminating duplicated thread paths, and simplifying fill patterns results in fewer stitches overall. These adjustments not only decrease file size but also enhance stitching efficiency.
Adjusting Stitch Density and Color Palette
Lowering stitch density in large projects reduces the number of stitches, which directly impacts file size and the load on embroidery machines. For instance, designs with high stitch density (over 5000 stitches) can significantly increase file size, leading to longer processing times. Conversely, reducing thread colors — especially in designs with many hues — streamlines design loading and shortens embroidery time. Limiting color palette to essential thread shades is a practical way to optimize both speed and design clarity.
Applying Compression and Testing for Balance
When exporting embroidery files, leverage built-in compression tools to minimize file size further, enabling faster processing and transfer. It’s advisable to test small samples using different settings—adjusting stitch density, simplifying fills, and reducing color count—to strike an ideal balance between quality and efficiency. For example, reducing file size by 25% has been shown to save approximately 3 minutes per project, boosting productivity for small business owners and hobbyists alike.
Modern embroidery machines and software continue to evolve, adopting features that support lightweight files without compromising stitch quality. Eco-conscious crafters benefit from this approach, cutting roughly 20% off production time and reducing electrical and material usage. Regularly updating your software and hardware ensures you stay aligned with the latest technical advancements, maximizing both efficiency and design excellence.
Choosing the Right Machines and Software for Your Embroidery Needs
Selecting the ideal embroidery machine and software depends on your project scope, budget, and desired level of customization. The current market for embroidery equipment is thriving, with the industry projected to grow beyond USD 7.88 billion by 2034, indicating a robust array of options for both hobbyists and professionals.
Balancing features, price, and compatibility with popular file formats like DST and PES is key to making an informed decision. Whether you’re creating intricate designs or simple monograms, understanding the strengths and limitations of each machine and software helps optimize your embroidery workflow.
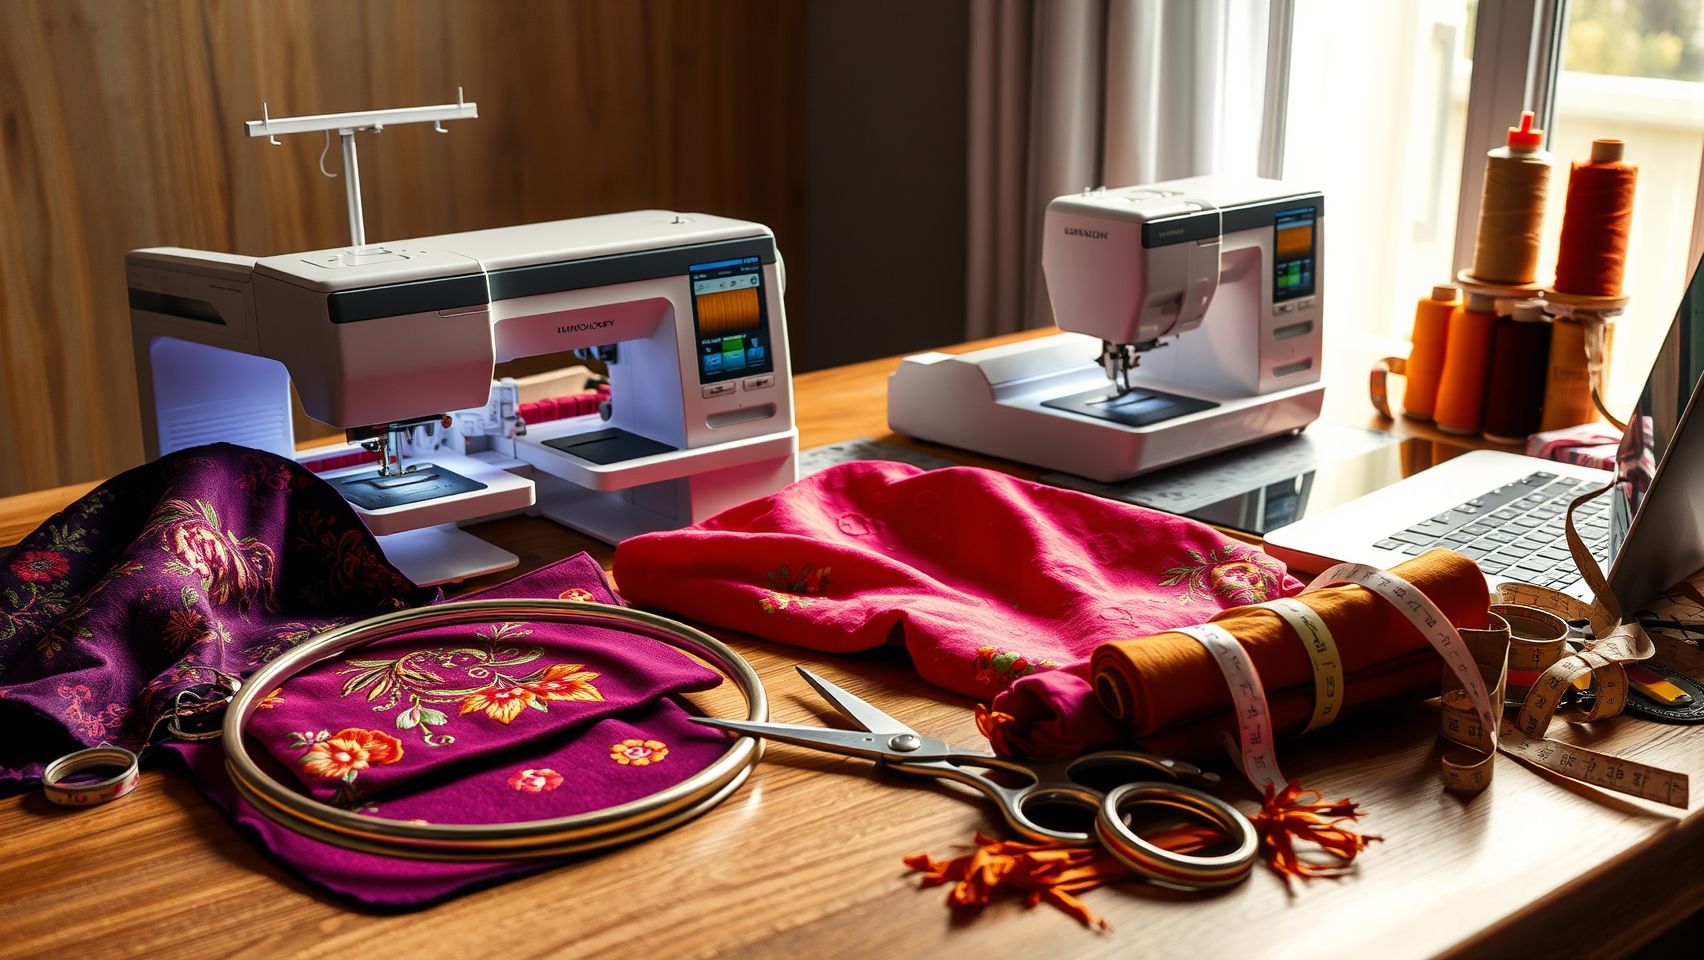
Machine Recommendations
Three popular embroidery machines illustrate the spectrum of options available today:
- Brother SE600 (~$800): Offers over 80 built-in designs and is perfect for beginners and hobbyists. Its user-friendly interface and reliable performance make it a popular entry-level choice.
- Janome Memory Craft 500E (~$2,500): Known for extensive design editing capabilities and support for formats like DST, PES, JEF, and more. Suitable for serious hobbyists and small business owners looking for more customization.
- Bernina 700 (~$3,200): Premium features, advanced connectivity, and larger embroidery fields cater to professional embroiderers. It excels in multi-needle embroidery and complex design handling.
Software Options
Embroidery software ranges from free open-source programs to professional-grade packages:
- Hatch Embroidery (~$800): Known for its extensive editing tools and support for multiple formats, Hatch is favored by hobbyists and small businesses.
- Wilcom Trade Software (~$1,200): Offers comprehensive digitizing and editing tools tailored for professional embroidery studios. Supports DST, PES, JEF, and others, providing high flexibility.
- Ink/Stitch (free): An open-source cross-platform solution that continues to evolve, ideal for beginners and budget-conscious users seeking basic functionality.
Feature Comparison Chart
Price Comparison Table
Pros and Cons Analysis
Practical Tips for Ensuring Embroidery Design Compatibility & Quality
Maintaining high-quality embroidery designs across various formats and machines can be challenging, especially with common issues like skipped stitches, thread breaks, or distorted images. Understanding key best practices and troubleshooting techniques is essential for achieving professional results. This section provides actionable tips to help embroiderers prevent design mishaps and ensure consistency, whether working with DST, PES, or other formats.
Always Preview Files in Your Embroidery Software
Before transferring a design to your embroidery machine, always load and preview it in your embroidery software. This step helps identify potential issues such as stitch errors, incorrect color shifts, or incompatibilities that may not be evident in the file alone. Regularly previewing saves time and reduces the risk of errors during production.
Keep Machine Firmware and Software Updated
Recent developments indicate that 56% of embroiderers face skipped stitches due to incompatible formats and outdated software. Regularly updating your embroidery machine’s firmware and software ensures compatibility with the latest file formats and enhances overall performance. Manufacturers often release updates that improve stitch quality, add features, and fix bugs, which together help prevent common troubleshooting issues.
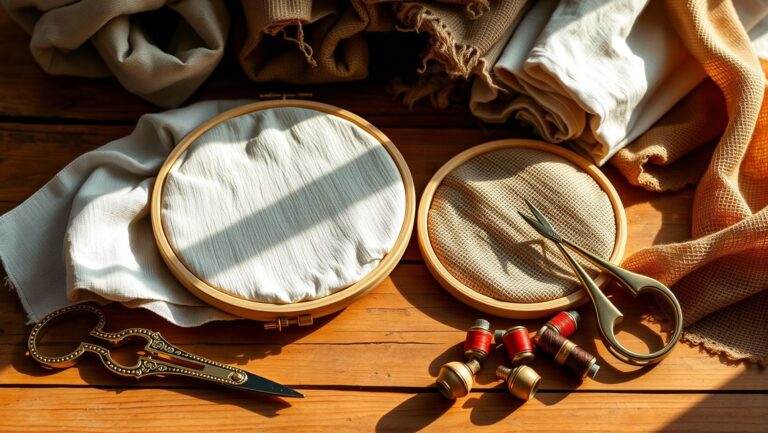
Test Designs on Scrap Fabric
Testing new designs on scrap fabric is a crucial step to verify stitch density, thread tension, and color matching. This practice allows adjustments before committing to expensive or final projects, helping to identify distortions or color mismatches early. Ensuring design integrity on scrap material minimizes costly reworks and enhances overall quality.
Use High-Quality Threads and Proper Hoop Techniques
The choice of threads and hooping method significantly impacts design accuracy. Using high-quality threads reduces thread breakage and ensures consistent color matching. Proper hooping keeps fabric taut and stable, preventing distortions or puckering that could compromise design precision. These best practices result in cleaner, sharper embroidery outcomes.
Troubleshoot Common Issues Effectively
Problems like skipped stitches, thread breaks, or design mismatch can often be traced back to format incompatibilities, tension issues, or machine calibration errors. Troubleshooting involves checking thread tension, verifying format compatibility, and ensuring correct needle and hoop setup. Keeping a log of frequent issues and solutions can streamline future troubleshooting efforts.
Keep Backup of Original Files
Before editing or converting embroidery files, always create backups to prevent data loss or corruption. This ensures that you can revert to original designs if problems arise during file adjustments or format conversions, maintaining design integrity and saving time on re-creating work.
Future Trends: AI, Sustainability & Cross-Cultural Influences in Embroidery
The embroidery industry is experiencing rapid evolution driven by technological advancements, environmental consciousness, and global cultural exchanges. Staying ahead requires embracing innovative tools and sustainable practices that not only enhance creativity but also promote ecological responsibility and cultural appreciation. This forward-looking approach empowers embroidery enthusiasts and professionals to create more meaningful and future-proof designs.
AI-Assisted Design Tools for Faster Digitizing
Artificial intelligence is revolutionizing embroidery design with tools like Embroideress and Stich AI. These platforms utilize AI algorithms to automate and expedite the digitization process, allowing for quicker turnaround times and more complex designs with minimal manual effort. AI-assisted tools are gaining popularity worldwide, with many users reporting increased sales and creative innovation. For example, integrating free AI design demos can help you experiment with new ideas and streamline your workflow, giving you a competitive edge in the craft market.
Sustainable Materials and Eco-Friendly Practices
Sustainability continues to influence embroidery trends, with 67% of crafters adopting eco-friendly threads and stabilizers. Using organic threads, upcycled fabrics, and biodegradable stabilizers not only reduces environmental impact but also appeals to conscious consumers. Experimenting with glow-in-the-dark threads, textured stitches like stumpwork, and iridescent yarns further enhances the sensory experience and aesthetic appeal of your work. Incorporating these materials into your projects demonstrates a commitment to sustainability while expanding creative possibilities.
Leveraging Digital Platforms for Cross-Cultural Inspiration
Digital platforms serve as rich repositories of cross-cultural design inspirations, enabling embroiderers to incorporate diverse motifs, techniques, and color palettes. By exploring online galleries, social media groups, and international marketplaces, you can discover authentic patterns from different cultures and adapt them into modern designs. This practice helps preserve heritage techniques digitally while fostering innovation through the integration of trendy elements such as textured stitches and luminous threads.
Actionable Steps for Early Adoption
- Try free AI design demos to experience the efficiency and creativity that automation offers.
- Source trial eco-friendly materials from local suppliers to evaluate quality and suitability for your projects.
- Join online communities dedicated to sustainable embroidery and cross-cultural exchanges to stay informed about new tools and trends.
- Experiment with textured stitches like stumpwork or glow-in-the-dark threads to develop signature techniques that set your work apart.
Embracing these emerging trends and tools ensures your embroidery practice remains innovative and environmentally responsible, positioning you for success in an ever-evolving craft landscape.
Conclusion
Throughout this guide, we’ve explored the essential aspects of embroidery file formats and how to effectively convert and optimize them for your projects. Understanding the differences between formats like DST and PES, and choosing the right conversion tools, can significantly enhance your machine compatibility, design quality, and workflow efficiency. Staying updated on emerging trends, such as multi-format export features and advanced software capabilities, ensures you remain competitive and creative in your embroidery endeavors.
Mastering these skills allows you to produce intricate, high-quality designs with ease and confidence. Remember, consistent quality checks and selecting suitable tools are key to avoiding common pitfalls and achieving professional results. Don’t wait to advance your embroidery skills—embrace the latest software trials and test your designs across multiple formats today.
Start experimenting today with free software trials and test your designs across formats to improve compatibility and quality—your next project will thank you! By taking immediate action, you’ll streamline your workflow, expand your creative possibilities, and elevate your embroidery projects to a professional level. Keep pushing the boundaries of your craft—success is just a conversion away!
Simthread 6 Polyester White Machine Embroidery Threads 1000M(1100Yards) for Brother, Babylock, Janome, Pfaff, Singer, Bernina and Other Home Machines (White)
$11.99 (as of July 9, 2025 05:32 GMT -04:00 - More infoProduct prices and availability are accurate as of the date/time indicated and are subject to change. Any price and availability information displayed on [relevant Amazon Site(s), as applicable] at the time of purchase will apply to the purchase of this product.)
New brothread 20 Assorted Colors Metallic Embroidery Machine Thread Kit 500M (550Y) Each Spool for Computerized Embroidery and Decorative Sewing
$22.09 (as of July 9, 2025 05:32 GMT -04:00 - More infoProduct prices and availability are accurate as of the date/time indicated and are subject to change. Any price and availability information displayed on [relevant Amazon Site(s), as applicable] at the time of purchase will apply to the purchase of this product.)
PAXCOO 488Pcs String Bracelet Making Kit, Friendship Bracelet String Kit with 50 Skeins Embroidery Floss Cross Stitch Thread, 400Pcs Friendship Bracelet Beads, 37Pcs Embroidery Tools
$13.99 (as of July 8, 2025 13:07 GMT -04:00 - More infoProduct prices and availability are accurate as of the date/time indicated and are subject to change. Any price and availability information displayed on [relevant Amazon Site(s), as applicable] at the time of purchase will apply to the purchase of this product.)
Selric [1500Yards / 36 Colors Available] UV Resistant High Strength Polyester Thread #69 T70 Size 210D/3 for Upholstery, Outdoor Market, Drapery, Beading, Purses, Leather (Black)
$6.99 (as of July 9, 2025 07:59 GMT -04:00 - More infoProduct prices and availability are accurate as of the date/time indicated and are subject to change. Any price and availability information displayed on [relevant Amazon Site(s), as applicable] at the time of purchase will apply to the purchase of this product.)
BAGERLA 273 Yards Leather Waxed Thread Sewing Kit Including Black Waxed Thread Needle Awl Thimble, Upholstery Repair Kit for Leather Carpet Sofa Seat Shoe Sewing and Repair
$4.34 (as of July 9, 2025 07:59 GMT -04:00 - More infoProduct prices and availability are accurate as of the date/time indicated and are subject to change. Any price and availability information displayed on [relevant Amazon Site(s), as applicable] at the time of purchase will apply to the purchase of this product.)
Generic Stitchy Gun for Clothing, Quick Stitch Sewing Gun, Mini Stitch Gun for Clothes, Hemming Gun with 6 Needles, 500 White and 500 Black Micro Fasteners (Pink)
(as of July 8, 2025 13:06 GMT -04:00 - More infoProduct prices and availability are accurate as of the date/time indicated and are subject to change. Any price and availability information displayed on [relevant Amazon Site(s), as applicable] at the time of purchase will apply to the purchase of this product.)
beadsland Flat Back Crystal Rhinestones Round Gems for Nail Art and Craft Glue Fix, CrystalAB (4.6-4.8mm) SS20/1440pcs
$6.39 (as of July 8, 2025 11:04 GMT -04:00 - More infoProduct prices and availability are accurate as of the date/time indicated and are subject to change. Any price and availability information displayed on [relevant Amazon Site(s), as applicable] at the time of purchase will apply to the purchase of this product.)
clothes stitch gun tagging gun for clothing for clothes,Single needle mini clothing embroidery sewing gun,the stitchy quick stitch sewing gun for clothes ,6-pin label gun and 2000 fasteners(Pink)
(as of July 8, 2025 13:07 GMT -04:00 - More infoProduct prices and availability are accurate as of the date/time indicated and are subject to change. Any price and availability information displayed on [relevant Amazon Site(s), as applicable] at the time of purchase will apply to the purchase of this product.)
Industrial Sewing Machine Juki DDL-8100 Lockstitch Servo Motor + Table Stand Cut Juki DDL8700 + LED Lamp+ Commercial Grade Sewing Machine
$855.00 (as of July 8, 2025 13:06 GMT -04:00 - More infoProduct prices and availability are accurate as of the date/time indicated and are subject to change. Any price and availability information displayed on [relevant Amazon Site(s), as applicable] at the time of purchase will apply to the purchase of this product.)