Fringe Benefits: Embroidered Edges and Creative Inspiration
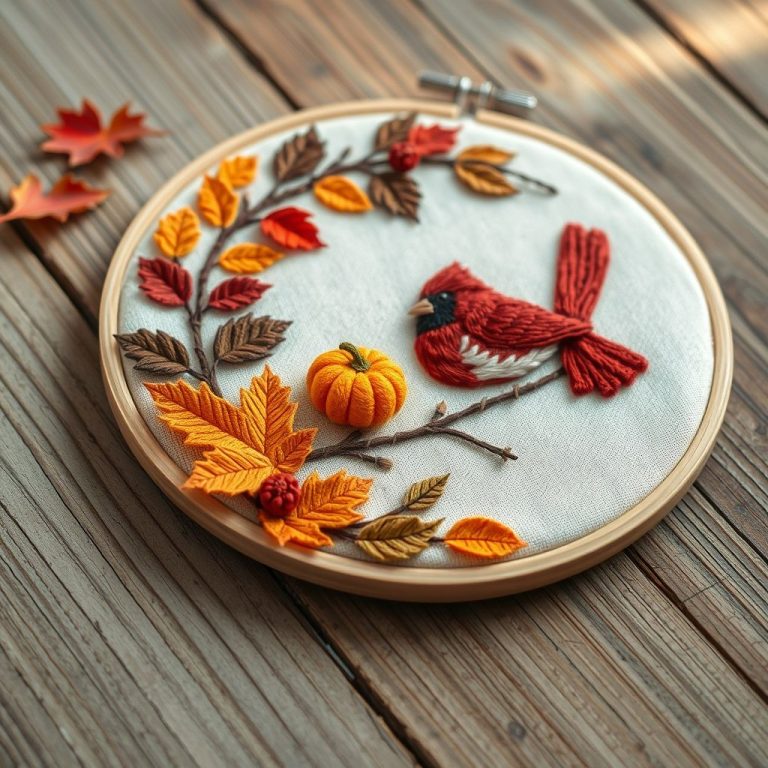
Embroidery, an art form steeped in history and tradition, continues to evolve, finding new expressions and applications in contemporary design. While we often focus on the intricate stitches that fill a design, there’s a fascinating world beyond the fabric’s edge: fringe embroidery. It’s more than just a decorative element; it’s a way to add texture, movement, and a playful dimension to your embroidered creations. Whether you’re embellishing clothing, home décor items, or even fiber art pieces, fringe embroidery offers a unique opportunity to break away from the traditional and embrace the unexpected. Think of it as the exclamation point at the end of your creative sentence!
This blog post will delve into the captivating realm of fringe embroidery, exploring various techniques, drawing inspiration from diverse sources, and providing practical tips to help you incorporate this eye-catching embellishment into your own projects. We’ll uncover the basic knots and stitches used to create fringe, explore advanced techniques for added flair, consider the role of color and texture, and ultimately, show you how to unleash your creativity and transform the ordinary into the extraordinary with the simple, yet stunning, addition of fringe.
Unlocking the Basics: Simple Fringe Techniques
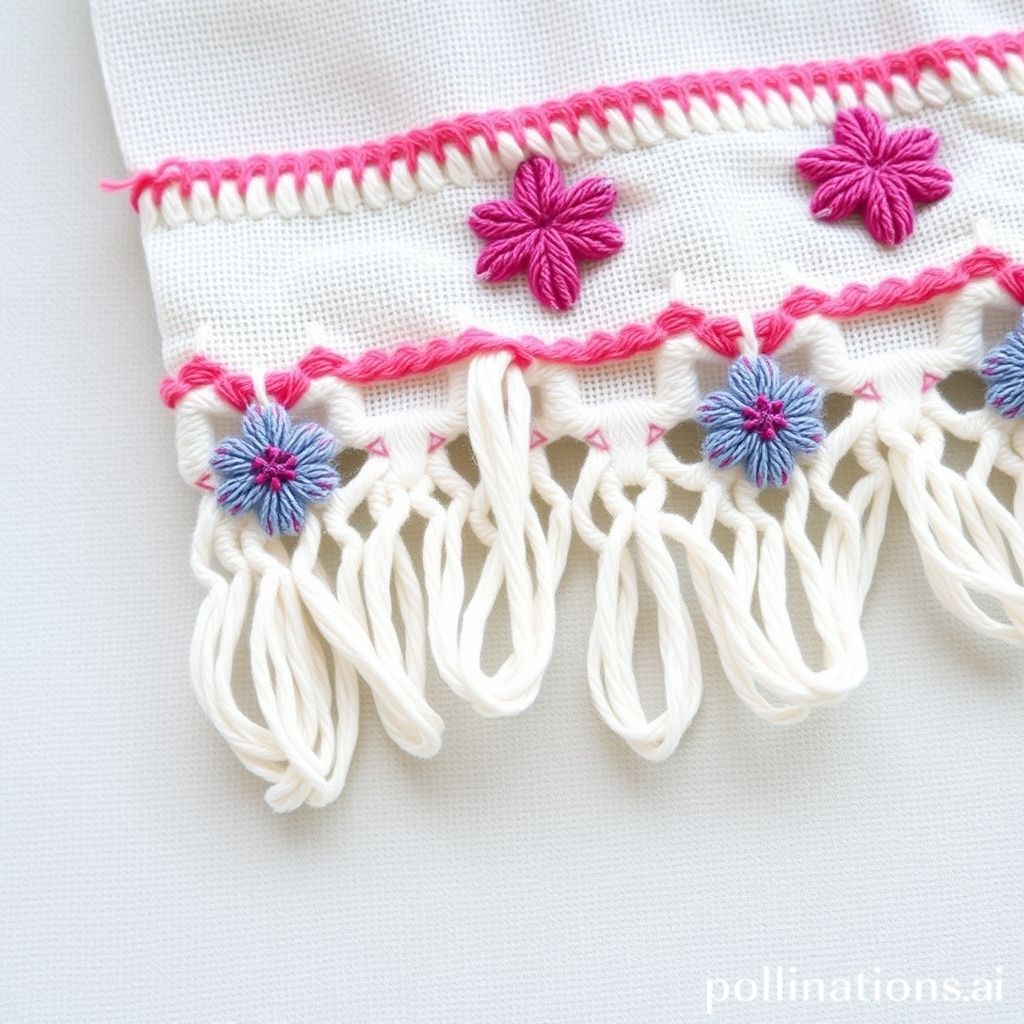
The foundation of any successful fringe embroidery project lies in mastering the fundamental techniques. Luckily, creating basic fringe is surprisingly straightforward, requiring minimal specialized tools and readily available materials. The most common method involves creating looped or knotted fringe using embroidery floss, yarn, or even strips of fabric. One popular technique involves the simple overhand knot. You begin by cutting your chosen material to the desired length for your fringe, remembering to double the length and add extra for the knot. Then, fold the material in half, creating a loop at the top. Insert the loop through the edge of your fabric using a crochet hook or needle, and then bring the loose ends of the fringe through the loop to form a knot. Pull tight to secure the fringe.
Another classic technique is the lark’s head knot, often used in macramé and easily adaptable to embroidery. “The lark’s head knot is a versatile and strong knot, perfect for attaching fringe securely,” as described in The Complete Book of Knotting & Braiding. This knot offers a slightly different texture and visual appeal compared to the overhand knot. The process involves folding the fringe material in half, placing the loop over the fabric’s edge, and then bringing the loose ends through the loop, but instead of pulling straight down, you can manipulate the position of the knot to create a more dynamic effect.
Experimenting with different materials is also key. Consider the weight and texture of your chosen thread or yarn. Heavier yarns will create a bolder, more substantial fringe, while finer threads will result in a delicate, wispy effect. The color of the fringe can also significantly impact the overall design. Use contrasting colors for a bold statement or complementary colors for a more subtle and harmonious look. Remember that consistency is key, particularly regarding the length of the fringe. Using a template or ruler can help ensure a uniform and professional finish. With these basic techniques in hand, you’re ready to explore more advanced and creative variations.
Beyond the Basics: Advanced Fringe Embroidery Styles
Once you’ve mastered the simple knotted fringe, you can venture into more complex and visually stunning techniques. Braiding, for example, adds a sophisticated and intricate element to your fringe. You can braid individual strands of fringe together, creating a more substantial and textured effect. Start by dividing your fringe into sections of three strands each. Then, braid each section using a standard three-strand braid, securing the end with a small knot or bead. For a more elaborate design, try incorporating beads or other embellishments into the braid itself.
Another captivating technique is creating layered fringe. This involves attaching fringe in multiple rows, with each row being slightly shorter or longer than the previous one. This technique adds depth and dimension to your embroidery and allows for a variety of textures and colors to be incorporated. You could even use different types of fringe in each layer – perhaps a row of knotted fringe paired with a row of braided fringe. As Mary Thomas notes in Mary Thomas’s Dictionary of Embroidery Stitches, “Layering stitches and techniques adds depth and interest to any embroidery project,” and this principle certainly applies to fringe embroidery.
Furthermore, consider the direction of your fringe. Instead of simply letting it hang straight down, you can manipulate it to create interesting patterns and shapes. For example, you could tie knots along the length of the fringe, creating a series of evenly spaced bumps or bubbles. Or, you could gather sections of the fringe together and tie them off to create clusters or tassels. The possibilities are truly endless. Experiment with different techniques and materials to discover your own unique style of fringe embroidery. Don’t be afraid to push the boundaries and create something truly original. By combining these advanced techniques with your own creativity, you can transform simple fringe into a breathtaking work of art.
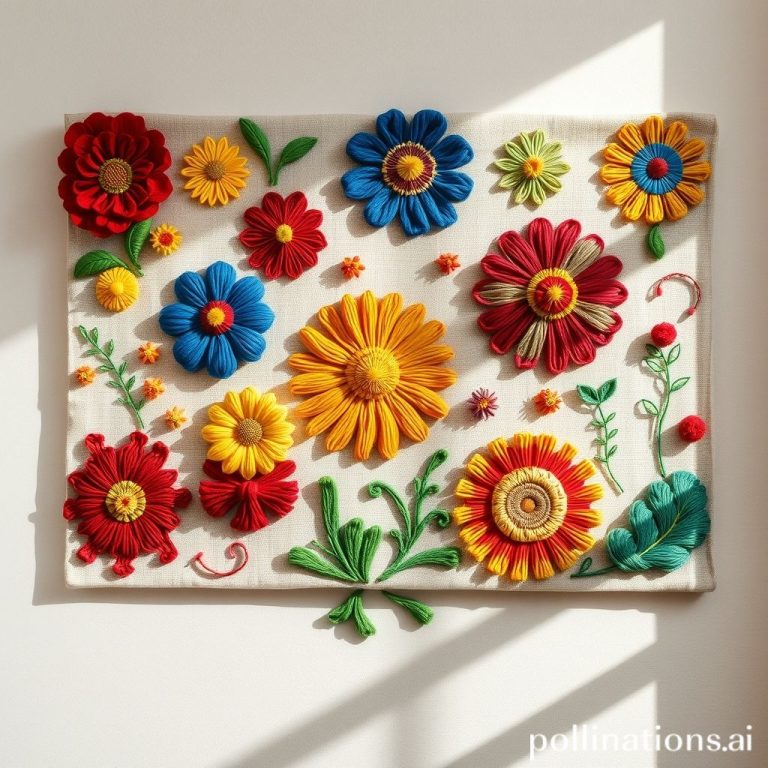
Color and Texture: Weaving Vibrancy into Fringe
The strategic use of color and texture can elevate fringe embroidery from a simple embellishment to a captivating design element. The colors you choose for your fringe can dramatically impact the overall mood and style of your piece. Consider the color palette of your base fabric and choose fringe colors that either complement or contrast it, depending on the desired effect. A monochromatic color scheme, using different shades of the same color, can create a sophisticated and understated look. Conversely, a bold contrast of colors can add a playful and eye-catching element.
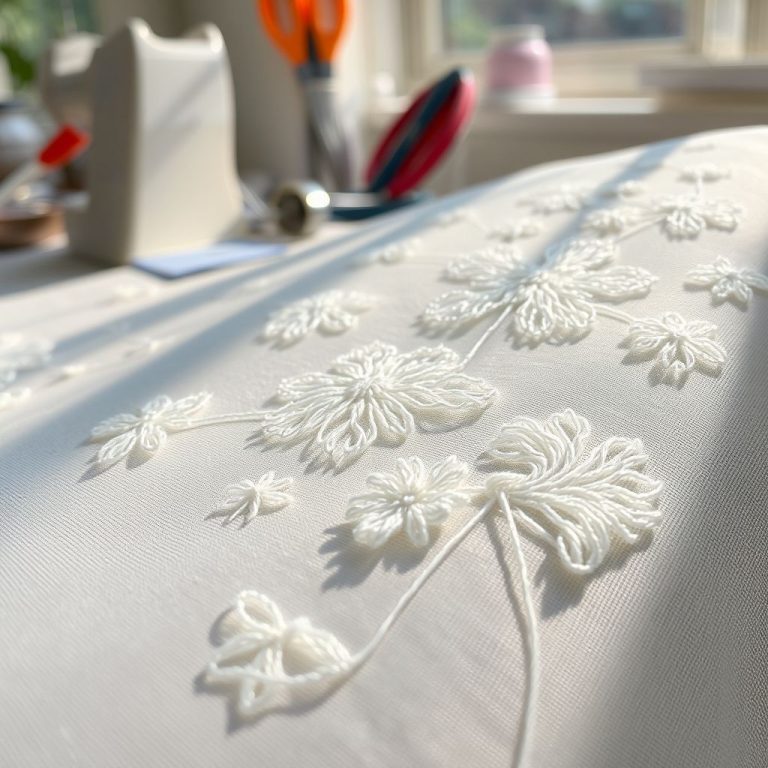
Furthermore, explore the possibilities of using variegated or ombre threads. These threads, which gradually change color along their length, can add a sense of depth and movement to your fringe. Imagine a fringe that transitions from a deep blue to a light turquoise, mimicking the colors of the ocean. The texture of your fringe is equally important. Experiment with different types of threads and yarns to create a variety of textures, from soft and fluffy to coarse and wiry. As Elizabeth Wilson emphasizes in A Treasury of Needlework Designs, “The texture of a stitch or material can be as important as its color,” and the same holds true for fringe.
Consider incorporating different materials into your fringe, such as beads, sequins, or even small pieces of fabric. These embellishments can add sparkle and visual interest, transforming your fringe into a truly unique and personalized creation. For example, you could add tiny seed beads to the ends of your fringe for a delicate and shimmering effect. Or, you could incorporate small squares of patterned fabric into your fringe for a more eclectic and bohemian look. By carefully considering the interplay of color and texture, you can create fringe that is not only beautiful but also adds depth, dimension, and personality to your embroidery projects.
Inspiration Around Us: Fringe in Fashion and Art
To truly unlock the potential of fringe embroidery, it’s essential to draw inspiration from the world around us. Look to fashion for innovative ways designers are incorporating fringe into clothing and accessories. From flowing fringe on the hems of dresses to playful fringe on handbags and shoes, the fashion world is constantly experimenting with new and exciting applications of this versatile embellishment. Examine runway shows and street style trends to identify emerging patterns and techniques. Pay attention to the types of materials used, the colors chosen, and the overall aesthetic of the fringe.
Art also offers a rich source of inspiration. Explore fiber art installations that utilize fringe to create dynamic and visually stunning pieces. Artists often use fringe to add texture, movement, and dimension to their work, creating a sense of depth and illusion. As Anni Albers, a prominent figure in textile art, stated, “Textile art is a form of communication; it speaks silently, yet powerfully.” Look at the work of textile artists who experiment with unconventional materials and techniques. Consider how they use fringe to convey meaning, emotion, and narrative.
Beyond fashion and art, draw inspiration from nature. The flowing lines of waterfalls, the swaying of tall grasses in the wind, and the delicate tendrils of climbing plants can all inspire unique and beautiful fringe designs. Consider the textures and colors of natural elements and translate them into your own embroidery projects. By actively seeking inspiration from diverse sources, you can expand your creative horizons and develop your own unique style of fringe embroidery. The key is to be open to new ideas and to allow yourself to be influenced by the beauty and creativity that surrounds you.
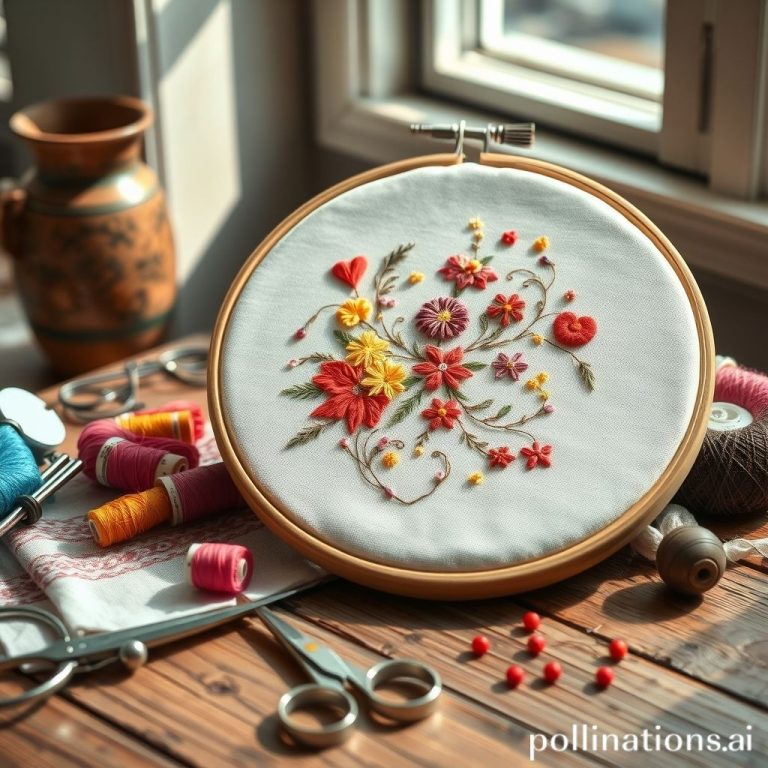
Tools and Materials: Setting Yourself Up for Fringe Success
While fringe embroidery doesn’t require a vast array of specialized tools, having the right equipment on hand can significantly enhance your experience and the quality of your finished product. First and foremost, you’ll need a good pair of sharp scissors. These will be essential for accurately cutting your fringe material to the desired length. Invest in a pair of embroidery scissors with fine blades for precise cutting. A rotary cutter and cutting mat can also be useful, especially for cutting long lengths of fabric strips for fringe.
A crochet hook or tapestry needle is indispensable for attaching the fringe to your fabric. The size of the hook or needle will depend on the thickness of your fringe material. A small crochet hook is ideal for working with fine threads, while a larger tapestry needle is better suited for thicker yarns or fabric strips. As Virginia Churchill Bath explains in Needlework in America, “The right tools are essential for achieving the best results in any needlework project.” In addition to these basic tools, consider using a fringe twister, a specialized tool designed to create twisted fringe quickly and easily. While not essential, it can save you a significant amount of time and effort, especially if you’re working on a large project.
Regarding materials, the possibilities are virtually endless. Experiment with different types of embroidery floss, yarn, fabric strips, ribbon, and even unconventional materials like leather or plastic. When choosing your materials, consider the weight, texture, and color. Select materials that complement your base fabric and the overall design of your embroidery. Don’t be afraid to mix and match different materials to create unique and unexpected effects. A well-stocked toolkit and a diverse collection of materials will empower you to explore the full potential of fringe embroidery and bring your creative visions to life.
Problem Solving: Tackling Common Fringe Challenges
Even with careful planning and execution, you may encounter challenges when working with fringe embroidery. One common issue is uneven fringe length. To avoid this, use a template or ruler to ensure that all of your fringe strands are cut to the same length. You can create a simple template by cutting a piece of cardboard to the desired length and then using it as a guide when cutting your fringe material. Another common problem is fringe that becomes tangled or matted. To prevent this, use a soft brush or comb to gently brush the fringe regularly, especially after washing or wearing the embroidered item.
If your fringe does become tangled, try using a fabric softener or detangling spray to loosen the knots. Gently work the tangles out with your fingers or a wide-toothed comb. Avoid pulling or tugging on the fringe, as this can damage the fibers. “Patience and a gentle touch are key to resolving any issues with fringe,” as noted in many textile care guides. Another challenge can be securing the fringe properly to the fabric. If your fringe is constantly coming loose, try using a stronger knot or stitch to attach it. You can also reinforce the attachment points with a small amount of fabric glue or fusible interfacing.
Finally, consider the weight of your fringe and how it will affect the drape of your fabric. If your fringe is too heavy, it can pull down on the fabric and distort the shape of your embroidered item. To avoid this, choose lighter-weight materials for your fringe or distribute the weight evenly by adding more attachment points. By anticipating and addressing these common challenges, you can ensure a smooth and successful fringe embroidery experience and create beautiful, durable pieces that will last for years to come.
From Simple to Statement: Integrating Fringe into Your Designs
Now that you’ve explored the techniques, materials, and potential challenges of fringe embroidery, it’s time to consider how to integrate it effectively into your designs. Start by thinking about the overall aesthetic you want to achieve. Do you want to add a touch of whimsy and playfulness, or are you aiming for a more sophisticated and elegant look? The style of fringe you choose will depend on the desired effect. For a bohemian or eclectic look, consider using a variety of different colors, textures, and lengths of fringe. Incorporate beads, feathers, or other embellishments for added visual interest.
For a more minimalist or modern design, opt for simple, clean lines and a limited color palette. Use a single type of fringe in a neutral color, such as black, white, or gray. Focus on the texture and movement of the fringe to create a subtle yet impactful statement. Consider the placement of your fringe carefully. Where you choose to add fringe can dramatically alter the overall look of your piece. For example, adding fringe to the hem of a garment can create a sense of movement and flow, while adding fringe to the collar or cuffs can draw attention to the face and hands. As renowned fashion designer Coco Chanel famously said, “Fashion is architecture: it is a matter of proportions.” This principle applies equally to embroidery design; the placement of elements like fringe can dramatically affect the balance and harmony of the overall piece.
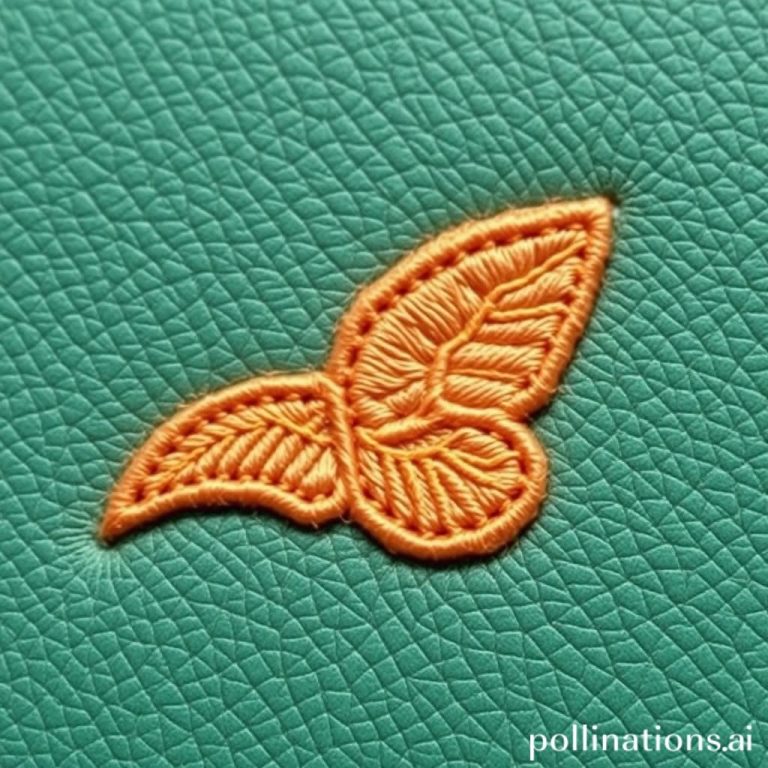
Don’t be afraid to experiment with different techniques and materials to create your own unique style of fringe embroidery. Try combining fringe with other embroidery stitches, such as satin stitch or French knots, to create complex and layered designs. Use fringe to add texture to abstract patterns or to create realistic representations of natural elements, such as flowers or leaves. The possibilities are truly limitless. By embracing your creativity and experimenting with different approaches, you can transform simple fringe into a stunning and integral part of your embroidered creations.
Embrace the Edges: The Future of Fringe Embroidery
Fringe embroidery, far from being a relic of the past, is experiencing a resurgence in popularity, fueled by a growing appreciation for handmade crafts and a desire for unique and personalized designs. The techniques, as we’ve explored, are accessible to both beginners and experienced embroiderers, making it a versatile embellishment for a wide range of projects. From adding a touch of bohemian flair to clothing to creating stunning textural elements in fiber art, fringe embroidery offers endless possibilities for creative expression.
As technology continues to evolve, we can expect to see even more innovative applications of fringe embroidery. Imagine wearable technology incorporating delicate strands of conductive fringe, or three-dimensional printed fabrics embellished with intricate fringe patterns. The combination of traditional techniques with modern technology promises to push the boundaries of what’s possible in the world of textile art. Looking ahead, the key to the future of fringe embroidery lies in embracing experimentation, pushing creative boundaries, and finding new and unexpected ways to incorporate this versatile embellishment into our designs. By exploring different materials, techniques, and styles, we can unlock the full potential of fringe and create pieces that are both beautiful and meaningful. The future of fringe is bright, and it’s waiting for you to explore it.
So, grab your needle, thread, and scissors, and embark on your own fringe embroidery journey. Let your imagination run wild, experiment with different techniques and materials, and discover the joy of creating unique and beautiful pieces that reflect your personal style. The world of fringe awaits, ready to add a touch of texture, movement, and magic to your embroidery projects. Don’t be afraid to embrace the edges and let your creativity flow!
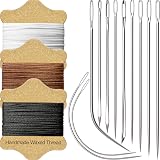
VONEEDL Upholstery Repair Kit: Waxed Sewing Thread (3 Colors) & Heavy Duty Needles (11 PCS) for Leather, Canvas & Quilting Thread
$7.88 (as of June 23, 2025 07:58 GMT -04:00 - More infoProduct prices and availability are accurate as of the date/time indicated and are subject to change. Any price and availability information displayed on [relevant Amazon Site(s), as applicable] at the time of purchase will apply to the purchase of this product.)
284Yards Leather Sewing Waxed Thread-Practical Long Stitching Thread for Leather Craft DIY/Bookbinding/Shoe Repairing/Leather Projects
$6.99 (as of June 23, 2025 07:58 GMT -04:00 - More infoProduct prices and availability are accurate as of the date/time indicated and are subject to change. Any price and availability information displayed on [relevant Amazon Site(s), as applicable] at the time of purchase will apply to the purchase of this product.)
Simthread 63 Brother Colors Polyester Embroidery Machine Thread Kit 40 Weight for Brother Babylock Janome Singer Pfaff Husqvarna Bernina Embroidery and Sewing Machines 550Y
$46.99 (as of June 22, 2025 13:06 GMT -04:00 - More infoProduct prices and availability are accurate as of the date/time indicated and are subject to change. Any price and availability information displayed on [relevant Amazon Site(s), as applicable] at the time of purchase will apply to the purchase of this product.)
New brothread - 2 Huge Spools 5000M Each Polyester Embroidery Machine Thread 40WT for Commercial and Domestic Machines - Black
$12.99 (as of June 24, 2025 05:32 GMT -04:00 - More infoProduct prices and availability are accurate as of the date/time indicated and are subject to change. Any price and availability information displayed on [relevant Amazon Site(s), as applicable] at the time of purchase will apply to the purchase of this product.)
Simthread Embroidery Thread 5500 Yards White 001, 2 Huge Spools 40wt Polyester for Brother, Babylock, Janome, Singer, Pfaff, Husqvarna, Bernina Machine
$13.99 (as of June 24, 2025 05:32 GMT -04:00 - More infoProduct prices and availability are accurate as of the date/time indicated and are subject to change. Any price and availability information displayed on [relevant Amazon Site(s), as applicable] at the time of purchase will apply to the purchase of this product.)
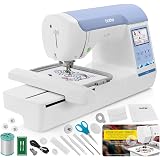
Smartstitch S-1001 Upgraded Embroidery Machine with 10 Needles, 1200SPM Max Speed, 7" Touch Screen, 9.5"x14.2" Embroidery Area, New Gen of Commercial Embroidery Machine for Flat, Hat, T-shirt and more
$4,179.05 (as of June 23, 2025 13:06 GMT -04:00 - More infoProduct prices and availability are accurate as of the date/time indicated and are subject to change. Any price and availability information displayed on [relevant Amazon Site(s), as applicable] at the time of purchase will apply to the purchase of this product.)
32Ft *1 Inch Hook and Loop Tape with Adhesive Back, Heavy Duty Double Sided Adhesive Strips, Strong Sticky Strips Roll for Home/Office/School/Car, Black
$8.99 (as of June 23, 2025 11:03 GMT -04:00 - More infoProduct prices and availability are accurate as of the date/time indicated and are subject to change. Any price and availability information displayed on [relevant Amazon Site(s), as applicable] at the time of purchase will apply to the purchase of this product.)
anezus Self Healing Sewing Mat, 12inch x 18inch Rotary Cutting Mat Double Sided 5-Ply Craft Cutting Board for Sewing Crafts Hobby Fabric Precision Scrapbooking Project
$8.99 (as of June 23, 2025 11:03 GMT -04:00 - More infoProduct prices and availability are accurate as of the date/time indicated and are subject to change. Any price and availability information displayed on [relevant Amazon Site(s), as applicable] at the time of purchase will apply to the purchase of this product.)
Brother SE700 Embroidery & Sewing Machine with 90 Spools & Accessories
(as of June 23, 2025 13:06 GMT -04:00 - More infoProduct prices and availability are accurate as of the date/time indicated and are subject to change. Any price and availability information displayed on [relevant Amazon Site(s), as applicable] at the time of purchase will apply to the purchase of this product.)