Elevate Your Embroidery: Mastering 3D Puff Techniques
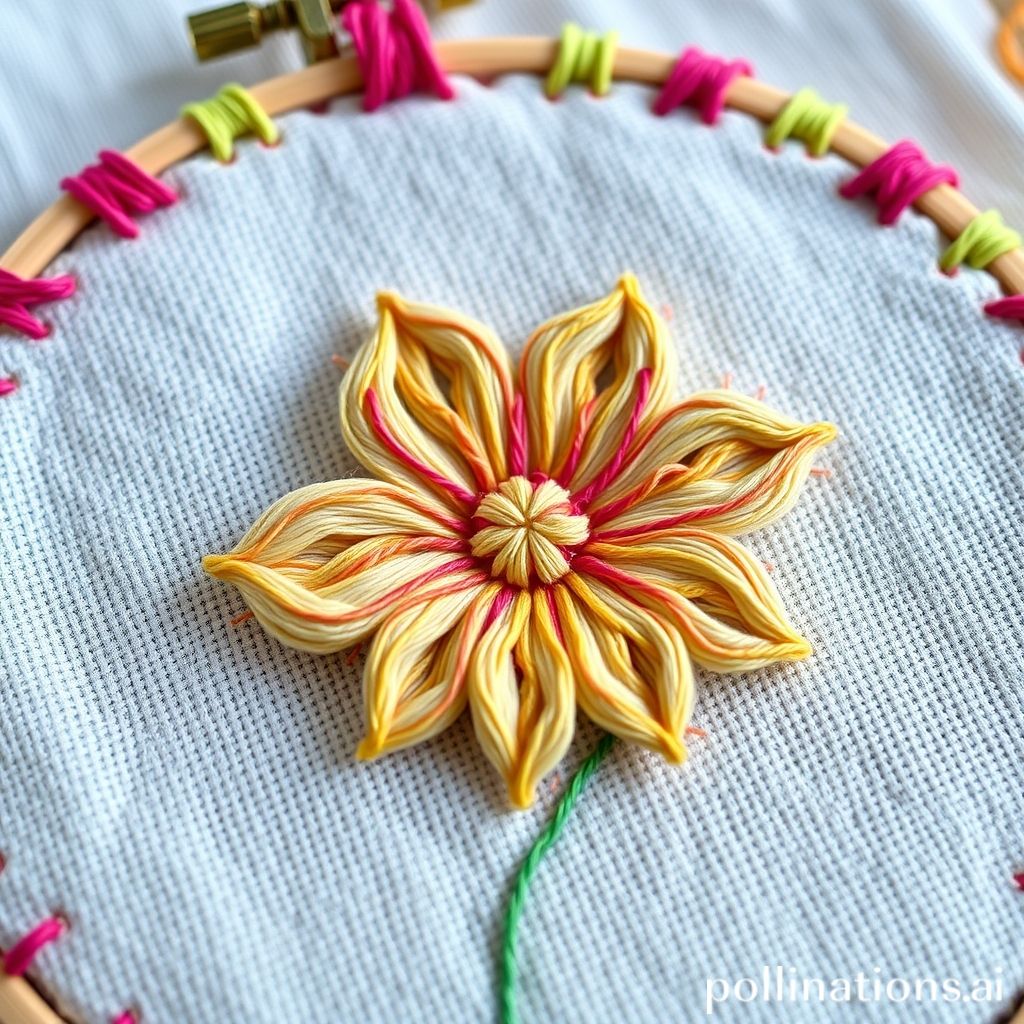
Imagine transforming a simple embroidered design into a tactile masterpiece, where logos and lettering leap off the fabric with captivating depth. This is the power of 3D puff embroidery, a technique that adds a whole new dimension to your stitching projects. From adding impact to corporate apparel to crafting eye-catching patches, 3D puff embroidery offers a visually stunning and surprisingly accessible way to elevate your craft. But where do you start? Many beginners find the process intimidating, believing it requires advanced skills or specialized equipment. In reality, with the right guidance and a little practice, anyone can master this exciting technique.
This guide will demystify the world of 3D puff embroidery. We’ll walk you through the essential materials, step-by-step instructions, and expert tips to create professional-looking results. We’ll cover everything from digitizing for 3D puff, choosing the right foam, hooping techniques, and troubleshooting common issues. Get ready to unleash your creativity and transform your embroidery projects with the captivating texture of 3D puff!
Understanding the Essentials: Materials and Equipment

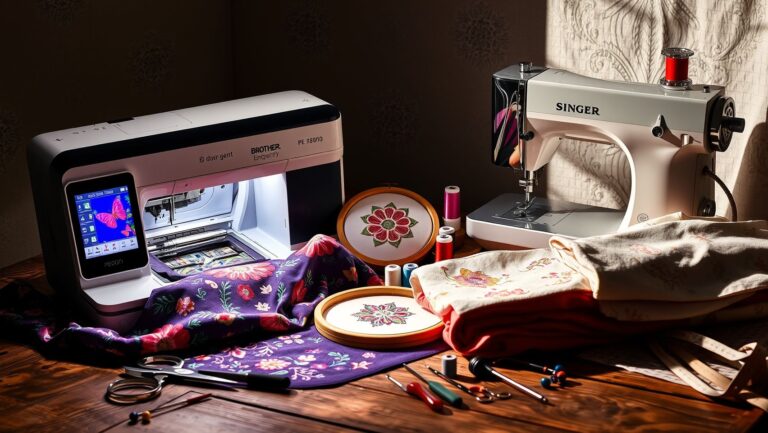
Before diving into the stitching process, it’s crucial to gather the necessary materials and ensure your equipment is properly configured. The core components of 3D puff embroidery include a standard embroidery machine, digitizing software capable of creating 3D puff designs, embroidery thread, backing stabilizer, and, of course, the puff foam itself. The type of puff foam you choose will significantly impact the final result. “The density and thickness of the foam will dictate the height and firmness of the 3D effect,” explains embroidery expert Sarah Watkins in her book, “The Art of Machine Embroidery.” Look for foams specifically designed for embroidery, as they are formulated to break away cleanly after stitching.
Choosing the right stabilizer is equally important. A heavy-duty cutaway stabilizer will provide the necessary support to prevent the fabric from distorting under the weight of the foam and dense stitching. Thread selection is also key. While standard embroidery thread can be used, consider using a thicker thread for better coverage and a bolder appearance. Finally, ensure your embroidery machine is properly threaded and tensioned. A loose tension can lead to looping and a poorly defined 3D effect, while excessive tension can cause thread breaks and needle damage. Refer to your machine’s manual for optimal tension settings and consider running test stitches on scrap fabric before embarking on your main project. Investing in high-quality materials and properly maintaining your equipment will set you up for success in creating stunning 3D puff embroidery.
Digitizing for Dimension: Creating Your 3D Puff Design
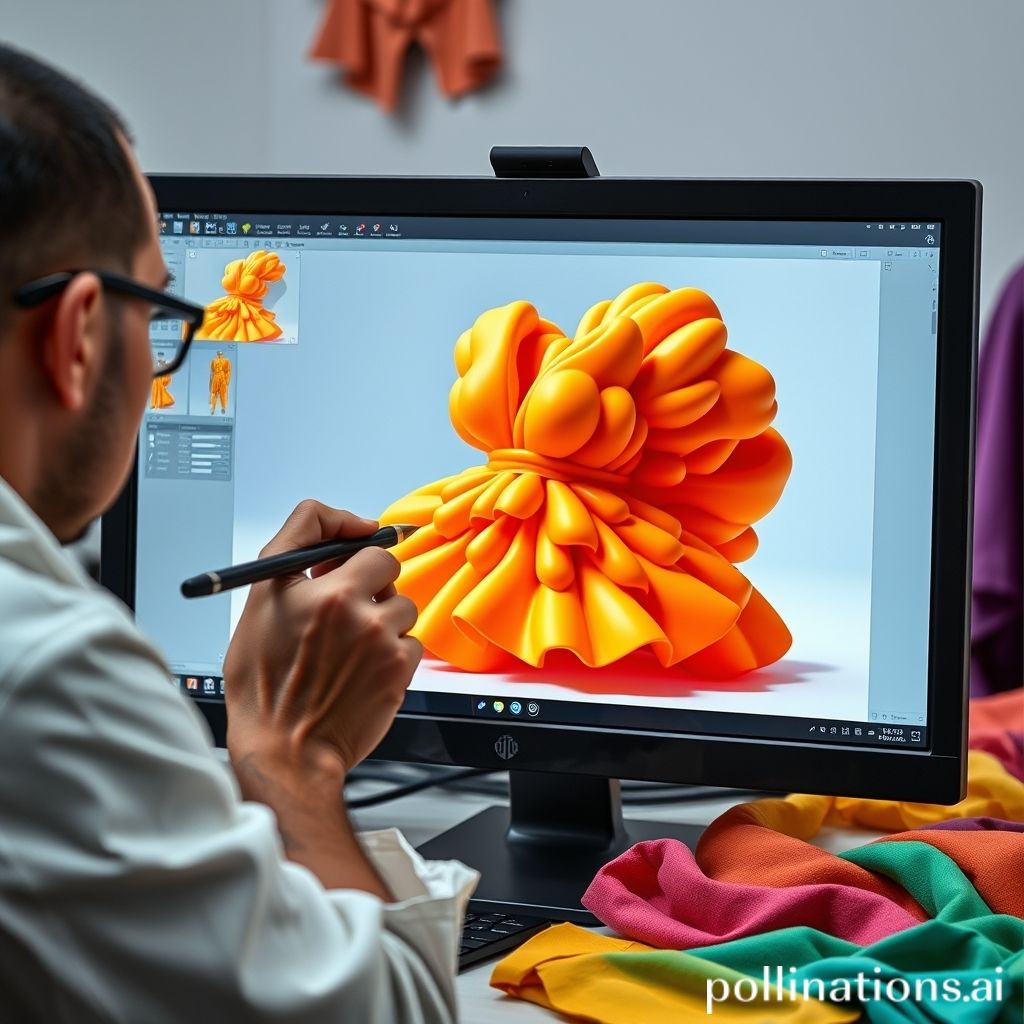
The digitizing process is arguably the most crucial step in creating successful 3D puff embroidery. Unlike standard embroidery designs, 3D puff designs require specific stitch types and densities to properly secure the foam and create the desired raised effect. As digitization expert, John Deer points out, “Digitizing for 3D puff is like sculpting with stitches.” This involves creating a foundation of stitches that encapsulate the foam, followed by a top layer of stitches that cover the foam and define the design’s shape. The underlay stitches provide a secure anchor for the foam, preventing it from shifting during the stitching process. Common underlay stitches include zig-zag and satin stitches.
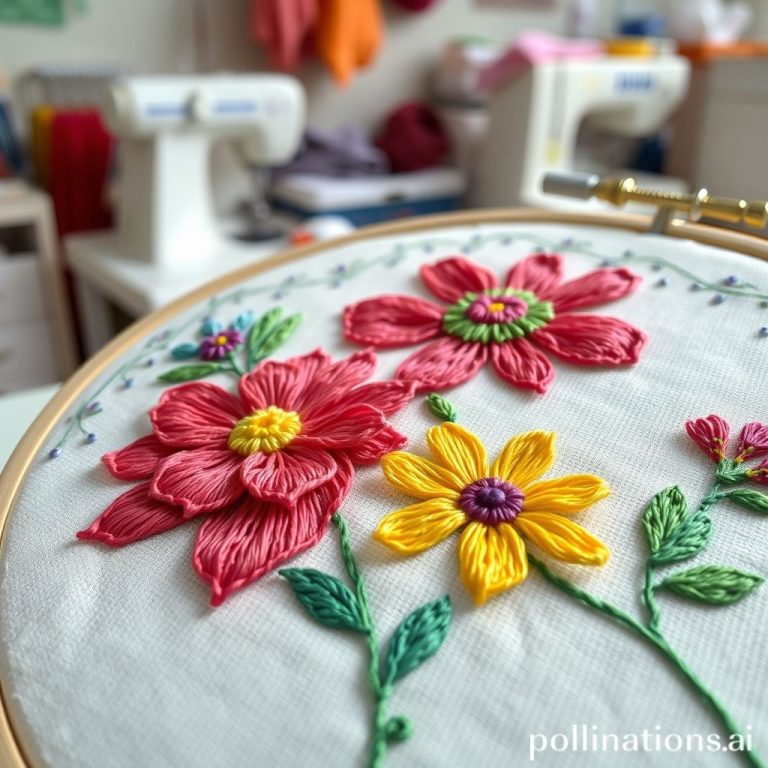
The top layer typically consists of satin stitches, which are closely spaced, parallel stitches that create a smooth, raised surface. The density of these stitches is critical. Too few stitches will leave gaps and expose the foam, while too many stitches can cause thread breaks and a stiff, unattractive result. Experiment with different stitch densities and angles to achieve the desired effect. Remember to consider the thickness of the foam when digitizing. Thicker foam requires more stitches to adequately cover it. Many embroidery software programs offer specialized 3D puff tools and features that can automate some of the digitizing process. These tools allow you to easily create the necessary underlay and top layer stitches, adjust stitch densities, and even simulate the finished product before you start stitching. Taking the time to carefully digitize your design will ensure a professional-looking and durable 3D puff embroidery.
Hooping and Stabilizing: A Solid Foundation
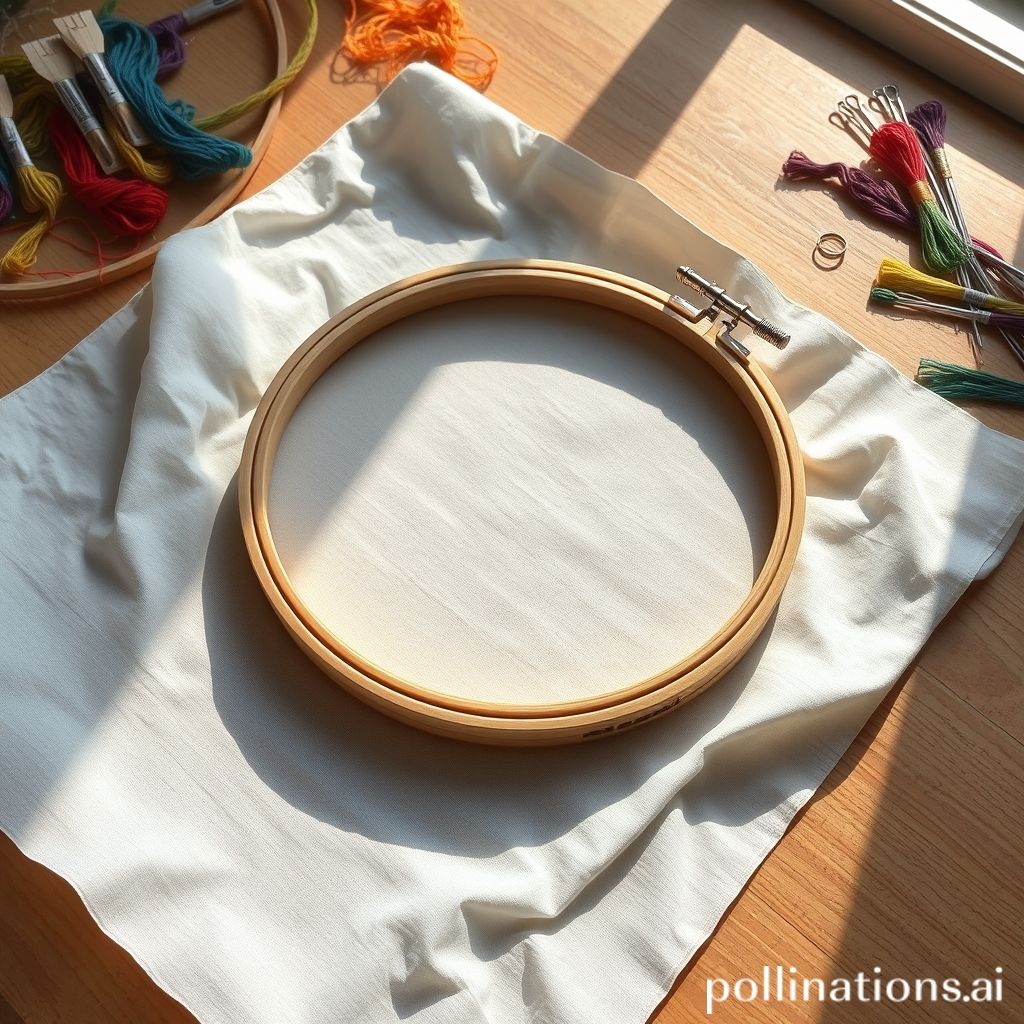
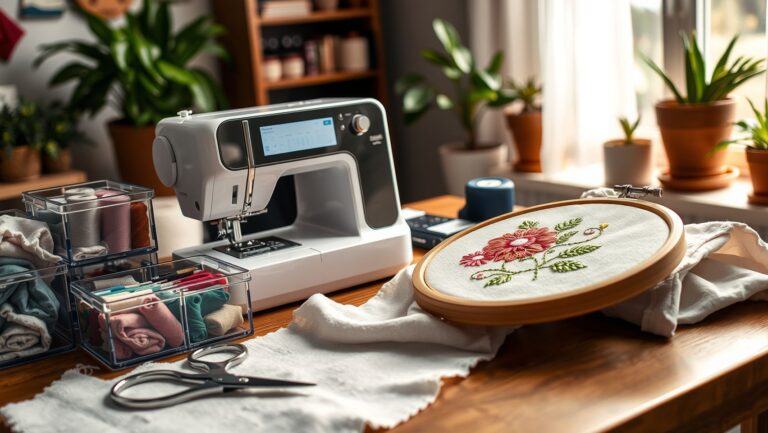
Proper hooping and stabilization are essential for achieving clean, professional-looking 3D puff embroidery. A well-hooped fabric provides a stable surface for the machine to stitch on, preventing movement and distortion during the embroidery process. Use a hoop that is slightly larger than your design to ensure ample space for the foam and stitching. “Hooping with the proper tension is key,” notes experienced embroiderer Emily Carter. “Too loose, and the fabric will shift. Too tight, and you risk damaging the fabric.” Aim for a snug, even tension that holds the fabric firmly without distorting its weave. Avoid stretching the fabric excessively, as this can cause puckering and misregistration.
Choosing the right stabilizer is equally crucial. A heavy-duty cutaway stabilizer is generally recommended for 3D puff embroidery due to its ability to provide superior support and prevent the fabric from stretching or pulling. Cutaway stabilizers are designed to be trimmed away after the embroidery is complete, leaving a clean and professional finish. Consider using multiple layers of stabilizer for particularly dense or intricate designs. In addition to cutaway stabilizer, some embroiderers also use a layer of tear-away stabilizer on top of the fabric to prevent the stitches from sinking into the nap of the fabric. This is particularly helpful for fabrics with a loose weave or a raised texture. Always test your hooping and stabilization techniques on scrap fabric before starting on your final project to ensure optimal results. Proper hooping and stabilization provide a solid foundation for your 3D puff embroidery, ensuring a clean, accurate, and durable finished product.
The Stitching Process: Bringing Your Design to Life
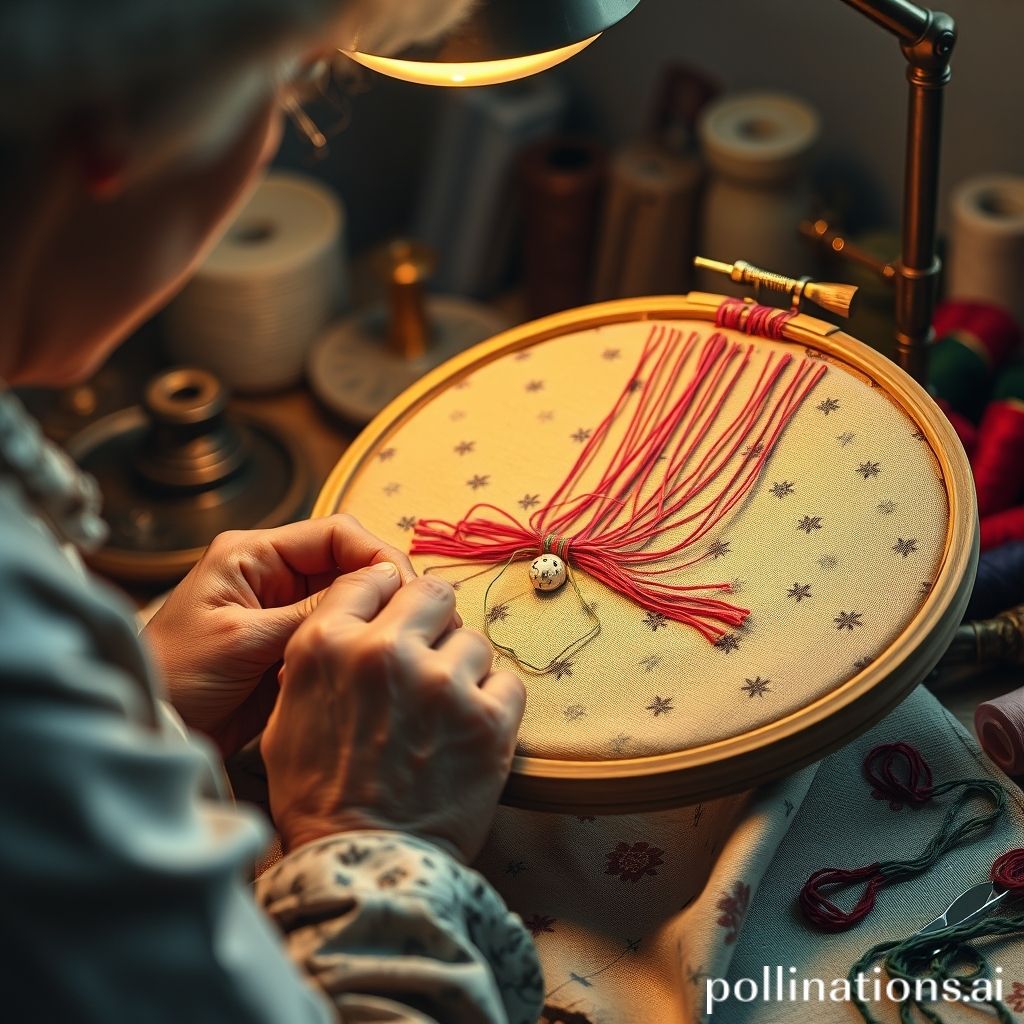
With your design digitized, your fabric hooped, and your stabilizer in place, it’s time to begin the stitching process. Start by carefully positioning the foam on top of the fabric, aligning it with the designated areas in your design. Secure the foam in place using temporary adhesive spray or small pieces of double-sided tape. “The key is to keep the foam from shifting during the initial stitching stages,” advises seasoned embroidery instructor, Michael Davis. Next, load your design into your embroidery machine and carefully monitor the stitching process. The machine will first stitch the underlay stitches, which will secure the foam to the fabric and create a stable base for the top layer of stitches.
Pay close attention to the needle penetration and stitch quality. If you notice any looping or skipped stitches, stop the machine immediately and troubleshoot the issue. Once the underlay stitches are complete, the machine will begin stitching the top layer of satin stitches. These stitches will cover the foam and define the final shape of the design. The speed of your machine can impact the quality of the 3D puff effect. Generally, a slower speed is recommended for 3D puff embroidery, as it allows the stitches to lay down more evenly and prevents the foam from being pulled or distorted. However, the optimal speed may vary depending on the type of fabric, thread, and foam you are using. Experiment with different speeds to find the setting that produces the best results for your particular project. Throughout the stitching process, keep a close eye on the foam and make sure it remains properly positioned. If the foam shifts or starts to unravel, stop the machine and reposition it as needed. Patience and attention to detail are essential for creating successful 3D puff embroidery.
Finishing Touches: Trimming and Clean Up

Once the stitching is complete, it’s time to remove the excess foam and clean up your embroidery. Carefully trim away the excess foam around the edges of the design using a pair of sharp scissors or a specialized foam trimming tool. “Precision is key in this step,” warns embroidery artist, Lisa Nguyen. “The closer you trim to the stitching, the cleaner the final result will be.” Avoid cutting into the stitches themselves, as this can weaken the design and cause the foam to unravel. After trimming the foam, carefully remove the stabilizer from the back of the embroidery. If you used a cutaway stabilizer, trim it as close as possible to the stitching, leaving a small border of stabilizer to prevent the fabric from fraying. If you used a tear-away stabilizer, gently tear it away from the fabric, being careful not to distort the embroidery. Some tear-away stabilizers can be difficult to remove cleanly, especially around delicate areas of the design. In these cases, consider using a pair of tweezers or a seam ripper to carefully remove the stabilizer threads.
After removing the stabilizer, inspect the embroidery for any loose threads or imperfections. Trim any stray threads and use a thread zapper to eliminate any remaining fuzz. Finally, consider pressing the embroidery with a warm iron to smooth out any wrinkles or creases. Place a pressing cloth between the embroidery and the iron to protect the stitches from damage. By taking the time to carefully trim, clean, and press your embroidery, you can ensure a professional-looking and long-lasting finished product. These finishing touches are essential for elevating your 3D puff embroidery from a simple craft project to a truly stunning work of art.
Troubleshooting Tips: Addressing Common Issues

Even with careful planning and execution, you may encounter some challenges when creating 3D puff embroidery. One common issue is the foam shifting or unraveling during the stitching process. This can be caused by insufficient stabilization, loose hooping, or excessive machine speed. “Prevention is better than cure,” states experienced machine operator, David Lee. “Ensure adequate stabilization and keep machine speed at a moderate setting.” Another common problem is thread breaks. Thread breaks can be caused by a variety of factors, including poor thread quality, improper thread tension, a dull needle, or a design that is too dense. Experiment with different thread brands and adjust your machine’s tension settings to find the optimal configuration. Replace your needle regularly, especially when working with dense fabrics or thick threads. And consider simplifying your design or reducing the stitch density to alleviate stress on the thread.
Another issue you may encounter is the stitches sinking into the foam, resulting in a flat or uneven 3D effect. This can be caused by insufficient underlay stitches, a low stitch density, or a foam that is too soft. Increase the density of your underlay stitches to provide a more stable base for the foam. Use a thicker or denser foam to create a more pronounced 3D effect. And experiment with different stitch types and angles to achieve better coverage. If you notice any gaps or exposed foam in your finished embroidery, you can try using a needle and thread to manually fill in the gaps. Use a matching thread color and carefully stitch the gaps closed, blending the stitches into the existing embroidery. By understanding these common issues and implementing the troubleshooting tips outlined above, you can overcome challenges and create flawless 3D puff embroidery.
Beyond the Basics: Advanced Techniques and Ideas
Once you’ve mastered the fundamentals of 3D puff embroidery, you can explore more advanced techniques and creative ideas to further elevate your craft. One exciting technique is combining 3D puff with other embroidery techniques, such as appliqué, satin stitch, and fill stitch. “Don’t be afraid to experiment,” encourages textile artist, Anna Reyes. “Mixing techniques can create truly unique and eye-catching effects.” For example, you can create a 3D puff logo on an appliqué background, or add 3D puff accents to a satin-stitched design. Another advanced technique is using multiple layers of foam to create a more dramatic 3D effect. This involves layering different thicknesses and densities of foam on top of each other, and then stitching them together to create a multi-dimensional design. This technique is particularly effective for creating logos, lettering, and other designs that require a high level of detail and depth.
You can also experiment with different types of foam, such as metallic foam, glitter foam, and glow-in-the-dark foam, to add unique visual effects to your embroidery. Consider using 3D puff embroidery to embellish a variety of items, such as hats, bags, jackets, and home décor items. Create personalized gifts for friends and family, or start your own embroidery business. With a little creativity and practice, the possibilities are endless. Remember to always test your techniques and materials on scrap fabric before embarking on your final project. And don’t be afraid to experiment and push the boundaries of what’s possible with 3D puff embroidery. By embracing innovation and creativity, you can create truly exceptional and one-of-a-kind embroidery designs.
3D puff embroidery is more than just a craft; it’s a skill that opens doors to creative expression and professional opportunities. From personalized gifts to eye-catching branding, the applications are vast and varied. We have covered everything from digitizing tips to troubleshooting common errors, providing you with the foundational knowledge to embark on your 3D puff journey. Remember to invest in quality materials, pay close attention to detail, and practice consistently to refine your technique.
The journey of mastering 3D puff embroidery is an ongoing learning process. As you gain experience, you’ll develop your own unique style and techniques. Don’t be afraid to experiment with different materials, designs, and applications. The world of embroidery is constantly evolving, and there’s always something new to discover. So, grab your hoop, thread your machine, and let your creativity soar. With dedication and passion, you can transform ordinary fabric into extraordinary works of art.
New brothreads - 40 Options- Various Assorted Color Packs of Polyester Embroidery Machine Thread Huge Spool 5000M for All Embroidery Machines -1Black+1White
$11.99 (as of July 2, 2025 13:06 GMT -04:00 - More infoProduct prices and availability are accurate as of the date/time indicated and are subject to change. Any price and availability information displayed on [relevant Amazon Site(s), as applicable] at the time of purchase will apply to the purchase of this product.)
New brothread 25pcs White 60S/2 (90WT) Prewound Bobbin Thread Plastic Size A SA156 for Embroidery and Sewing Machines DIY Embroidery Thread Sewing Thread Cottonized Soft Feel Polyester Thread
$8.99 (as of July 2, 2025 13:06 GMT -04:00 - More infoProduct prices and availability are accurate as of the date/time indicated and are subject to change. Any price and availability information displayed on [relevant Amazon Site(s), as applicable] at the time of purchase will apply to the purchase of this product.)
New brothread - Single Huge Spool 4000M Each Polyester Embroidery Machine Thread 40WT for Commercial and Domestic Machines - Navy Blue (Janome Color)
$6.99 (as of June 30, 2025 05:32 GMT -04:00 - More infoProduct prices and availability are accurate as of the date/time indicated and are subject to change. Any price and availability information displayed on [relevant Amazon Site(s), as applicable] at the time of purchase will apply to the purchase of this product.)
New brothread - Single Huge Spool 5000M Each Polyester Embroidery Machine Thread 40WT for Commercial and Domestic Machines - Black
$7.99 (as of July 2, 2025 07:59 GMT -04:00 - More infoProduct prices and availability are accurate as of the date/time indicated and are subject to change. Any price and availability information displayed on [relevant Amazon Site(s), as applicable] at the time of purchase will apply to the purchase of this product.)
New Brothread 144pcs White 60S/2(90WT) Prewound Bobbin Thread Plastic Size A SA156 for Embroidery and Sewing Machine Cottonized Soft Feel Polyester Thread
$23.99 (as of July 2, 2025 13:06 GMT -04:00 - More infoProduct prices and availability are accurate as of the date/time indicated and are subject to change. Any price and availability information displayed on [relevant Amazon Site(s), as applicable] at the time of purchase will apply to the purchase of this product.)
Consew Industrial Sewing Machine Servo Motor - 550 Watts, 110 Volts
$159.00 (as of July 1, 2025 13:06 GMT -04:00 - More infoProduct prices and availability are accurate as of the date/time indicated and are subject to change. Any price and availability information displayed on [relevant Amazon Site(s), as applicable] at the time of purchase will apply to the purchase of this product.)
Otylzto Premium Plastic Clips, 100 Pcs with Box, Sewing Notions for Sewing Quilting Supplies Crafting Tools, Assorted Colors for Craft
$6.89 (as of July 2, 2025 11:04 GMT -04:00 - More infoProduct prices and availability are accurate as of the date/time indicated and are subject to change. Any price and availability information displayed on [relevant Amazon Site(s), as applicable] at the time of purchase will apply to the purchase of this product.)
Coquimbo Sewing Kit Gifts for Mom Grandma Women Men Adults Kids Teen Beginner Traveler, Portable Sewing Supplies Accessories Contains Thread, Needles, Scissors, College Dorm Room Essentials (Black, M)
$5.98 (as of July 2, 2025 11:04 GMT -04:00 - More infoProduct prices and availability are accurate as of the date/time indicated and are subject to change. Any price and availability information displayed on [relevant Amazon Site(s), as applicable] at the time of purchase will apply to the purchase of this product.)
Klangfeiler® Hemming Tape - 3/4 INCH x 32 Yards - Extra Strong - Iron-On Hem Tape Adhesive
$8.99 (as of July 2, 2025 11:04 GMT -04:00 - More infoProduct prices and availability are accurate as of the date/time indicated and are subject to change. Any price and availability information displayed on [relevant Amazon Site(s), as applicable] at the time of purchase will apply to the purchase of this product.)