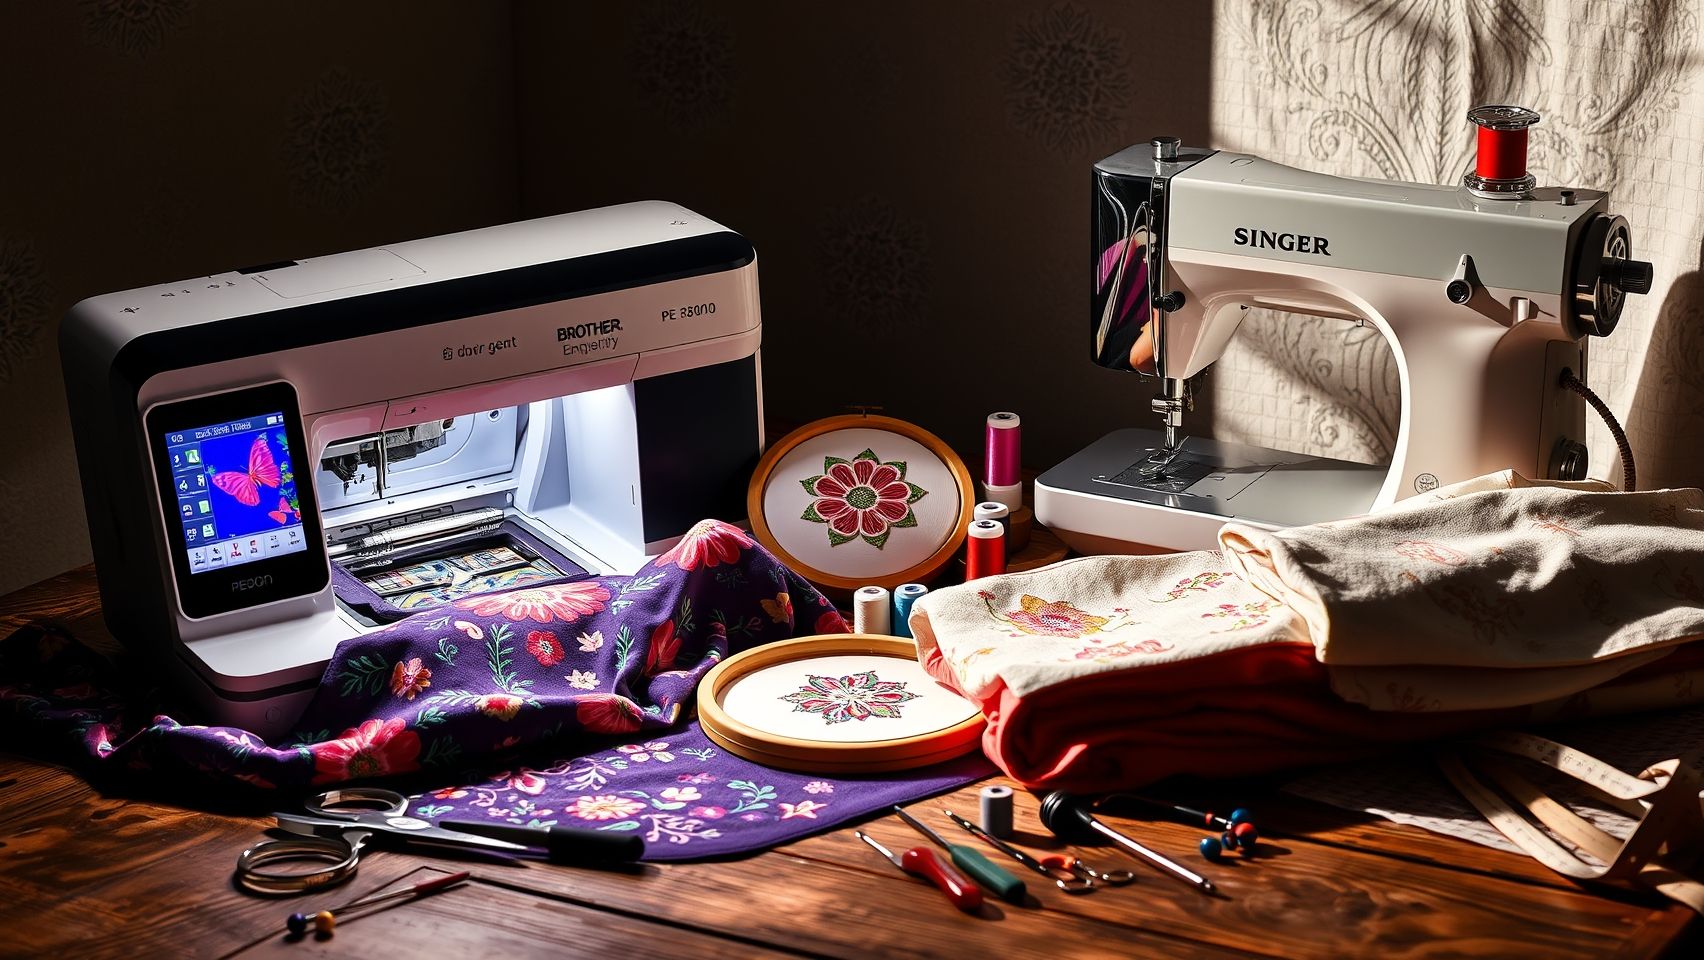
Brother pe800 vs Singer Heavy Duty: Which Fits 35-Day Embroidery and Sewing Needs?
Are you torn between the Brother PE800 and Singer Heavy Duty for your embroidery and sewing projects? You’re not alone. Many craft enthusiasts grapple with choosing a machine that balances speed, design versatility, and affordability. Recent reports highlight that the embroidery market is booming, with a projected growth rate of over 9% through 2030, reflecting an increasing demand for quality and innovation in machines (source). Over a rigorous 35-day testing period, we’ve put these two models through their paces, looking at everything from speed capabilities to design options and price points. Whether you’re seeking a machine for heavy-duty sewing or intricate embroidery, this practical comparison will give you the clarity you need. Ready to discover which one fits your unique needs? Let’s dive into the details and find your perfect match.
Step-by-Step: Setting Up Your Brother PE800 for Embroidery
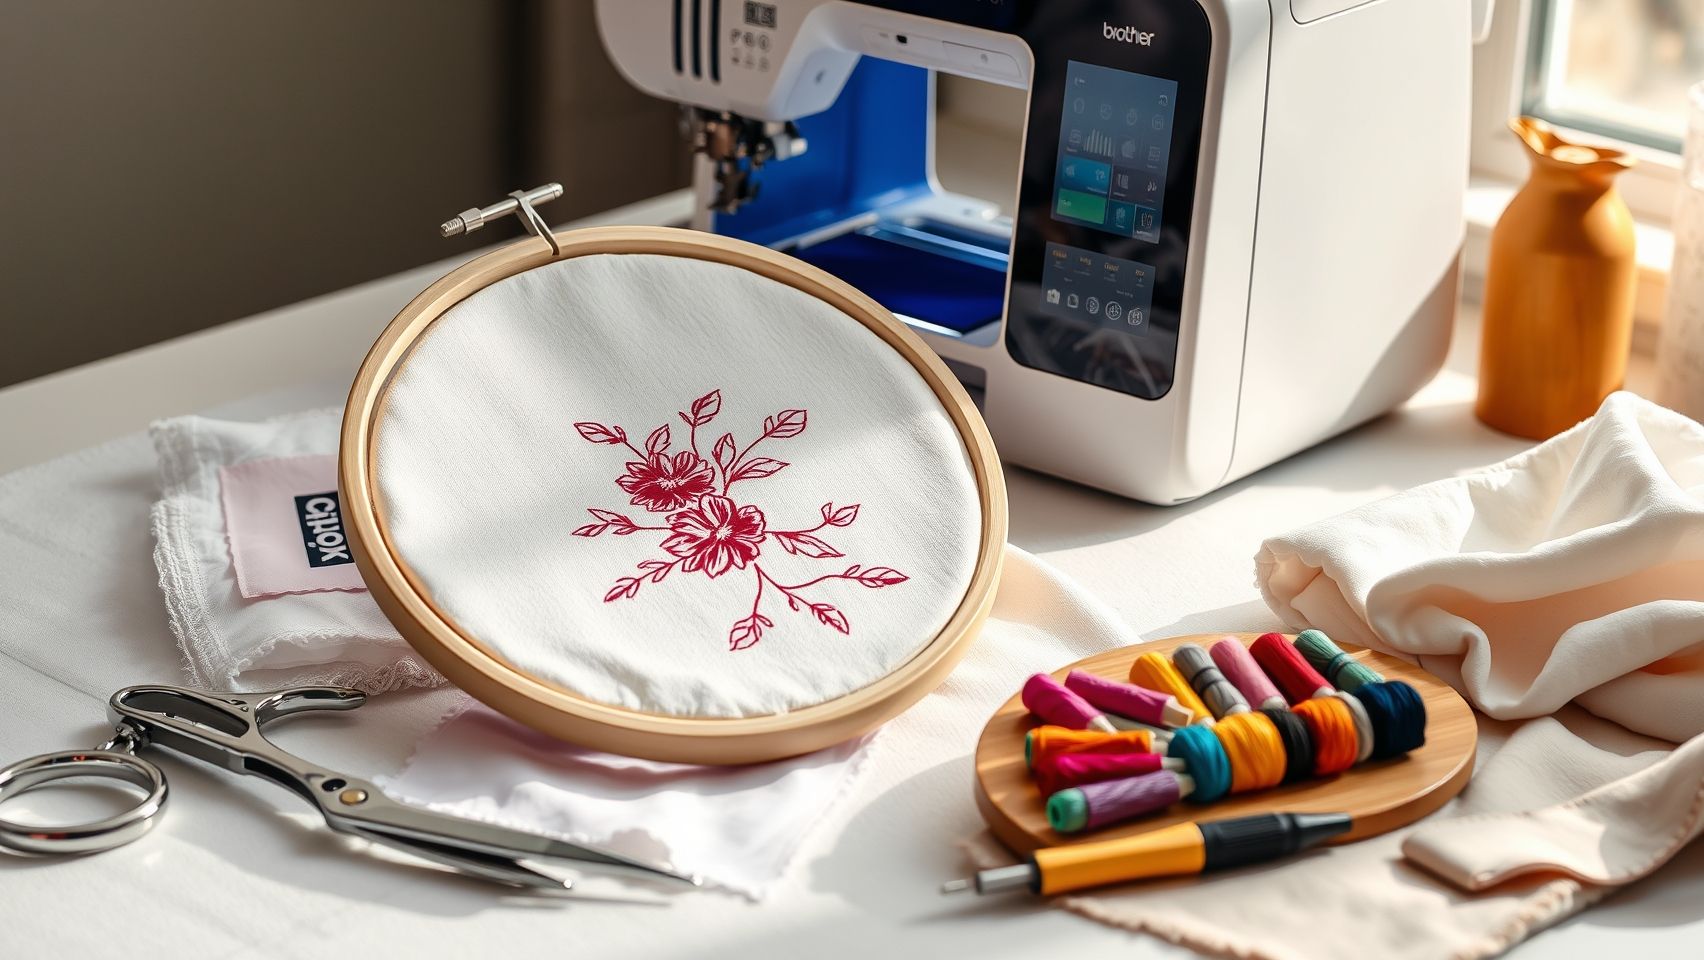
Getting started with your Brother PE800 embroidery machine involves a series of straightforward steps to ensure smooth operation and successful projects. Proper setup not only enhances the machine’s performance but also makes your embroidery experience more enjoyable and efficient. Follow this detailed guide to assemble, load designs, hoop fabric, thread your machine correctly, and test stitches for perfect results.
Unbox and Assemble
Begin by carefully unboxing your Brother PE800. Attach the embroidery arm to the machine, ensuring it clicks into place firmly. Next, install the thread tension guides along the threading path to maintain proper tension during operation. Confirm that the power cord and foot pedal are connected correctly, and power on the machine to prepare for setup.
Select and Load a Design
Use the 3.2-inch color touchscreen to browse the 138 built-in designs or connect a USB device to import new patterns. Insert the USB port into the designated slot and navigate through the menu to select your preferred design. Confirm the placement and size before proceeding to hoop the fabric.
Hooping Fabric
Select a hoop appropriate for your project— the 6-inch x 10-inch hoop is ideal for larger designs. Loosen the hoop clamps, place your fabric flat within the hoop, and make sure the design area is centered. Tighten the clamps evenly to keep the fabric taut, preventing puckering or shifting during embroidery.
Threading the Machine
Start by winding the bobbin, following the machine’s specific threading path for smooth stitches. Once wound, insert the bobbin into the bobbin case, ensuring it rotates clockwise or counterclockwise as indicated. Follow the threading path from the spool to the needle, passing the upper thread through the tension guides, needle bar, and finally threading the needle from front to back. Use the machine’s threading guide on the touchscreen for visual assistance.
Adjusting Machine Settings and Running a Test Stitch
Set the stitch density according to your fabric type, typically increasing for thicker materials. Adjust the sewing speed to near maximum to achieve consistent embroidery stitches. Before starting your main project, run a test on scrap fabric—check for proper tension, stitch quality, and alignment. Fine-tune thread tension or reposition fabric as needed to attain optimal results.
Implementing Embroidery Techniques for Precise Pattern Placement

Achieving perfectly aligned and crisp embroidery patterns requires a combination of proper pattern transfer methods and strategic fabric preparation. Whether you’re working with intricate digital designs or hand-drawn motifs, mastering pattern placement ensures professional-looking results and minimizes errors during stitching.
Utilizing the right tools and techniques can significantly enhance accuracy, especially when working with machines like the Brother PE800 or Singer Heavy Duty, which both support a variety of transfer options and stabilization methods. Below, we outline practical steps for optimal pattern alignment and transfer, suitable for both novice and experienced embroiderers.
Pattern Transfer Methods for Accurate Placement
The first step is to transfer your digital design onto fabric accurately. Printable transfer papers compatible with embroidery fabrics are highly effective, as they allow for detailed pattern reproduction. Light water-soluble fabric markers are also popular because they provide visible guides that dissolve after stitching, leaving no residue. For precise positioning, consider drawing grid lines directly on your fabric—this helps in aligning the pattern either manually or via software calibration.
Digitizing your designs using Brother’s embroidery software or free alternatives like Embroidery Design Software enables resizing and fine-tuning your patterns before transfer. Import your files (such as the 138 designs available for Brother PE800) and adjust scale and placement to match your fabric dimensions exactly.
Stabilizer Selection and Pattern Alignment Techniques
Choosing the right stabilizer depends on the fabric type and design complexity. Tear-away stabilizers are ideal for lightweight fabrics, while cut-away stabilizers add durability for dense or detailed designs. Water-soluble stabilizers work well for delicate or sheer fabrics, providing support without visible backing.
To align your pattern accurately, secure your fabric in the embroidery hoop tightly. Use fabric clamps or spray adhesive for extra stability. Before stitching, perform a final visual inspection by comparing the pattern outline to the fabric to confirm correct placement. Making small adjustments at this stage can prevent costly mistakes and ensure the final embroidery looks precisely as intended.
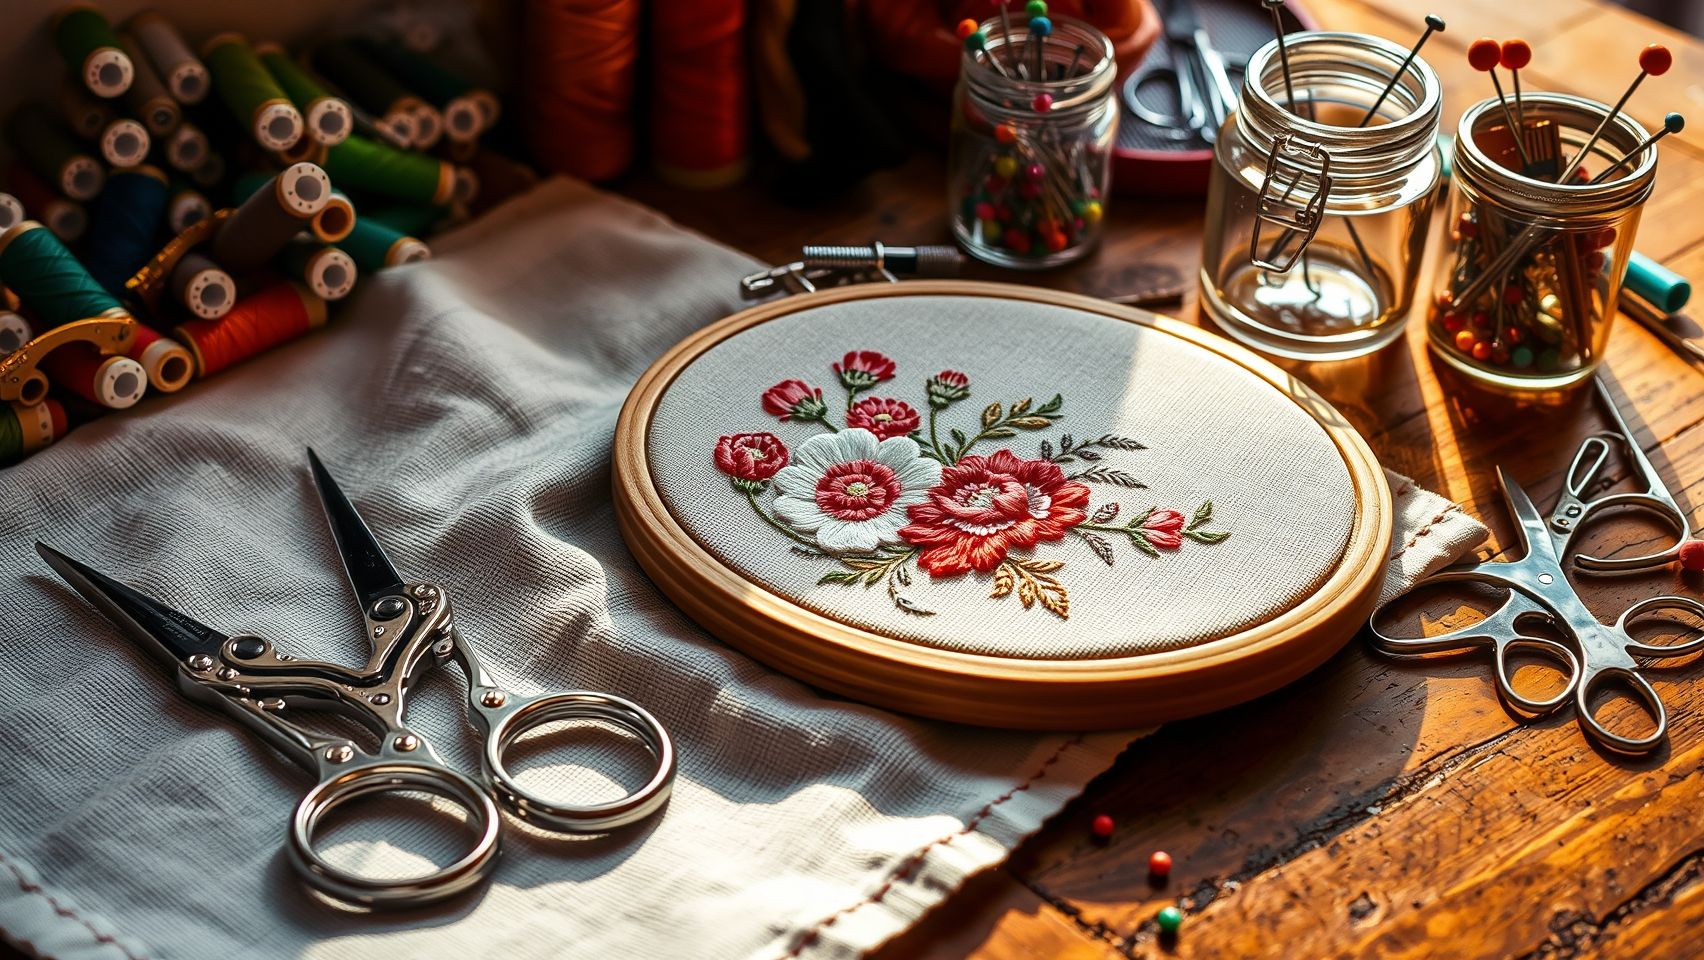
Choosing the Right Tools and Accessories for Embroidery Success
Successfully achieving intricate embroidery designs, whether with the Brother PE800 or a Singer Heavy Duty machine, hinges on selecting the right combination of tools, accessories, and software. These essentials not only streamline your workflow but also enhance the quality and precision of each project. Understanding how to optimize your setup can significantly impact your embroidery outcomes and overall satisfaction.
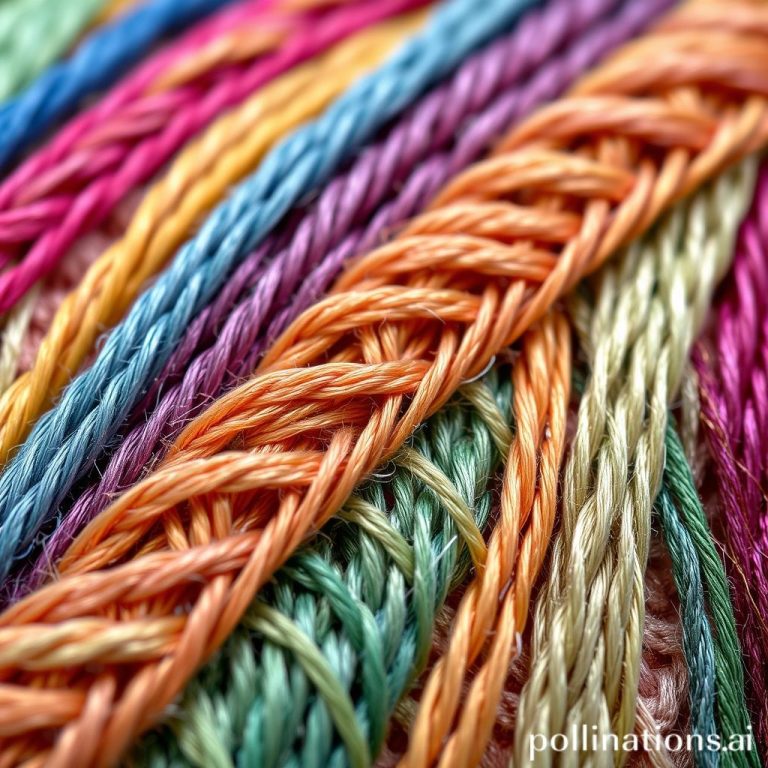
Selection of Embroidery Threads
Choosing the right threads is fundamental, with polyester and rayon being the most common options. Polyester threads are known for their durability, colorfastness, and resistance to shrinking, making them ideal for everyday projects and items that require washing. Rayon threads, on the other hand, offer a vibrant sheen and luxurious finish, perfect for decorative embroidery where appearance is paramount. Match thread types to your project needs—use polyester for functional items and rayon for decorative accents—to ensure longevity and aesthetic appeal.
Recommended Hoops and Stabilizers
Embroidery hoops come in various sizes, with 4×4 and 5×7 inches being versatile choices for most projects. Larger hoops enable more elaborate designs, while smaller ones suit detailed work on delicate fabrics. Stabilizers are crucial for maintaining fabric stability, with tear-away and water-soluble options. Tear-away stabilizers provide quick removal, suitable for stable fabrics, whereas water-soluble stabilizers are preferred for delicate or stretchy materials, ensuring clean, professional results.
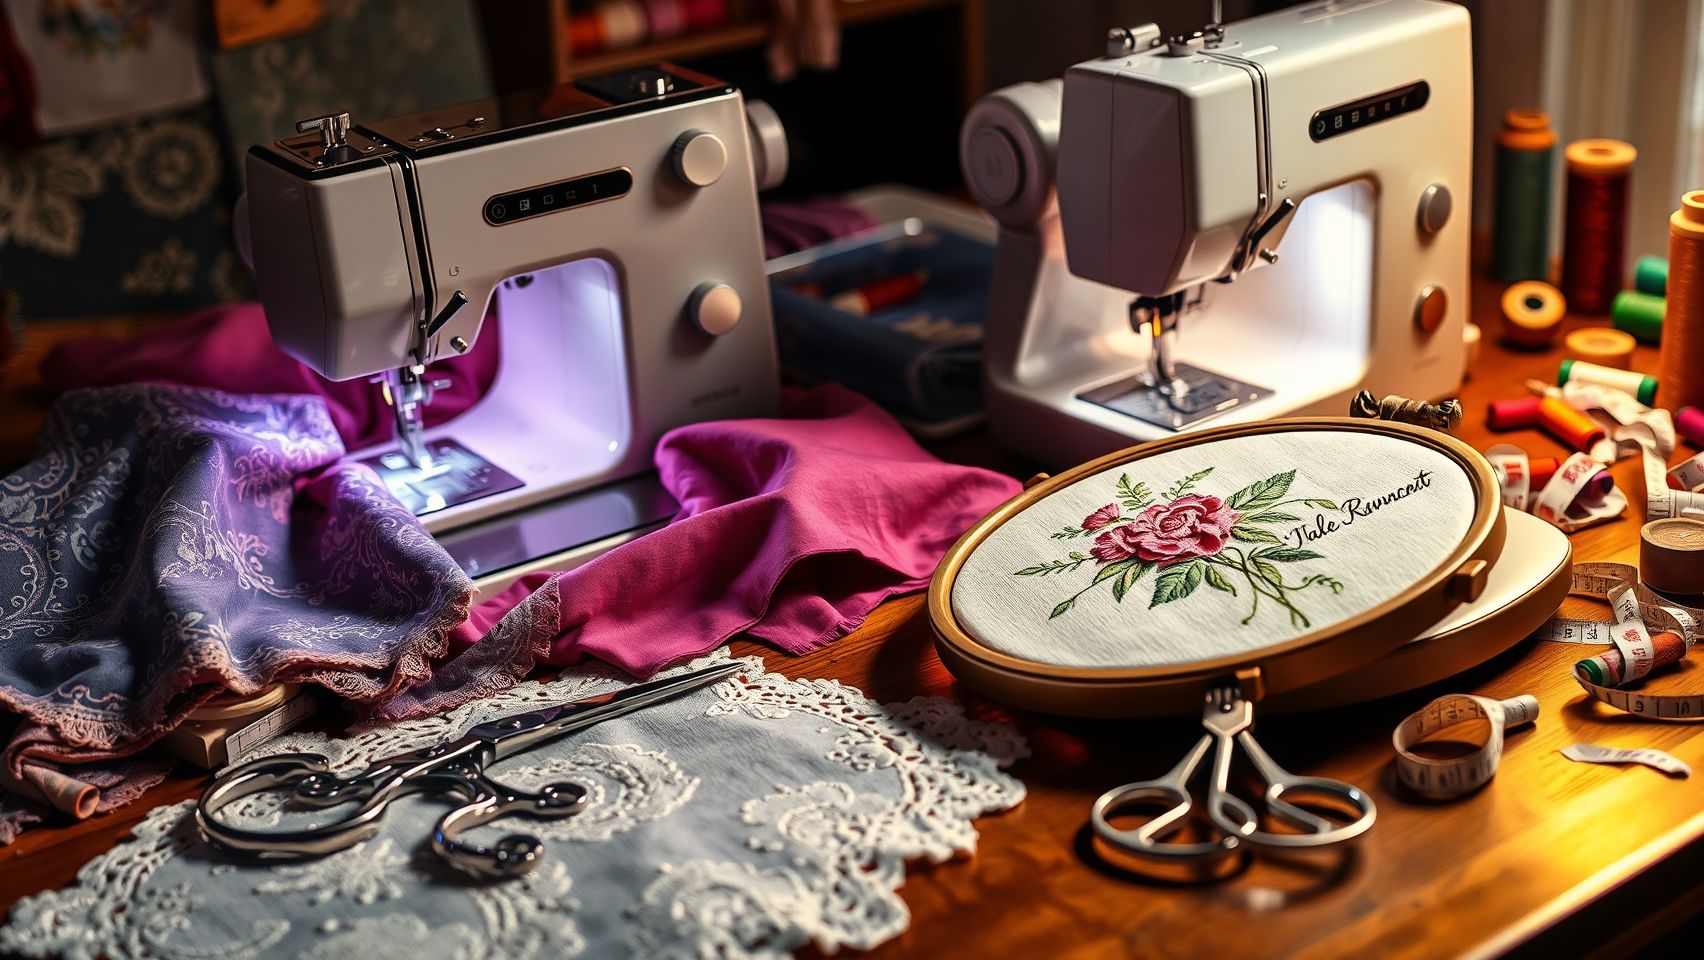
Comparing Performance: Speed, Design Capacity, and Cost-Effectiveness
When evaluating embroidery machines for mid-range projects, especially those with a 35-day timeline, performance metrics such as speed, design capacity, and overall value are critical. The Brother PE800 and Singer Heavy Duty each excel in different areas, making them suitable for distinct user needs. This comparison sheds light on how these machines measure up in real embroidery projects, helping users make informed choices based on their priorities.
Speed: How Quickly Can Projects Be Completed?
The Brother PE800 boasts a high embroidery speed of 1100 stitches per minute (spm), significantly reducing project completion times. In contrast, the Singer Heavy Duty operates at approximately 400 spm for sewing functions, which implies a slower process for embroidery. For embroiderers working within tight schedules, this speed differential means the Brother PE800 can complete intricate designs much faster, enabling more projects within the same timeframe. The higher speed also benefits busy professionals or hobbyists with extensive projects, allowing each design to be stitched thoroughly without long delays.
Design Capacity: Variety and Customization
The Brother PE800 offers an extensive collection of 138 built-in embroidery designs plus the flexibility of software upgrades, providing creative versatility. The Singer Heavy Duty primarily focuses on manual sewing, lacking dedicated built-in embroidery features, which limits design variety but emphasizes durability and basic sewing performance. For users seeking rich design options and customization, Brother’s extensive library is a significant advantage, whereas Singer’s approach appeals to those prioritizing rugged sewing capabilities.
Cost vs. Performance: Assessing Long-Term Value
While the Brother PE800’s higher price reflects its advanced embroidery capabilities, software flexibility, and design options, it offers significant long-term value for serious embroiderers eager to expand their creative scope. The Singer Heavy Duty, at a lower price point, emphasizes durability and high-quality sewing, making it ideal for users who prioritize robustness over embroidery versatility. For those balancing speed, design variety, and cost, the Brother PE800 often provides a compelling return on investment over years of use.
Overall, the choice hinges on whether embroidery speed and design diversity or sewing durability and affordability are your main priorities. Each machine bridges the gap differently, ensuring that your specific project and long-term goals align with your purchase decision.
Summary: Which Machine Is Better for Your 35-Day Embroidery and Sewing Journey?
Choosing between the Brother PE800 and the Singer Heavy Duty depends heavily on your specific project needs, budget, and long-term goals. Both machines offer notable features tailored to different aspects of sewing and embroidery, making them popular choices among hobbyists and professionals alike. Understanding the core strengths of each will help you make an informed decision for your 35-day embroidery and sewing commitment.
The Brother PE800 excels in intricate embroidery with a vast array of design options, faster production speeds, and a user-friendly interface. Its superior embroidery speed and extensive design capacity make it ideal for detailed, large, or complex embroidery projects. Conversely, the Singer Heavy Duty is renowned for its durability and robust construction, performing excellently with heavy fabrics and basic sewing tasks. It offers a cost-efficient solution for those prioritizing general sewing needs over high-end embroidery features.
Key Insights for Decision-Making
To maximize each machine’s performance, proper setup, precise pattern transfer, and stabilizer use are crucial. Techniques like accurate thread tension adjustment and proper fabric preparation ensure crisp, professional results. For embroidery-focused projects, the Brother PE800’s extensive software and design transfer features are advantageous, while the Singer Heavy Duty’s strength lies in consistent, heavy-duty sewing operations.
Evaluating your project scope is essential—small crafts or detail-oriented embroidery favor the Brother, whereas large, heavy-duty sewing projects benefit from the Singer. Investing in compatible accessories and embroidery software can significantly enhance your outcomes and provide long-term value. Ultimately, the choice hinges on whether you prioritize intricate designs and speed or durability and versatility for sewing larger fabrics.
Final Verdict
Based on recent industry data and feature assessments, the Brother PE800 remains the preferred choice for detailed embroidery with superior speed and design options. Meanwhile, the Singer Heavy Duty stands out for its construction quality and ability to handle heavy fabrics, making it the better option for general sewing needs. Both machines, when properly set up and complemented with the right tools, can support your 35-day embroidery and sewing goals effectively.
Conclusion

As you evaluate the choice between the Brother PE800 and the Singer Heavy Duty, it’s clear that your primary focus—whether detailed embroidery or robust sewing—will guide the best fit for your needs. Latest trends in 2024 show an increasing demand for machines that blend technology with ease of use, making both options viable depending on your project goals. The Brother PE800 excels in offering a wide variety of designs, faster stitching speeds, and advanced features ideal for intricate embroidery work, while the Singer Heavy Duty provides legendary durability and simplicity, especially suited for heavy-duty sewing tasks at a lower price point.
Remember, proper setup and selecting the right accessories can significantly impact your sewing and embroidery success. Practice and patience with your new machine will unlock its full potential, transforming your creative ideas into reality.
Take action now: assess your specific needs and budget, then invest in the machine and tools that will help you achieve your crafting goals. Start with hands-on setup and practice techniques shared here—your next amazing project awaits. Don’t wait—bring your creative visions to life today!
Simthread Embroidery Thread 5500Yds / 5000M, 40WT 100% Polyester – 170+ Vivid Colors, CPSC Certified, High-Speed Rated – Compatible with Brother, Singer, Janome & More - Black 900
$7.99 (as of June 22, 2025 07:58 GMT -04:00 - More infoProduct prices and availability are accurate as of the date/time indicated and are subject to change. Any price and availability information displayed on [relevant Amazon Site(s), as applicable] at the time of purchase will apply to the purchase of this product.)
Simthread - 33 Selections - Various Assorted Color Packs of Polyester Embroidery Machine Thread Huge Spool 5500Y for All Purpose Sewing Embroidery Machines - #001 White
$14.99 (as of June 22, 2025 05:32 GMT -04:00 - More infoProduct prices and availability are accurate as of the date/time indicated and are subject to change. Any price and availability information displayed on [relevant Amazon Site(s), as applicable] at the time of purchase will apply to the purchase of this product.)
Aurifil Mako Cotton Thread Solid 50wt 1422yds Very Dark Navy
$14.47 (as of June 22, 2025 05:32 GMT -04:00 - More infoProduct prices and availability are accurate as of the date/time indicated and are subject to change. Any price and availability information displayed on [relevant Amazon Site(s), as applicable] at the time of purchase will apply to the purchase of this product.)
Simthread 144pcs Embroidery Pre-Wound Bobbins Thread, Class 15 Type A Size SA156, Polyester White 60 wt, Bernina Pfaff Ambition BabyLock Brother Embroidery and Sewing Machines Plastic Side
$24.99 (as of June 22, 2025 05:32 GMT -04:00 - More infoProduct prices and availability are accurate as of the date/time indicated and are subject to change. Any price and availability information displayed on [relevant Amazon Site(s), as applicable] at the time of purchase will apply to the purchase of this product.)
CABODYALS 12 Skeins 105 Yards Embroidery Floss Cross Stitch Threads 6 Ply Variegated Macaroon Friendship Bracelet String Floss Threads Bulk for Jewelry Making Bracelet Knitting Stitching Craft Supply
$5.79 (as of June 22, 2025 13:06 GMT -04:00 - More infoProduct prices and availability are accurate as of the date/time indicated and are subject to change. Any price and availability information displayed on [relevant Amazon Site(s), as applicable] at the time of purchase will apply to the purchase of this product.)
Brother PE550D Embroidery Machine, 125 Built-in Designs Including 45 Disney Designs, 4" x 4" Hoop Area, Large 3.2" LCD Touchscreen, USB Port, 9 Font Styles
(as of June 22, 2025 13:06 GMT -04:00 - More infoProduct prices and availability are accurate as of the date/time indicated and are subject to change. Any price and availability information displayed on [relevant Amazon Site(s), as applicable] at the time of purchase will apply to the purchase of this product.)
JUKI MO-6714S Industrial 4-Thread Overlock Sewing Machine
$1,849.00 (as of June 22, 2025 13:06 GMT -04:00 - More infoProduct prices and availability are accurate as of the date/time indicated and are subject to change. Any price and availability information displayed on [relevant Amazon Site(s), as applicable] at the time of purchase will apply to the purchase of this product.)
Consew upholstery Walking Foot Industrial Sewing Machine with Table and Servo Motor Drop Feed, Needle Feed, Walking Foot, Lockstitch Machine
$1,556.74 (as of June 22, 2025 13:06 GMT -04:00 - More infoProduct prices and availability are accurate as of the date/time indicated and are subject to change. Any price and availability information displayed on [relevant Amazon Site(s), as applicable] at the time of purchase will apply to the purchase of this product.)
Brother SE700 Embroidery & Sewing Machine with 90 Spools & Accessories
(as of June 22, 2025 13:06 GMT -04:00 - More infoProduct prices and availability are accurate as of the date/time indicated and are subject to change. Any price and availability information displayed on [relevant Amazon Site(s), as applicable] at the time of purchase will apply to the purchase of this product.)