How to Price Custom Embroidery for Small Business in 2025
Are you struggling to set the right prices for your custom embroidery projects? You’re not alone. Many small business owners face challenges like balancing profit margins with competitive pricing, especially with the rising costs of quality materials and equipment. Did you know that the global embroidery market is projected to reach over USD 5.7 billion by 2030, driven by increasing demand for personalized fashion and home décor? Yet, surprisingly, many small operators struggle to accurately calculate their costs and often leave money on the table.
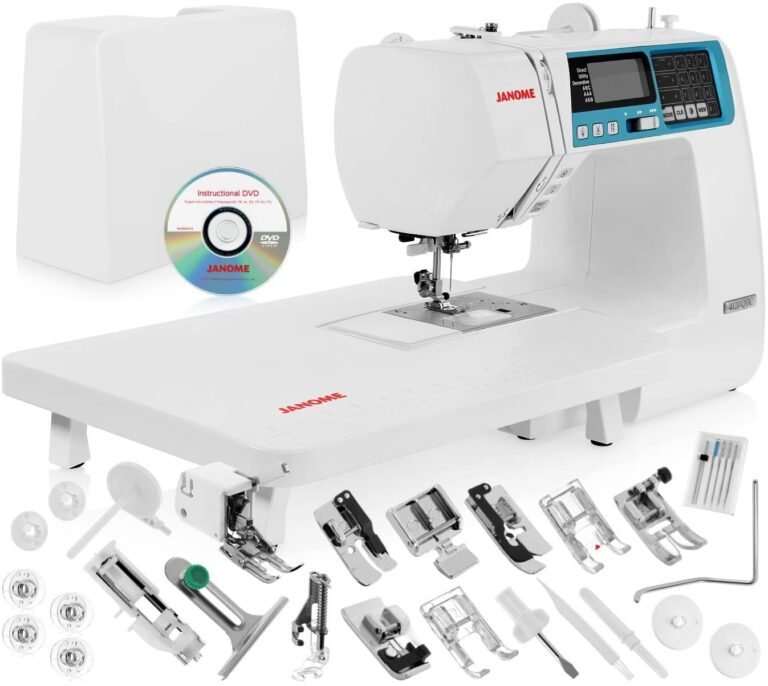
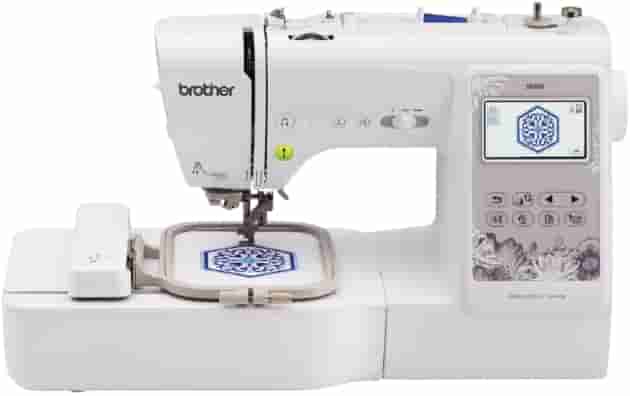
Understanding the intricacies of pricing—covering everything from thread and fabric to machine depreciation—can feel overwhelming. A transparent embroidery machine and software tools can help streamline this process. In this article, you’ll discover practical techniques and an easy-to-use pricing calculator that not only helps determine your costs but also optimizes your profit margins. Boost your earnings and stay competitive in a thriving industry—let’s get started with the essential strategies to price your work confidently and fairly.
Key Insights on Embroidery Pricing and Market Trends

Effective pricing of custom embroidery projects requires a comprehensive understanding of various cost components, market expectations, and current stylistic trends. With the embroidery industry evolving rapidly in 2025, small businesses need data-driven strategies to remain competitive and profitable. This section explores critical factors such as material costs, equipment amortization, customer willingness to pay, and emerging design trends that influence pricing decisions.
Understanding Material and Equipment Costs
To set accurate prices, small businesses must account for the direct costs of materials including high-quality threads, stabilizers, and fabrics. Recent studies highlight that embroidery threads generally cost between $0.15 and $0.50 per stitch, depending on quality and supplier. Stabilizers are typically around $2 per sheet, while fabric costs vary from $3 to $15 per yard based on material and design complexity. Labor hours also significantly impact pricing; with an average turnaround time of 2-4 hours per project, labor costs should be factored in accordingly.
Additionally, embroidery machine costs should be amortized over the volume of produced items. Modern embroidery machines, costing anywhere from $2,000 to $10,000, can be depreciated across hundreds or thousands of projects, lowering the per-unit cost as volume increases. Software updates and maintenance should also be integrated into overall expenses for precise pricing.
Analyzing Market Prices and Customer Expectations
Market research indicates that customers are willing to pay a premium for personalized, culturally inspired designs that reflect heritage or current trends. Personalized embroidery, especially when it incorporates unique motifs or bespoke customization, often commands 30-50% above standard pricing. Successful small businesses frequently analyze competitors’ prices, adjusting their markups to remain attractive while ensuring profitability.
Recent market surveys reveal that small businesses offering bespoke embroidery services set prices based on stitch count, design complexity, and turnaround times, typically ranging from $15 to $60 per item for small batches. Understanding what customers value most—such as quality, uniqueness, or cultural relevance—helps tailor pricing strategies to maximize perceived value and sales.
Emerging Trends and Styling Strategies in 2025
Design trends for 2025 emphasize heritage-inspired motifs, eco-conscious materials, and vibrant, artisanal styles. These trends influence pricing by enhancing perceived value, enabling businesses to charge a premium for culturally rich or sustainable designs. Additionally, new techniques like 3D embroidery and metallic threads are expanding the aesthetic possibilities and price points.
For example, incorporating traditional patterns with modern twists can tap into a growing customer base seeking authenticity and novelty. Small businesses that adapt quickly to these stylistic shifts and incorporate trending elements into their offerings are better positioned to justify higher rates and attract premium clients.
Step-by-Step: Calculating Material Costs for Your Embroidery Projects

Accurately calculating material costs is crucial for establishing a reliable embroidery pricing calculator for your small business. Understanding the costs of essential supplies such as threads, stabilizers, fabrics, and hoops helps you determine the true expense of each project, ensuring profitability and competitive pricing.
Creating a Material Inventory List
Start by listing all the materials you regularly use. For example, typical items include embroidery threads, stabilizers, fabrics, hoops, and needles. Keeping an organized inventory allows you to track costs and usage patterns over time. For each item, note the unit of measurement, such as spool, sheet, yard, or piece.
Estimating Consumption Per Project
Estimate the quantity of each material needed per project based on your typical designs. For instance, a standard project might require 2 color threads, a stabilizer sheet, and ½ yard of fabric. You can refine these estimates with project-specific data, tracking actual usage to improve accuracy.
Example: For a project requiring two colors of embroidery thread, use approximately 1 yard of thread per color. If your thread spool costs $2.50 and yields about 10,000 stitches, the cost per stitch is around $0.00025, making the total thread cost for a standard logo of 10,000 stitches roughly $2.50.
Using Supplier Prices to Determine Per-Unit Costs
Acquire current prices from your suppliers. For example, stabilizers cost roughly $2 each, which you can use over multiple projects. Fabric generally costs about $8 per yard, with an average project consuming half a yard. Break down these costs to find the expense per project.
Sample calculations: If a stabilizer sheet costs $2 and is used for 10 projects, the per-project stabilizer cost is $0.20. For fabric, dividing $8 per yard by 2 projects (using ½ yard each) results in a fabric cost of $4 per project.
Factoring in Waste, Reworks, and Breakage
Materials often experience waste or rework losses. Incorporate a waste factor of around 10-15% into your calculations. For example, if you estimate ½ yard of fabric per project, add an extra 0.1 yard ($0.80) to account for errors or reworks, bringing the total fabric cost to roughly $4.80.
Summing Up Individual Item Costs
Add the individual costs of all materials to establish a total material expense per project. Using the previous estimates:
Total Material Cost per Project: approximately $10.00. Incorporate this base cost into your overall project pricing by adding labor, overhead, and desired profit margin, using your markup formula to set competitive yet profitable prices.
By systematically analyzing and calculating your material costs, you’re equipped to build an accurate and sustainable embroidery pricing calculator tailored to your small business in 2025.
Step-by-Step: Determining Time and Labor Costs for Embroidery Work

Accurately pricing custom embroidery projects requires understanding the true labor involved. Small business owners need a practical approach to track the time spent on each project stage, then convert that time into a reliable labor cost. This ensures profitability and fair pricing that reflects the effort involved, especially as embroidery techniques and equipment evolve rapidly in 2025.
Tracking Actual Time for Each Project Stage
The first step is to record the time spent on each phase of the embroidery process: design setup, stitching, and finishing. Using a simple timer or a project log helps in capturing precise durations. For example, during design setup, which involves digitizing or selecting a design, a timer can be started once the process begins and stopped once completed. Similarly, stitching time begins when the machine starts embroidering and stops when the design is finished. Finishing, which includes cleanup and quality checking, should also be timed separately. This detailed tracking ensures you understand how long each task genuinely takes, which can vary based on project complexity.
Estimating an Hourly Wage That Reflects Business Goals
Next, set a realistic hourly wage that aligns with your business objectives and local market rates. Many embroidery businesses aim for wages between $20 and $50 per hour, reflecting skill level and overhead costs. For instance, if you decide on $25/hour, you can easily convert your recorded project times into labor costs. This wage should also cover non-billable tasks like fetching supplies or administrative work, integrated into the overall project estimate.
Calculating Labor Cost per Project
Once time tracking is complete and an hourly rate is established, calculate the labor cost by multiplying the total hours spent by your chosen hourly wage. For example, if a typical project takes 3 hours at $25/hour, the direct labor cost is $75. For projects requiring detailed stitching, such as stumpwork, estimate additional time—say, 1–2 extra hours—then adjust the labor cost accordingly. Separately accounting for setup and cleanup time allows for more accurate total pricing.
Refining Time Estimates Based on Complexity and Skill
Over time, refine your time estimates based on experience. More complex designs or higher skill levels may reduce or extend your usual timeframes. Consistently tracking and reviewing your process helps identify efficiencies or bottlenecks, allowing you to modify pricing strategies confidently. Considering such nuances ensures your prices are competitive yet profitable, especially as embroidery techniques and industry standards shift in 2025.
Creating a Custom Embroidery Pricing Calculator Using Markup Formulas

Developing an effective pricing calculator is essential for small embroidery businesses to ensure profitability and competitiveness. By utilizing simple markup formulas based on material and labor costs, you can streamline the quoting process and adapt quickly to changing costs and market conditions. This section guides you through building a practical, repeatable spreadsheet model tailored for ongoing use.
Basic Markup Formulas: Understanding the Components
The core of your pricing calculator revolves around calculating the total cost and then applying a markup percentage to determine your selling price. A typical formula might be:
= (Material_Cost + Labor_Cost + Overheads) * Markup_Percentage
For instance, if your material cost is $5, labor cost $3, and overheads $2, with a standard markup of 2x, the formula in Excel or Google Sheets would be:
= (5 + 3 + 2) * 2
This yields a price of $20 for the custom embroidery project. Adjusting the markup percentage allows you to align prices with industry standards—commonly around 2x the total costs—and your profit goals.
Choosing Appropriate Markup Rates
Industry averages often suggest using a markup of 2x the total of material and labor costs, but smaller businesses may select higher or lower margins based on their niche, competition, and overhead structure. For example, a premium embroidery service might aim for a 2.5x or 3x markup, while a volume-focused business could opt for slightly lower margins to stay competitive.
By incorporating overhead costs and desired profit margins into your calculations, you can fine-tune your pricing strategy. It’s advisable to test different markup rates with sample projects to find a balance that maximizes profit without sacrificing competitiveness.
Building Your Spreadsheet Template with Dynamic Features
Create a user-friendly spreadsheet by setting up columns for material costs, labor costs, overhead allocations, and project complexity. Use data validation dropdowns to select project types or client categories, which can automatically adjust the markup percentage. For example, a complex design or premium client might trigger a higher markup.
Sample formulas to implement include:
Testing your calculator with various sample projects ensures the formulas produce accurate, competitive prices. Adjust the markup percentage or add conditional formatting to highlight pricing outliers, helping maintain profitability while staying attractive to clients.
Analyzing Competitive Pricing and Optimizing Profit Margins

Pricing for custom embroidery is a delicate balance between staying competitive and ensuring profitable margins. With the embroidery industry forecasted to reach a market size of approximately USD 8 billion by 2025, small businesses must adopt strategic approaches to pricing that reflect current market dynamics. Understanding competitor prices and market trends is essential for positioning your services effectively and maximizing profit margins without losing clients.
Researching Competitor Prices and Market Trends
Begin by conducting comprehensive research on local and online competitors offering similar embroidery services. Key points to analyze include price ranges for common projects, turnaround times, and perceived quality levels. Recent industry reports indicate that global embroidery market size in 2025 is around USD 4 billion, with a CAGR of approximately 6.3%, driven by increased demand for personalized and high-quality embroidered products. Additionally, advancements in embroidery machinery and software are enabling faster production with improved quality, influencing pricing strategies.
Many businesses emphasize quality, cultural relevance, and personalized service, which allows for premium pricing. For example, a study shows that a tailored quote highlighting these features can boost project acceptance rates by 15%. Keeping updated on the latest industry developments, such as new embroidery machine models or software features, will also help adjust your pricing to reflect added value.
Creating a Comparative Price Table
Setting Profit Margins and Scenario Analysis
To optimize profits, aim for target profit margins of 20% to 50%, depending on the service quality and niche. Use actual project costs—materials, labor, overhead—to run profit margin scenarios. For example, if a project costs $30 in supplies and takes 2 hours to complete, setting a price of $90 ensures a 33% margin. Adjusting your markup based on competitive analysis and perceived value helps you identify the most profitable yet attractive price points.
Effective communication of your unique value—like emphasizing quality, cultural relevance, or personalized service—can justify higher pricing tiers. Offering tailored quotes that highlight these advantages often results in increased acceptance and higher margins, as industry studies suggest.
Customer Quotation Templates and Final Price Presentation

Presenting a clear, professional quote is essential for small embroidery businesses to build trust and close sales effectively. A well-structured quotation not only reflects your detailed pricing but also emphasizes your value proposition and professionalism. Using ready-to-use templates streamlines the quoting process, ensuring consistency and accuracy, while thoughtful presentation fosters client confidence.
In this section, you’ll find practical templates and tips for crafting effective quotes that include comprehensive breakdowns of costs, turnaround times, and terms. Incorporating transparent details about material and labor costs helps clients understand the value behind your pricing, which is especially important as embroidery prices can vary based on design complexity and customization options.
Elements of a Professional Quote
A professional quotation should clearly include a project description, detailed cost breakdowns, estimated turnaround time, and clear terms & conditions. The project description should succinctly outline the scope of work, while the breakdown of material and labor costs enhances transparency and helps justify your final price.
For example, a quote might specify: “Materials: $X, Labor: $Y, Total: $Z,” with a note indicating that custom design options could influence the final price. This clarity reassures clients about what they are paying for and avoids miscommunication.
Ready-to-Use Templates for Quick Customization
Below are example templates that can be easily customized for each client. These templates are designed for digital sharing via email or PDF, ensuring a professional presentation:
Sending your quote via professional digital platforms such as email or secure PDF enhances credibility and ensures clients receive a polished, consistent presentation. Following up with clients promptly can facilitate negotiations, answer questions, and demonstrate your commitment to customer service.
Ultimately, a transparent, detailed, and visually appealing quotation format not only clarifies your pricing but also strengthens your reputation as a professional embroidery business dedicated to value and client satisfaction.
Conclusion
In today’s competitive market, mastering your material and labor costs is essential for setting profitable embroidery prices. By leveraging effective markup formulas, analyzing your target market, and communicating your value clearly, you can confidently establish prices that boost your revenue while satisfying customers. Implementing a custom embroidery pricing calculator tailored to your business needs simplifies this process, allowing you to focus on growth and creativity.
Don’t wait to take your small embroidery business to new heights—start building your own pricing calculator today. Our step-by-step guides and templates are designed to empower you with the tools needed to increase profits and strengthen customer loyalty. Remember, strategic pricing isn’t just about covering costs; it’s about positioning your business for sustained success.
Take action now and turn your embroidery passion into a thriving enterprise. Your future profitable business begins with one smart step today!


