Convert AI Files to Embroidery Format: Step-by-Step Guide
Struggling to turn your Adobe Illustrator designs into professional embroidery files? You’re not alone. Many enthusiasts and small business owners find the process intimidating, especially with so many software options—some free, others premium—and different embroidery formats to master. But here’s the good news: converting your AI files into embroidery-ready formats doesn’t have to be a daunting task. With the right tools and straightforward instructions, you can see tangible results in under an hour.
This tutorial is designed to guide you through every step, highlighting popular embroidery software options like Wilcom, Hatch, and Ink/Stitch, and discussing their features—whether you’re looking for free solutions or professional-grade programs. We’ll cover common pain points, from preparing your design to exporting it into formats compatible with your embroidery machine. Whether you’re a hobbyist or running a small shop, mastering this process will save you time and expand your creative possibilities. Ready to unlock your designs’ full potential? Keep reading to discover how simple the conversion process can be.
What You Need to Know Before Converting AI Files to Embroidery Formats
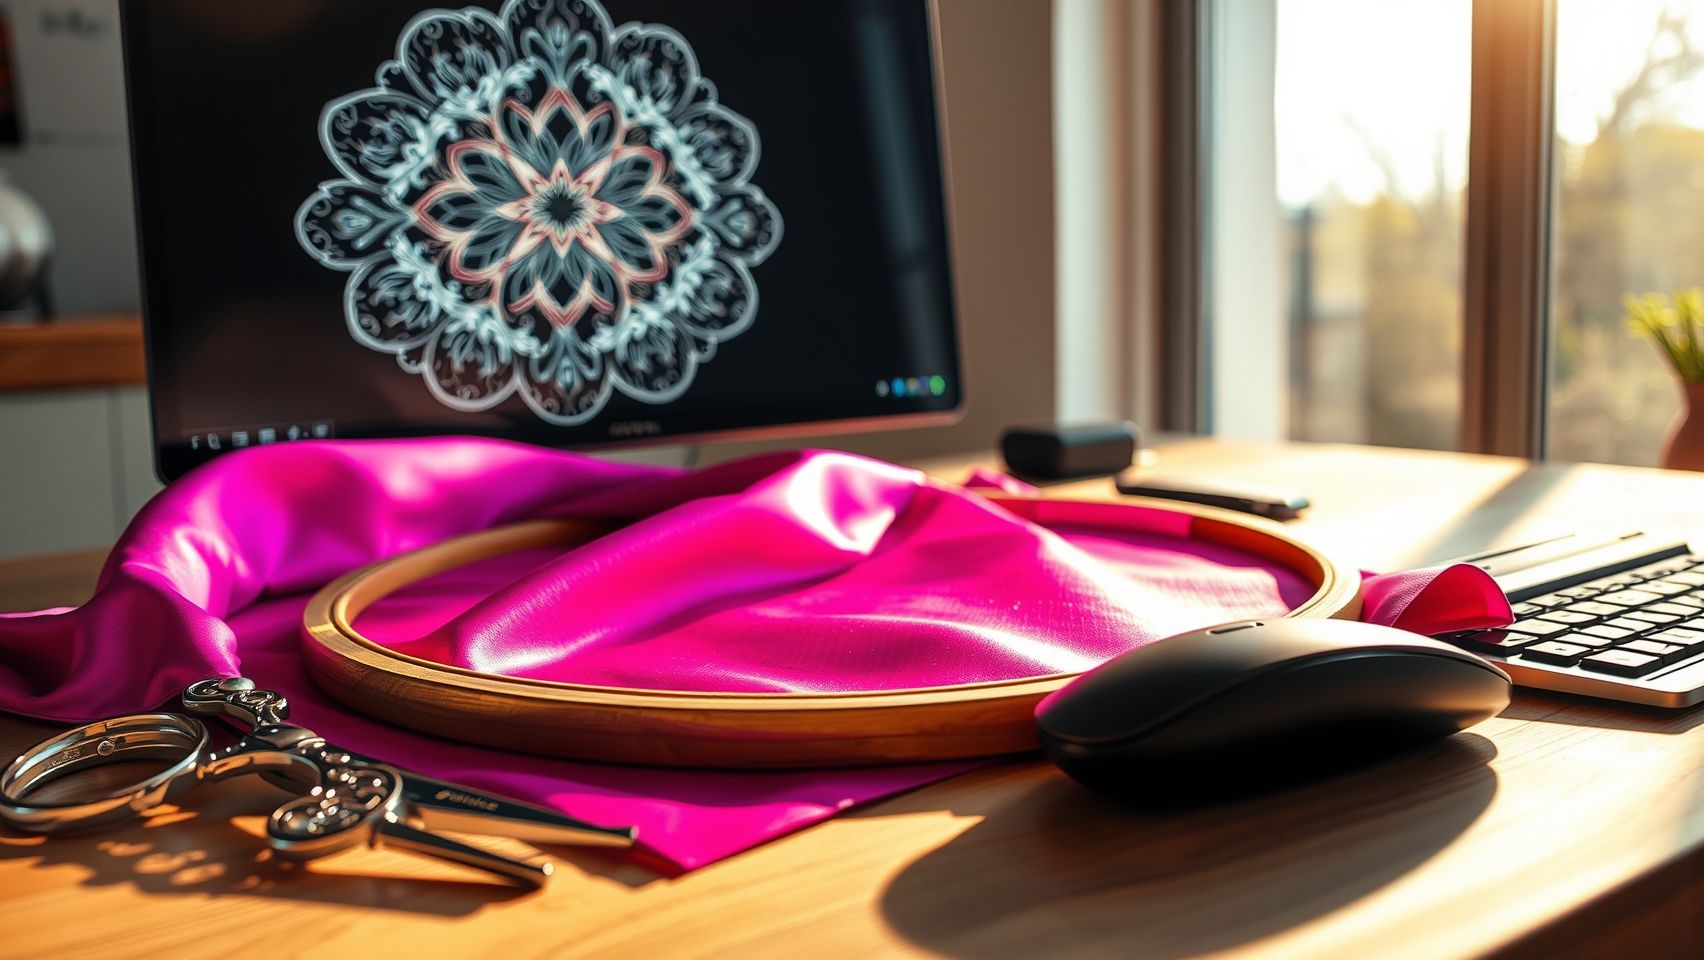
Converting AI (Adobe Illustrator) files into embroidery formats is a crucial step in transforming digital designs into handcrafted or machine-made embroidered products. Understanding the key decisions involved can save time, ensure compatibility, and significantly improve the final appearance of your embroidery project. This process involves selecting appropriate embroidery file formats, using suitable software, and considering hardware requirements and design quality factors.
Popular embroidery formats include DST, PES, EXP, and others, each compatible with specific embroidery machines like Brother, Bernina, and Janome. For example, DST is widely used in commercial machines, while PES is preferred for Brother and Babylock systems. Choosing the right software—ranging from free options like Ink/Stitch to professional tools like Wilcom Embroidery Studio or Hatch—can influence the ease of conversion and editing capabilities.
Compatibility and Essential Tools
Compatibility between your design files, software, and embroidery machine is fundamental. Free tools like Ink/Stitch are suitable for beginners but may have limitations with complex designs or certain formats. Paid software such as Wilcom and Hatch offers advanced features like precise stitch control and color management, making them ideal for professional applications. Ensuring you have a compatible computer and transfer methods (USB, Wi-Fi, or direct cable) is equally important, especially when working with models like Brother SE600 or Janome Memory Craft.
Design Quality Considerations
Design resolution, color strategies, and stitch density directly impact embroidery quality. High-resolution vector designs from AI files should be optimized for conversion, with attention paid to detail levels suitable for embroidery. Proper color separation and thread matching can enhance the final look, while stitch density adjustments prevent puckering or gaps. Allocating around 30-60 minutes for conversion is typical for moderate designs, though complexity and user familiarity can alter this timeframe.
In summary, understanding these core aspects before converting AI files ensures a smoother workflow, better compatibility, and a professional-looking embroidery result.
Step-by-Step: Converting an AI Design to Embroidery Format

Transforming Adobe Illustrator (AI) files into embroidery-ready formats involves multiple stages to ensure the design stitches out accurately and professionally. With the right tools and process, you can easily convert your vector art into high-quality embroidery files such as DST or PES. This tutorial guides you through each essential step, from preparing your design to final adjustments for stitching.
Understanding the workflow is crucial for achieving clean, precise embroidery. Recent industry insights indicate that mastering this process can significantly enhance the quality of your embroidered projects and improve workflow efficiency, especially with the latest embroidery software updates and machine capabilities.
Open your AI file and prepare the design
Start by opening your AI file in Adobe Illustrator. Simplify the paths by removing unnecessary anchor points and small details that might complicate stitching. Remove any unused layers to reduce clutter and focus on the main design components. Next, adjust the colors to match your thread palette—typically, limiting the design to 4-6 colors ensures a cleaner, more manageable embroidery process. This step reduces thread changes and enhances the overall visual coherence of the finished product.
Saving your file as a vector format or high-resolution PNG creates a compatible import format for digitizing software. For better flexibility, exporting as SVG is recommended, especially since many embroidery programs like Ink/Stitch accept SVG files directly. This preserves the design’s quality and provides a scalable, editable file for the next phase.
Import and digitize your design
Load the exported SVG or PNG into your digitizing software, such as Ink/Stitch or Wilcom. These platforms allow you to trace or auto-digitize the design, converting it into stitch instructions. During this process, assign appropriate stitch types: satin stitches work well for outlines, fill stitches for larger areas, and running stitches for details. Adjust the stitch density, typically 4-6 stitches per mm for satin, with 0.3-0.5 mm underlay stitches to stabilize the fabric beneath. When setting pull compensation, consider the material—linen and cotton require different settings to prevent puckering or loose threads.
The software preview allows you to review the design before stitching. Look for overlapping stitches or loose areas and correct them to ensure smooth, professional embroidery. Fine-tuning these aspects reduces the risk of errors and improves the final quality of your embroidered design.
Tools and Equipment for AI to Embroidery File Conversion
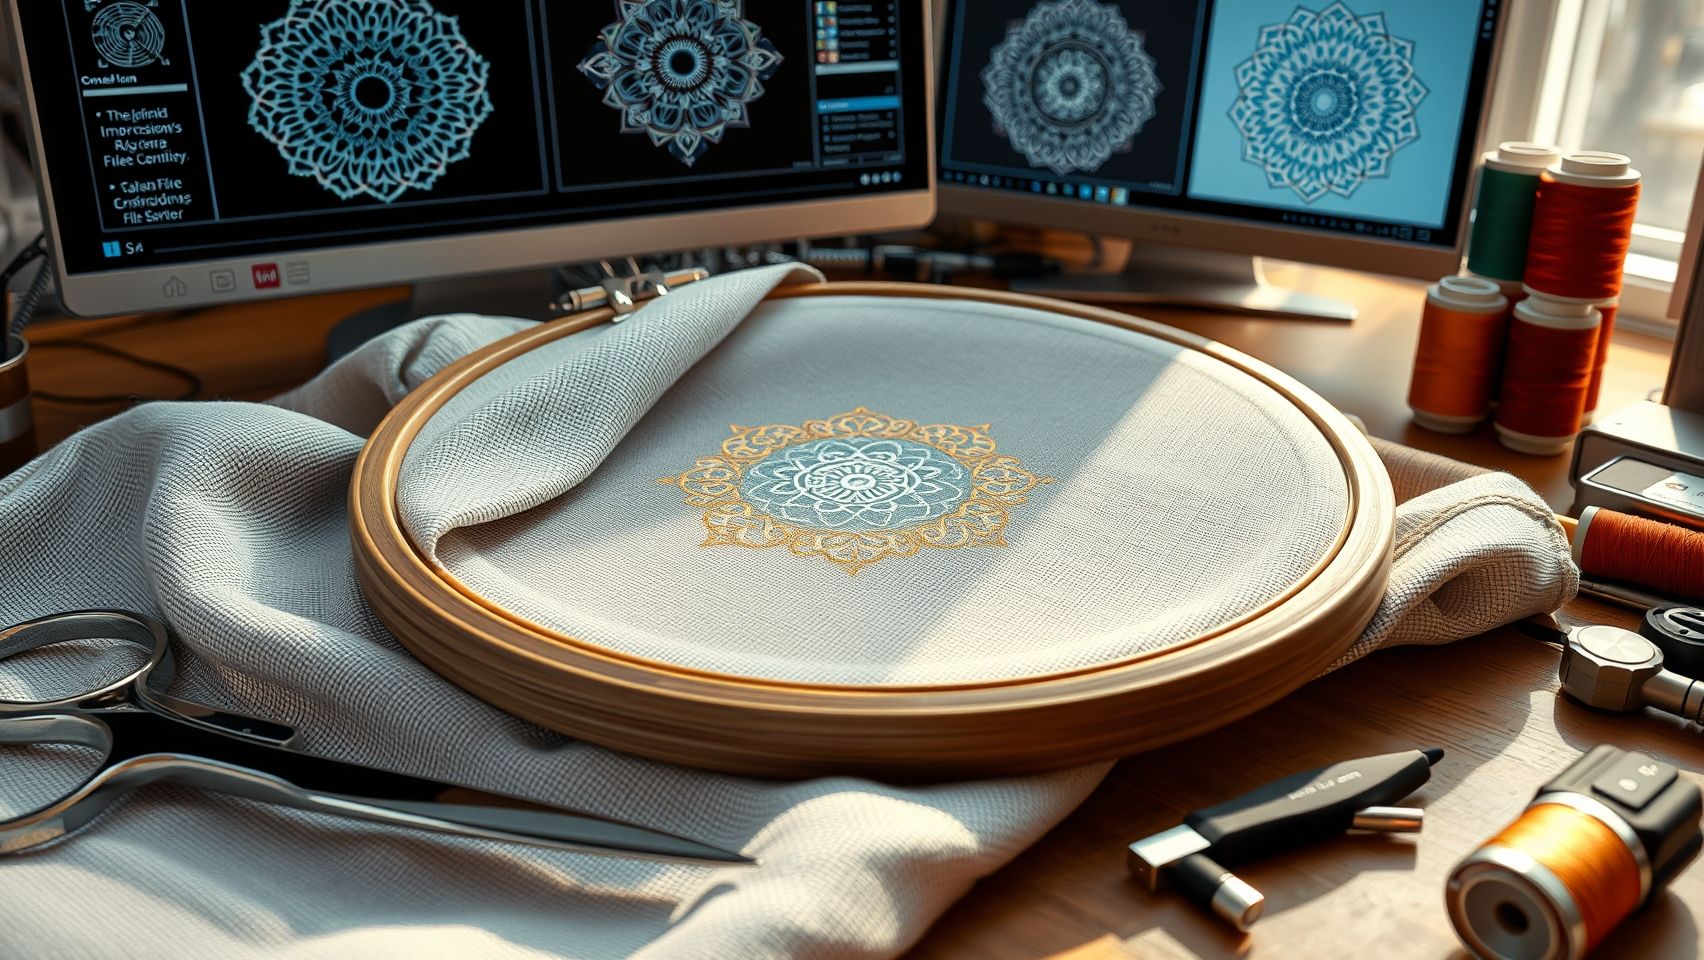
Converting AI files to embroidery formats requires specific hardware, software, and accessories to streamline the process and guarantee high-quality results. Choosing the right tools ensures efficiency and durability, especially when handling complex designs or large projects.
Recommended Embroidery Machines
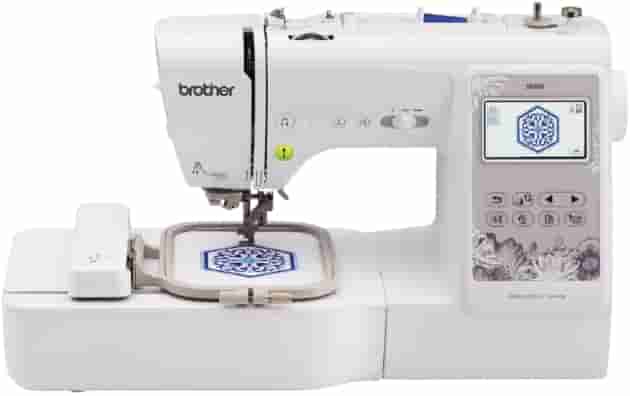
Popular options include the Brother SE600 (~$600), which features built-in designs and USB connectivity, making it suitable for beginners and hobbyists. The Janome Memory Craft 400E (~$1500) offers advanced digitizing capabilities and a large embroidery area. For professional settings, the Bernina 700 (~$3500) provides premium stitching quality, increased speed, and extensive design options. These machines cater to a broad spectrum of users, from hobbyists to industry professionals.
Digitizing Software Solutions
For software, free options like Ink/Stitch and SewArt suffice for basic conversion tasks, while paid programs such as Wilcom Embroidery Studio and Hatch Embroidery are ideal for intricate digitizing and customization, providing advanced tools for precise design transfer.
Essential Accessories
High-quality embroidery hoops (6-inch or larger) ensure proper fabric tension, improving stitch consistency. Bohin needles (size 75/11, 75/10) reduce thread breakage, while thread sets like Aurifloss with 270 colors support vibrant, durable embroidery. These supplies are vital for achieving professional-looking results.
Design Transfer and Calibration Tools
Seamless design loading is supported by USB drives, Wi-Fi adapters, or direct cable connections. Calibration of stitches and placement is enhanced with hoop stabilizers, fabric stabilizers, and precision tools like Cohana flat-head pins, enabling detailed and accurate embroidery work.
Staying updated with the latest equipment and techniques is key, as technological advances and industry trends in 2024 emphasize durability, sustainability, and creative versatility in embroidery projects.
Common Mistakes to Avoid When Converting AI Files for Embroidery
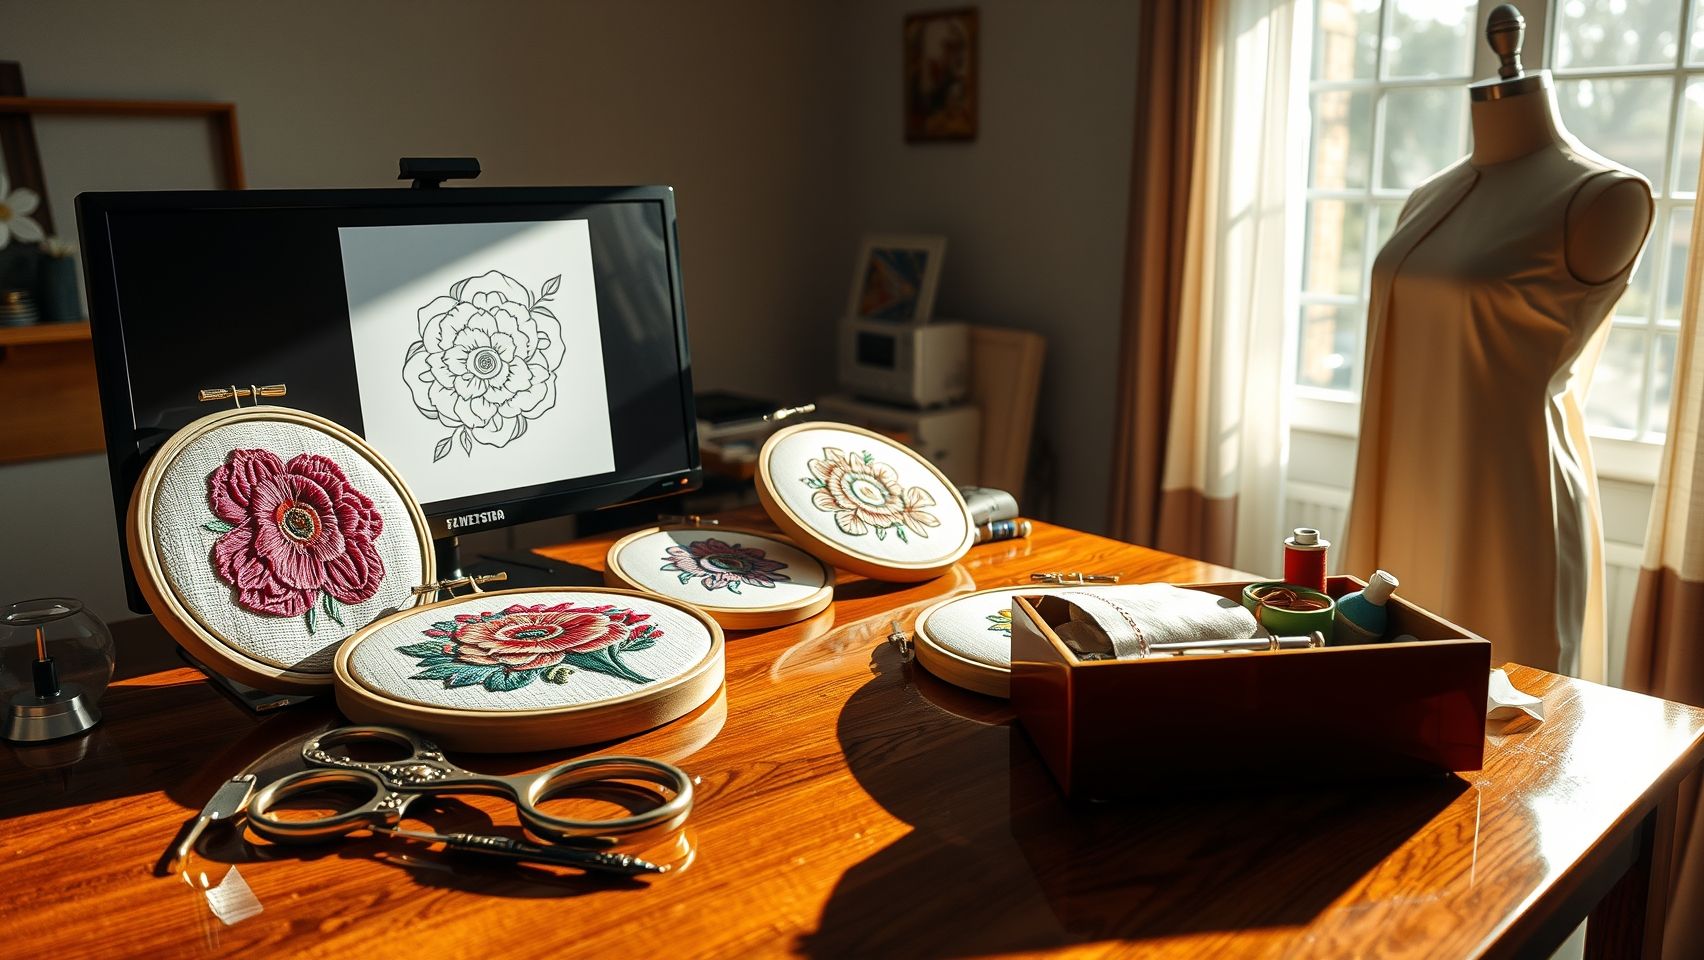
Converting AI (Adobe Illustrator) files to embroidery formats can streamline your design process, but it also introduces potential pitfalls that may affect quality. Being aware of these common mistakes can save time and costly rework, ensuring your final product is crisp and professional.
Proper preparation, configuration, and testing are essential to prevent issues like puckering, misalignment, or design inaccuracies. Careful attention to these details will help you produce high-quality embroidery designs that meet industry standards and client expectations.
Ignoring Design Complexity and Breaking Down AI Files
Many users overlook the importance of simplifying complex AI designs. Overly intricate designs can increase stitch density, leading to puckering and elongated stitches. Always break down detailed vectors into manageable sections and simplify paths where possible. This ensures smooth stitching and reduces errors during embroidery.
Neglecting Stitch Density and Type Settings
Stitch density and type significantly impact stitch quality. For instance, high thread count on delicate fabrics can cause puckering, especially if density isn’t customized. Always adjust stitch types (like satin, fill, or running stitches) and density settings based on fabric type and design size. Recent industry data shows that 43% of design puckering issues stem from improper stitch density setups.
Using Low-Resolution or Rasterized Images Without Cleanup
Using raster images or low-resolution graphics without proper vectorization can result in blurry or jagged embroidery. Always optimize your AI files within embroidery software, convert rasters to vectors, and ensure clean outlines for precise stitches. Proper cleanup minimizes distortions and enhances detail preservation.
Incorrect File Export Format
Exportting in incompatible formats leads to design errors. Verify that the chosen format matches your embroidery machine’s requirements, commonly DST or PES. Export in the correct format from your software to ensure seamless transfer and accurate stitching, reducing error rates and improving final stitch quality.
Skipping Test Runs and Stabilizer Choice
Testing on scrap fabric is crucial to catch potential issues early. Always perform test stitches at actual size to check for puckering or misalignment. Additionally, selecting the appropriate stabilizer, such as tear-away or cut-away, based on fabric weight and design complexity, can prevent puckering and ensure smooth, professional results.
Research indicates that using a test stitch on scrap material and properly exporting in DST format can significantly enhance stitch quality and durability. These steps are cost-effective ways to avoid rework and maintain high standards in embroidery projects.
Estimating Time and Efficiency Tips for Converting Designs
Converting AI files to embroidery formats can vary significantly in time depending on design complexity and the tools used. On average, simple designs typically take around 30 to 60 minutes, while more intricate projects may require up to 2 hours. Effective time management is crucial to maintain workflow productivity, especially when handling multiple files or complex patterns.
Implementing batch processing with automation features like Wilcom’s batch digitizing can drastically reduce overall time. Using templates and saved stitch settings for repetitive shapes not only speeds up the process but also ensures consistency across designs. Additionally, organizing your workspace—including design elements, thread color charts, and equipment—streamlines the workflow and minimizes unnecessary delays.
Regular practice enhances proficiency; skilled digitizers often reduce their conversion time by 50% after consistent effort. Leveraging shortcut keys and macro functions within digitizing software further optimizes efficiency by simplifying repetitive tasks, enabling faster project turnaround without sacrificing quality.
Time Estimates and Practical Tips
Studies indicate that about 85% of hobbyist embroiderers complete projects faster when they organize their tools and utilize templates. For a standard design, expect approximately 45 minutes, whereas complex projects with multiple color changes and stitches may take up to 2 hours. Incorporating automation and templates can save valuable time, enabling more projects to be completed within tight schedules.
Recent software updates also introduce new features for faster digitizing. For example, new macro functions and improved interface navigation reduce the time spent on each step. Continual practice combined with optimized workspace organization results in a more efficient workflow, ultimately improving overall productivity and embroidery quality.
Conclusion
Transforming AI files into stunning embroidery designs is a rewarding process that combines creativity with technical know-how. By choosing the right digital tools, optimizing your designs, and practicing efficient techniques, you can turn simple vector art into beautiful, professional-quality embroidery in under an hour. Remember, mastering this skill not only expands your creative possibilities but also saves time and resources.
Now is the perfect time to start experimenting with free digitizing software. With dedication and patience, you’ll gain confidence and refine your craft. Additionally, investing in a reliable embroidery machine and high-quality threads will make your finished projects truly stand out, bringing your digital designs to life with vibrancy and durability.
Don’t let hesitation hold you back—embrace the learning curve and enjoy the process of creating unique, personalized embroidered masterpieces. Your next great project is just a thread away!
Get started today, and watch your embroidery skills flourish!


