Hatch Embroidery Software vs Wilcom: Which Is Better for Your Projects?
Are you struggling to choose between Hatch and Wilcom for your embroidery needs? You’re not alone. Many embroiderers face the challenge of selecting software that balances ease of use, cost, and output quality. With so many options on the market, it’s easy to feel overwhelmed by complex interfaces or unclear features. According to industry sources, the global embroidery market is projected to hit over USD 2.9 billion by 2023, reflecting the growing demand for advanced and user-friendly design tools (source). But which software delivers the best results for hobbyists and professionals alike? This practical comparison aims to cut through the jargon and help you make an informed choice by analyzing key features, pricing, and user experience. Whether you’re just starting out or looking to upgrade your setup, understanding the similarities and differences between Hatch Embroidery and Wilcom can save you time, money, and frustration. Keep reading to discover which one aligns best with your projects and skill level.
Key Features and Compatibility: What You Need to Know
When choosing embroidery software, understanding the key features and compatibility options is essential for making an informed decision. Hatch and Wilcom cater to different user needs, from beginners to seasoned professionals, and their capabilities reflect that.
Hatch embroidery software is known for its user-friendly interface, making it an excellent choice for hobbyists and beginners. It supports multiple design formats, offers auto-trace capabilities, and provides comprehensive customization tools for creating and editing embroidery designs. Wilcom, on the other hand, is geared toward professionals, offering advanced digitizing features, complex letter editing, and real-time design simulation, making it suitable for commercial embroidery operations.
Feature Set Comparison
Hardware Compatibility and Toolsets
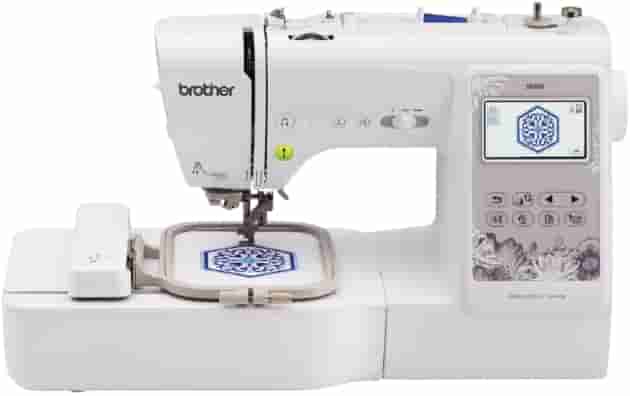
Both Hatch and Wilcom are primarily designed for Windows-based systems, with Wilcom offering more complex features that benefit professional environments. Hatch supports direct import of embroidery machine formats, auto-digitizing, and various editing tools, including embroidery repair, applique, satin stitch, and 3D textures, catering well to beginners. Wilcom provides advanced features like intricate letter editing, complex digitizing, and real-time 3D preview, aimed at professional digitizers and commercial embroidery shops.
Regarding pricing, Hatch offers a more accessible starting point at approximately $149 for the basic version. Wilcom Expert, which includes its full professional suite, costs around $2,495—reflecting its advanced capabilities. This substantial price difference underscores the distinct target audiences: casual hobbyists versus professional designers. For those starting out, Hatch’s feature set combined with its affordability makes it a practical choice, while Wilcom is better suited for users requiring comprehensive digitizing tools and higher-level design functionalities.
Step-by-Step: Setting Up Your Embroidery Software for Best Results
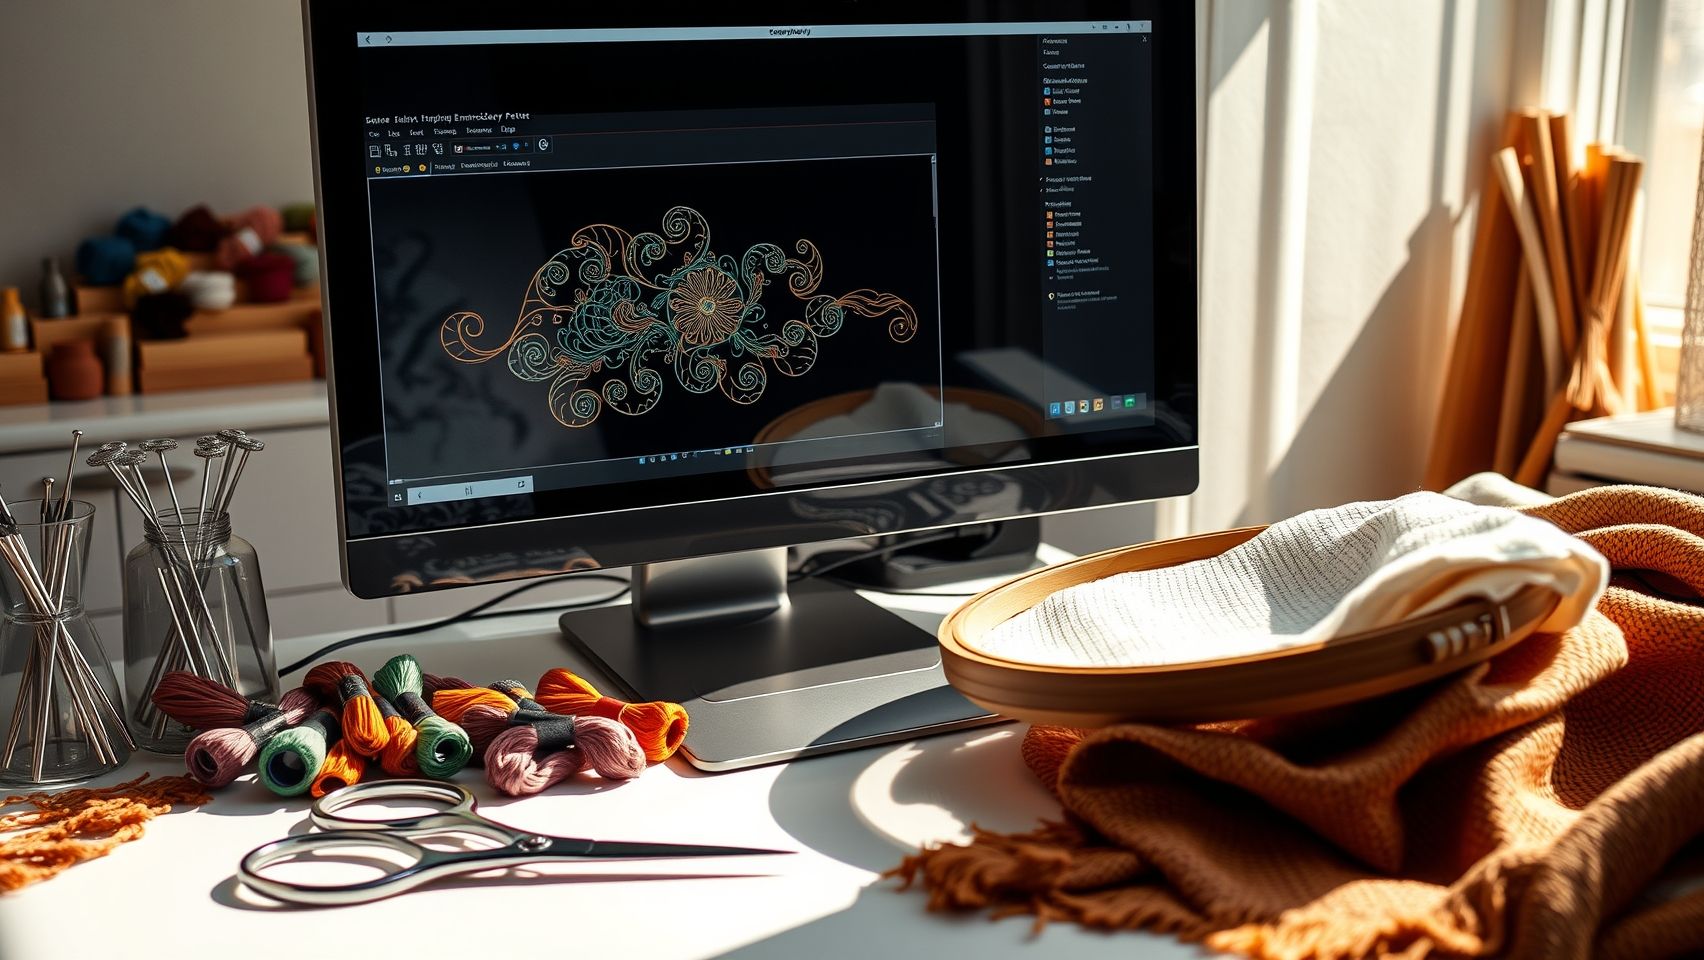
Getting started with embroidery software can seem daunting, but a systematic setup ensures optimal results for your projects. Whether you’re using Hatch or Wilcom, following these steps will streamline your initial workflow and enhance your design quality from the outset.
Proper setup involves installing the software, configuring your workspace, importing designs, and adjusting key stitch parameters. Taking the time to optimize each step reduces trial-and-error, saves time, and improves the overall appearance of your embroidery projects.
Download and Install
Begin by downloading the latest version of Hatch Embroidery Software or Wilcom. Ensure your system meets the minimum hardware specifications: for Wilcom, this typically means a Windows OS with at least 8GB RAM and a multi-core processor. Hatch is more flexible with both Windows and Mac options, but check compatibility updates regularly to avoid issues.
Run the installation, following prompts to configure initial preferences. For Wilcom,, ensure your operating system is compatible, as it generally supports Windows 10 and newer. Activate your license if required to unlock full features.
Configure Workspace
Set up your workspace by selecting the appropriate embroidery stabilizer and hoop size based on your project plan. Use the software’s preferences to define thread color palettes, aligning them with your physical thread spools for accurate color matching. This step ensures a seamless transition from design to fabric.
In Hatch, create custom templates for frequently used hoop sizes, stabilizers, and thread sets. Wilcom allows for advanced customization, including real-time preview options to see how designs will fit and look within your selected hoop.
Import Design Files
Supported formats like PES, DST, and EXP are standard across both platforms. Import your vector images (SVG files), and utilize conversion tools if needed to translate them into embroidery formats. Hatch’s ‘Auto-Digitize’ feature effectively converts simple motifs, while Wilcom’s ‘Quick Digitize’ offers precision for complex designs like herbal motifs.
Ensure your design fits within the hoop boundaries, and adjust placement as necessary. Save your imported design as a project file to facilitate easy edits later.
Use Auto-Digitize Feature
Apply Hatch’s ‘Auto-Digitize’ or Wilcom’s ‘Quick Digitize’ tools for basic motifs to speed up the digitizing process. These tools analyze your design and generate initial stitch paths, which you can refine further. Beginners can produce clean, professional-looking designs in under 10 minutes by leveraging pre-set parameters and templates.
Refine stitch order, density, and underlay settings to match the textile and design complexity.
Adjust Stitch Settings
Set stitch density, underlay, and satin stitch parameters tailored to your project. Dense fabrics require higher stitch density, while lightweight fabrics benefit from looser stitches to prevent puckering. Both Hatch and Wilcom provide sliders and visual previews to fine-tune these settings before stitching begins.
Save common settings as templates for future projects to accelerate your workflow. This systematic setup process ensures consistent, high-quality embroidery output across various designs.
Design Creation and Digitizing: Practical Techniques for Better Embroidery
Creating high-quality embroidery designs requires mastering the tools and techniques available in leading software like Hatch and Wilcom. Both platforms offer robust features for transforming simple graphics into professional embroidery, but they differ in approach and complexity. Here, we provide a step-by-step guide to help you leverage each software’s strengths for optimal results.
Using Hatch: Import, Auto-Digitize, and Adjust
Begin by importing your vector files into Hatch. This software allows quick conversion of basic graphics—such as logos or motifs—using its auto-digitize feature. In just 10 minutes, you can convert straightforward designs into stitch-ready formats. After auto-digitizing, manually adjust stitch types, densities, and underlay patterns to enhance the texture and stability of your embroidery. For example, applying a zigzag or tile fill can create textured effects suitable for fabric types like denim or silk. Save your completed designs as templates for future projects to streamline workflow.
Using Wilcom: Advanced Digitizing Techniques
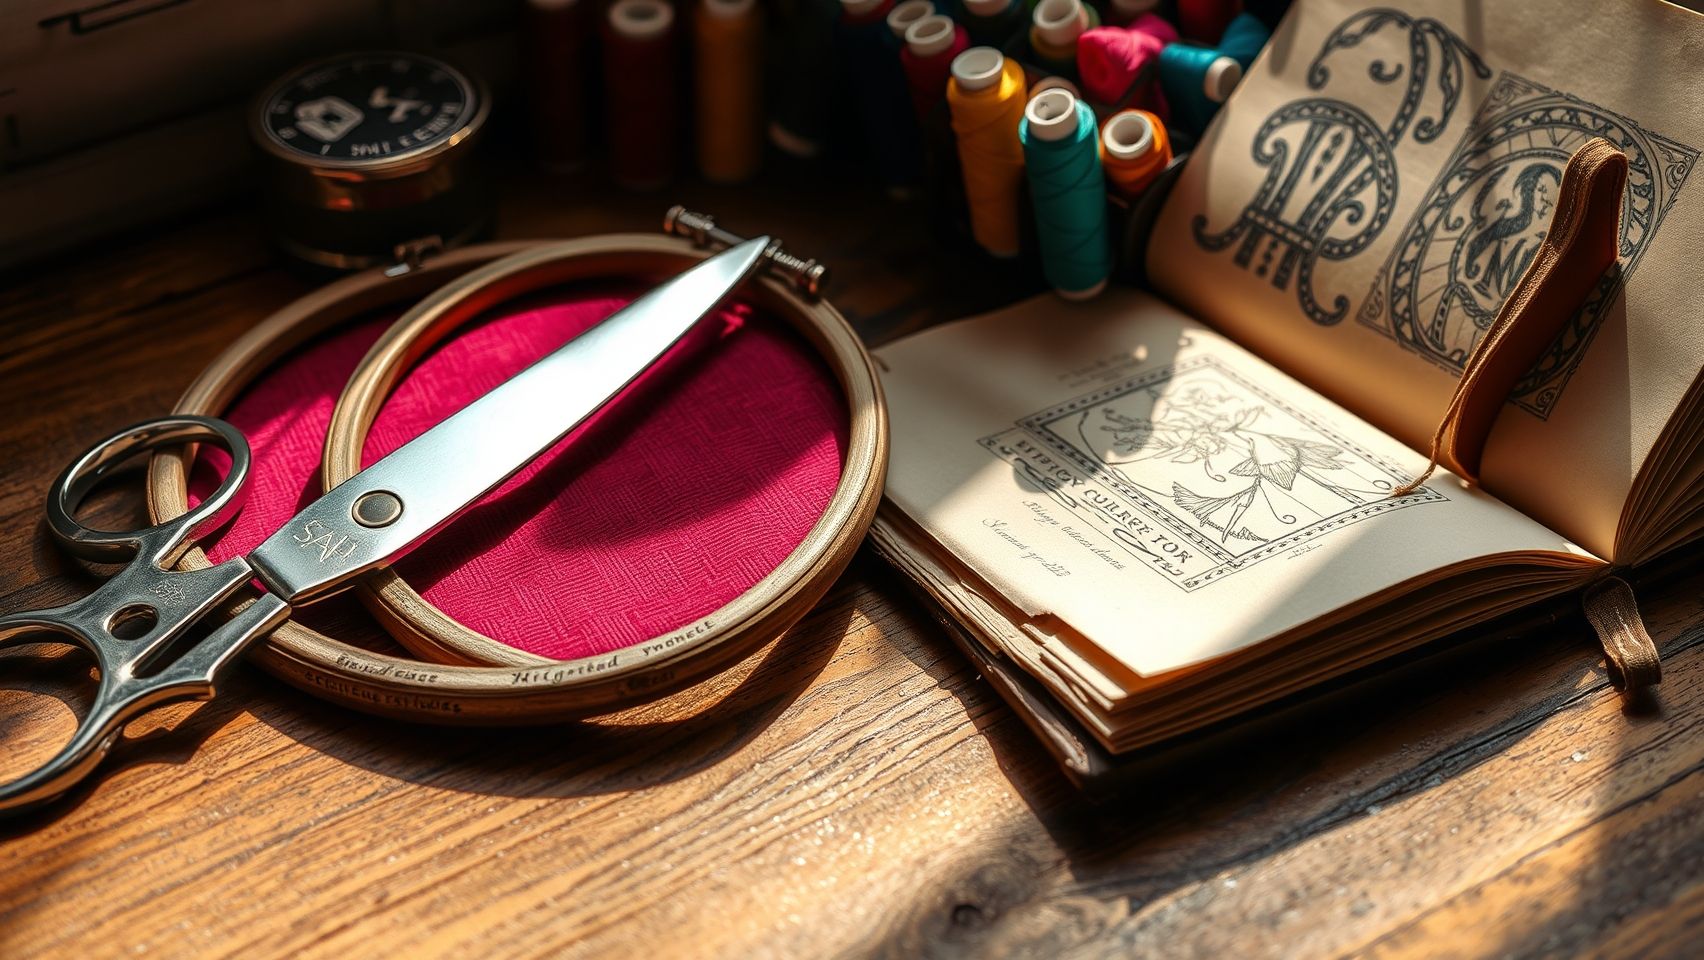
Wilcom excels in detailed digitizing, offering precise control over curves, nodes, and nesting. To craft complex designs like heraldic symbols sourced from digital archives dating back to 1597-1728, utilize curve smoothing and node editing for refined detail. Proper nesting optimizes fabric usage and reduces thread trims, making your workflow more efficient. The embroidery simulation feature in Wilcom helps preview the final appearance, allowing you to make adjustments before actual stitching. This is particularly valuable when working with heritage motifs that demand accuracy and authenticity.
Applying Proper Underlay Techniques
Underlay stitching provides stability and clarity for your design. For textured effects, edge run underlay enhances fabric hold, reducing puckering. Zigzag underlay creates a fluffy surface, ideal for motifs with intricate details, while tile fill underlays work well for larger areas needing texture. Adjust underlay parameters based on fabric type—denim benefits from dense edge run, whereas silk requires minimal underlay to avoid bulk.
Optimizing Stitch Density
Stitch density directly impacts the quality and durability of embroidery. Higher densities are suitable for thick fabrics like denim, preventing gaps, while lower densities are ideal for delicate materials like silk to prevent puckering. Consider design complexity; intricate motifs with fine details need precise density adjustments to prevent thread overlaps and excessive trims. Using the software’s simulation feature helps fine-tune these settings before production.
Utilizing Digital Archives for Authenticity
Access to heritage motifs can elevate your designs, especially when creating historically inspired embroidery. Online digital archives from museums contain motifs dating from 1597-1728, offering griffins, heraldic symbols, and floral patterns. Incorporating authentic motifs enhances the cultural depth of your work and connects modern embroidery with historical artistry.
Testing and Refining Designs
Always run a simulation to preview your embroidery, checking for stitch overlaps and thread trims. Adjust your stitch angles, densities, and underlay as needed to ensure clean, professional results. This step minimizes thread wastage and drastically improves the final appearance, especially for complex or heritage-inspired designs.
Output Quality and Troubleshooting Common Issues
Achieving professional-looking embroidery results requires meticulous attention to detail and proactive troubleshooting. Whether you’re using Hatch or Wilcom, mastering calibration, stabilizer selection, and software settings can significantly improve output quality. Addressing common problems such as puckering, thread breaks, and color bleeding quickly can save time and elevate your finished projects to a high standard.
Calibrating Tension for Crisp, Professional Embroidery
Proper tension calibration is crucial for high-quality embroidery. Perform test stitches with your machine to identify tension issues—loosening or tightening the top and bobbin threads as needed. Experts report that adjusting tension and choosing the right stabilizer based on fabric weight can reduce puckering by up to 50%. Use software features to fine-tune stitch density and ensure even stitching, which prevents puckering and distortion.
Using Proper Stabilizers and Optimizing Stitch Settings
Select the appropriate stabilizer—tear-away, cut-away, or water-soluble—according to fabric type and design density. Heavier stabilizers are ideal for dense motifs, while lighter ones suit delicate fabrics. Additionally, optimize stitch density and direction within your embroidery software to reduce puckering. Properly aligned stitch paths and density settings contribute to smoother, more polished embroidery outcomes.
Troubleshooting Thread Breaks and Color Bleeding
Thread breaks are often caused by low-quality threads, tension spikes, or incorrect re-threading. Always use high-quality, color-fast threads like Sulky or Madeira and re-thread the machine thoroughly. Conduct tests on scrap fabrics before committing to the final design to detect any color bleeding—using color-fast threads and pre-washing fabrics minimizes this risk. Regular maintenance of the machine and adjusting tension settings help prevent ongoing thread break issues.
Conclusion

Choosing between Hatch Embroidery Software and Wilcom ultimately depends on your skill level, project complexity, and budget. Hatch offers an intuitive, beginner-friendly interface with robust design tools that make starting out straightforward and enjoyable. In contrast, Wilcom provides advanced digitizing capabilities suited for professional, large-scale projects requiring meticulous detail and precision.
Both programs can produce high-quality embroidery output, especially when paired with the right setup, accessories, and troubleshooting skills. To make an informed decision, consider trying demo versions or beginning with affordable, entry-level machines if you’re new to embroidery. For seasoned designers or larger projects, investing in a professional setup can enhance your workflow and final results.
- Assess your skill level and comfort with embroidery software.
- Evaluate project complexity to match software features.
- Set a realistic budget for equipment and software.
Take actionable steps today—test demo versions, explore your options, and invest wisely—to bring your embroidery visions to life with confidence. Your perfect setup awaits, so start creating effortlessly and make your projects stand out!
Remember, the right choice is the one that best fits your needs and fuels your passion for embroidery. Happy stitching!
