How to Find Top NYC Embroidery Shops Like Jonathan Embroidery in Garment District
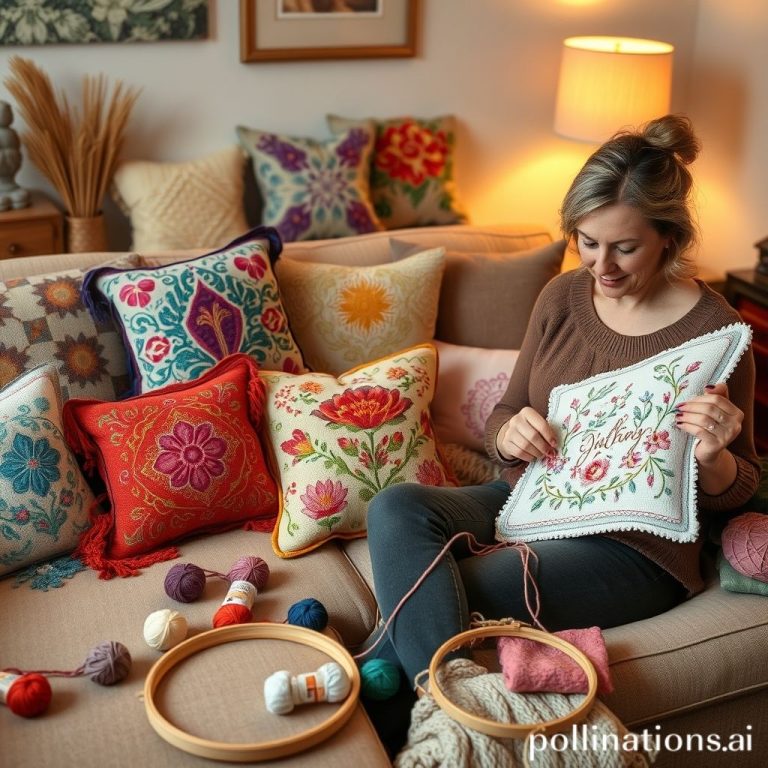
Imagine turning your custom designs into professional-quality embroidered products without the hassle of dealing with minimum orders or long turnaround times. The rise of NYC embroidery shops has made it easier than ever for small businesses and DIY enthusiasts to access top-notch embroidery services right in the heart of the city.
In the bustling Garment District, shops like Jonathan Embroidery stand out for their expertise and unique no-minimum policy, making them a perfect choice for personalized projects. These local experts combine decades of craft experience with the latest embroidery technology, ensuring your designs are realized with precision and care. Want to find the right shop for your needs? We’ll explore top embroidery shops in NYC and share industry insights that will help you make an informed decision. Whether you’re a small business owner or a DIY lover, knowing where to turn for quality embroidery can transform your creative ideas into reality. Continue reading to discover the secrets of choosing the best NYC embroidery shop for your next project.
What the Research Reveals About NYC Embroidery Shops and Heritage Motifs
Embroidery in New York City, especially within the Garment District, is experiencing a resurgence anchored in preserving and reinterpreting heritage motifs. Industry analysis indicates that the commercial embroidery services sector in the US is growing steadily, with revenue reaching approximately $1 billion in 2025 and embroidery machines increasingly sophisticated, with a market size projected to hit $2.3 billion by 2031. This growth reflects a rising consumer interest in authentic, culturally rich embroidery products, emphasizing personalized and heritage-inspired designs.
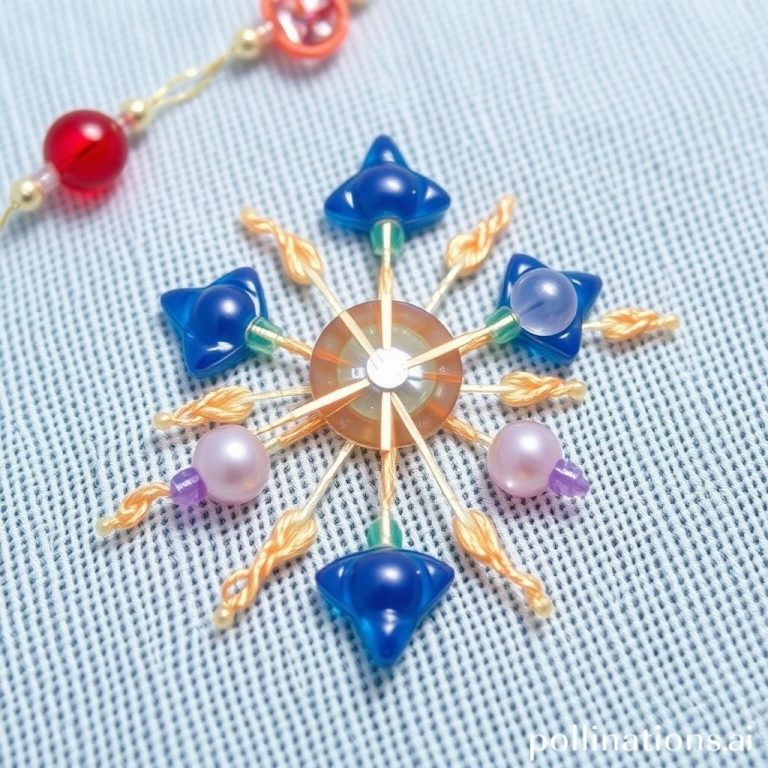
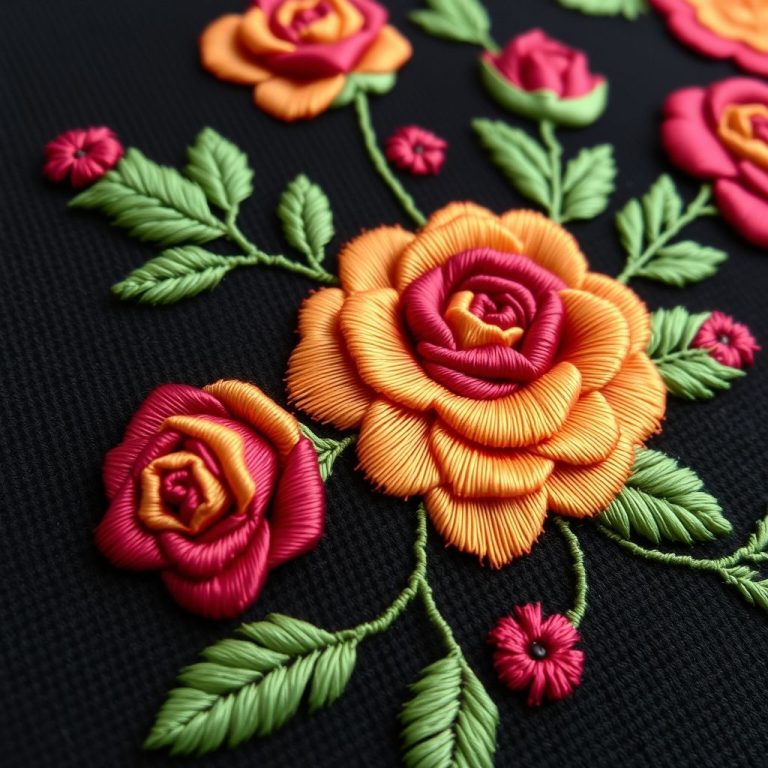
Historically, motifs such as griffins documented from 1597 to 1728, stored at institutions like the Met Museum and Bayerische Staatsbibliothek, exemplify the importance of traditional European embroidery patterns. Contemporary NYC shops routinely reproduce these motifs using digitized scans and detailed annotations, blending heritage with modern technology for accurate reproduction. Such methods facilitate the preservation of detailed motifs while enabling scalable production.
Heritage Motifs and Modern Reproduction Techniques
Heritage motifs, including intricate patterns like griffins and other heraldic symbols, are gaining popularity due to increasing customer demand for culturally authentic products. Embroidery shops utilize advanced digital tools and software to faithfully reproduce these historical designs, ensuring their cultural integrity while allowing for customization. This approach supports a broader market for personalized cultural products rooted in history.
Pricing strategies in small businesses typically range from $1 to $2 per letter, with setup fees between $5-$8, and stitch counts averaging from 50 cents to $1.03 per 1000 stitches. Furthermore, modern innovations like eco-friendly reproduction methods and digital heritage preservation initiatives offer new opportunities for entrepreneurs seeking to appeal to environmentally conscious consumers and those eager to celebrate their cultural heritage.
In addition, the influence of cities like Milwaukee, with growing cultural tourism, inspires contemporary embroidery design, fueling an industry that values tradition while embracing innovation. As demand for heritage motifs continues to grow, NYC embroidery shops are uniquely positioned to lead in this niche market by leveraging historical data, technological advances, and sustainable practices.
Step-by-Step Guide to Preparing Your Design for Embroidery
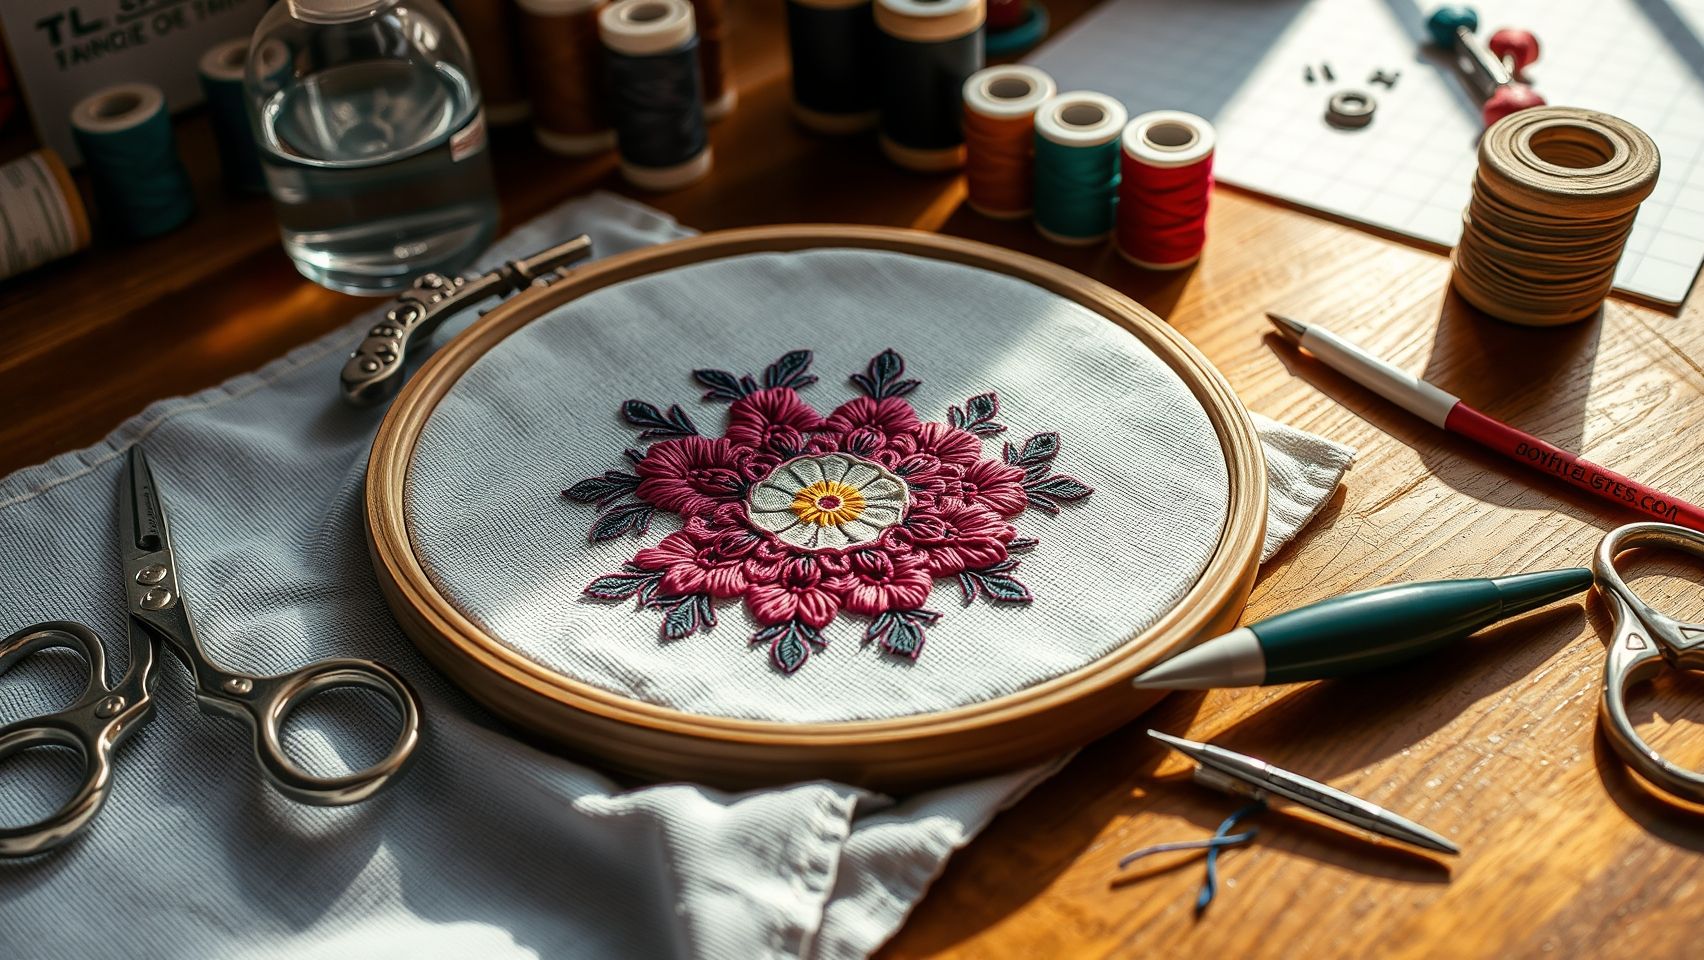
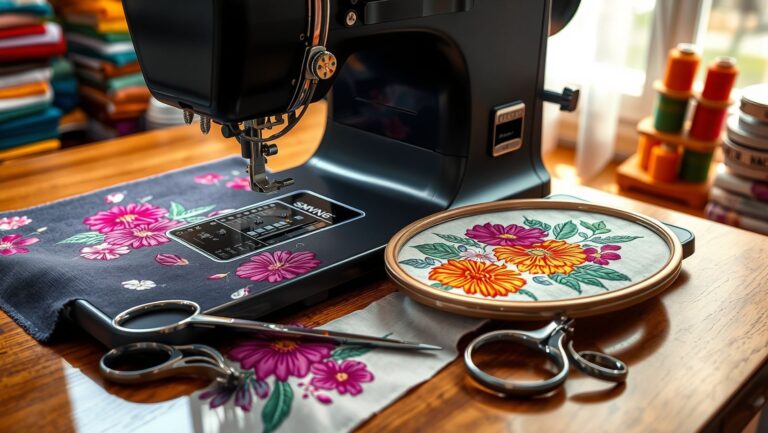
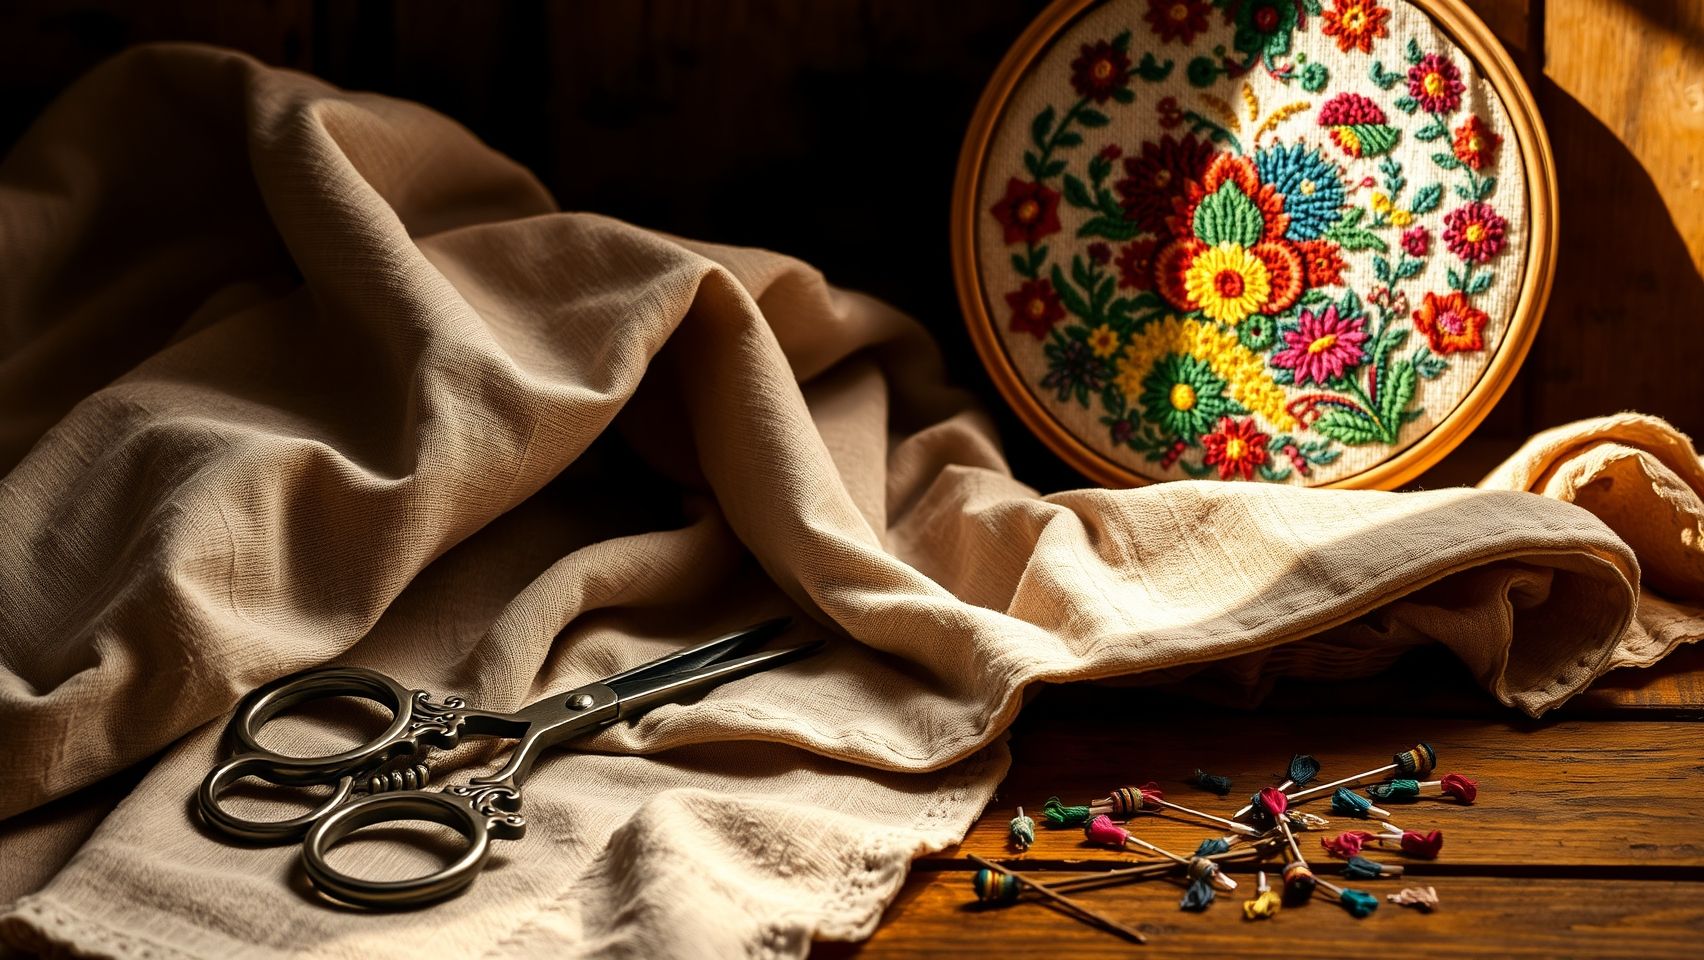
Creating high-quality embroidered pieces begins with meticulous preparation of your heritage motifs. Digitizing these motifs properly ensures they translate accurately from design to fabric, capturing intricate details and vibrant colors. The process involves scanning, cleaning, digitizing, and testing your designs using industry-standard software and techniques, which are essential for professional results in NYC’s competitive embroidery scene like Jonathan Embroidery in the Garment District.
1. Receiving and Scanning Heritage Motifs
Start by scanning your traditional motifs at a high resolution—preferably 300 dpi or higher—to capture all fine details. Use a flatbed scanner for consistent quality. For complex designs, consider multiple scans or using vector tracing techniques post-scan. Once digitized, open your images in editing software like Adobe Photoshop or GIMP to refine and prepare the motif for digitizing process.
2. Cleaning and Preparing the Image
Open your scanned image in a photo editing platform. Remove any background noise, adjust contrast, and enhance lines for clarity. Use tools such as the eraser or magic wand to eliminate unwanted marks or background colors. Correct any distortions to ensure the motif remains true to its heritage roots. Saving the cleaned design as a PNG or TIFF file preserves high quality for import into digitizing software.
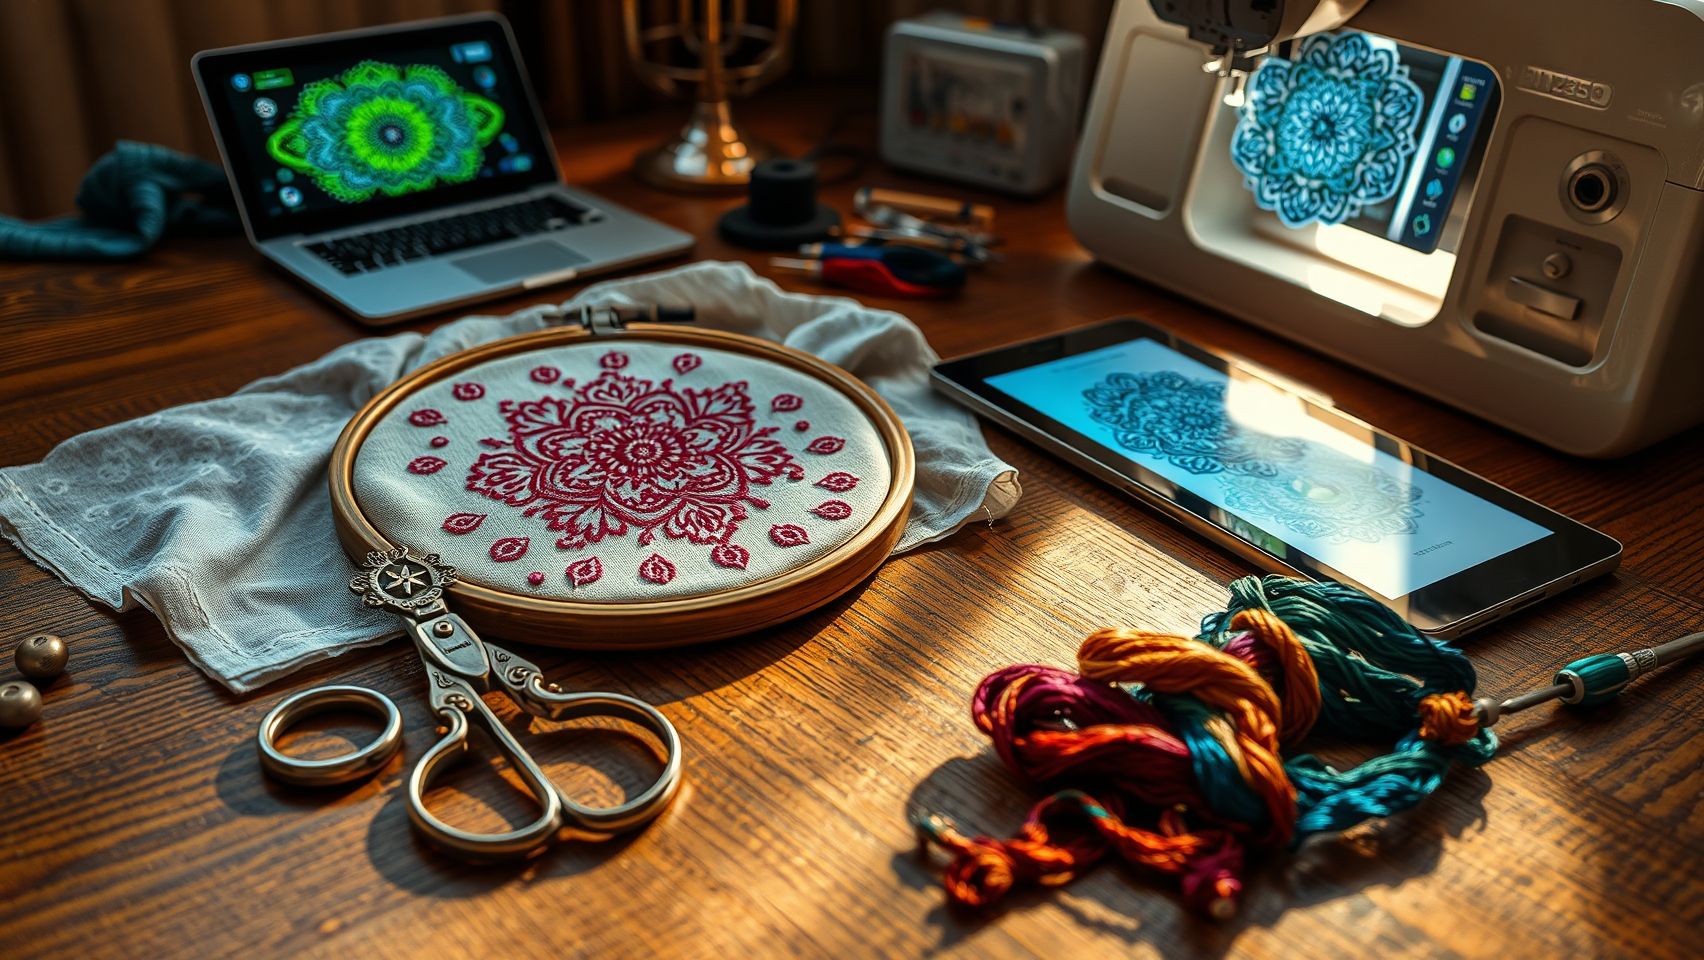
3. Importing and Digitizing in Software
Import the processed image into digitizing software like Wilcom Studio or Hatch Embroidery Software. These programs allow you to trace the motifs with precision. Use styles such as the digitizer’s pen or auto-trace features to define outlines and areas. Pay close attention to artwork details, ensuring accuracy in curves and corners, essential for heritage motifs with intricate patterns.
4. Assigning Stitch Types and Setting Densities
Once traced, assign appropriate stitch types—satin stitches for outlines, fill stitches for backgrounds, and run stitches for accent lines. Adjust stitch density based on fabric type and thread thickness; typically, lighter fabrics require lower density levels. Modern software offers preset profiles, but fine-tuning allows for better clarity and durability, especially for detailed motifs.
5. Color Palette and Thread Selection
Create a layered color palette within your software, matching thread options available at your NYC embroidery shop. This ensures color accuracy and seamless thread changes during stitching. Save the design in machine-compatible formats such as DST, PES, or EMB, as each machine has specific file requirements for high fidelity reproduction.
6. Testing and Final Adjustments
Perform test stitches on scrap fabric that closely mimics your final material. Check for stitch tension, density, and clarity of all motifs. Adjust stitch length, density, or color stops as needed. Continually refine your digital file before executing the final stitchout, ensuring your heritage motifs are embroidered with precision and elegance.
Tools, Equipment, and Supplies for Heritage-Inspired Embroidery
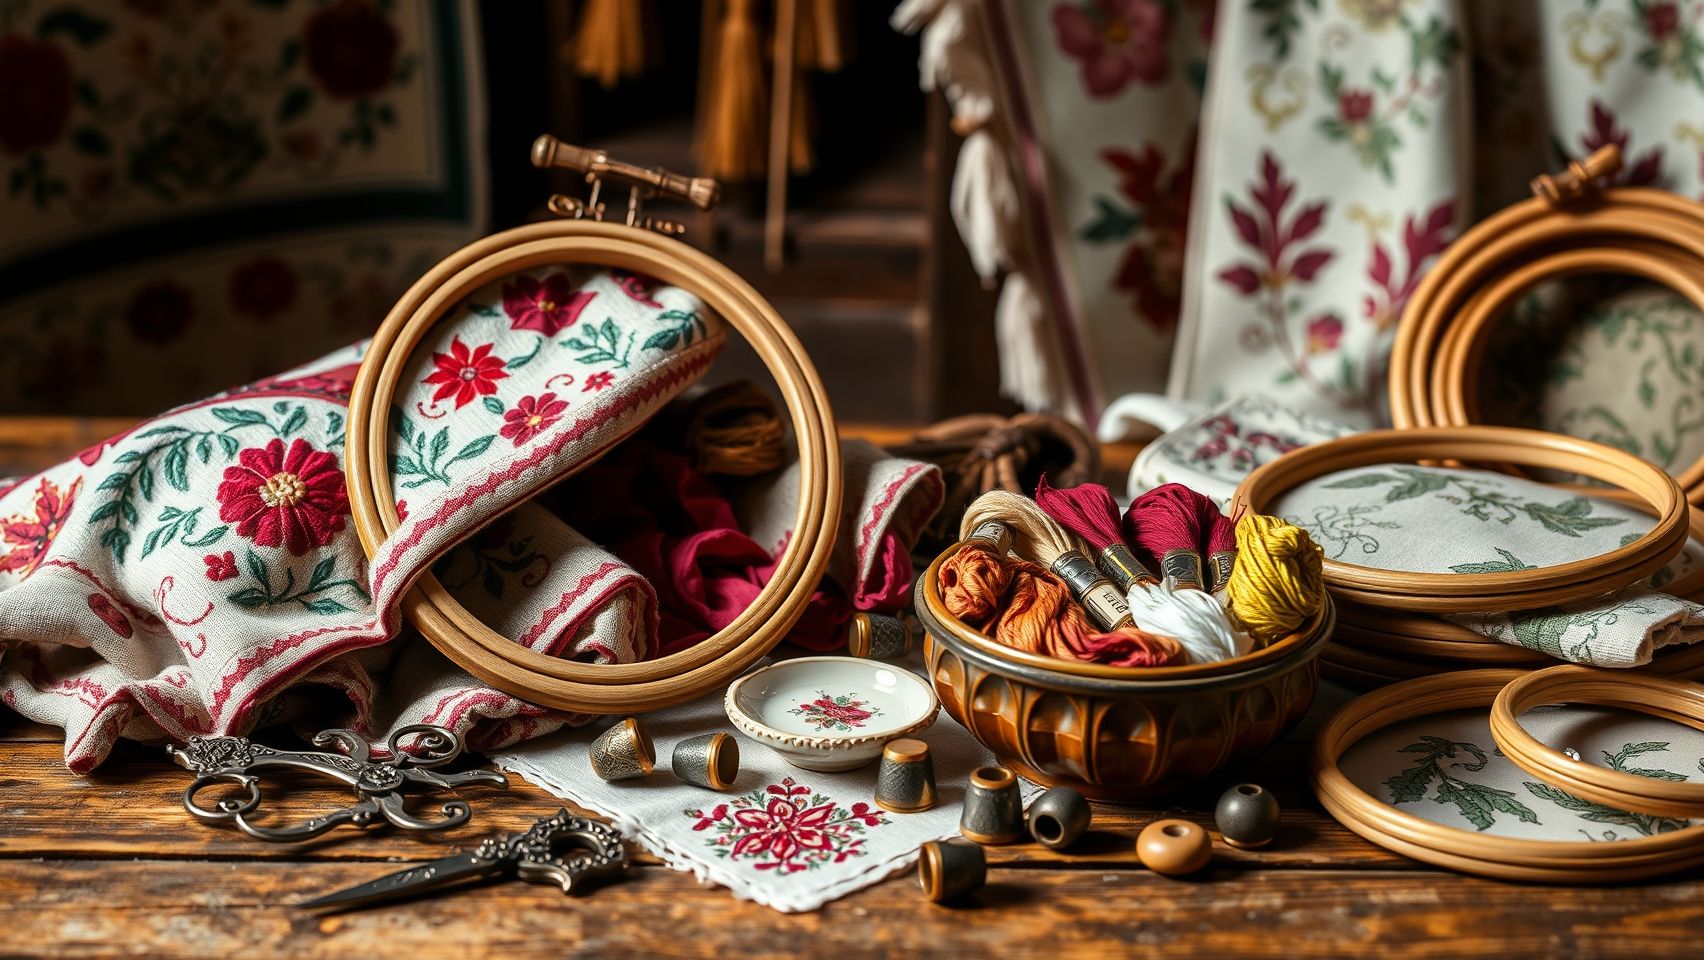
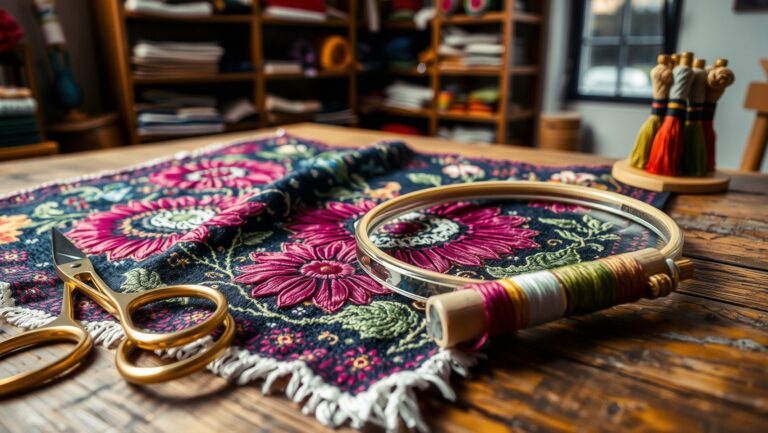
Reproducing traditional motifs with an authentic, heritage-inspired touch requires the right combination of advanced embroidery machines, durable threads, suitable hoops, and specialized accessories. Ensuring precision and quality at each step enhances the overall outcome of classic designs, making the selection of tools critical for craftsmen and professionals alike.
Modern embroidery machines like the Brother SE1900, Janome Memory Craft 400E, and Bernina 700 series offer automation and design capabilities tailored for detailed heritage motifs. The Brother SE1900, priced around $800, features automatic thread trimming, a large color touchscreen, and over 200 built-in designs, which is excellent for reproducing complex traditional patterns. The Janome Memory Craft 400E, costing approximately $1,200, provides a 7.9-inch embroidery area and advanced digitizing options, ideal for larger motifs. The Bernina 700 series incorporates automation with features like automatic tension control and precise embroidery stitching, enhancing accuracy when translating intricate historical designs.
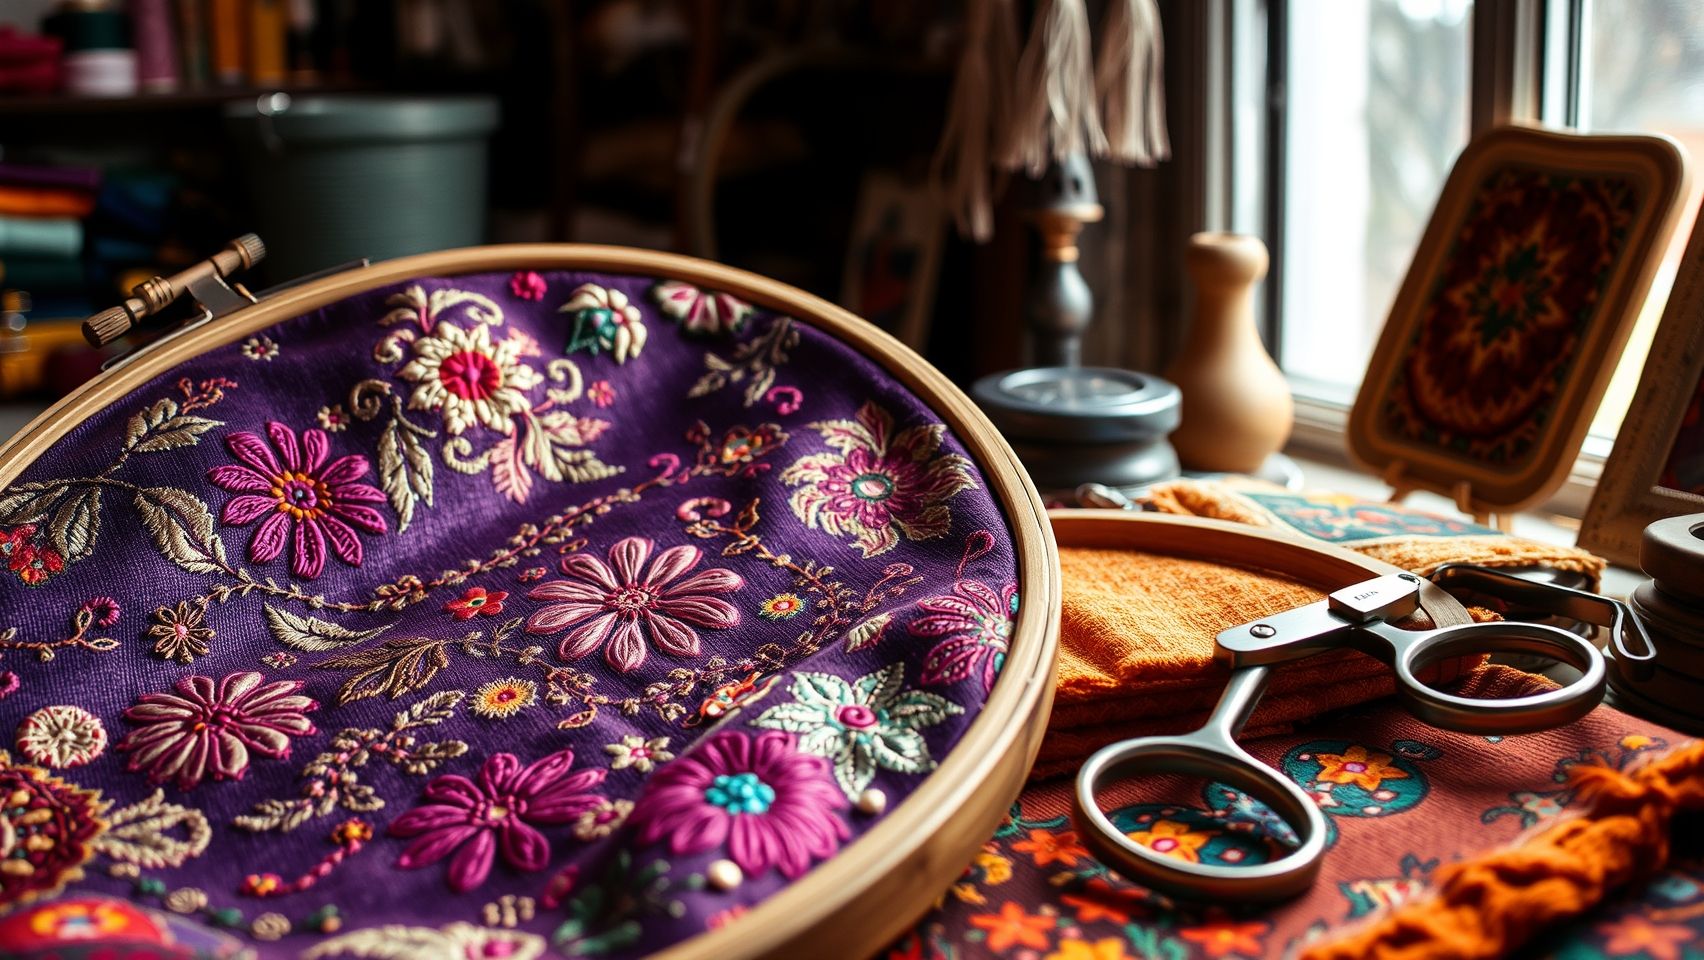
Fabric, Threads, and Hoops for Heritage Motifs
High-quality embroidery threads such as Madeira Polyneon or Sulky Rayon are recommended for their durability and vibrant color palette, which can match or evoke historical motifs effectively. To maintain stability and precision, heavy-duty hoops up to 12 inches square are essential, especially for large, detailed patterns. Using the right stabilizer, whether tear-away or cut-away, provides additional support, preventing puckering and distortions during stitching. Accessories like spray adhesives and digitizing pens simplify setup and fine-tuning of the designs.
Setup and Troubleshooting for Optimal Results
Proper assembly starts with aligning the fabric correctly within the hoop, choosing the appropriate stabilizer based on the fabric type, and calibrating the machine for thread tension accuracy. Regular maintenance, such as cleaning lint from the bobbin area and ensuring the tension settings are precise, minimizes common issues like thread breakage and puckering. If problems persist, adjusting tension settings or switching to higher-quality threads can significantly improve stitch quality and design accuracy.
Modern software options like Wilcom Embroidery Studio and Hatch facilitate digitizing and customizing motifs, making traditional pattern replication more accessible and precise. Incorporating the right tools and troubleshooting techniques ensures heritage-inspired embroidery projects are both authentic and professionally finished, capturing the cultural essence embedded in traditional designs.
Comparing Embroidery Equipment and Software Options for Heritage Designs
Choosing the right embroidery machine and software is crucial for accurately reproducing intricate heritage motifs, especially for specialized shops like Jonathan Embroidery in NYC’s Garment District. The market offers a broad spectrum of options, from high-end industrial models to user-friendly software. This comparison analyzes three prominent embroidery machines—Brother SE1900, Janome Memory Craft 400E, and Bernina 700 series—along with two leading digitizing software solutions—Wilcom Studio and Hatch Software. By examining their features, costs, and suitability, we aim to assist professionals in making informed decisions tailored to heritage design reproduction needs.
Machine and Software Feature Comparison
The Brother SE1900 is priced around $800 and offers a broad selection of stitches and automatic features suitable for beginners and small batch reproductions. It excels with versatile embroidery options, but limited advanced digitizing tools may constrain complex heritage motifs. The Janome Memory Craft 400E, costing approximately $1,200, provides greater precision, compatible larger hoops, and better editing features, making it more suitable for reproducing detailed patterns. The top-tier Bernina 700 series, at around $2,500, delivers sophisticated stitch control, automatic thread trimming, extensive editing and digitizing capabilities, ideal for large-scale heritage projects.
Pricing and Value Analysis
Software Capabilities and Compatibility
For heritage motif reproduction, high-quality digitizing software is essential. Wilcom Studio, at around $1,700, provides advanced automatic digitizing, extensive editing tools, and compatibility with complex embroidery files, making it an excellent choice for detailed reproductions. Conversely, Hatch Software, priced at approximately $600, offers an intuitive interface with essential digitizing features, ideal for beginners and small shops. The advanced features of Wilcom enable precise reproduction of intricate heritage designs, while Hatch provides sufficient capabilities for less complex projects, offering a balanced cost-benefit for small batch reproductions.
Performance Metrics and Practical Considerations
The performance of embroidery equipment is measured by stitch speed, accuracy with complex motifs, and compatibility with heritage scan files. The Bernina 700 series boasts the fastest stitch speeds and superior accuracy, making it suitable for detailed motifs that require high precision. Both software options support automatic digitizing and detailed editing, significantly streamlining the workflow. Ultimately, for small batch reproductions, mid-tier models with good editing and digitizing features may offer the best balance of quality and affordability, enabling shops like Jonathan Embroidery to efficiently produce authentic heritage designs without excessive investment.
Practical Tips to Master Embroidery Stitching and Reproduce Heritage Motifs
Creating intricate heritage motifs requires not only an eye for design but also technical precision. Achieving high-fidelity embroidery involves mastering various stitching techniques, tension control, and finishing touches to ensure your work looks professional and durable. Whether you’re replicating traditional patterns or developing your own designs, these actionable tips will elevate your embroidery skills and help you produce stunning, accurate results.
Controlling Thread Tension for Perfect Stitching
Setting the correct tension is critical to prevent puckering and uneven stitches. Most modern embroidery machines allow tension adjustments—start by testing on scrap fabric to find a balanced setting where stitches are smooth, not too tight or loose. Consistent tension ensures clean outlines and uniform fill areas, vital for reproducing detailed motifs. Regularly calibrate your machine tension, especially when switching thread types or fabrics, to maintain high-quality stitching.
Using Stabilizers Effectively
Stabilizers provide essential support to delicate or complex motifs. For light fabrics, tear-away stabilizers are suitable as they can be easily removed after stitching without damaging the design. Heavier fabrics or designs with dense fill sections benefit from cut-away stabilizers for added stability. Proper stabilizer choice minimizes shifting, distortion, and thread breakage, making intricate heritage motifs easier to execute with high fidelity.
Practicing Essential Stitches and Shading Techniques
Develop proficiency in key stitches such as satin stitch for clean outlines, fill stitch for backgrounds, and seed stitch for textured details. Vary stitch length to create shading effects, mimicking the nuanced color transitions found in traditional motifs. Practice on practice swatches before working on your final piece to refine your control over stitch density and tension, ensuring your motifs replicate the authentic heritage look.
Aligning Motif Elements with Guidelines
Accurate placement of design elements is foundational to complex embroidery. Use pre-marked guidelines, temporary basting stitches, or transfer patterns to align motifs precisely. This step prevents misplacement and ensures symmetry, especially when reproducing heritage patterns that often rely on geometric accuracy. Regularly check alignment during stitching to maintain consistency across the entire design.
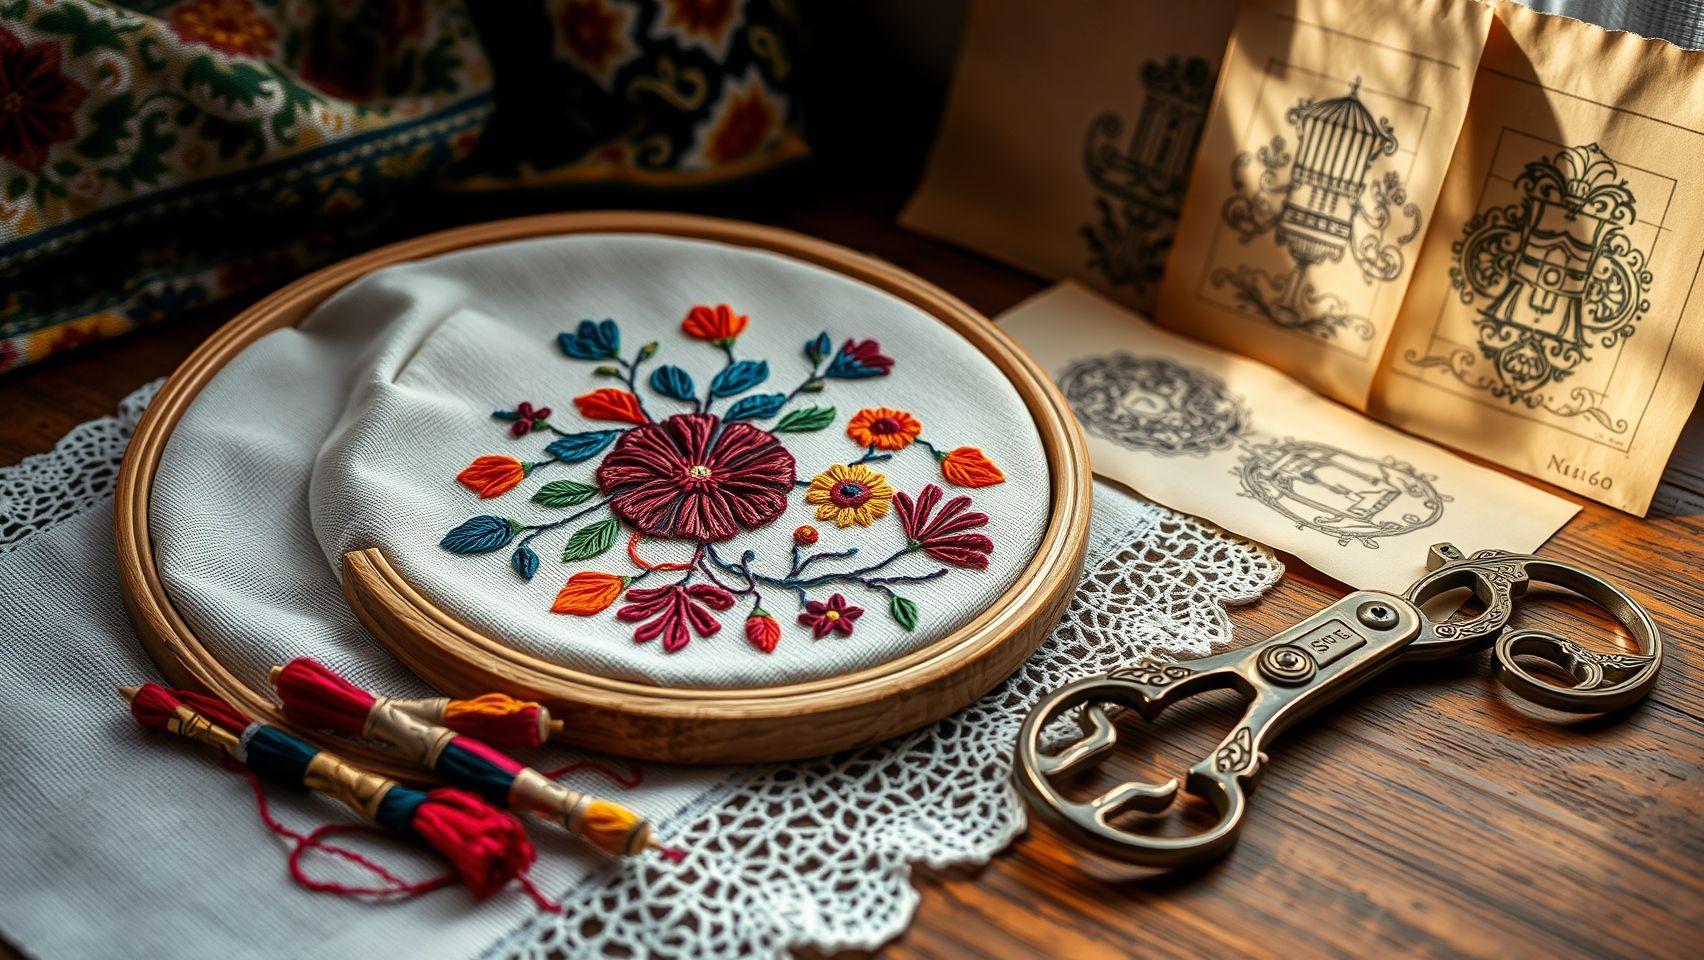
Finishing Touches for a Professional Look
Finish edges with underlay stitches to stabilize the perimeter and prevent fraying. Trim excess stabilizer neatly to avoid distortion of the design. Employ layering techniques and subtle color blending to simulate shading and depth, capturing the essence of traditional motifs. Lastly, inspect your embroidery for loose threads or uneven areas, and make necessary touch-ups to achieve a polished, authentic appearance. These finishing touches are key to reproducing intricate heritage designs with high fidelity.
Conclusion
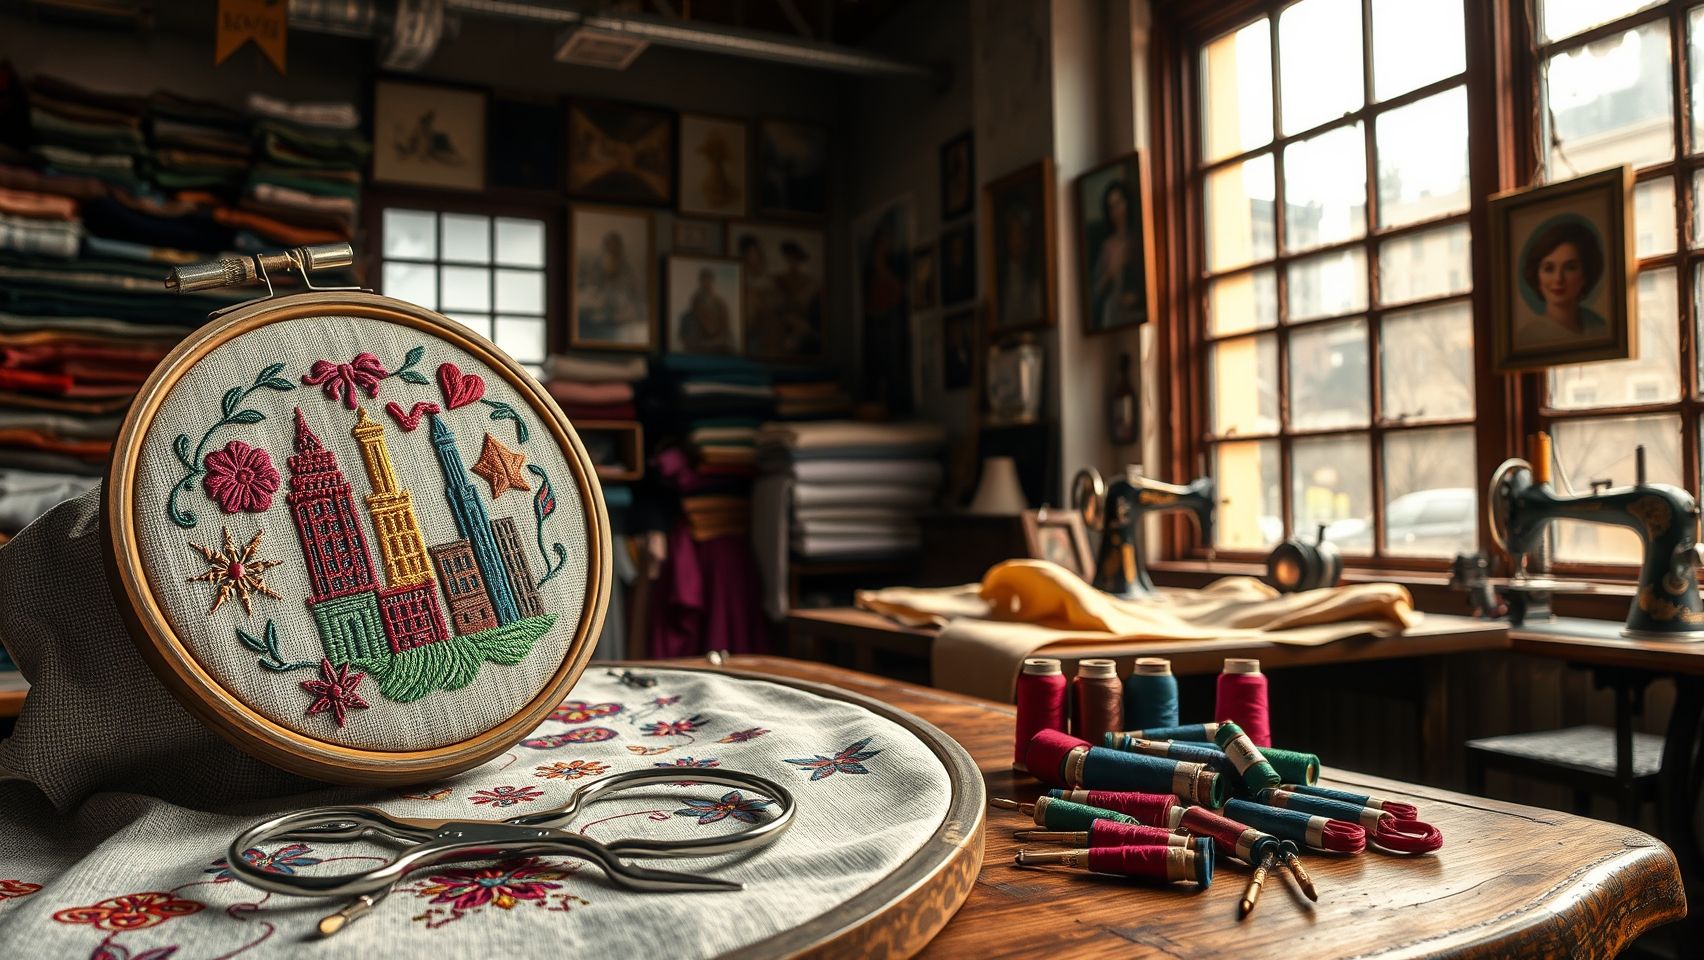
Embarking on your embroidery journey in NYC’s Garment District opens up a world of opportunity, especially when you know where to find top-quality shops like Jonathan Embroidery. By understanding the core concepts of heritage design reproduction, selecting the right equipment, preparing your digital files, and honing your stitching techniques, you can create authentic, professional-looking embroidery pieces that truly stand out. The district offers numerous shops with no-minimum orders, making it accessible whether you’re a passionate hobbyist or a small business owner.
Now is the perfect time to visit Jonathan Embroidery at 256 W 38th St or explore other local suppliers. Start experimenting with digitizing software, invest in quality tools, and practice your stitching skills—results will follow with dedication. Don’t let hesitation hold you back; each stitch brings you closer to achieving your creative vision.
Take action today and turn your embroidery ideas into reality. The vibrant NYC Garment District awaits your unique projects—dive in and make your mark with heritage-inspired designs!
12 Skeins Embroidery Floss White Color, Friendship Bracelet String Cross Stitch Embroidery Thread Floss Bracelet Making Yarn, Craft Floss(White)
$3.99 (as of June 21, 2025 07:58 GMT -04:00 - More infoProduct prices and availability are accurate as of the date/time indicated and are subject to change. Any price and availability information displayed on [relevant Amazon Site(s), as applicable] at the time of purchase will apply to the purchase of this product.)
Eoehro 72pcs Sewing Thread kit, 36 Colors Sewing Machine Threads, Prewound Bobbins Sewing Threads Kit, Sewing Machine Thread Assortment, 400 Yards per Spools Polyester Thread
$17.89 (as of June 21, 2025 07:58 GMT -04:00 - More infoProduct prices and availability are accurate as of the date/time indicated and are subject to change. Any price and availability information displayed on [relevant Amazon Site(s), as applicable] at the time of purchase will apply to the purchase of this product.)
New brothread 80 Spools 500m Each Embroidery Machine Thread with Clear Plastic Storage Box - Colors Compatible with Janome and Robison-Anton Colors
$47.59 (as of June 21, 2025 05:31 GMT -04:00 - More infoProduct prices and availability are accurate as of the date/time indicated and are subject to change. Any price and availability information displayed on [relevant Amazon Site(s), as applicable] at the time of purchase will apply to the purchase of this product.)
Simthread 144 Prewound Bobbin Thread Size L 60WT (SA155) for Husqvarna Viking pfaff Creative Vision Embroidery Machines Plastic Side - White
$24.99 (as of June 21, 2025 05:31 GMT -04:00 - More infoProduct prices and availability are accurate as of the date/time indicated and are subject to change. Any price and availability information displayed on [relevant Amazon Site(s), as applicable] at the time of purchase will apply to the purchase of this product.)
Friendship Bracelet String 12 Skeins, Embroidery Floss Cross Stitch Embroidery Thread Floss Bracelet Making Yarn, Craft Floss (Green Series)
$3.99 (as of June 21, 2025 07:58 GMT -04:00 - More infoProduct prices and availability are accurate as of the date/time indicated and are subject to change. Any price and availability information displayed on [relevant Amazon Site(s), as applicable] at the time of purchase will apply to the purchase of this product.)
Brother PE535 Embroidery Machine, 80 Built-in Designs, 4" x 4" Hoop Area, Large 3.2" LCD Touchscreen, USB Port, 9 Font Styles
$459.00 (as of June 20, 2025 13:06 GMT -04:00 - More infoProduct prices and availability are accurate as of the date/time indicated and are subject to change. Any price and availability information displayed on [relevant Amazon Site(s), as applicable] at the time of purchase will apply to the purchase of this product.)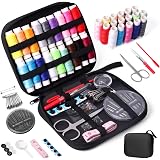
JUNING Sewing Kit with Case Portable Sewing Supplies for Home Traveler, Adults, Beginner, Emergency, Contains Thread, Scissors, Needles,Measuring Tape
$5.69 (as of June 21, 2025 11:03 GMT -04:00 - More infoProduct prices and availability are accurate as of the date/time indicated and are subject to change. Any price and availability information displayed on [relevant Amazon Site(s), as applicable] at the time of purchase will apply to the purchase of this product.)
Smartstitch S-1501 Commercial Embroidery Machine with 15 Needles,14"x20" Embroidery Area,1200SPM Max Speed,12" Touch Screen, capable of embroidering on 3D Caps, Flat, T-shirt and more
$5,499.00 (as of June 20, 2025 13:06 GMT -04:00 - More infoProduct prices and availability are accurate as of the date/time indicated and are subject to change. Any price and availability information displayed on [relevant Amazon Site(s), as applicable] at the time of purchase will apply to the purchase of this product.)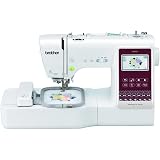
Brother SE725 Computerized Sewing and Embroidery Machine with 4 x 4 -inch Embroidery Area and Artspira App (Renewed)
$429.95 (as of June 20, 2025 13:06 GMT -04:00 - More infoProduct prices and availability are accurate as of the date/time indicated and are subject to change. Any price and availability information displayed on [relevant Amazon Site(s), as applicable] at the time of purchase will apply to the purchase of this product.)