How to Ensure Embroidery File Compatibility for Smooth Projects
Are you struggling with incompatible embroidery files causing delays and frustration? You’re not alone. Many embroidery enthusiasts and professionals face compatibility issues, whether they’re using home machines or industrial setups. The problem often boils down to selecting the right file formats—such as DST, PES, or EXP—that are compatible with your specific machine and software. Mismatched formats can lead to missing stitches, design errors, or even machine errors, wasting time and resources. Fortunately, understanding common industry standards and mastering conversion techniques can greatly streamline your workflow and ensure your designs come out perfectly every time. From choosing the right format initially to using reliable software tools for conversion, there are practical solutions that empower you to work confidently on any project. If you want to avoid frustration and produce professional-looking embroidery, it’s crucial to grasp these compatibility essentials. Keep reading to discover how you can seamlessly navigate the world of embroidery file formats and keep your creative projects running smoothly. To get started, exploring popular tools like conversion strategies and software options will give you the edge you need.
What the Research Tells Us About Embroidery File Compatibility
Embroidery projects heavily depend on choosing the right file formats to ensure smooth operation across different machines and software. Compatibility influences not only the ease of workflow but also the quality of the final product. Recent industry data highlights evolving preferences, emphasizing the importance of versatile formats and digital integration for professional results.
Popular Embroidery File Formats and Market Trends
Leading brands such as Brother, Bernina, Janome, and Singer predominantly support specific formats: DST, PES, JEF, VIP, and EXP. Among these, DST remains the most widely supported due to its universal compatibility, supporting a broad range of machines and software platforms. PES caters primarily to Brother and Babylock machines, while JEF is favored by Janome. VIP and EXP formats are popular with Pfaff and Melco machines, respectively. Industry research shows that about 40% of users prefer formats that are easily convertible or universally compatible, enabling more flexible workflows and mitigating device limitations.
Importance of Compatibility for Quality and Efficiency
Flexibility in format choice enhances sustainability and supports hybrid projects, which combine digital and traditional techniques. Approximately 65% of creators prioritize format adaptability, ensuring designs can be transferred seamlessly between machines and software. The format’s technical specifications, such as stitch density and detail preservation, directly impact embroidery quality. Incompatible files can cause common issues like design distortion, software errors, or lost intricate details, affecting both efficiency and craftsmanship. Moreover, as digital platforms become more integrated into embroidery workflows, cross-device compatibility has gained increasing significance, enabling highlights such as cloud storage, online editing, and remote design sharing.
Step-by-Step: Converting Embroidery Files for Machine Compatibility
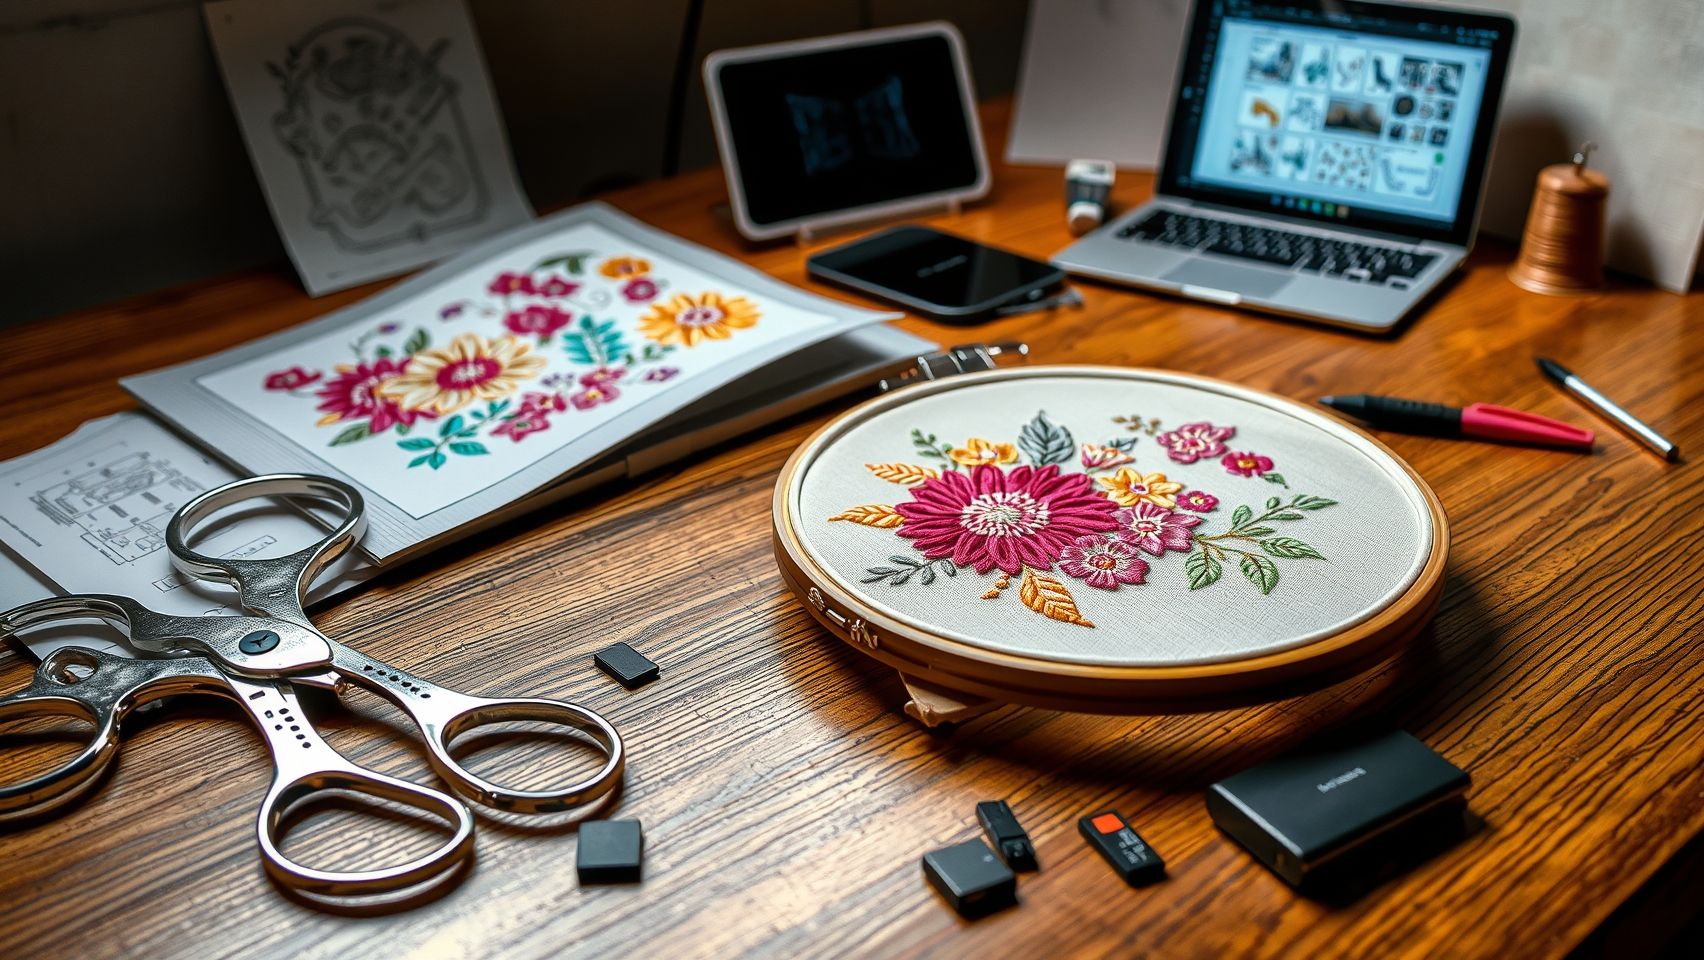
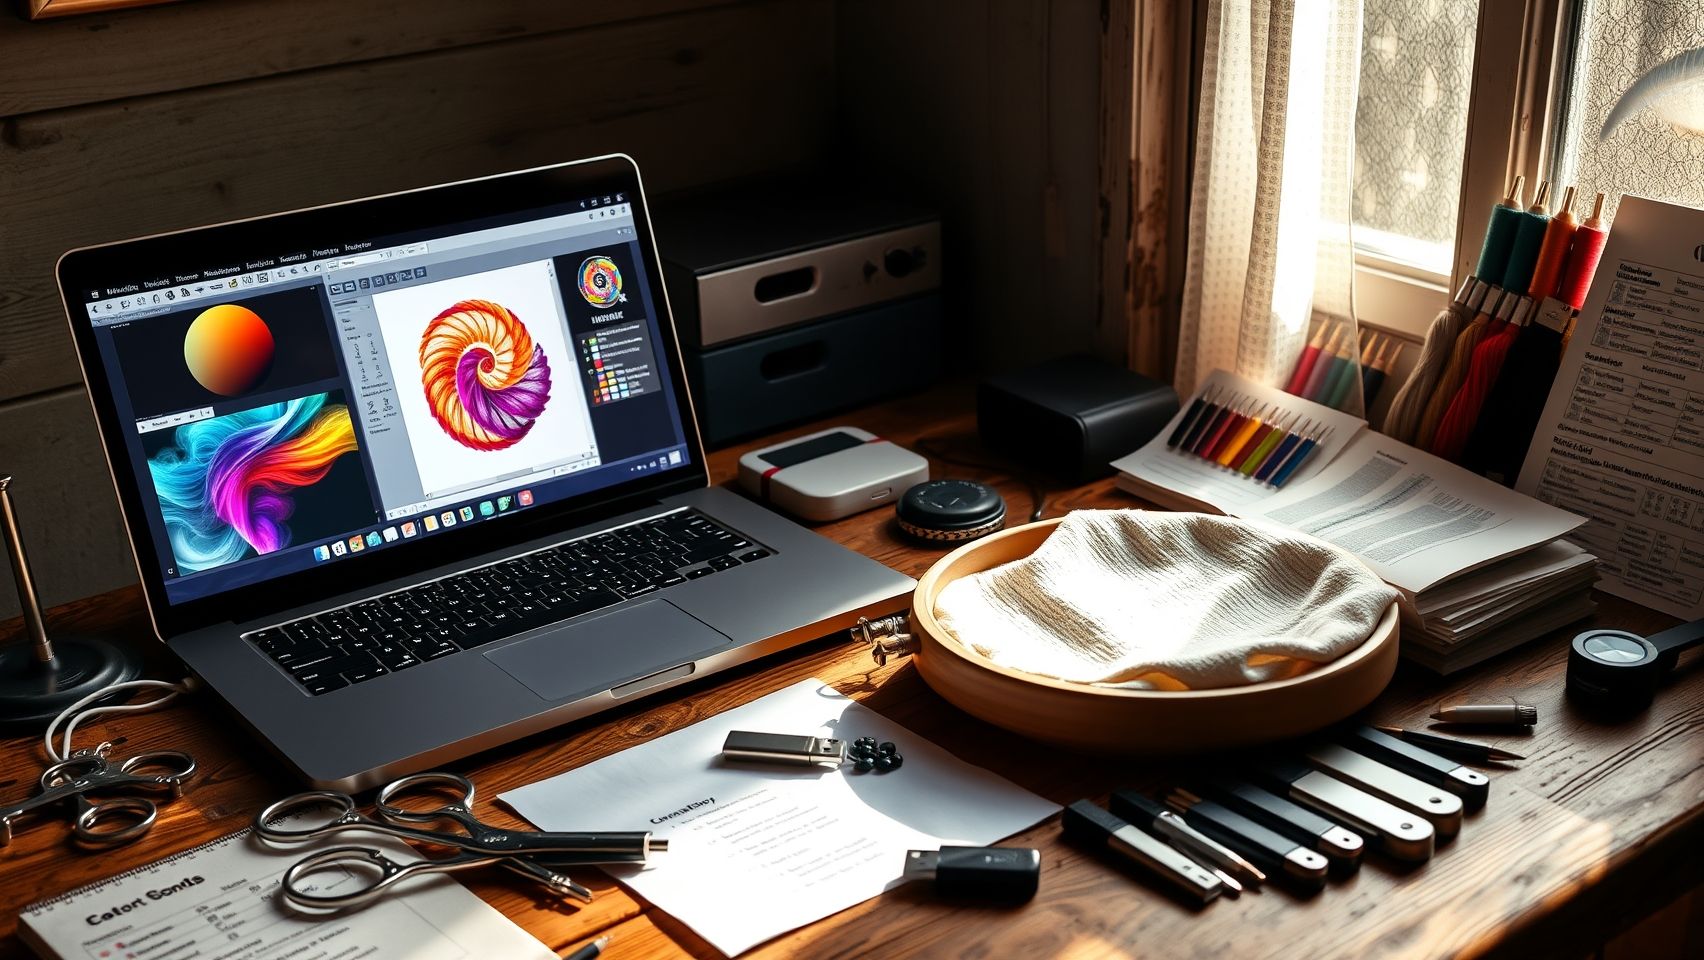
Ensuring your embroidery designs are compatible with your specific machine is crucial for achieving smooth, professional results. Converting files from one format to another allows you to utilize designs created on different software or sourced from various designers. This process, when done correctly, preserves design quality and prevents issues like distortion or data loss.
In this tutorial, we’ll walk you through a reliable, step-by-step method to convert embroidery files using popular software tools. By following these instructions, you’ll be able to confidently prepare your designs for any compatible embroidery machine.
Importing a Design File into Conversion Software
Begin by selecting your preferred software tool, such as Wilcom TrueSizer (free), Hatch Embroidery Software (paid), or Bernina ArtLink (free). Open the software and follow these steps:
- Click on ‘File’ > ‘Open’ and locate your original design file (e.g., PES, DST, JEF).
- Select the file and click ‘Open’ to import it into the software interface.
- Inspect the design for any obvious issues or missing details before proceeding.
Exporting and Adjusting Design for Compatibility
Once the design is imported, follow these steps to convert and optimize it for your machine:
- Navigate to ‘File’ > ‘Save As’ or ‘Export’ depending on your software.
- Choose the target format compatible with your machine, such as DST, JEF, or PES.
- Prior to saving, access the ‘Settings’ or ‘Options’ menu to adjust parameters:
- **Stitch Density:** Lower density for dense designs to prevent thread breakage.
- **Design Size:** Resize the design if necessary, maintaining proportions to avoid distortion.
- Click ‘Save’ or ‘Export’ to generate the new file.
Conversion typically takes about 5-10 minutes per design depending on complexity. Lastly, always verify the converted file on your embroidery machine by stitching a test sample. This step helps identify any quality issues or misalignments before starting your final project.
Tips for Troubleshooting Common Conversion Issues
If you experience design corruption or loss of details during conversion, consider the following:
- Ensure the original file is not corrupted before importing.
- Use the latest version of your software to access updated features and bug fixes.
- Adjust stitch density and size carefully to maintain design integrity.
- If problems persist, try converting on a different software platform or consult the software’s support resources.
Always perform a test stitch after conversion, as this is the most reliable way to confirm your design’s compatibility and quality. Updating your software regularly and familiarizing yourself with your embroidery machine’s specifications will further streamline this process and enhance your success with every project.
Tools & Equipment for Managing Embroidery File Compatibility
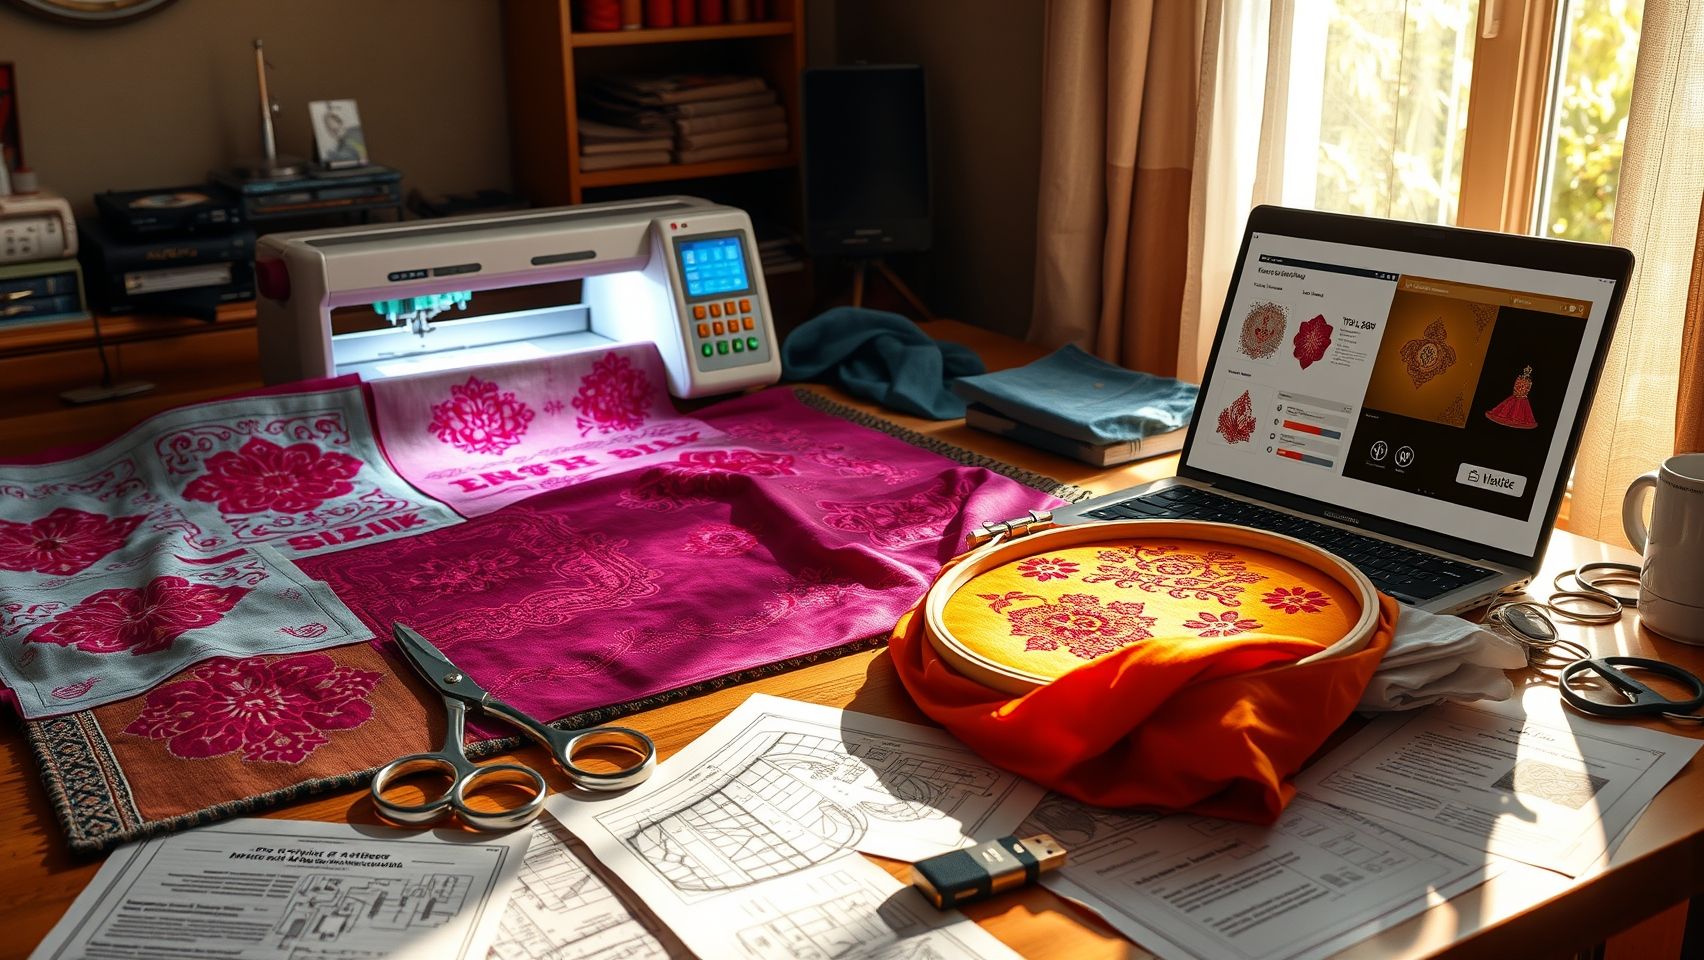
Ensuring smooth embroidery projects often hinges on the right combination of hardware and software tools that can handle multiple file formats, facilitate conversions, and streamline design management. The latest embroidery machines and accessories are increasingly designed to support diverse formats, making your workflow more flexible and efficient.
Choosing the appropriate equipment and setup ensures seamless transfer, accurate color matching, and high-quality stitch outcomes. From advanced embroidery machines supporting numerous formats to reliable conversion software and versatile storage solutions, the right tools form the backbone of a successful embroidery operation.
Top Embroidery Machines Supporting Multiple Formats
Modern embroidery machines like the Brother PE800 (~$900), Janome Memory Craft 500E (~$1,200), and Bernina B580 (~$2,500) are equipped with built-in format converters, allowing compatibility with a broad range of design files. These machines facilitate easy imports of designs from various software platforms, reducing time spent on manual conversions.
The Brother PE800 offers support for PES and BX formats and includes USB ports for straightforward design transfer. Janome MC500E supports DST, PES, and JEF formats, while Bernina B580 features advanced Wi-Fi modules for wireless design sharing and maintains excellent stitch quality across formats. These features significantly enhance flexibility in managing design libraries and executing complex projects efficiently.
Software Options for File Conversion
Effective file management often requires dedicated software tools. Wilcom TrueSizer (free) provides essential conversion capabilities, enabling embroiderers to convert designs between formats such as DST, PES, and EXP effortlessly. Hatch Embroidery (starting at $300) offers advanced editing and batch conversion features, ideal for professionals managing large libraries.
Bernina ArtLink is another free option, primarily supporting Bernina-specific formats but also compatible with common formats like PES and ART. These tools simplify the process of ensuring your designs are compatible with various equipment, reducing errors and saving time during project setup.
Accessories Facilitating Easy Transfer
Accessories such as USB 3.0 drives, SD cards, and Wi-Fi enabled modules are essential for quick and reliable design transfer between devices. High-capacity USB drives allow storing extensive design libraries and can be easily plugged into compatible machines. Wi-Fi modules enable seamless wireless transfer, eliminating the need for physical media and enhancing workflow efficiency.
Cloud storage solutions like Dropbox or Google Drive further simplify file sharing across multiple devices and locations. By organizing design files in the cloud, embroiderers can access their designs from any compatible device, ensuring continuous productivity and effective version control.
Recommended Setup Steps
For optimal results, start by installing the latest compatible software to ensure support for current formats. Organize your design libraries systematically, categorizing files by format, project, or client for quick access. Always create backup copies of original files before conversion, testing each design after conversion to verify stitch quality and color fidelity. Proper calibration of stabilizers and thread testers post-conversion also helps maintain the best stitch results and project durability.
Frequently Asked Questions About Embroidery File Compatibility
Ensuring your embroidery files are compatible with your machine and software is crucial for smooth project execution. Many beginners face challenges with file formats, conversions, and software choices. This section addresses common questions, offering practical solutions to help you troubleshoot and select the right tools for your embroidery needs.
Which embroidery machine supports the widest range of file formats?
Generally, high-end embroidery machines from brands like Brother, Bernina, and Bernina ArtLink support multiple formats such as DST, PES, JEF, and VIP. Machines with advanced firmware often offer broader compatibility, making them versatile for various design files. Recent market data indicates that machines supporting at least five major formats are ideal for complex projects and seamless file transfer.
How can I convert my design files without losing quality?
To preserve design integrity, use reputable software like Wilcom TrueSizer or Hatch. These tools maintain stitch densities, color information, and pattern details during conversion. Always test conversions on scrap fabric first, adjusting stitch settings if needed to avoid distortions or incomplete designs.
What are the best software options for beginners?
For newcomers, simple and free software such as Wilcom TrueSizer and Bernina ArtLink are excellent starting points. They offer basic editing and conversion features without overwhelming complexity. As skills develop, users can explore more advanced programs like Hatch or Embird, which provide broader capabilities.
How much does it cost to get started with compatible software and machine setup?
Entry-level embroidery machines can start around $200 to $400, with basic software often included or available for free. Upgrading to professional-level software like Hatch or Wilcom can range from $50 to over $700, depending on features. Budgeting for accessories and training may add to the total initial investment, but many hobbyists find the cost justified by project quality and efficiency gains.
Can I use free tools for all my conversion needs?
Yes, basic conversions can be handled with free tools like Wilcom TrueSizer or Bernina ArtLink. However, for more complex editing, extensive format support, or professional finishes, paid software offers significant advantages. Free tools are best suited for initial drafts, small projects, or users on a tight budget.
What should I do if my design becomes distorted after conversion?
This usually happens due to improper stitch density or incompatible format settings. Adjust the stitch density, size, or scaling options within your software and test on scrap fabric. Ensuring your original design is compatible with your machine’s specifications helps prevent distortion and improves final results.
Practical Tips to Maintain Design Quality During File Conversion
Converting embroidery files between formats is essential for ensuring compatibility across different machines and software. However, this process can sometimes compromise design integrity, stitch consistency, and overall quality if not carefully managed. Implementing precise techniques during conversion helps preserve your intricate motifs and detailed patterns, reducing the need for extensive rework.
Effective quality control begins with understanding the nuances of each file format and leveraging the right tools for adjustment. By carefully modifying stitch density and design size, previewing designs before stitching, and conducting test runs on scrap fabric, embroiderers can ensure their projects maintain professional quality after conversion.
Adjust Stitch Density and Design Size
Post-conversion adjustment of stitch density is critical to achieving balanced stitch coverage suited for your fabric and thread. Software tools often include options to modify density settings—increase density for dense fabrics like denim or decrease it for delicate materials to prevent puckering. Similarly, resizing the design slightly to match fabric dimensions helps maintain proportion and clarity.
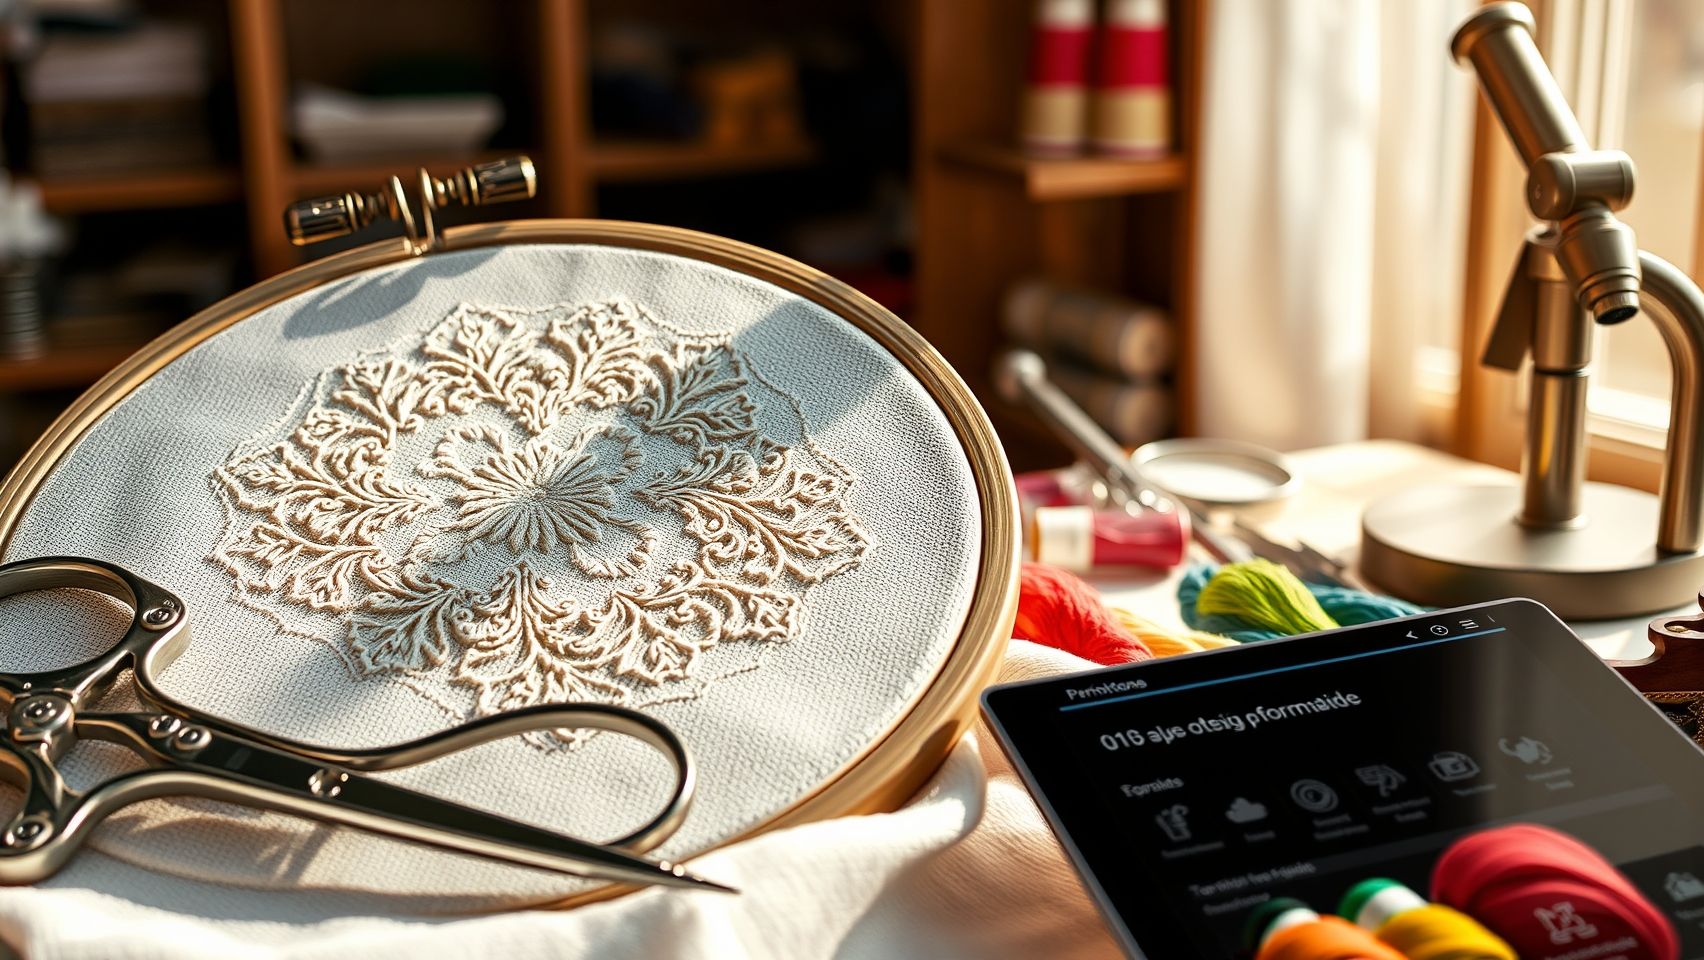
Utilize Preview Features Before Stitching
Most embroidery software offers a preview mode that simulates how the final design will appear after stitching. Always use this feature to inspect edges, fill areas, and overall appearance. Confirm that conversion has preserved the design’s sharpness and detail, especially for complex motifs. Making adjustments at this stage prevents costly mistakes and material waste during actual stitching.
Run Test Stitches on Scrap Fabric
To verify the quality of your converted design, run test stitches on scrap fabric similar to your intended project. This practical step allows you to observe stitch density, tension, and thread behavior firsthand. Based on the results, fine-tune settings such as stitch length or density to optimize the final output. Testing helps catch issues early and ensures consistent quality across multiple projects.
Consider Design Complexity and Format Choice
Highly detailed patterns may require higher stitch density and formats supporting vector data—like EXP or EMB—to retain crisp edges and nuanced motifs. For simpler designs, standard raster formats may suffice but still benefit from preview and test stitching. Remember, staying updated with your software ensures access to the latest compatibility improvements and correction features, further safeguarding design quality during file conversion.
Conclusion
Ensuring embroidery file compatibility is a vital step towards achieving smooth, efficient projects. Throughout this article, we’ve highlighted the importance of selecting the right file formats, utilizing reliable conversion software, and adhering to best practices for conversion and quality control. These practical solutions help streamline your workflow, reduce errors, and prevent frustrating delays.
Stay ahead in the evolving embroidery landscape by regularly evaluating your machine’s supported formats and keeping your software tools up to date with the latest innovations, such as cross-platform compatibility and enhanced design simulation. These advancements are designed to boost your productivity and confidence, enabling you to focus on your creative process without technical obstacles.
Start today by assessing your current setup, making informed choices about conversion tools, and running test designs to perfect your process. With these proactive steps, you’ll experience faster, error-free embroidery projects and elevate your craftsmanship to new heights. Remember, practical preparation leads to perfect results. Embrace the future of embroidery today and let your creativity flourish!
Eoehro 72pcs Sewing Thread kit, 36 Colors Sewing Machine Threads, Prewound Bobbins Sewing Threads Kit, Sewing Machine Thread Assortment, 400 Yards per Spools Polyester Thread
$17.89 (as of June 17, 2025 07:58 GMT -04:00 - More infoProduct prices and availability are accurate as of the date/time indicated and are subject to change. Any price and availability information displayed on [relevant Amazon Site(s), as applicable] at the time of purchase will apply to the purchase of this product.)
Richword White Embroidery Thread 4000M(4374Y) 40WT Polyester Thread 100 Colors Selected for Commercial Multi Needles and Single Needle Embroidery Machine 0401
$7.99 (as of June 17, 2025 05:31 GMT -04:00 - More infoProduct prices and availability are accurate as of the date/time indicated and are subject to change. Any price and availability information displayed on [relevant Amazon Site(s), as applicable] at the time of purchase will apply to the purchase of this product.)
122 skeins Embroidery Floss - Embroidery Thread - Friendship Bracelet String for Cross Stitch, Hand Embroidery, String Art
$9.99 (as of June 16, 2025 12:53 GMT -04:00 - More infoProduct prices and availability are accurate as of the date/time indicated and are subject to change. Any price and availability information displayed on [relevant Amazon Site(s), as applicable] at the time of purchase will apply to the purchase of this product.)
New brothread - 2 Huge Spools 5000M Each Polyester Embroidery Machine Thread 40WT for Commercial and Domestic Machines - White
$12.99 (as of June 17, 2025 05:31 GMT -04:00 - More infoProduct prices and availability are accurate as of the date/time indicated and are subject to change. Any price and availability information displayed on [relevant Amazon Site(s), as applicable] at the time of purchase will apply to the purchase of this product.)
Simthread 144 Prewound Bobbin Thread Size L 60WT (SA155) for Husqvarna Viking pfaff Creative Vision Embroidery Machines Plastic Side - White
$24.99 (as of June 17, 2025 05:31 GMT -04:00 - More infoProduct prices and availability are accurate as of the date/time indicated and are subject to change. Any price and availability information displayed on [relevant Amazon Site(s), as applicable] at the time of purchase will apply to the purchase of this product.)
Brother PE550D Embroidery Machine, 125 Built-in Designs Including 45 Disney Designs, 4" x 4" Hoop Area, Large 3.2" LCD Touchscreen, USB Port, 9 Font Styles
(as of June 16, 2025 12:53 GMT -04:00 - More infoProduct prices and availability are accurate as of the date/time indicated and are subject to change. Any price and availability information displayed on [relevant Amazon Site(s), as applicable] at the time of purchase will apply to the purchase of this product.)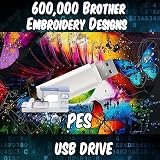
DoubleGEmbroidery 600,000 Embroidery Machine Patterns Designs Brother PES on USB
$45.00 (as of June 16, 2025 12:53 GMT -04:00 - More infoProduct prices and availability are accurate as of the date/time indicated and are subject to change. Any price and availability information displayed on [relevant Amazon Site(s), as applicable] at the time of purchase will apply to the purchase of this product.)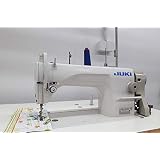
Juki DDL8700 LockStitch Industrial Sewing Machine,Table,Servo Motor,Lamp. Not Assembled
$867.59 (as of June 16, 2025 12:53 GMT -04:00 - More infoProduct prices and availability are accurate as of the date/time indicated and are subject to change. Any price and availability information displayed on [relevant Amazon Site(s), as applicable] at the time of purchase will apply to the purchase of this product.)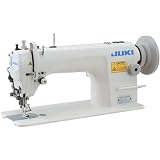
JUKI DU-1181N Industrial Top and Bottom Feed Sewing Machine
$1,699.00 (as of June 16, 2025 12:53 GMT -04:00 - More infoProduct prices and availability are accurate as of the date/time indicated and are subject to change. Any price and availability information displayed on [relevant Amazon Site(s), as applicable] at the time of purchase will apply to the purchase of this product.)