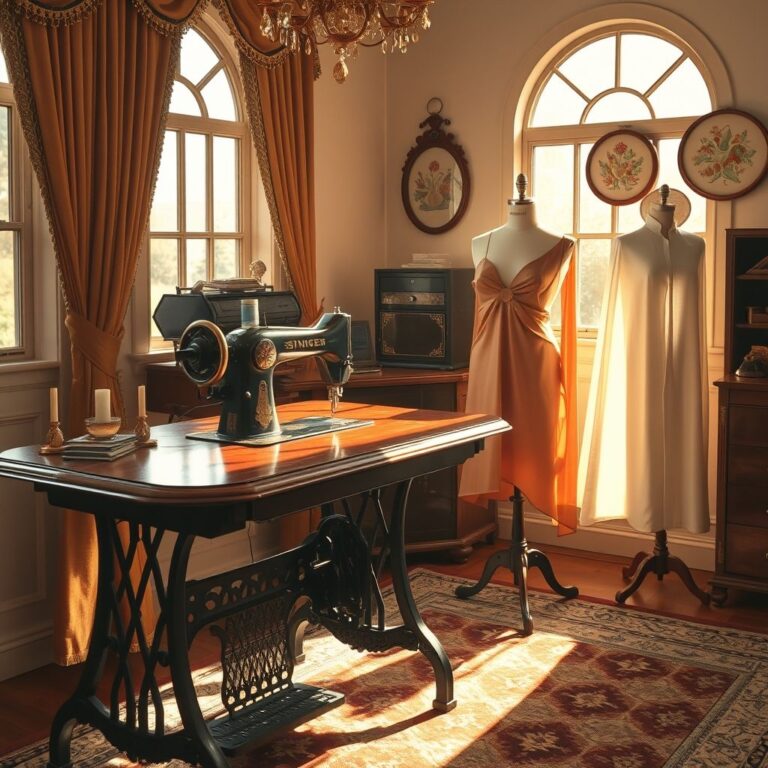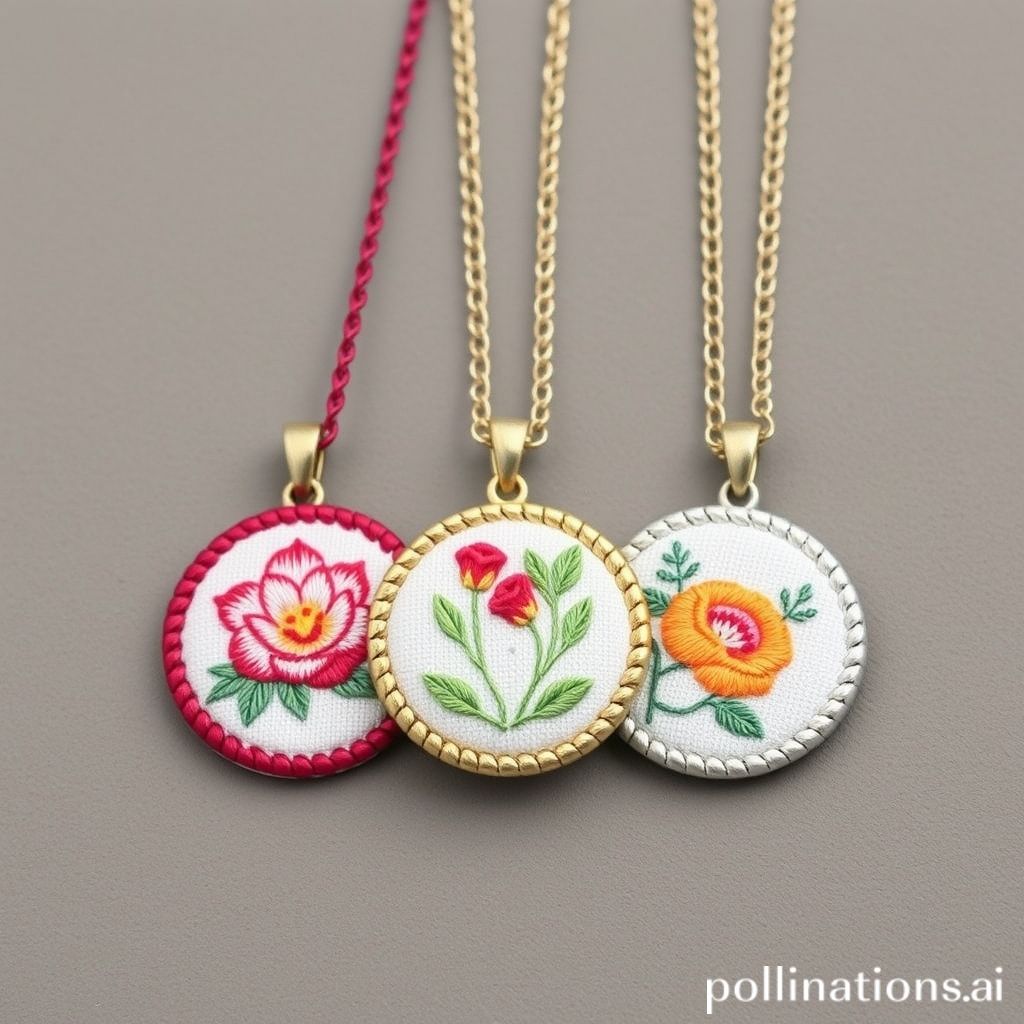
Stitch Style: Embroidered Necklaces & Bracelets
Ever thought about adorning yourself with threads? Embroidered jewelry, particularly necklaces and bracelets, offers a captivating blend of textile art and personal expression. Forget mass-produced trinkets; imagine wearing a piece of art meticulously crafted with vibrant colors, intricate patterns, and the comforting texture of thread. This isn’t your grandmother’s embroidery – it’s a modern craft experiencing a vibrant resurgence. The beauty of embroidered jewelry lies in its versatility; it can be bohemian chic, elegantly understated, or boldly contemporary. This blog post will delve into the captivating world of creating your own embroidered necklaces and bracelets, exploring the essential materials, foundational techniques, design inspiration, and tips for adding professional finishing touches. We’ll uncover the secrets to transforming simple stitches into wearable masterpieces, empowering you to create unique accessories that reflect your individual style.
Essential Materials for Embroidered Jewelry
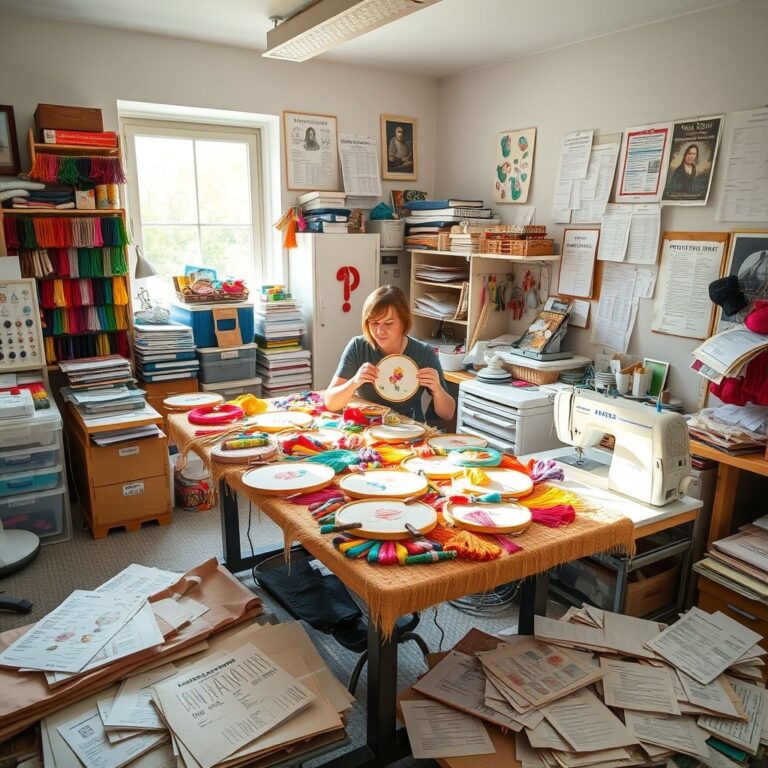
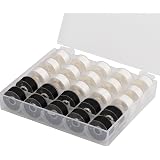
Embarking on your embroidered jewelry journey requires gathering the right tools and materials. Choosing high-quality supplies is paramount for achieving a polished and durable final product. First and foremost, consider your fabric. Linen, cotton, and felt are popular choices due to their tight weaves, which provide a stable base for stitching. As textile artist Lisa Congdon notes, “The quality of your materials makes a huge difference in the final product.” For necklaces, you’ll need a strong chain or cord, clasps, and jump rings. Bracelets require similar components, along with closure options like adjustable sliders or magnetic clasps. Embroidery floss is the lifeblood of your project. Opt for stranded cotton floss, perle cotton, or even silk threads in a rainbow of colors. Consider the colorfastness of your floss to prevent bleeding during washing or wear. Needles are another crucial element; choose embroidery needles with large eyes to accommodate thicker threads. A sturdy embroidery hoop, preferably a small size suitable for jewelry making, will keep your fabric taut and prevent puckering. Finally, don’t forget essential tools like scissors, fabric glue, pliers for working with jewelry findings, and a water-soluble marking pen for transferring your designs. By investing in these essential materials, you’ll set yourself up for success in creating stunning embroidered jewelry.
Mastering Basic Embroidery Stitches
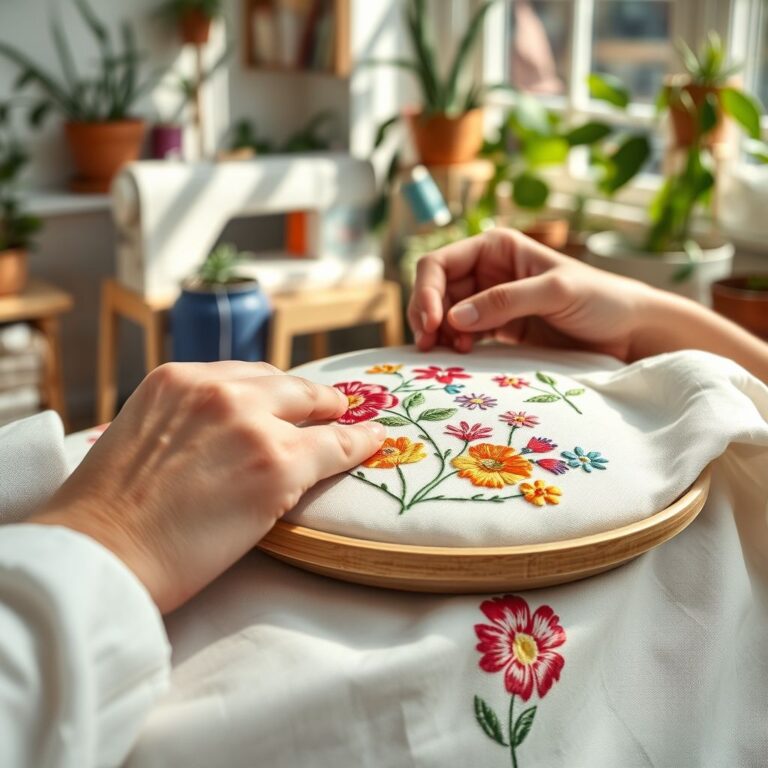
Before diving into complex designs, it’s crucial to master a few fundamental embroidery stitches. These stitches form the building blocks of countless patterns and textures. The running stitch, a simple in-and-out motion, is perfect for outlining shapes or creating delicate lines. “The running stitch is so versatile; it’s the foundation for so many other techniques,” explains renowned embroidery designer Mary Corbet. The back stitch creates a solid line, ideal for outlining and adding definition. The satin stitch fills areas with a smooth, even coverage, perfect for creating solid shapes or adding a touch of elegance. The French knot, a small, textured knot, adds dimension and visual interest. The chain stitch creates a looped effect, resembling a chain, and is excellent for outlining or filling areas. Practice these stitches on scrap fabric until you feel comfortable with their execution. Experiment with different thread colors and thicknesses to see how they affect the final look. Remember to maintain consistent tension to avoid puckering or distortion. With a solid grasp of these basic stitches, you’ll be well-equipped to tackle a wide range of embroidered jewelry projects.
Designing Your Embroidered Jewelry
The design phase is where your creativity truly takes flight. Start by brainstorming ideas and gathering inspiration from various sources. Look to nature, art, fashion, and even everyday objects for design cues. Consider the overall aesthetic you want to achieve, whether it’s bohemian, minimalist, or something in between. Sketch your designs on paper, experimenting with different shapes, patterns, and color combinations. “Don’t be afraid to experiment; that’s where the magic happens,” advises fiber artist Sarah K. Benning. Once you have a design you like, transfer it onto your fabric using a water-soluble marking pen. Consider the size and shape of your jewelry piece when designing your embroidery. For necklaces, think about the length and placement of the design on the chain or cord. For bracelets, consider the width of the band and how the design will wrap around the wrist. Choose colors that complement each other and create the desired mood. Don’t be afraid to incorporate beads, sequins, or other embellishments to add texture and sparkle. Remember that simplicity can be just as effective as complexity. A well-executed design with a few carefully chosen stitches can be incredibly striking.
Assembling Embroidered Necklaces
Transforming your embroidered fabric into a wearable necklace requires careful assembly and attention to detail. Once your embroidery is complete, carefully trim the excess fabric, leaving a small margin around the design. Consider backing the embroidered fabric with a piece of felt or leather to provide stability and prevent fraying. Attach the backing using fabric glue or a simple whip stitch. To create a secure attachment point for the chain or cord, you can use jump rings or create small loops with embroidery thread. If using jump rings, punch small holes through the fabric and backing, and attach the jump rings using pliers. If creating loops with thread, reinforce the loops with multiple stitches to ensure they are strong enough to support the weight of the necklace. According to jewelry making expert, Jane Davis, “A secure connection is key to ensuring the longevity of your piece.” Attach the chain or cord to the jump rings or thread loops. Add a clasp to the ends of the chain or cord to allow for easy fastening and unfastening. Ensure the clasp is securely attached and functions smoothly. Carefully inspect your necklace for any loose threads or imperfections, and trim them as needed. With a little patience and attention to detail, you can create a beautiful and durable embroidered necklace that you’ll be proud to wear.
Crafting Embroidered Bracelets
Creating embroidered bracelets offers a slightly different set of challenges and opportunities compared to necklaces. The most common approach is to create a fabric band and then embroider directly onto it. Begin by measuring your wrist to determine the desired length of the bracelet. Cut a piece of fabric that is slightly longer and wider than your desired bracelet size to allow for seam allowances and embellishments. Embroider your design onto the fabric band, ensuring that it is centered and balanced. Consider using a wider range of stitches and embellishments on bracelets, as they offer a larger surface area for creativity. Once your embroidery is complete, carefully trim the excess fabric, leaving a seam allowance of about 1/2 inch. Fold the edges of the fabric inward and press them with an iron to create a clean finish. Sew the edges together to create a closed loop. Alternatively, you can add a lining to the bracelet for added comfort and durability. Choose a closure option that suits your style and the overall design of the bracelet. Adjustable sliders are a popular choice, as they allow for a customized fit. Magnetic clasps are another convenient option, providing a secure and easy-to-use closure. As jewelry designer Emily Carter states, “The clasp is not just functional; it’s also an opportunity to add a decorative element.” Attach the closure to the ends of the bracelet using pliers or a sewing machine. Inspect your bracelet for any loose threads or imperfections, and trim them as needed. With careful planning and execution, you can create stunning embroidered bracelets that are both stylish and comfortable to wear.
Adding Finishing Touches and Care Tips
The final touches can elevate your embroidered jewelry from handmade to professional-looking. Consider adding a sealant to protect your embroidery from wear and tear. Fabric sealants are available in various finishes, from matte to glossy. Test the sealant on a scrap piece of fabric before applying it to your finished piece to ensure it doesn’t alter the color or texture of the embroidery. Cleaning and caring for your embroidered jewelry is essential for maintaining its beauty and longevity. Avoid exposing your jewelry to harsh chemicals, such as chlorine or detergents. When cleaning your jewelry, use a soft, damp cloth and gently wipe the embroidered areas. Avoid soaking or submerging your jewelry in water, as this can damage the embroidery and cause the colors to bleed. Store your jewelry in a dry, dust-free place, such as a jewelry box or pouch. This will help to prevent tarnishing and protect the embroidery from damage. “Proper care is essential for preserving the beauty of handmade jewelry,” advises cleaning expert Martha Stewart. With proper finishing touches and diligent care, your embroidered necklaces and bracelets will remain cherished pieces for years to come.
Embroidered Jewelry: Beyond the Basics
Now that you’ve mastered the fundamentals, it’s time to explore advanced techniques and push the boundaries of your embroidered jewelry designs. Consider incorporating three-dimensional elements into your embroidery, such as raised stitches, beads, or fabric scraps. Experiment with different thread types and textures, such as metallic threads, silk ribbons, or even yarn. Explore the possibilities of incorporating found objects into your embroidery, such as buttons, charms, or vintage lace. “Don’t be afraid to break the rules and experiment with unconventional materials,” encourages mixed media artist, Tracey Emin. Learn new embroidery stitches and techniques, such as needle painting, stumpwork, or blackwork. Consider using your embroidered jewelry as a canvas for storytelling, incorporating personal symbols, quotes, or images into your designs. Explore the cultural significance of embroidery and draw inspiration from different traditions and styles. By continuously learning and experimenting, you can unlock new levels of creativity and create truly unique and meaningful pieces of embroidered jewelry.
Creating embroidered necklaces and bracelets is a rewarding and fulfilling craft that allows you to express your creativity and personal style. We’ve journeyed through the essential materials, mastered basic stitches, explored design principles, and delved into assembly techniques. From selecting the perfect fabric to adding those final finishing touches, each step contributes to the creation of a unique and wearable work of art. Embroidered jewelry offers a refreshing alternative to mass-produced accessories, allowing you to showcase your individuality and appreciation for handmade craftsmanship. Remember, the key is to experiment, embrace imperfections, and let your imagination guide you. As Coco Chanel once said, “Fashion fades, only style remains.” Embroidered jewelry allows you to create timeless pieces that reflect your unique style and personality. So, grab your needle and thread, and embark on a journey of textile artistry. The possibilities are endless, and the rewards are immeasurable. Start stitching your story, one thread at a time, and create embroidered treasures that will be cherished for generations to come.
Simthread 25pcs 15White+10Black Prewound Bobbin Thread Size A Class 15 (SA156) 60WT with Clear Storage Plastic Case Box 70D/2 for Brother Embroidery Thread Sewing Thread Machine DIY
$9.99 (as of July 2, 2025 13:06 GMT -04:00 - More infoProduct prices and availability are accurate as of the date/time indicated and are subject to change. Any price and availability information displayed on [relevant Amazon Site(s), as applicable] at the time of purchase will apply to the purchase of this product.)
New brothread 21 Assorted Colors Metallic Embroidery Machine Thread Kit 500M (550Y) Each Spool for Computerized Embroidery and Decorative Sewing
$27.99 (as of July 3, 2025 05:32 GMT -04:00 - More infoProduct prices and availability are accurate as of the date/time indicated and are subject to change. Any price and availability information displayed on [relevant Amazon Site(s), as applicable] at the time of purchase will apply to the purchase of this product.)
Simthread Embroidery Thread 5500 Yards White 001, 2 Huge Spools 40wt Polyester for Brother, Babylock, Janome, Singer, Pfaff, Husqvarna, Bernina Machine
$13.99 (as of July 3, 2025 05:32 GMT -04:00 - More infoProduct prices and availability are accurate as of the date/time indicated and are subject to change. Any price and availability information displayed on [relevant Amazon Site(s), as applicable] at the time of purchase will apply to the purchase of this product.)
New brothread - 2 Huge Spools 5000M Each Polyester Embroidery Machine Thread 40WT for Commercial and Domestic Machines - White
$12.99 (as of July 3, 2025 05:32 GMT -04:00 - More infoProduct prices and availability are accurate as of the date/time indicated and are subject to change. Any price and availability information displayed on [relevant Amazon Site(s), as applicable] at the time of purchase will apply to the purchase of this product.)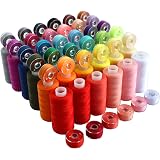
72 PCS Sewing Thread Assortment, 36 Color Thread for Sewing Machine with 36 Same Color Bobbins, Polyester Thread 400 Yards/Spool (72)
$15.95 (as of July 3, 2025 07:59 GMT -04:00 - More infoProduct prices and availability are accurate as of the date/time indicated and are subject to change. Any price and availability information displayed on [relevant Amazon Site(s), as applicable] at the time of purchase will apply to the purchase of this product.)
Grain Suction Machine Grain Granule Powder Conveyor Farm Cement Sand Powder Screw Conveyor Small Household Large Suction Feeding Machine for Various Small Particle Grain Cement Sand Powder(3M)
$739.99 (as of July 1, 2025 13:06 GMT -04:00 - More infoProduct prices and availability are accurate as of the date/time indicated and are subject to change. Any price and availability information displayed on [relevant Amazon Site(s), as applicable] at the time of purchase will apply to the purchase of this product.)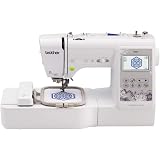
Brother SE600 Sewing and Embroidery Machine, 80 Designs, 103 Built-In Stitches, Computerized, 4" x 4" Hoop Area, 3.2" LCD Touchscreen Display, 7 Included Feet
$549.99 (as of July 1, 2025 13:06 GMT -04:00 - More infoProduct prices and availability are accurate as of the date/time indicated and are subject to change. Any price and availability information displayed on [relevant Amazon Site(s), as applicable] at the time of purchase will apply to the purchase of this product.)
GDMINLO Soft Tape Measure Double Scale Body Sewing Flexible Tailor Craft Vinyl Ruler for Weight Loss Medical Body Measurement, Has Centimetre Scale on Reverse Side 60-inch(White)
$3.59 (as of July 3, 2025 11:04 GMT -04:00 - More infoProduct prices and availability are accurate as of the date/time indicated and are subject to change. Any price and availability information displayed on [relevant Amazon Site(s), as applicable] at the time of purchase will apply to the purchase of this product.)
HTVRONT Heat Transfer Vinyl White HTV Rolls - 12" x 20ft White Iron on Vinyl for All Cutting Machines, HTV Vinyl for Shirts - Easy to Cut & Weed for Heat Transfer Design
$15.99 (as of July 3, 2025 11:04 GMT -04:00 - More infoProduct prices and availability are accurate as of the date/time indicated and are subject to change. Any price and availability information displayed on [relevant Amazon Site(s), as applicable] at the time of purchase will apply to the purchase of this product.)